Supplies you will need:
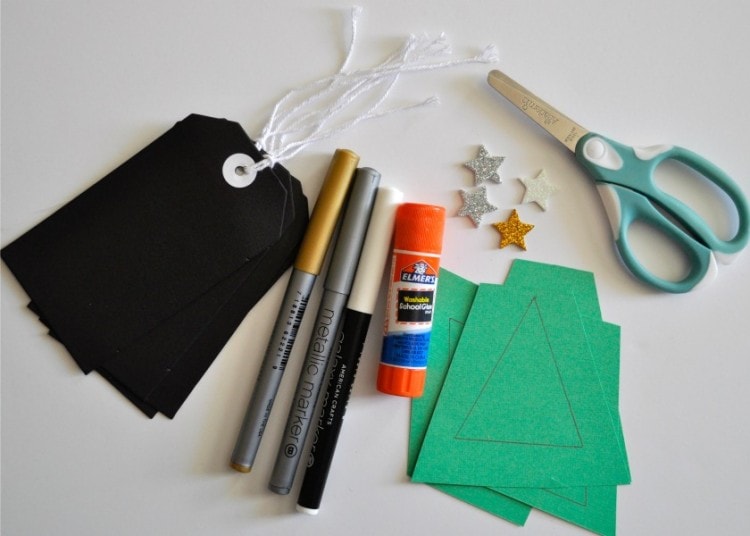
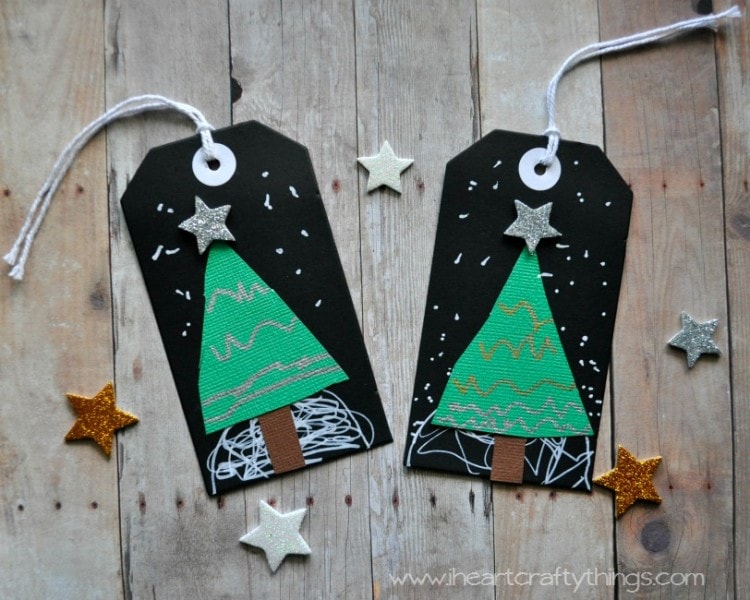
- black chalkboard gift tags
- metallic chalk markers (similar to what I purchased)
- green cardstock paper
- brown cardstock paper (not pictured)
- foam star glitter stickers
- glue stick
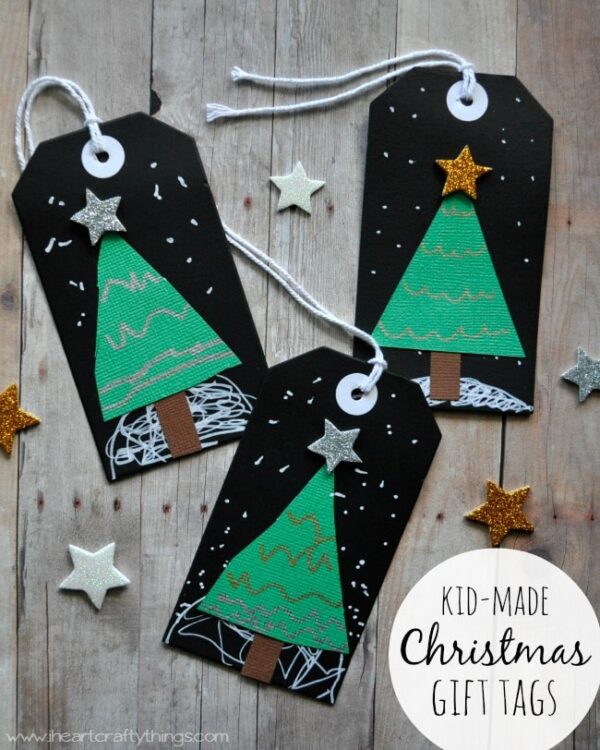
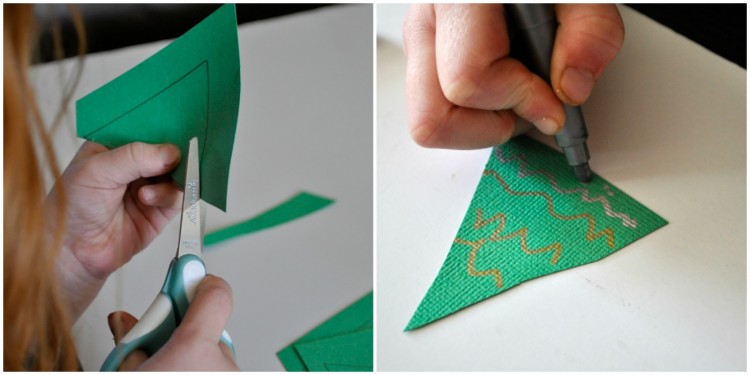
1. Start by drawing small triangle shapes on your green cardstock paper. I cut one out and then used it as a pattern to trace my other triangles. Have your preschooler cut all the triangles out.
2. Use your metallic gold and silver markers to draw designs on your triangle trees.
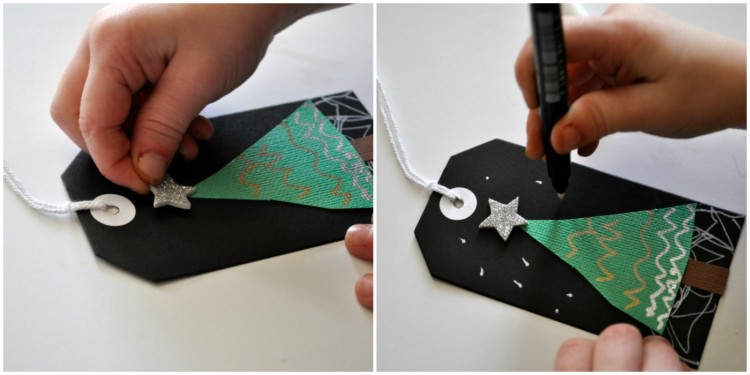
3. Use the white chalk marker to draw a snowy hill at the bottom of your gift tag and fill it in with squiggly lines.
4. Cut small brown tree trunks out of your brown cardstock paper and have your preschooler glue them to the bottom of the gift tag. Then glue a triangle tree on top of the tree trunk.
5. Add a star sticker to the top of your tree.
6. Finish your gift tags by adding white snow dots around your tag with the chalk marker.
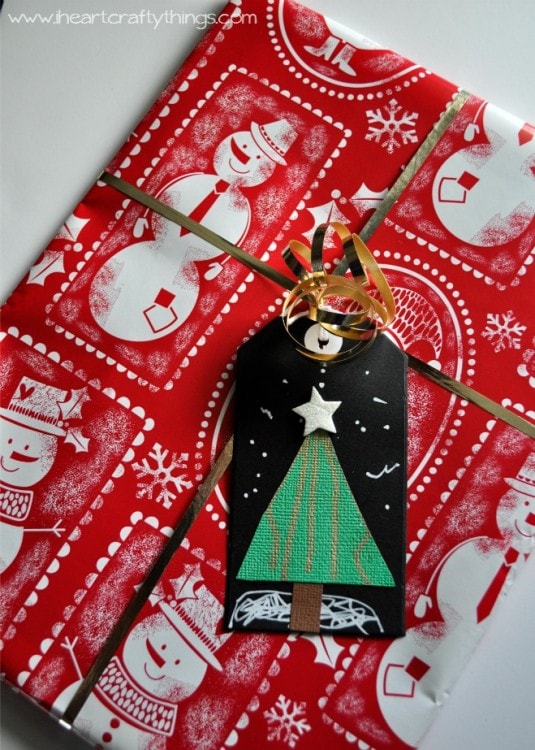
Now all you have to do is write who the gift is to on the back of the tag and attach it to a gift. The recipients will adore the handmade tag on the front of their present.
Check out more Christmas learning ideas from the other Creative Preschool Bloggers:
Pin the Nose on Rudolph | Pink Stripey Socks
Christmas Tree Craft & Games with Recycled Yogurt Cups | A Little Pinch of Perfect
Kandinsky Inspired Christmas Art and Ornament | Handmade Kids Art
Life-Sized Gingerbread Girl Craft | Artsy Momma
Stop by Friday, December 19th for Scissor Cutting Practice Posts!
More Christmas Posts from I Heart Crafty Things:


