{This post contains affiliate links for your convenience. Read our disclosure policy for more information.}
My children and I love all of the pig characters in the book but my personal favorite is Pig Three. I love how she put her mind to mastering karate and followed through with completing all of the lessons, and how she displayed bravery in defeating the big wolf. Since I wish for my own children to possess determination and bravery in the things they wish to accomplish, I love the great message this book shares to children.
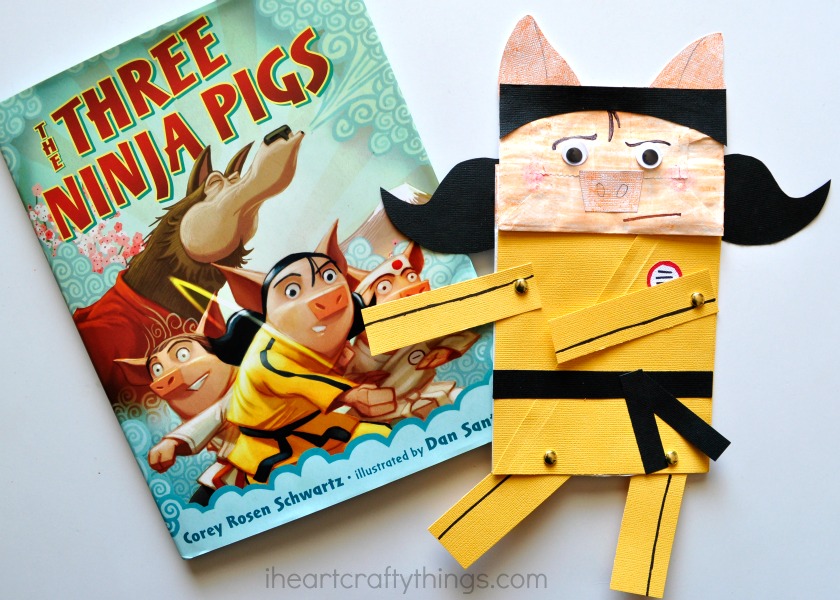
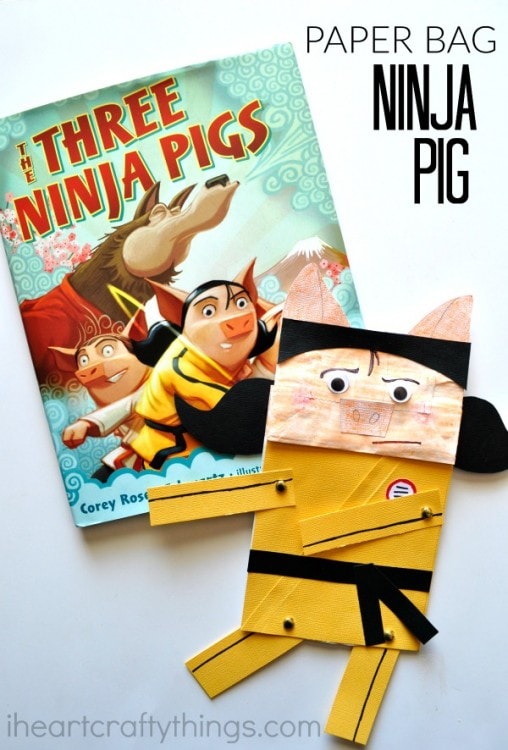
HOW TO MAKE A PAPER BAG NINJA PIG CRAFT
Supplies:
- white paper lunch bag
- black, white and yellow cardstock paper
- paper bag pig craft pattern
- peach and pink crayon
- googly eyes
- black, red and brown marker
- hole punch (optional)
- 4 metal paper hole fasteners (optional)
- scissors
- glue

Directions:
1. Print off the paper bag ninja pig craft pattern and then gather the rest of your supplies.
2. Use your pattern to cut out your pigs hair from black cardstock paper and the snout and ears from white cardstock paper. Add some details to your snout and ears and color them with your peach crayon.
3. You will also need to cut out two yellow rectangles to cover the front of your paper bag for the pig’s gi. Cut a slit down one of the rectangles to make it look like the wrapped gi. Also cut out strips of yellow for your arms and legs, and strips for the black belt.

4. Cut about 2-1/2 inches off your white paper lunch bag. Color the bottom flap of the lunch bag (which is now the ninja pig face) with your peach crayon. Then use your pink crayon to draw rosy cheeks on your pig.
5. Glue the gi onto the paper bag and the black belt pieces. You could also cut out a small circle to make the badge on the gi uniform, outlining it with your red marker and adding writing lines on the inside with your black marker.

6. Glue the ears and black hair onto your pig’s face, then the snout and googly eyes. Finish your ninja pig face by adding details with your markers like eyebrows, a mouth and some hair falling down into her face. If you don’t have markers handy, use crayons to add the details to your ninja pig.
7. If you’d like to make the arms and legs movable on your paper bag ninja pig craft, use your hole punch to punch holes into the paper bag and the arms and legs for the metal paper fasteners. Attach the arms and legs to the paper bag ninja pig with the metal fasteners.

Now your paper bag ninja pig is all ready for play! Simply put your hand inside your paper bag and you have a fun ninja pig puppet! Move the arms and legs any way you want to make your ninja jump, kick, fight and block her opponent. Don’t forget to yell “KIYA!”
You can purchase Three Ninja Pigs and check out more of Corey’s fantastic children’s books on Amazon! Or visit her blog to keep up with her latest ninja adventures.

SIGN UP FOR OUR NEWSLETTER TO KEEP UP WITH OUR LATEST CRAFTS AND ACTIVITIES!
You might also enjoy these crafts:
- Paper Bag Ninja Craft
- 20 Paper Bag Animal Crafts
- Paper Bag Leprechaun
- Polar Bear Finger Puppet
- Space Shuttle Craft for Kids
Follow I Heart Crafty Things on Facebook, Pinterest and Instagram for more crafty fun!