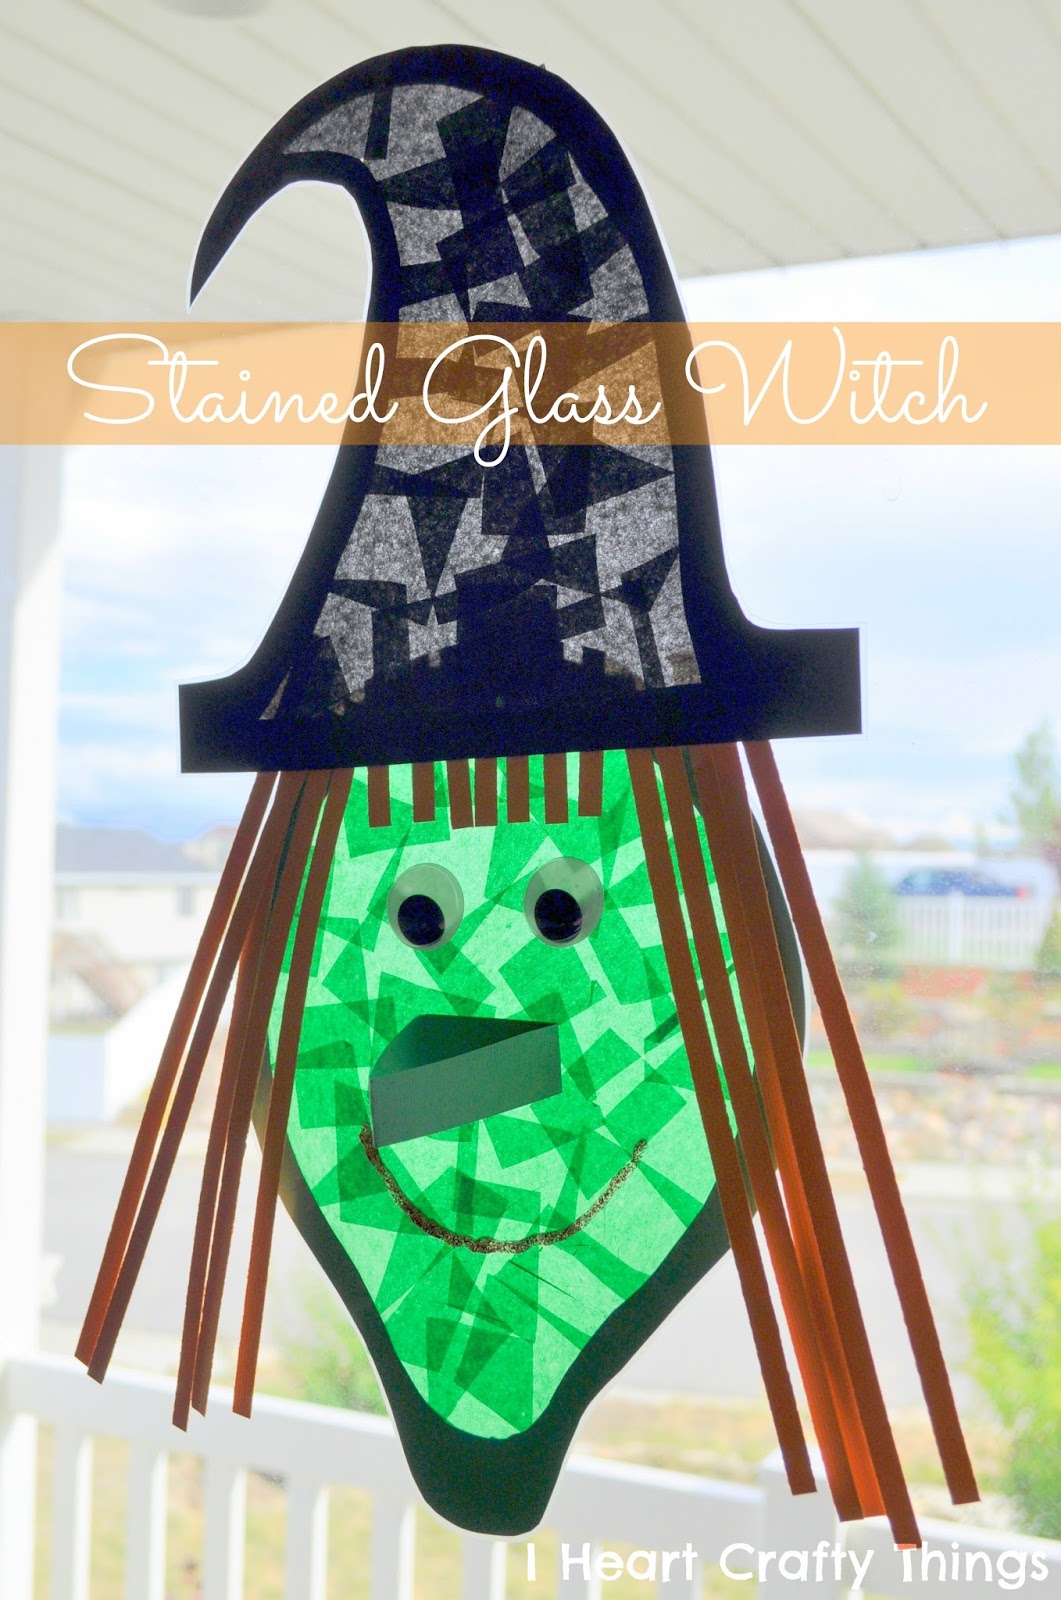
“Room on the Broom” by Julia Donaldson is one of my favorite Halloween books. We read it last week several times and made a fun Stained Glass Witch to go along with the book. This is the same exact pattern that we used last year in our Witch Craft, but we decided to switch it up and turned it into a Stained Glass Witch this go around.
Download our witch template HERE.
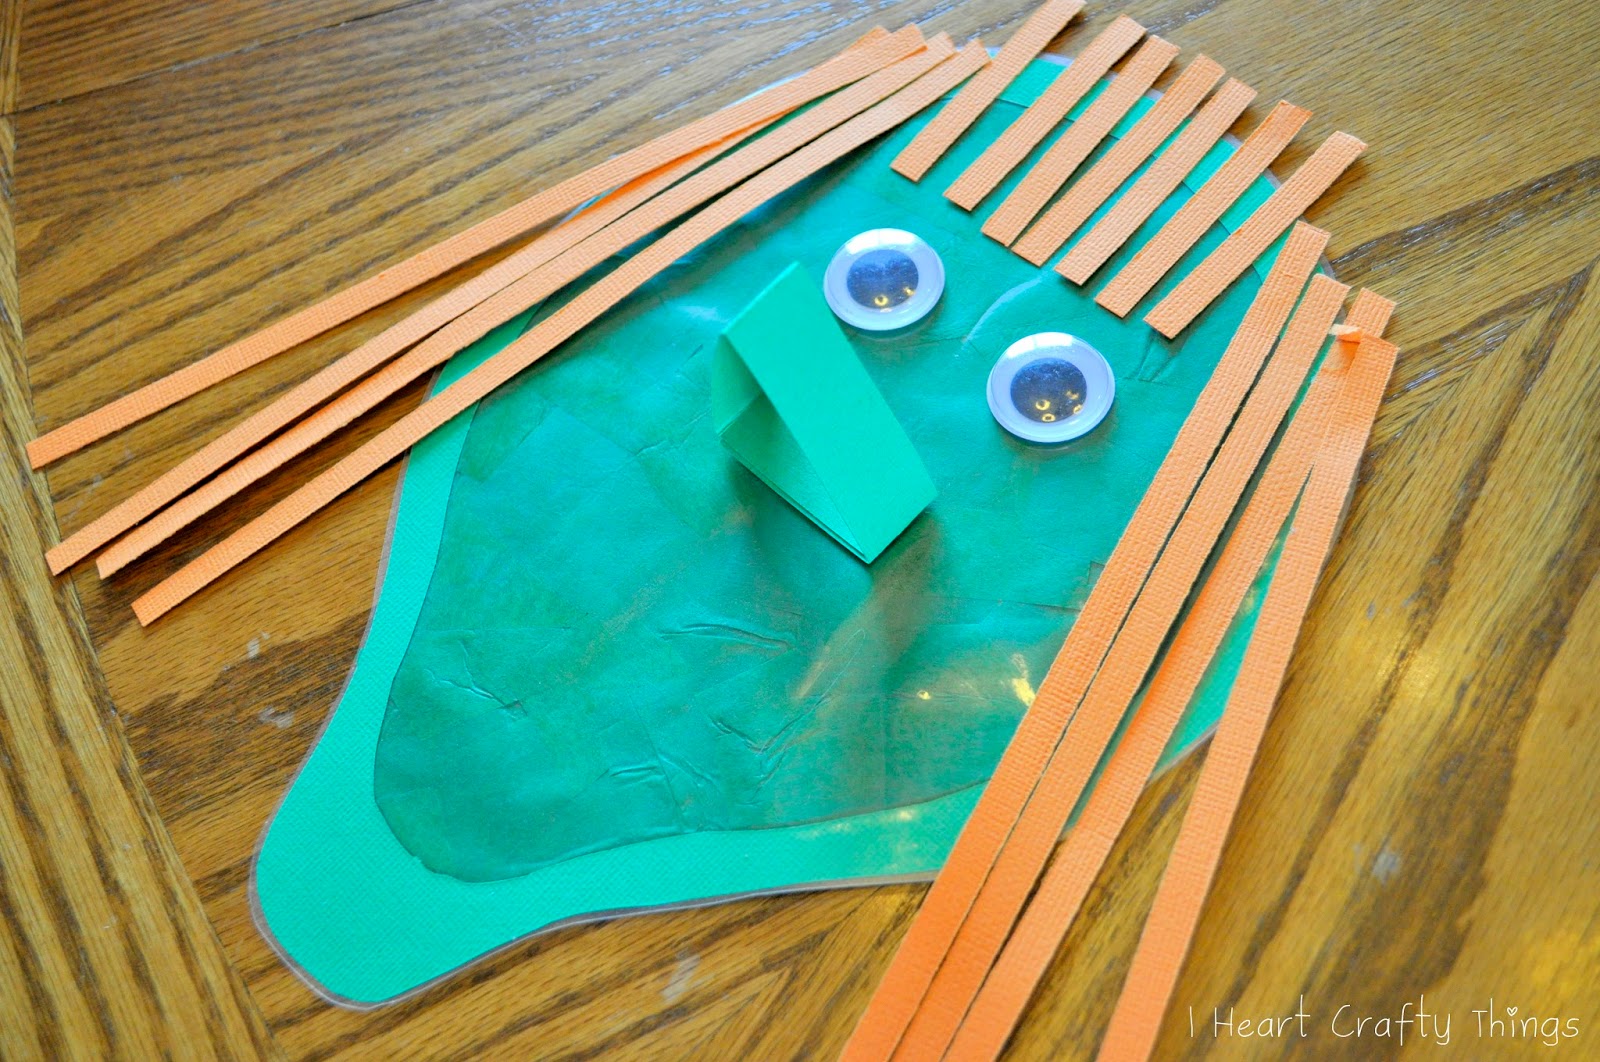
I traced the patterns on black and green cardstock paper, cut them out and then used a craft knife to cut the inside of the pattern out as pictured below.


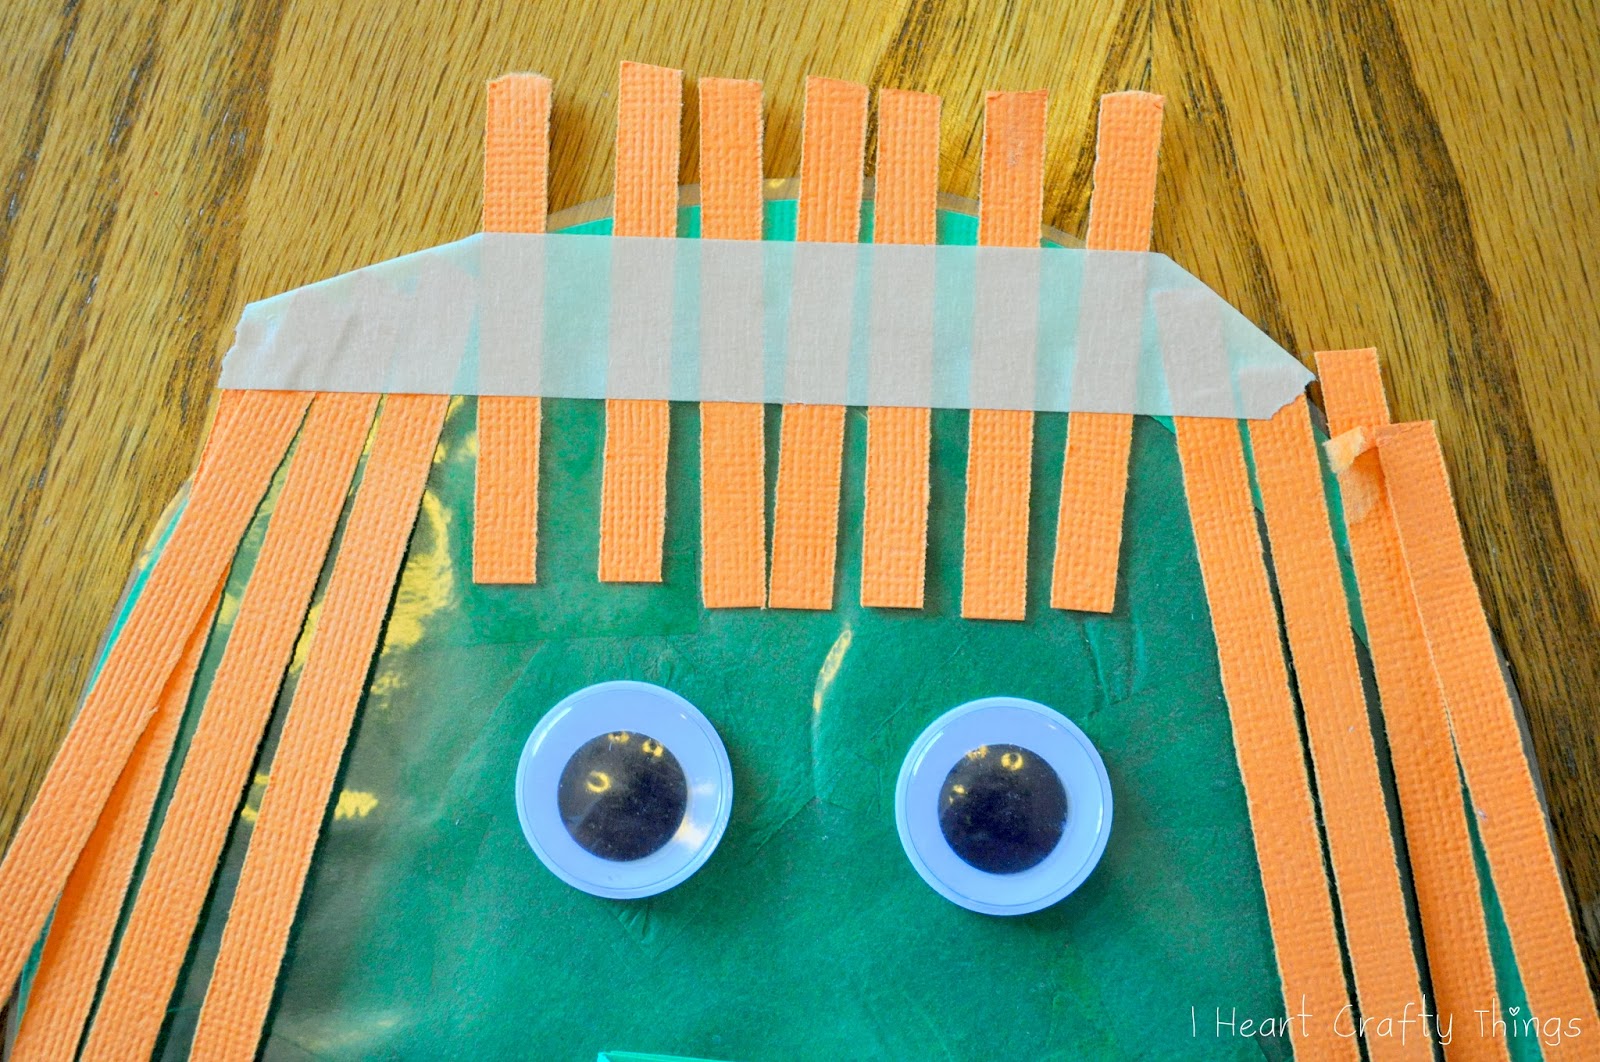
We glued large wiggly eyes and the nose onto the witch and then I arranged the hair how I wanted it on her head. You can glue each individual strand down if you want or you can be lazy like me and just put a piece of tape across her forehead. Ha! The hat covers it up anyways. (Just a little hint: I made my orange paper strips for the hair by putting an orange piece of paper through one of those old school shredders. I had a neighbor that had one of those shredders so it made it really easy and cut so much prep time out of this craft.)
Once you have her eyes, nose and hair on you are ready to tape or glue the black hat on her head.
For the mouth, you can either use red glitter glue…
.JPG)
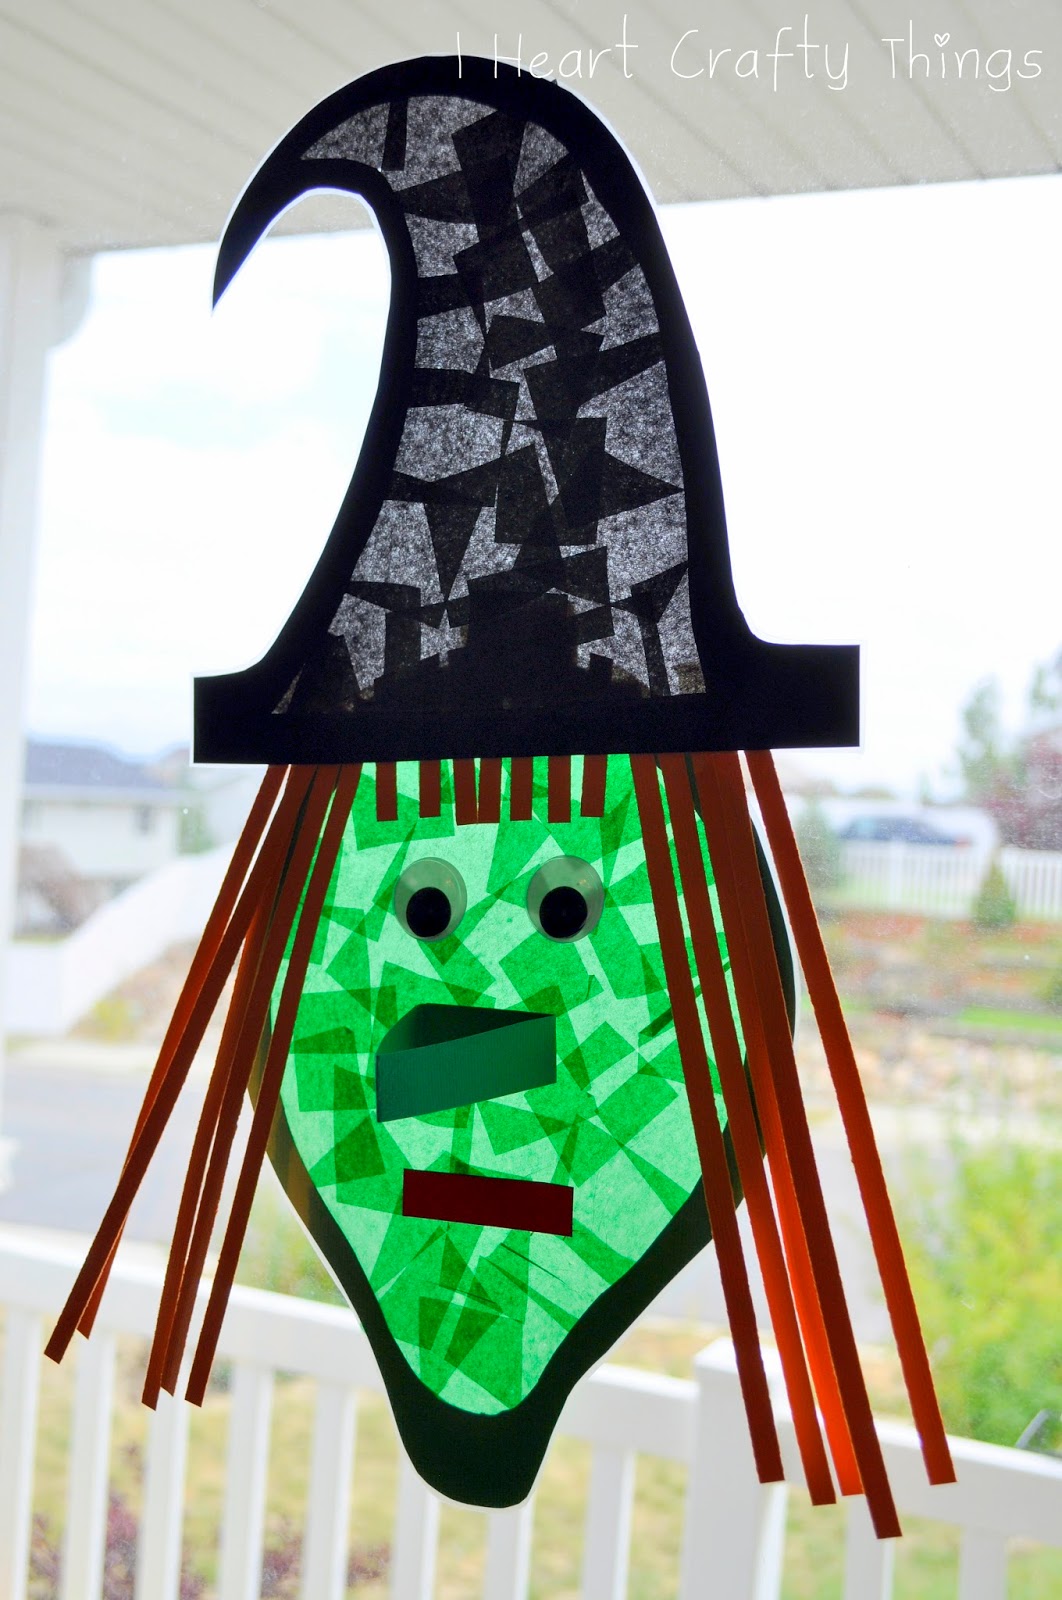
It’s been so fun having the witch hanging up in our window. Such a fun Halloween decoration!
You can use this same template to make a paper witch craft. To see how we made that last year, click HERE.