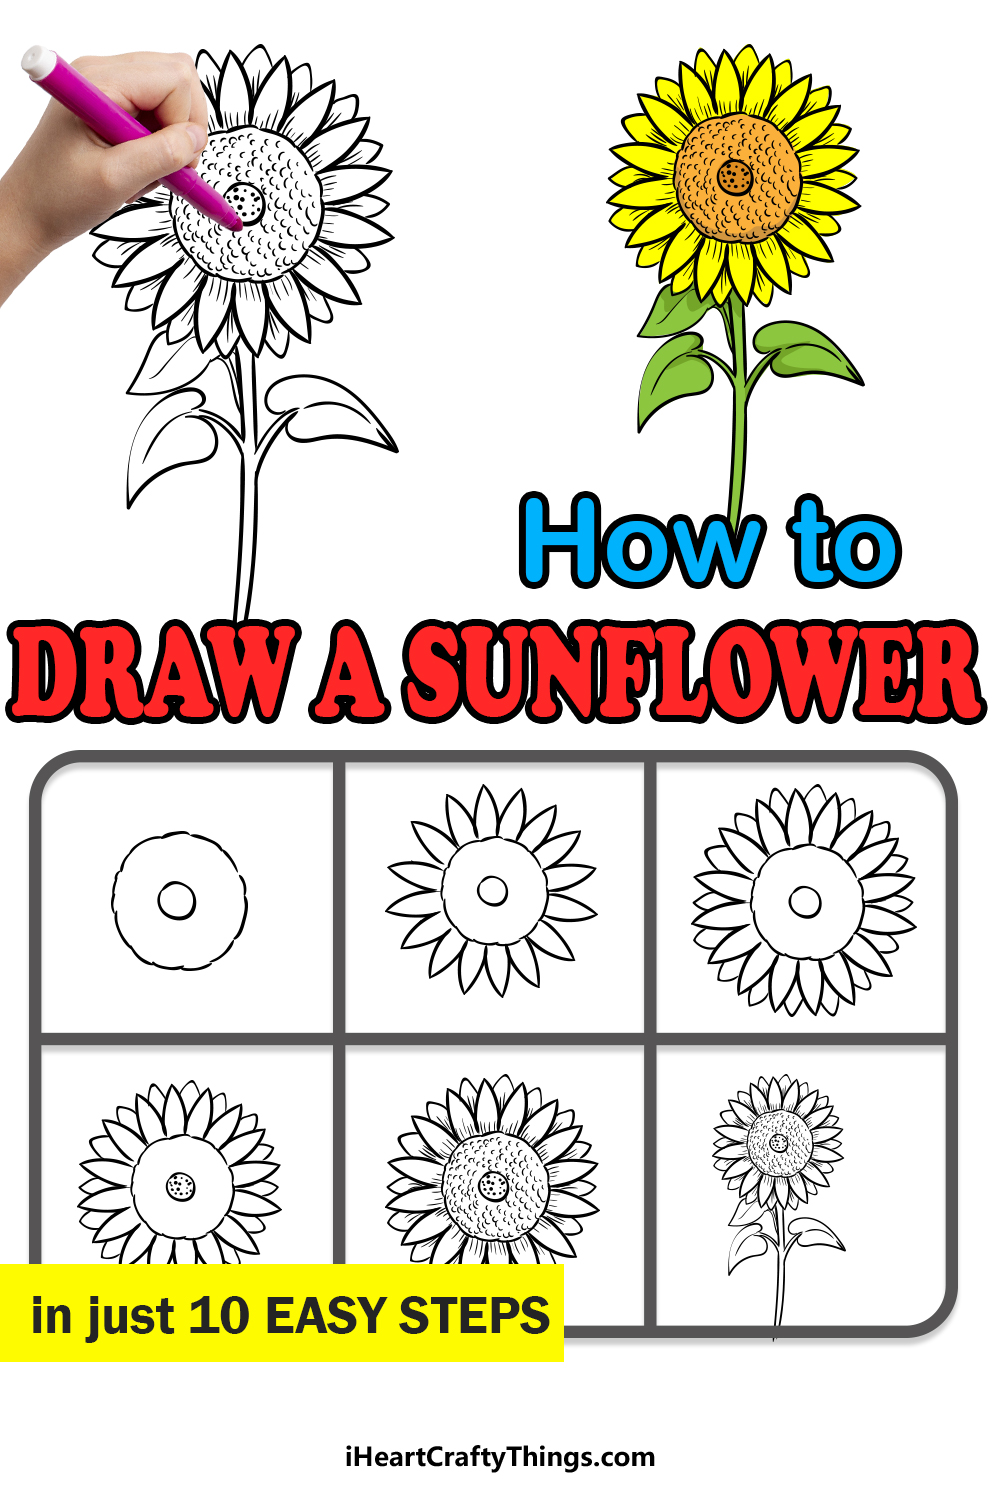
Find out how easy it is to draw a detailed sunflower with this intuitive guide. It will be easy for people of all ages and skill levels to follow!
Sunflowers are so bright and beautiful, and that’s why they are so popular worldwide. They bring a sense of brightness and happiness wherever they appear, and the sunflower drawing you are about to create will do the same.
This guide will start basically and then we will work our way up to adding smaller details like the petals, sepal, stem and leaves. It may look intimidating at first, but the goal of this guide is to make it accessible and simple.
Then, once you have finished the guide you could add all sorts of your own kinds of details to the texture and background elements.
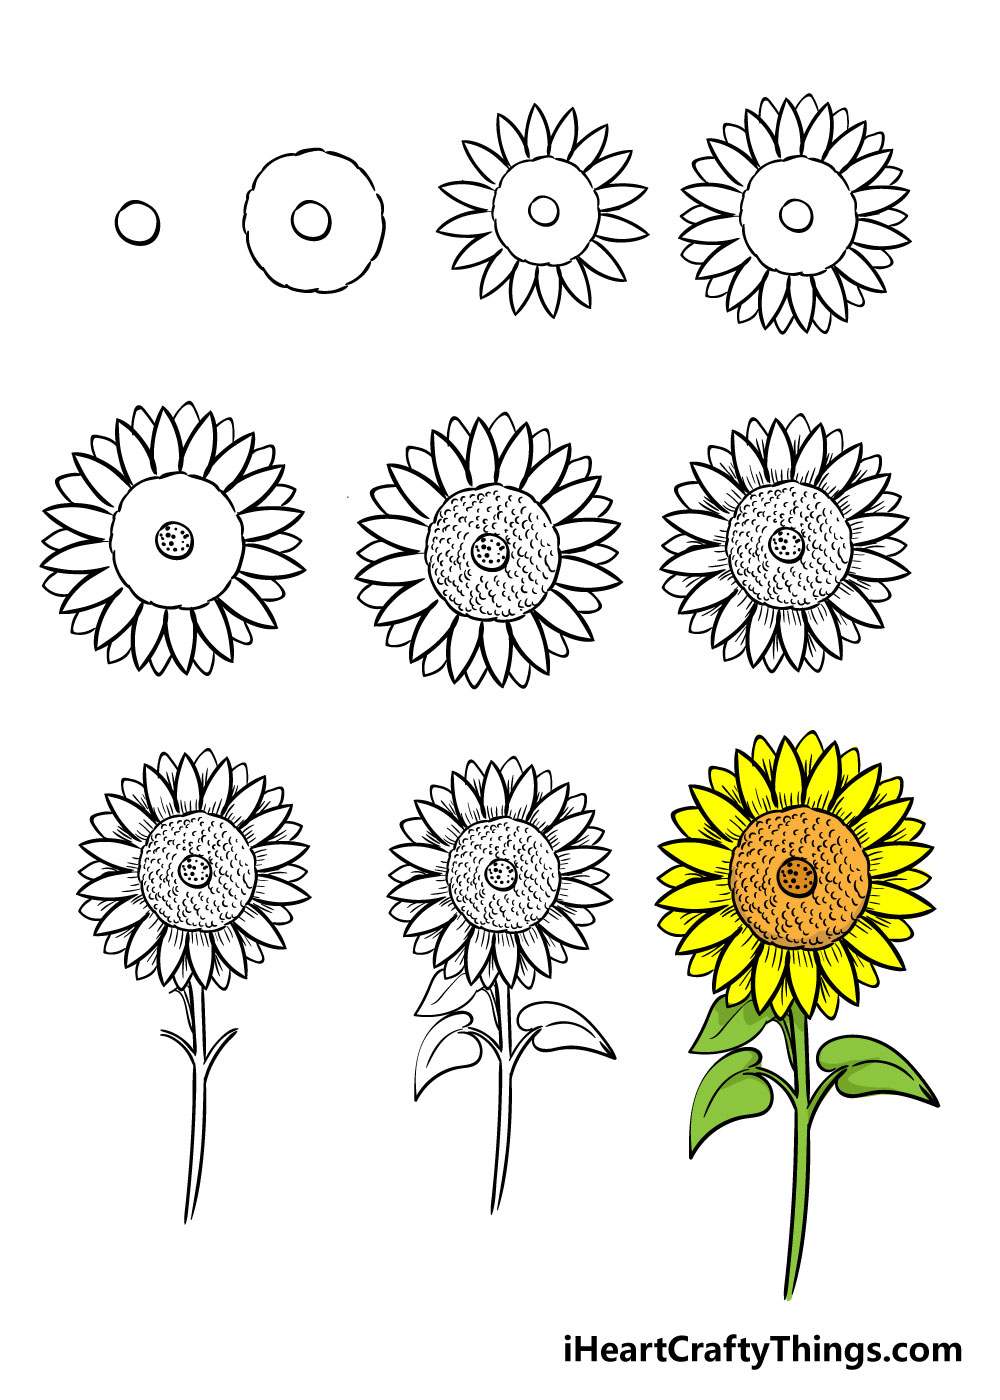
Watch Along And Find Out How To Easily Draw A Sunflower
How to Draw a Sunflower – Let’s Get Started!
Step 1

For the first step in learning how to draw a sunflower, we will be starting with a very simple step. To begin with, simply draw a small circle.
The circle doesn’t have to be perfect, so you can use your pen to draw it in freehand.
Step 2 – Draw in the next circle

Once you have your first little circle drawn in, you can draw in another circle around it. This one will be much bigger, and as you can see in the reference image it’s also not a perfect circle.
It’s made up of many small curved lines in order to make the center of your sunflower drawing look more like the center of a real sunflower.
Step 3 – Next, draw in the start of the petals
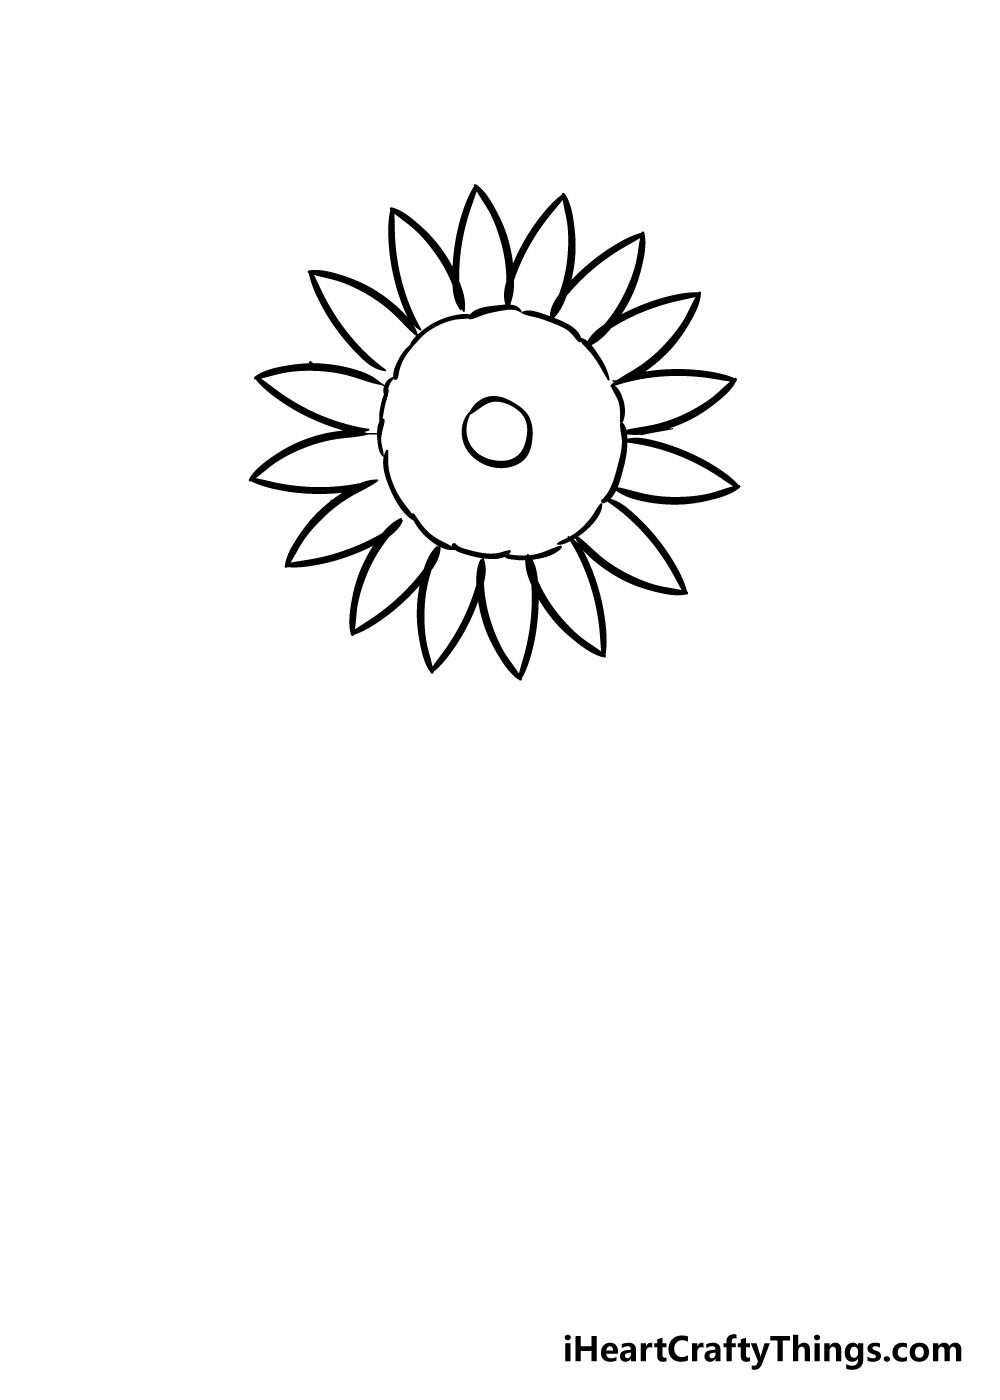
For the third step of your sunflower drawing, you will be starting on the petals.
Using the reference picture as a guide will be very handy here as you draw in some thin triangle shapes along the outer edge of the sunflower center.
You should try your best to make sure they’re all around about the same length and size if you can as you go all around the circle.
Step 4 – Now draw in some more of the petals
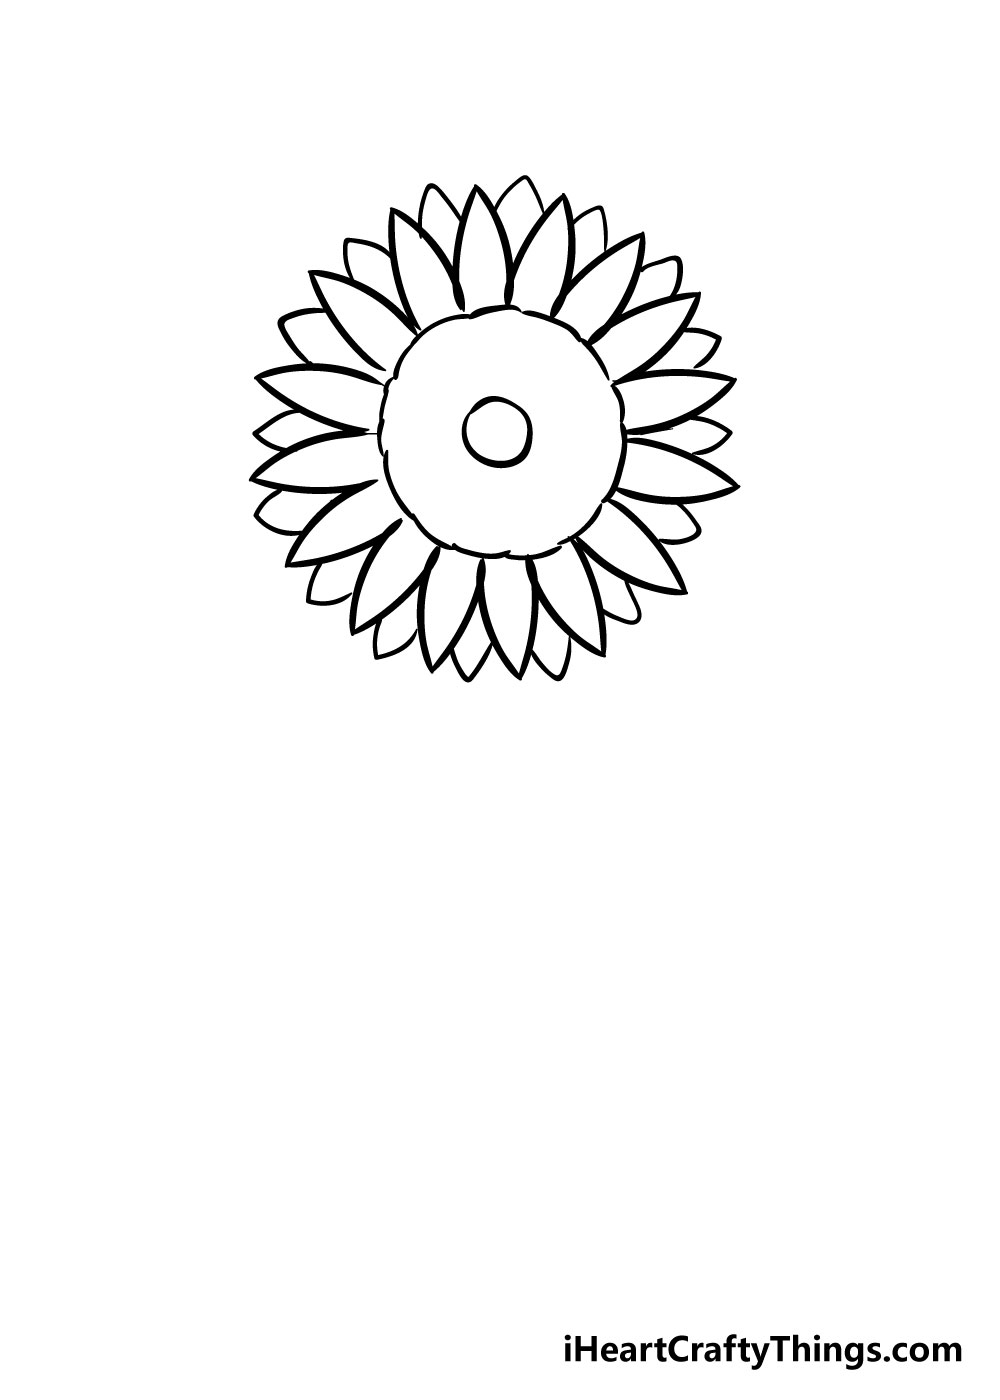
Your sunflower drawing is starting to take shape now! For this next step, simply draw in some sharp points between the gaps of each of the petals we drew in before as you can see in the picture.
This will give the petals more volume and make the sunflower look much fuller.
Step 5 – Next you will be adding detail to the center
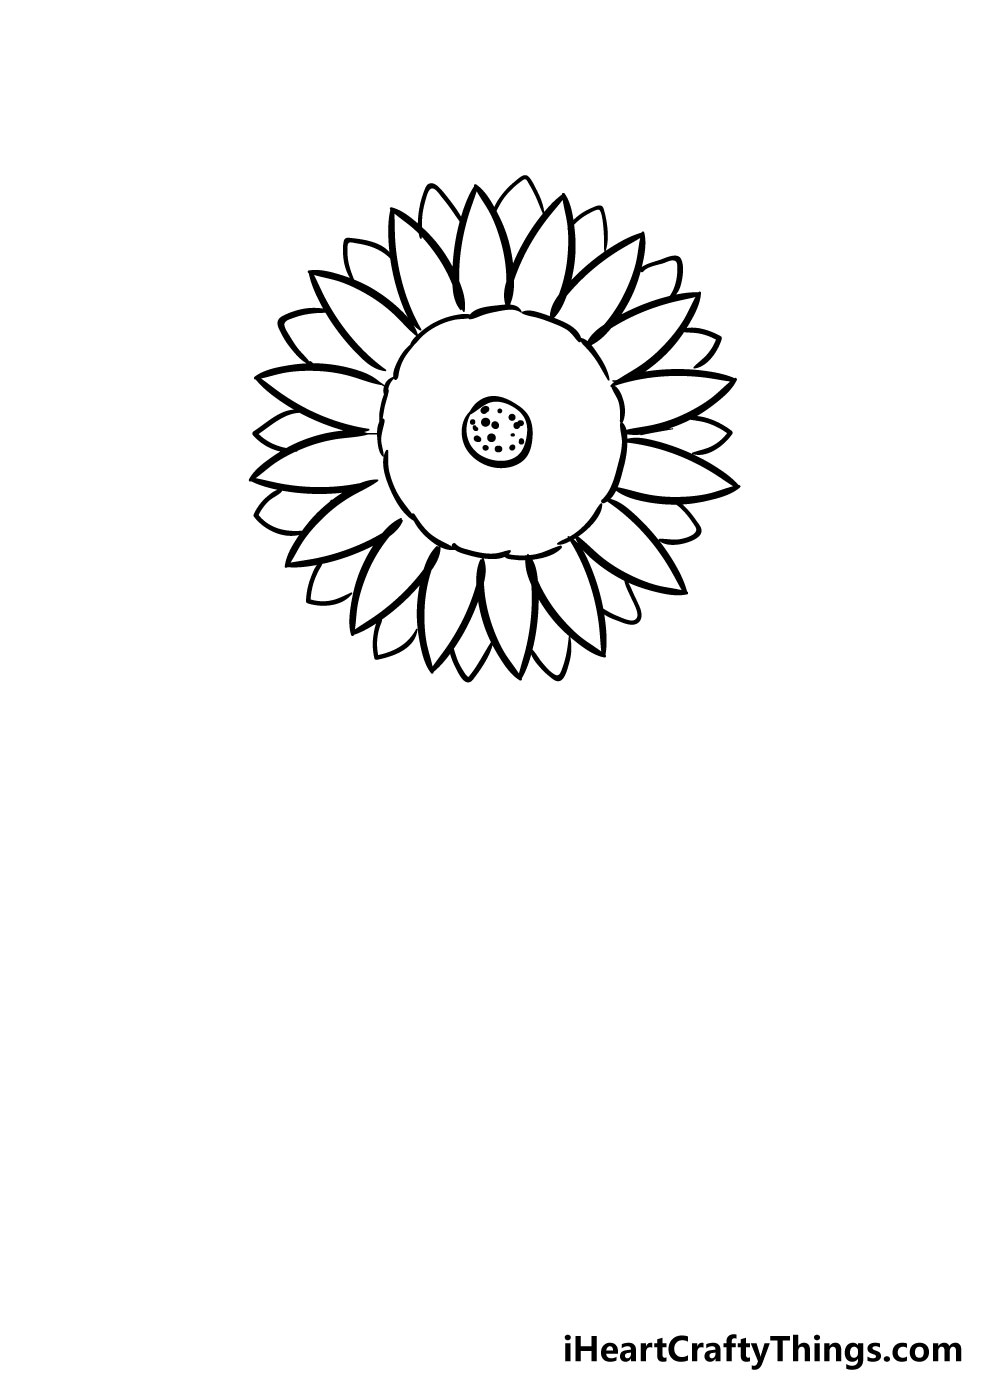
In the next step of this guide on how to draw a sunflower, we will be keeping it simple. For this step, simply add some dots to the inner circle of the sunflower’s center.
This will start to give your sunflower drawing the textured look that you would see in a real sunflower.
Step 6 – Next you will be adding more center details
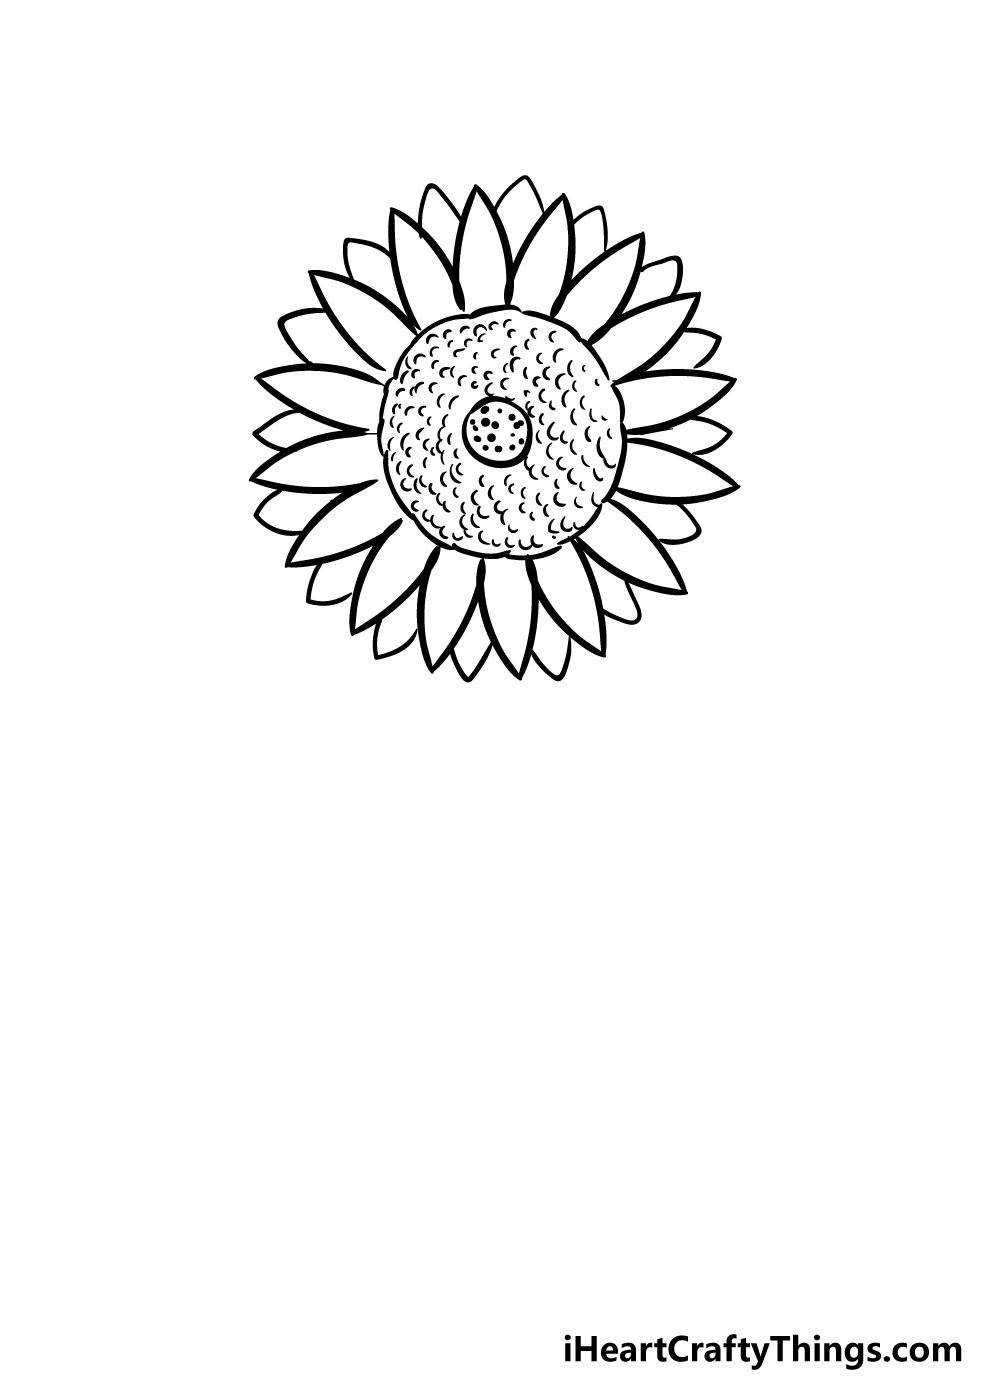
Now that you’ve added in some detail to the center, you can add some nice details to the rest of the flower’s center.
As you can see in the picture, we will be drawing in some curved lines that look a bit like half circles. Try to add a good amount of these little lines into the outer circle to create more great texture!
Step 7 – Now draw in the petal details
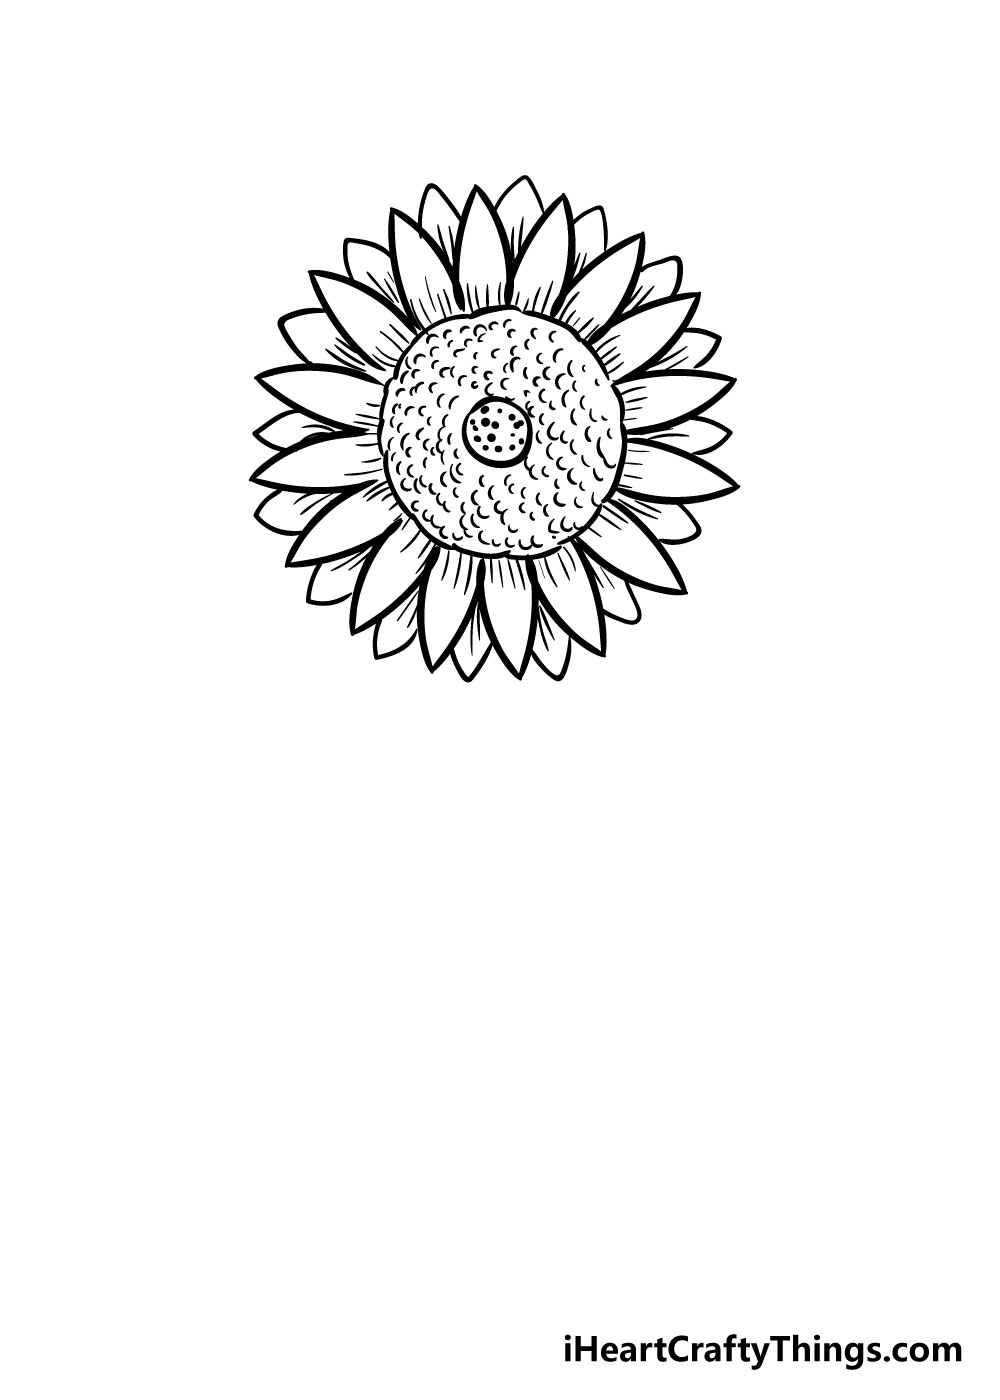
The center of your sunflower drawing is looking great at this point, so now we will be adding in some detail to the petals!
To do this, simply add in some lines on both the inner and outer petals as you can see in the reference image. This will once again add some lovely texture to the look of your sunflower.
Step 8 – Add in the stem of your flower
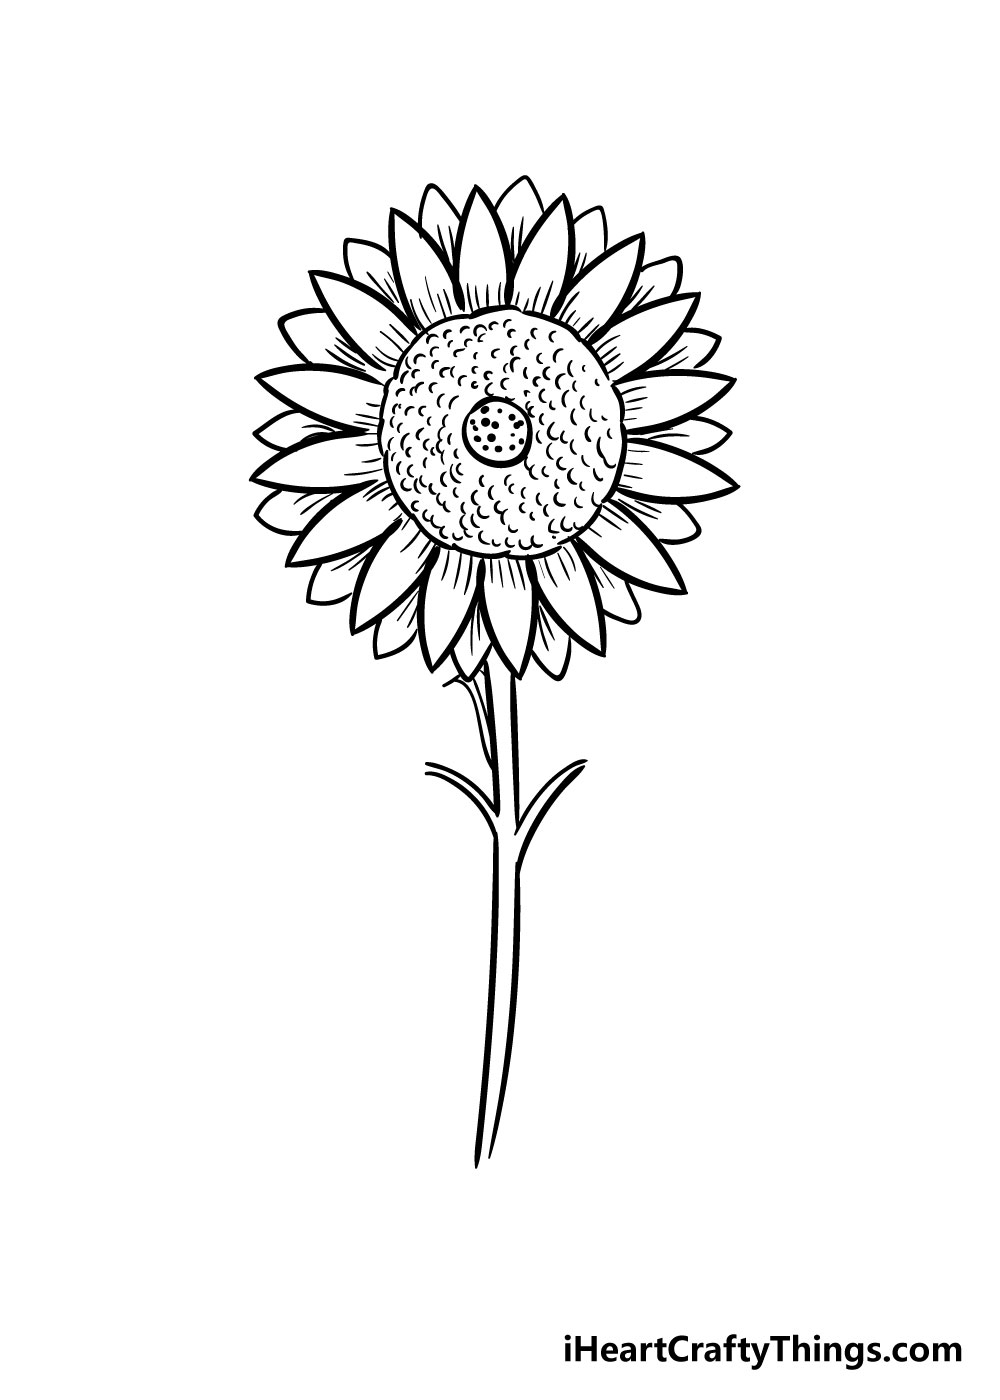
Every sunflower needs a stem, so we will start to add that in this eighth step of this guide on how to draw a sunflower.
I would recommend using a pencil for this step before going over it in pen once you’re happy with it.
To start, draw two slightly curved lines down from the sunflower bottom and make sure that they’re close together.
If you’re drawing in pen, make sure to leave a small gap on each line for leaves to be added. If you’re using a pencil, then simply erase the two gaps before you draw over the lines in pen.
If using a pencil, be sure to let the pen ink you draw over it with dry before erasing the pencil beneath!
Step 9 – Now draw in the leaves
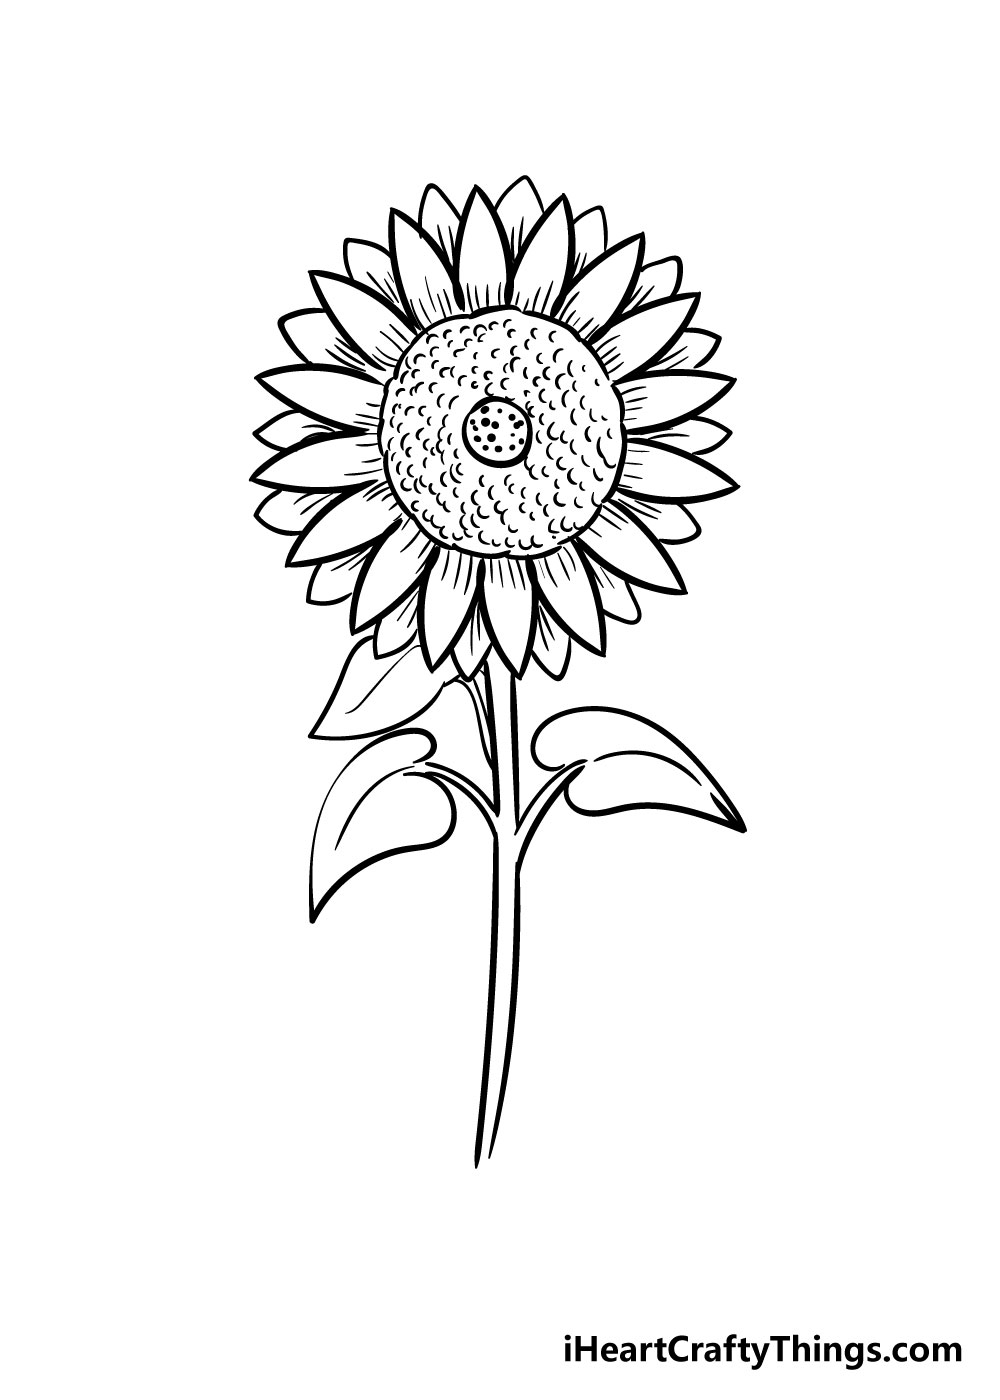
Now that your stem is drawn in, you can add some leaves to your sunflower drawing.
To add these in, you can use a variety of curved and straight lines to replicate the look of the leaves in the reference picture.
Remember that each leaf will have its own thin stem coming out from the main stem of your sunflower drawing.
Step 10 – Now finish it off with some color
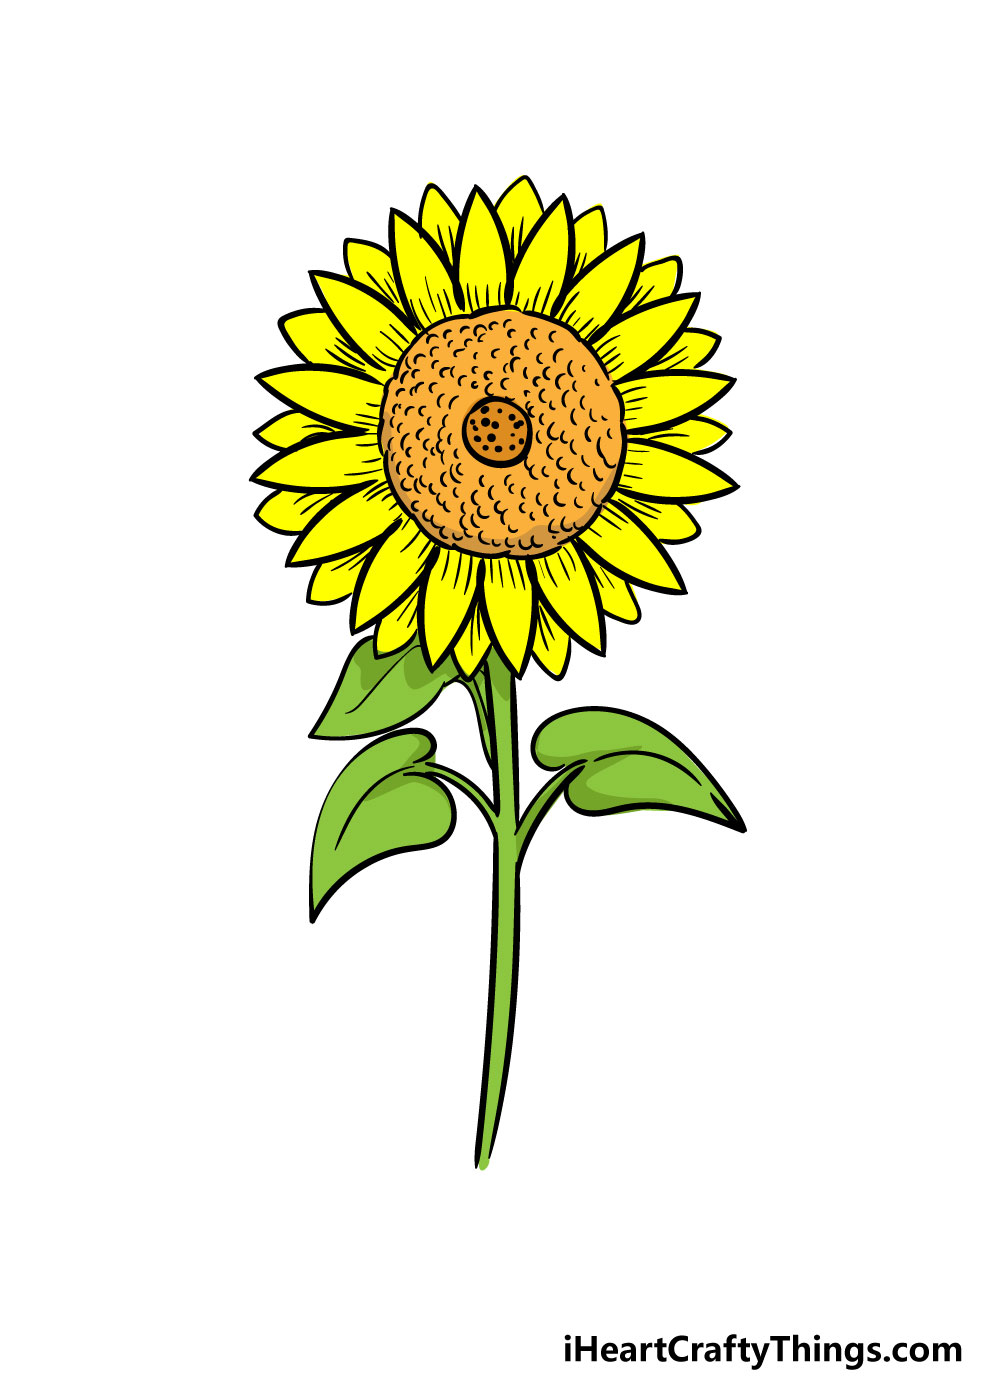
Your sunflower drawing is now complete, and I bet that it’s looking amazing! Your drawing just needs one more thing to be finished, and that’s some beautiful colors!
Sunflowers are known for their bright and striking colors, so this should be a beautiful picture to behold once you’ve added in your colors.
You could use a variety of different mediums to color in your drawing for some amazing color variety.
Incorporating different mediums such as acrylic paints, watercolors, colored pens and pencils can each bring a stunning new color element to your picture.
Because of this, it can be fun to try out lots of new different mediums for an explosion of color. The only limit is your imagination, so we can’t wait to see how you finish off your drawing!
5 Tips To Make Your Sunflower Drawing Even Better!
Create some beautiful floral artwork with these 5 amazing tips for this sunflower sketch!
The design of this sunflower is so gorgeous, but you could add some small details around it to make it feel more alive.
These could be bees buzzing around it or maybe a cute mouse at the base of the flower. Or, you might want to draw a small ladybug on the sunflower to add a touch of warm red to the image. What little creatures would you like to add?
A sunflower field is a beautiful sight, and you could recreate it for this sunflower drawing. Taking what you have learned, you can add as many flowers to the page as possible.
Simply follow the steps again and change some small details to create a beautiful sunflower field! If you’re feeling really patient, you could cover the whole page with sunflowers for a stunning sight.
Creating a field of sunflowers is one idea, but there are many other backgrounds you could create as well. For example, maybe you could leave the sunflower on its own and draw a farmhouse in the background.
You might also want to draw a cartoon character admiring the pretty flower. These are just a few ideas, but what other backgrounds could you create?
Depending on how you want this drawing of a sunflower to look, you have some options for art tools and mediums.
If you want it to match our example, then you could use some colored pens or markers for wonderfully bright colors. For a more muted approach, watercolor paints and colored pencils would be your best bet!
Another way to present this sunflower would be to remove the stem and incorporate the flower onto something else.
For example, maybe the flower could be stuck to the band of a hat for a lovely accessory! Or maybe it could be shrunk down to look like a pin clipped to someone’s jacket.
There are so many creative ways that you can present this beautiful flower!
Your Sunflower Drawing is Complete!
We really hope that this step-by-step guide on how to draw a sunflower in 10 easy steps was helpful and fun for you to use!
When you first wanted to learn how to draw a sunflower, it probably seemed like quite an intimidating task!
We hope this guide helped to show you that when you break it down into lots of easy steps it doesn’t have to be hard at all!
Once you’ve finished and colored in your wonderful sunflower drawings, we hope you’ll share them on our Facebook and Pinterest pages for us to admire!
We always love to see your artistic creativity and can’t wait to see some amazing sunflower drawings.