


On this page, you will find 48 Peppa Pig coloring pages that are completely free to print and download.
The animated children’s television show Peppa Pig originally came from the United Kingdom, but it has become popular worldwide. The series follows Peppa and her friends and family as they go about their everyday activities. The world of Peppa Pig has expanded to include toys, books, games, and more.
Peppa Pig’s many friends and family members make great subjects for Peppa Pig coloring pages. They include her mother and father and little brother George, as well as her friends like Suzy Sheep and Rebecca Rabbit.
The popularity of Peppa Pig has translated into a huge demand from our readers for Peppa Pig coloring pages that you can print for free. So at long last, here are all new fun Peppa Pig coloring pages for you to print and color for free. Have fun!
48 Peppa Pig Coloring Pages – Free Printable Sheets
Peppa Pig lives in a little house on a hill with her Mummy and Daddy and little brother George.
Here Peppa Pig is standing outside of her house on a snowy day. She is all bundled up in a hat, scarf, coat, and boots to enjoy the beautiful snow outside.
In this printable, Peppa sits outside on Mummy Pig’s lap on a hilltop. It looks like the two have gone stargazing.
They are probably looking for constellations like The Big Dipper and Orion. Do you ever see constellations in the stars?
Peppa Pig and George sleep in a bunk bed in their room.
You can see in this coloring sheet that Peppa gets the top bunk and George gets the bottom. Peppa is sleeping with her teddy bear and George has Mr. Dinosaur. 
This Peppa Pig coloring sheet shows that Peppa is far from the only character that we love from the show!
This page shows Peppa’s friend Suzy Sheep, and you can probably guess what kind of animal she is even if you have never seen the show.
This image of Suzy is drawn in a really simple and fun style as if she has drawn herself.
She is also joined by a really cool toy dinosaur, and this detail gives you a great chance to use some bright colors. How will you color Suzy and her dino pal?
These Peppa Pig coloring pages feature more than just Peppa. Here we can see Peppa’s friends at school.
There’s Pedro Pony, Rebecca Rabbit, and Danny Dog. They sit around their table by the windows coloring pictures just like you are! 
Sometimes Peppa and her family go for a drive, like in this printable sheet for kids. Daddy Pig drives the car and Mummy Pig sits next to him, while Peppa and George sit in the back seat.
Where do you think Peppa and her family are going? 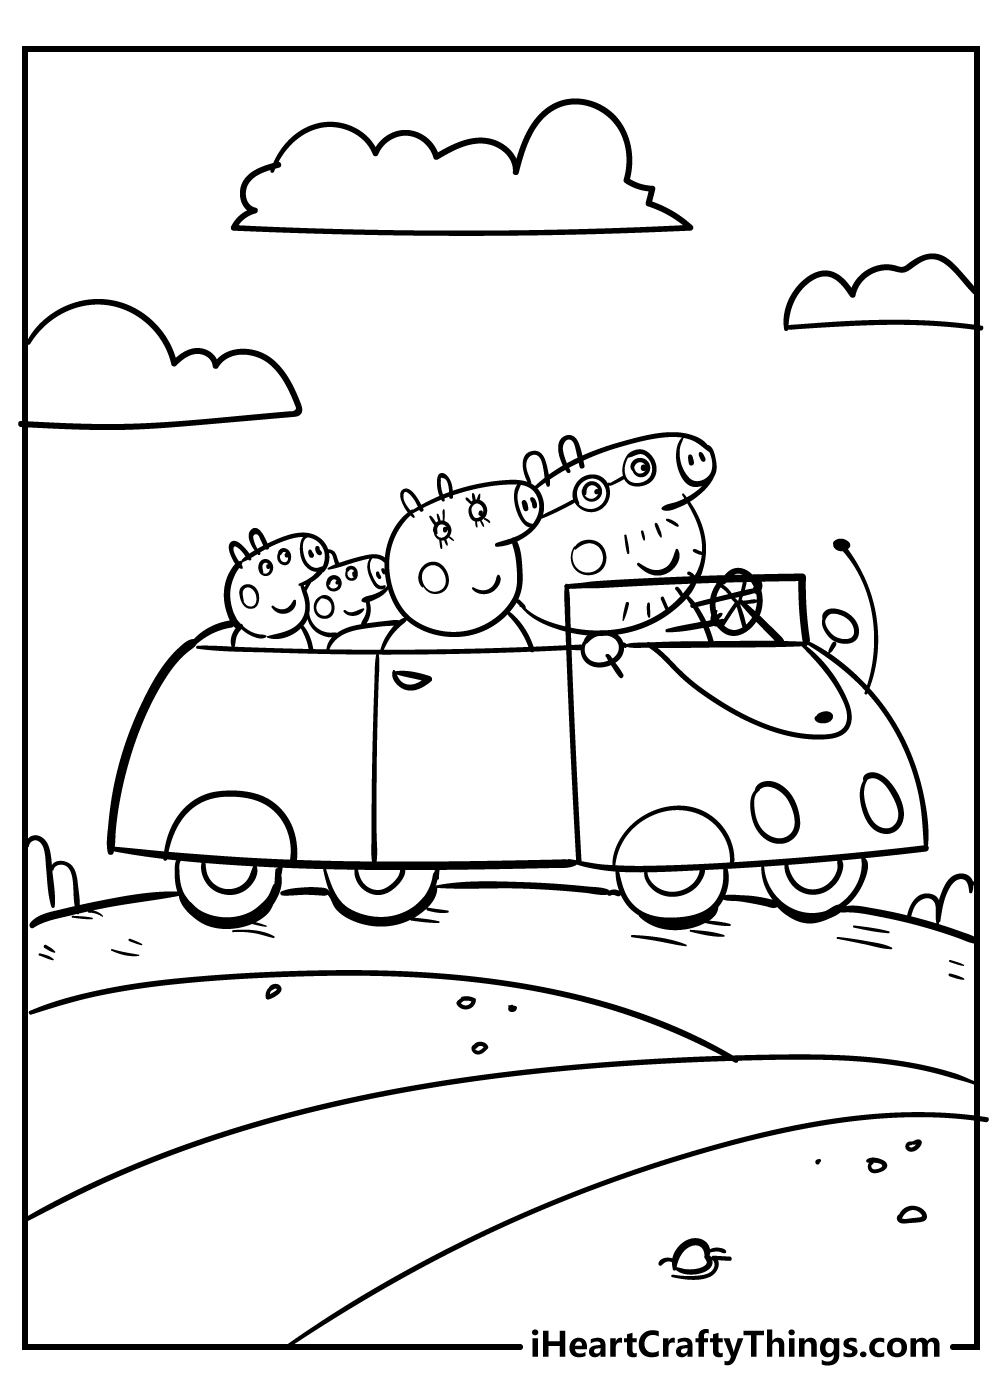
We have another character from the show for you to color on this next page! This time, we have Mr. Fox who is the father of Peppa’s friend Freddy Fox.
Much as a real fox would, Mr. Fox has orange fur, and he also wears a dark red shirt.
You could color him to look as he does in the show, but you could also create a brand new look for him if you prefer!
Once you have colored him in, you could also draw a nice background setting behind him to finish off this page.
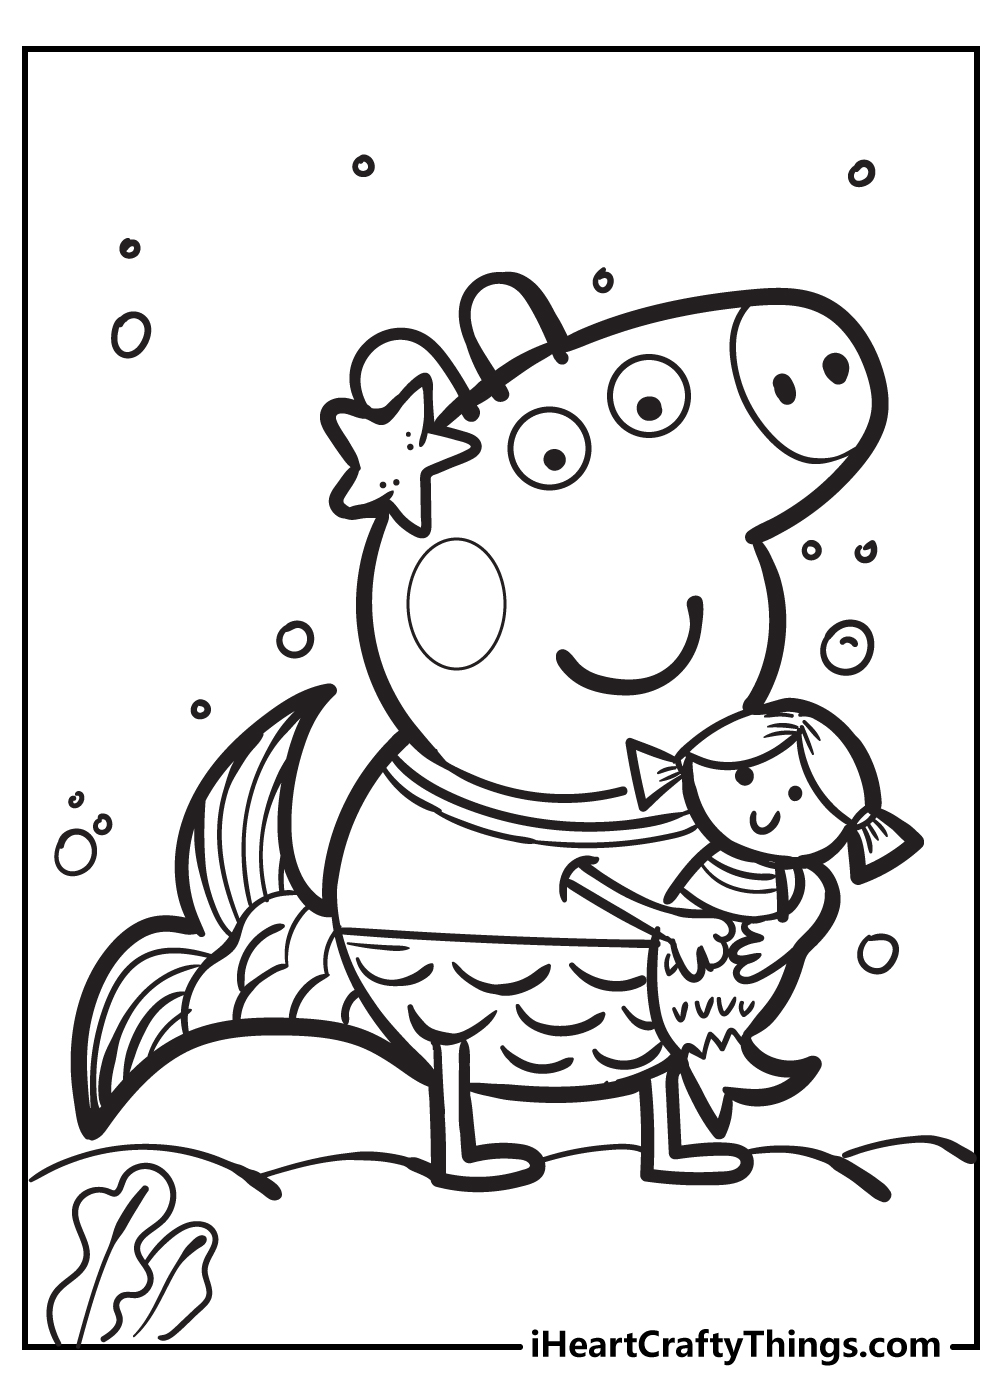
We love the imagination in these Peppa Pig coloring pages. In this printable, Peppa is dressed as a mermaid.
She wears a starfish behind her ear and a mermaid tail and she even holds a little toy mermaid in her hands. It looks like Peppa might be underwater.
In this coloring sheet, it looks like Peppa and George just had their dentist appointment with Doctor Elephant. It must have gone pretty well!
Peppa carries her trusty stuffed animal Teddy with her. Did you know that Doctor Elephant is the father of Peppa’s friend Emily Elephant? 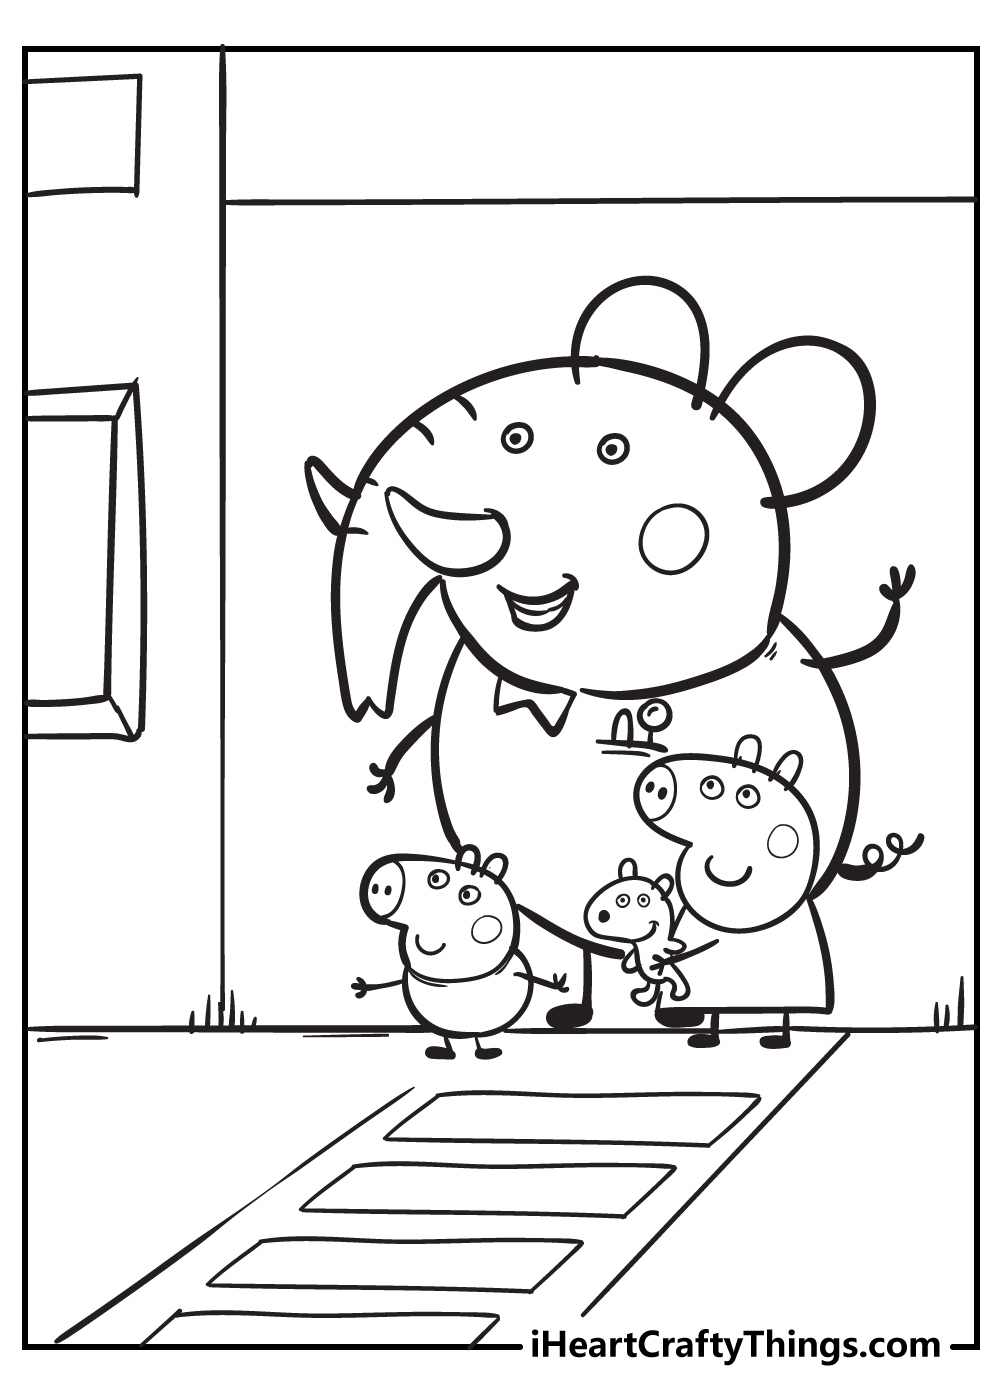
It’s time to skate into some coloring fun, as Peppa has taken to the ice in this charming picture!
Peppa loves taking part in fun activities, and she seems to be having a great time as she gracefully glides across the ice.
When coloring this page, you have details such as her hat and scarf to color as you finish off her Winter look.
We would use some cooler colors done with some watercolors for this one, as that would finish off the icy feeling of this setting. What mediums and colors will you choose to use?
Peppa gets up to all kinds of adventures! Just look at this free printable sheet of her riding a pony under stars and a rainbow. She holds a little flag in her hands.
Remember that all of these Peppa Pig coloring pages are completely free to print, so feel free to print and color as many as you want. 
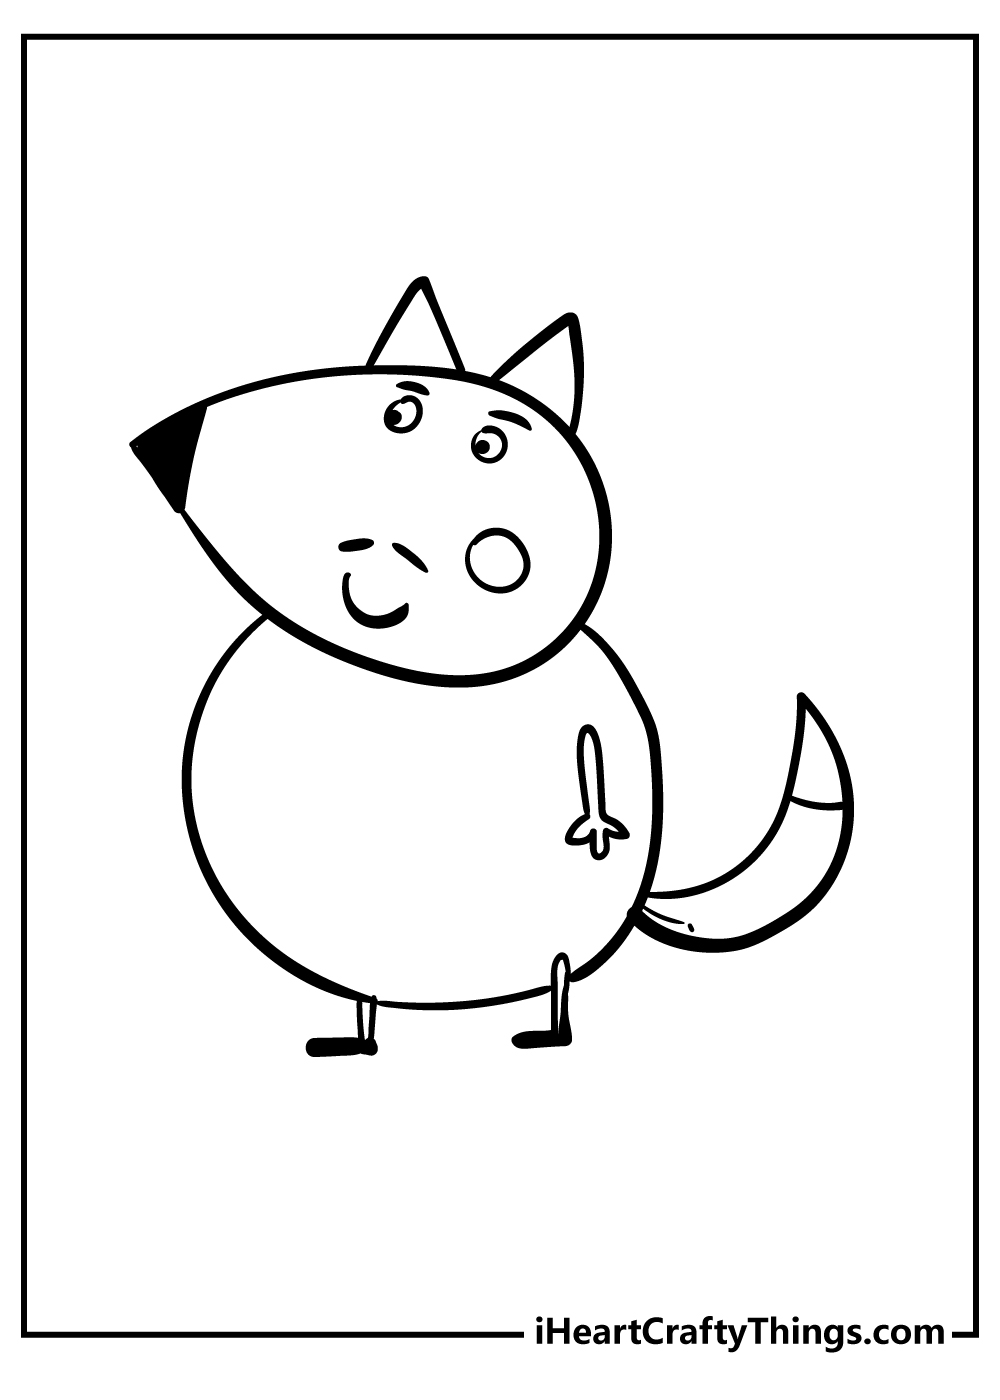
We mentioned Freddy fox earlier in this collection of free Peppa Pig coloring pages for kids, and now he is starring in his very own page!
Freddy has a very similar color scheme to his old man, which means orange for his fur with a dark red shirt.
One difference he does have is that he has a pink spot on his cheek, and that has already been drawn onto his face for you.
If you have a favorite Freddy moment, you could draw a scene around him to show off what this moment involved.
Peppa has so many friends, and they are all different animals. This coloring page shows Peppa and her many friends: Suzy Sheep, Pedro Pony, Danny Dog, Candy Cat, and Zoe Zebra.
What a fun group!
It looks like it’s Peppa’s birthday in this coloring page. She holds a balloon and wears a party hat on her head.
It looks like streamers and confetti are coming down from the sky. Did you know that Peppa’s birthday is June 23?
The lovable Pedro Pony is another of Peppa’s group of friends, and he is on this next page as well.
As his name suggests, Pedro is a pony, and he has certain attributes such as spots and a horse’s tail.
For his color scheme, he normally has light brown fur with even lighter browns for his spots.
He is also usually seen wearing a bright yellow shirt, so you could use this color for a bright touch to this picture.
For an extra fun set of details, you could draw some kind of design on his shirt! What kind of design do you think Pedro Pony would like to wear?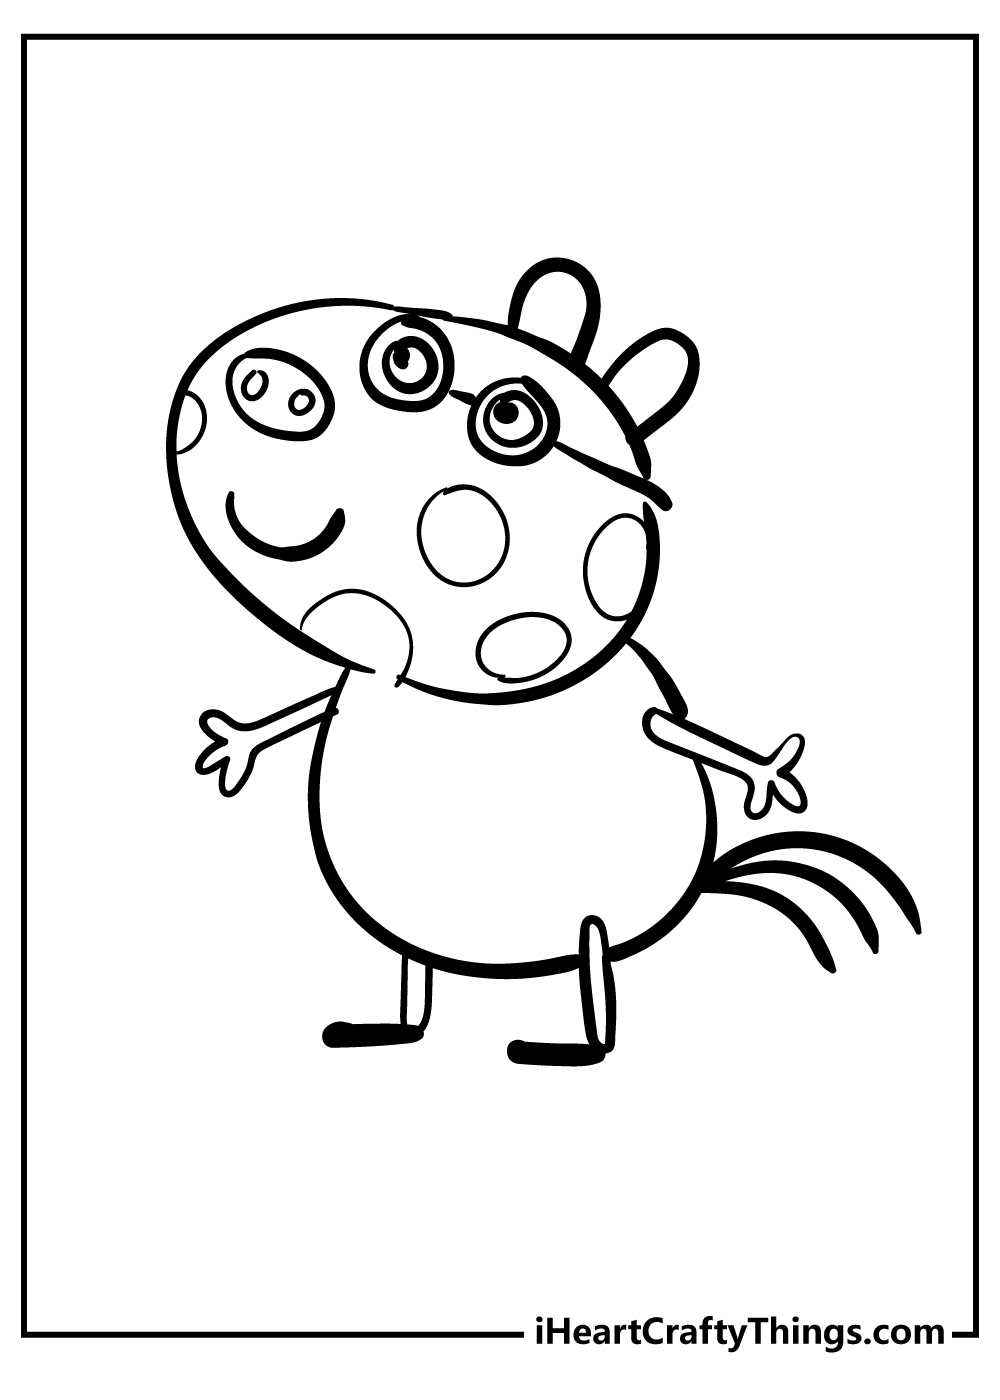
Peppa Pig goes pretty much everywhere with her stuffed animal named Teddy. Although she sometimes loses him, Peppa loves Teddy very much.
In this coloring sheet, she takes him for a walk past some big apple trees on a nice sunny day. 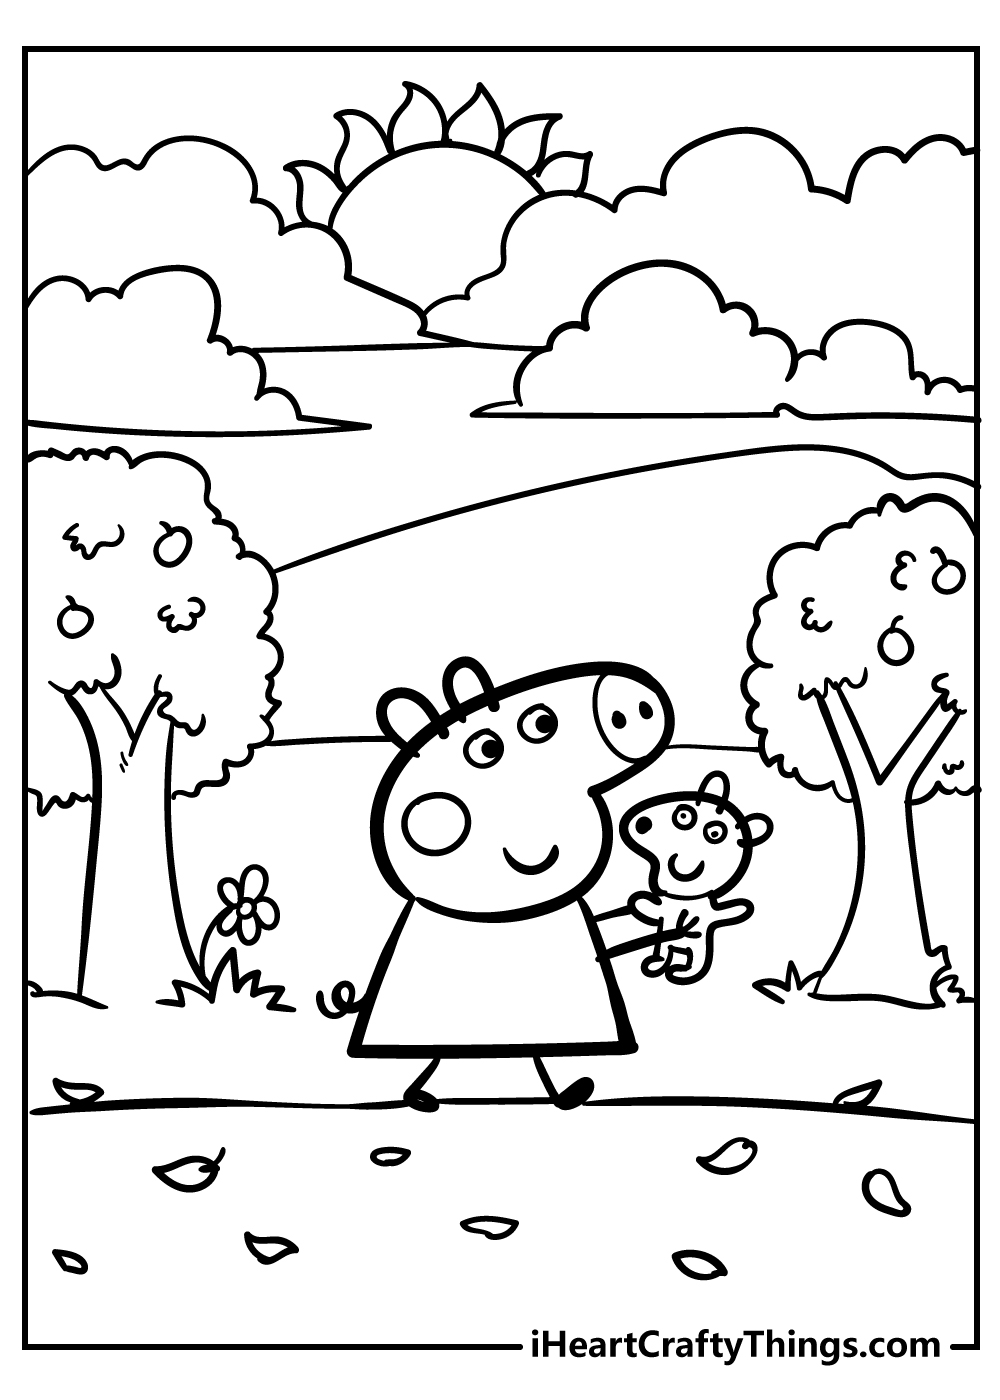
Suzy Sheep is back for another starring role on one of these pages! This time, she is holding a little owl stuffed animal, and she seems to be very fond of this toy.
It also makes for a fun extra detail for you to add some color to!
This scene suggests that she could be playing with toys in her bedroom, so maybe you could draw a bedroom setting around her and surround her with some other toys.
What other kinds of stuffed animals do you think Suzy would like to have? You can show us by drawing them around her!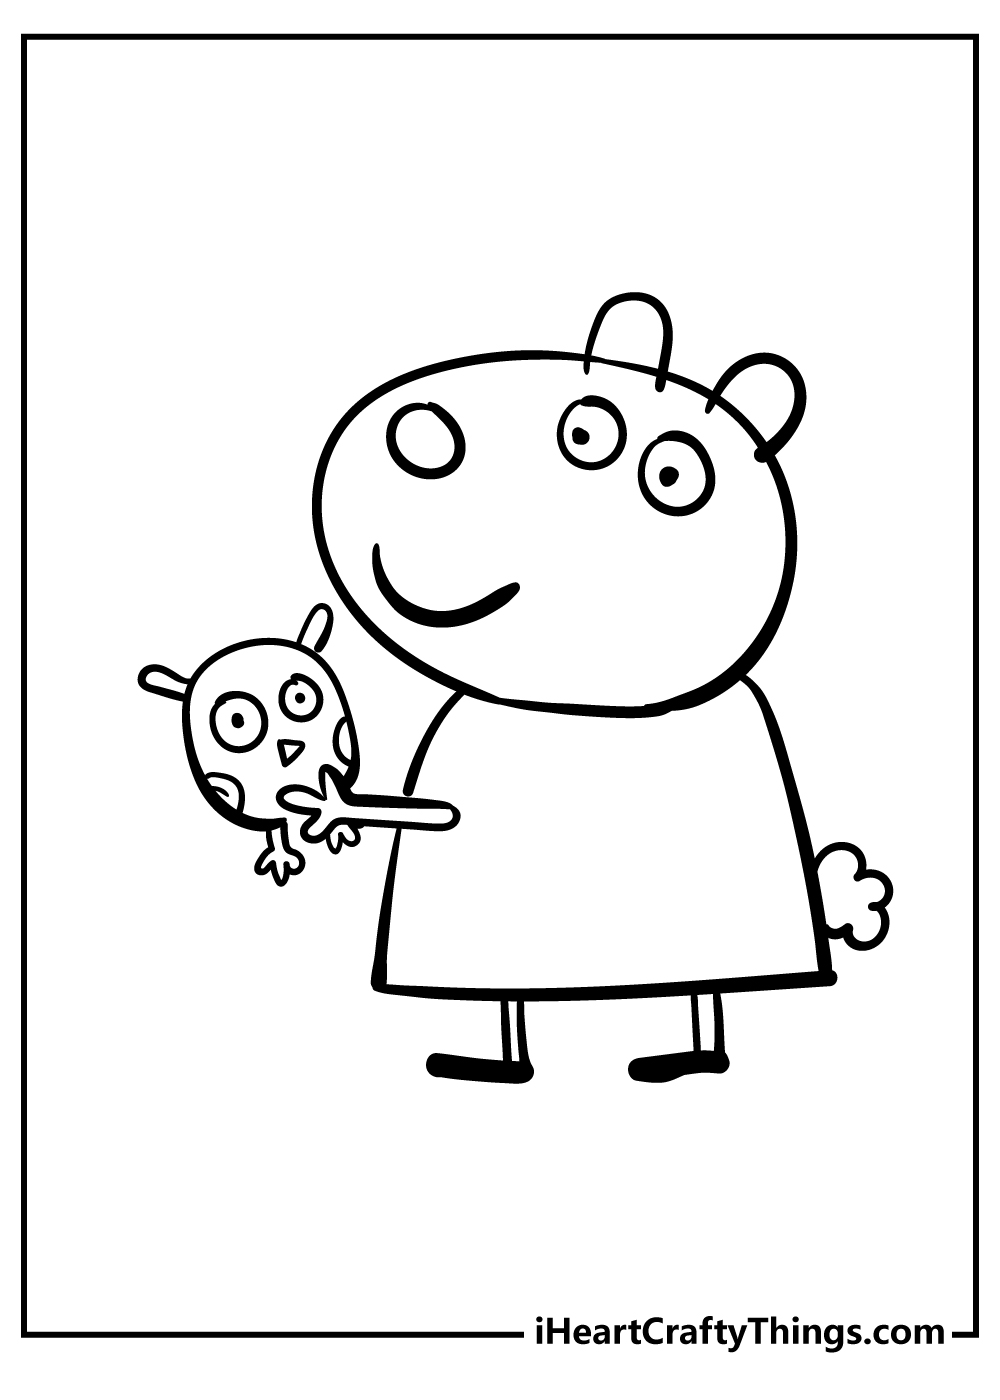
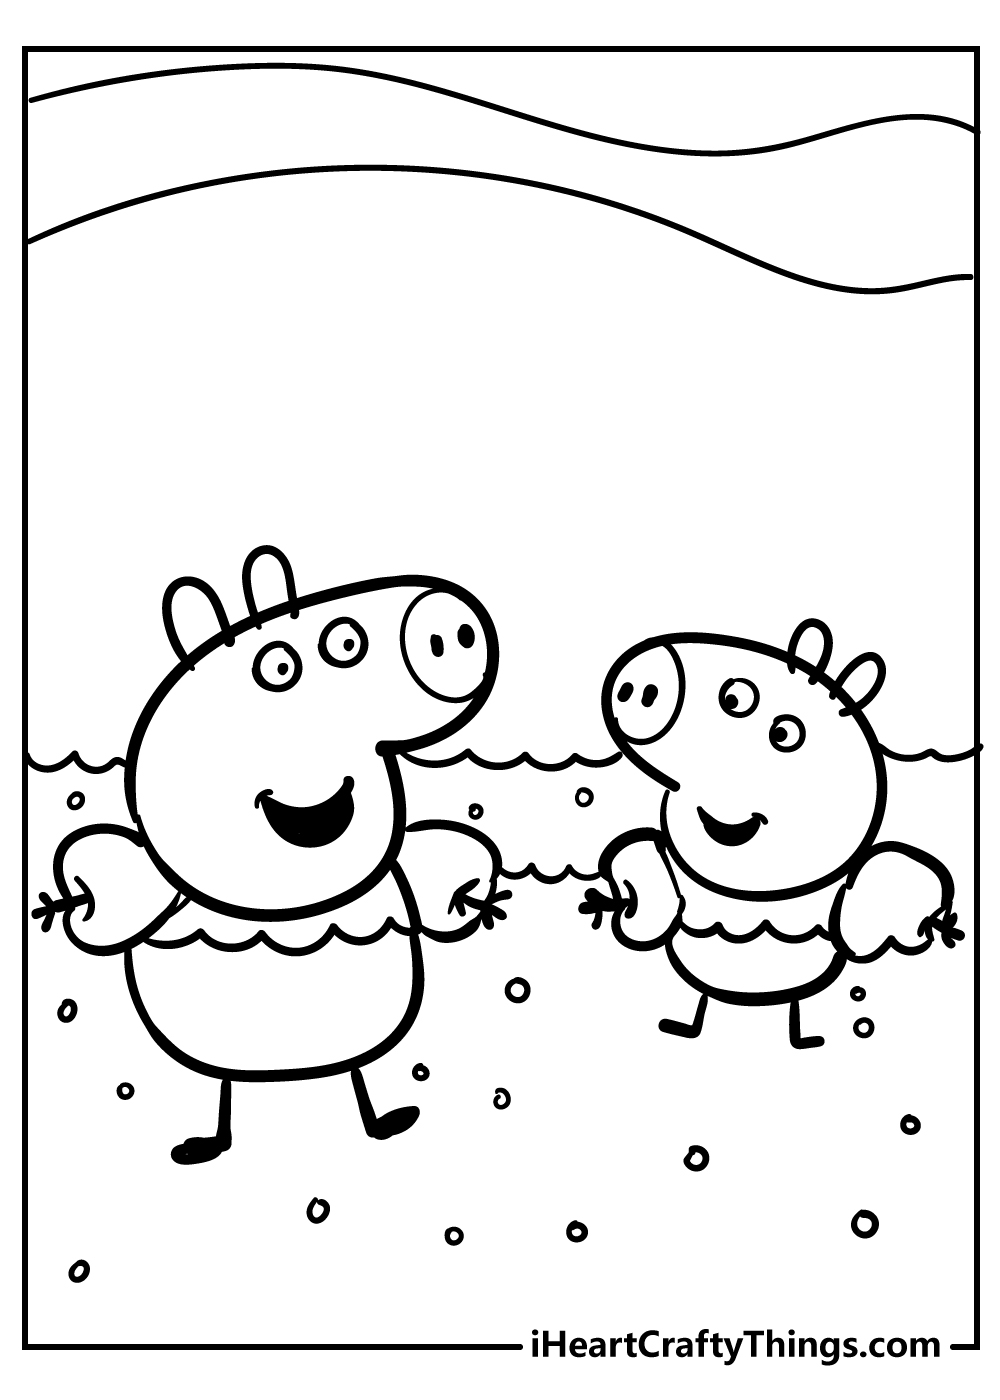
These printables show Peppa and George having all kinds of fun. Today they are going swimming!
They wear their swimming costumes and floaties for safety and seem to be having a great time splashing around in the water.
Maybe this time it is George’s birthday! He and Peppa look ready to celebrate. He holds a striped balloon and Peppa has one with polka dots.
They both wear party hats and Mr. Dinasaur has even come to join the fun. 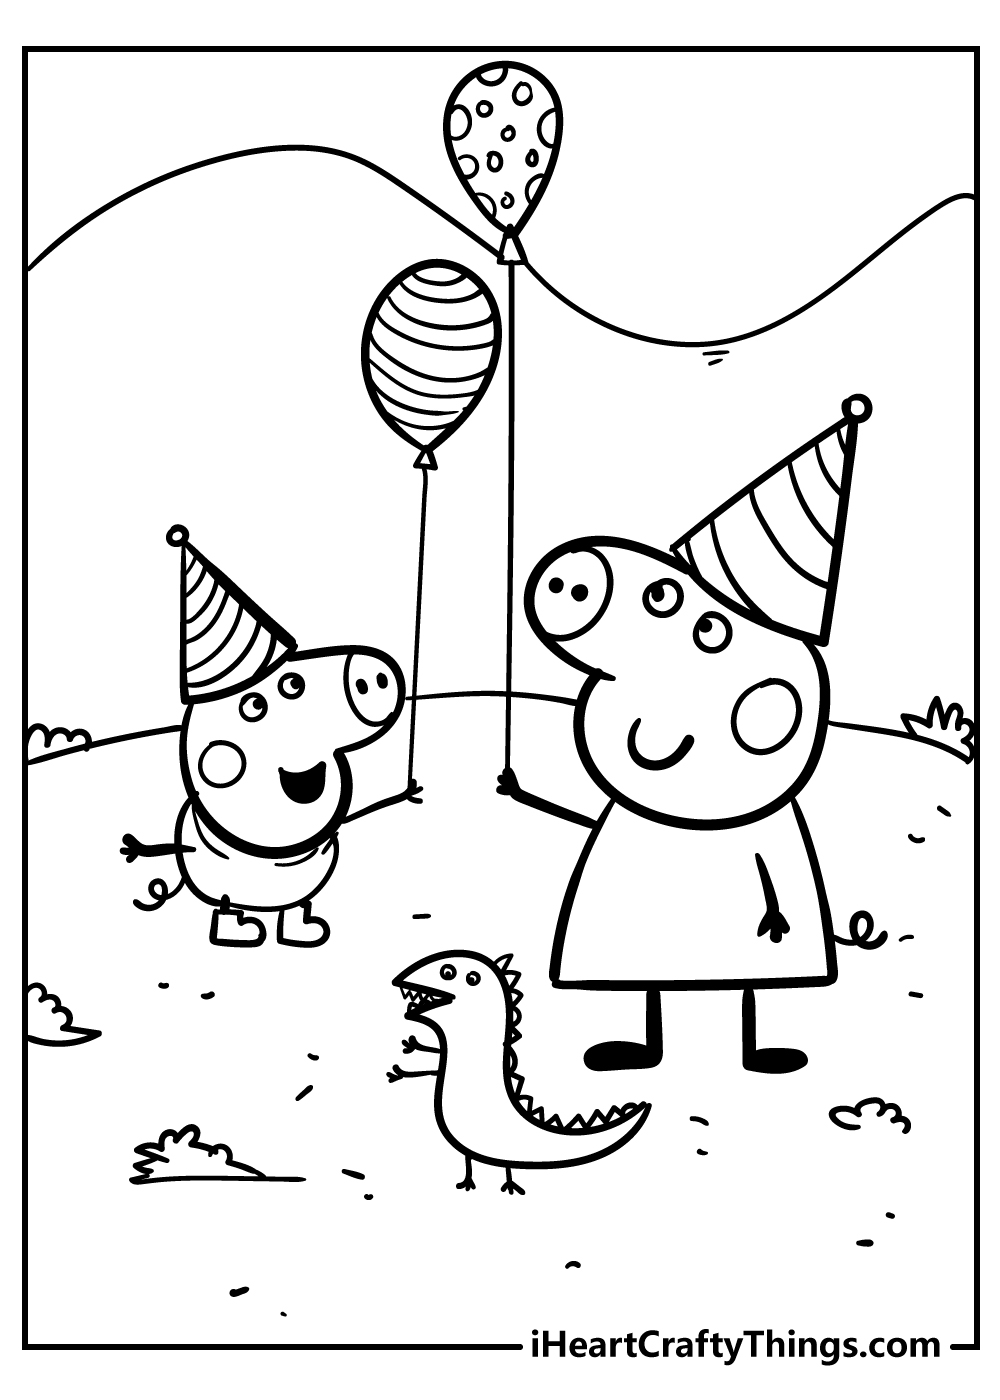
George Pig is Peppa’s little brother, and he is having a great time in this Peppa Pig coloring printable!
He is jumping in some kind of puddle, and you have a few ways you could color in this puddle. For example, if you wanted it to be a rainy water puddle then you could use some blues.
That would be a great excuse to draw some rainy weather in the background! Another option would be to use some browns to make the puddle look nice and muddy.
You could also put some brown on him if this is the approach you decide to go for!
Our coloring page designers really seem to love creating Peppa Pig printable sheets featuring Peppa and George’s favorite toys.
Peppa and George have had Teddy and Mr. Dinosaur since they were very small, and you can tell in this coloring page that they love them very much.
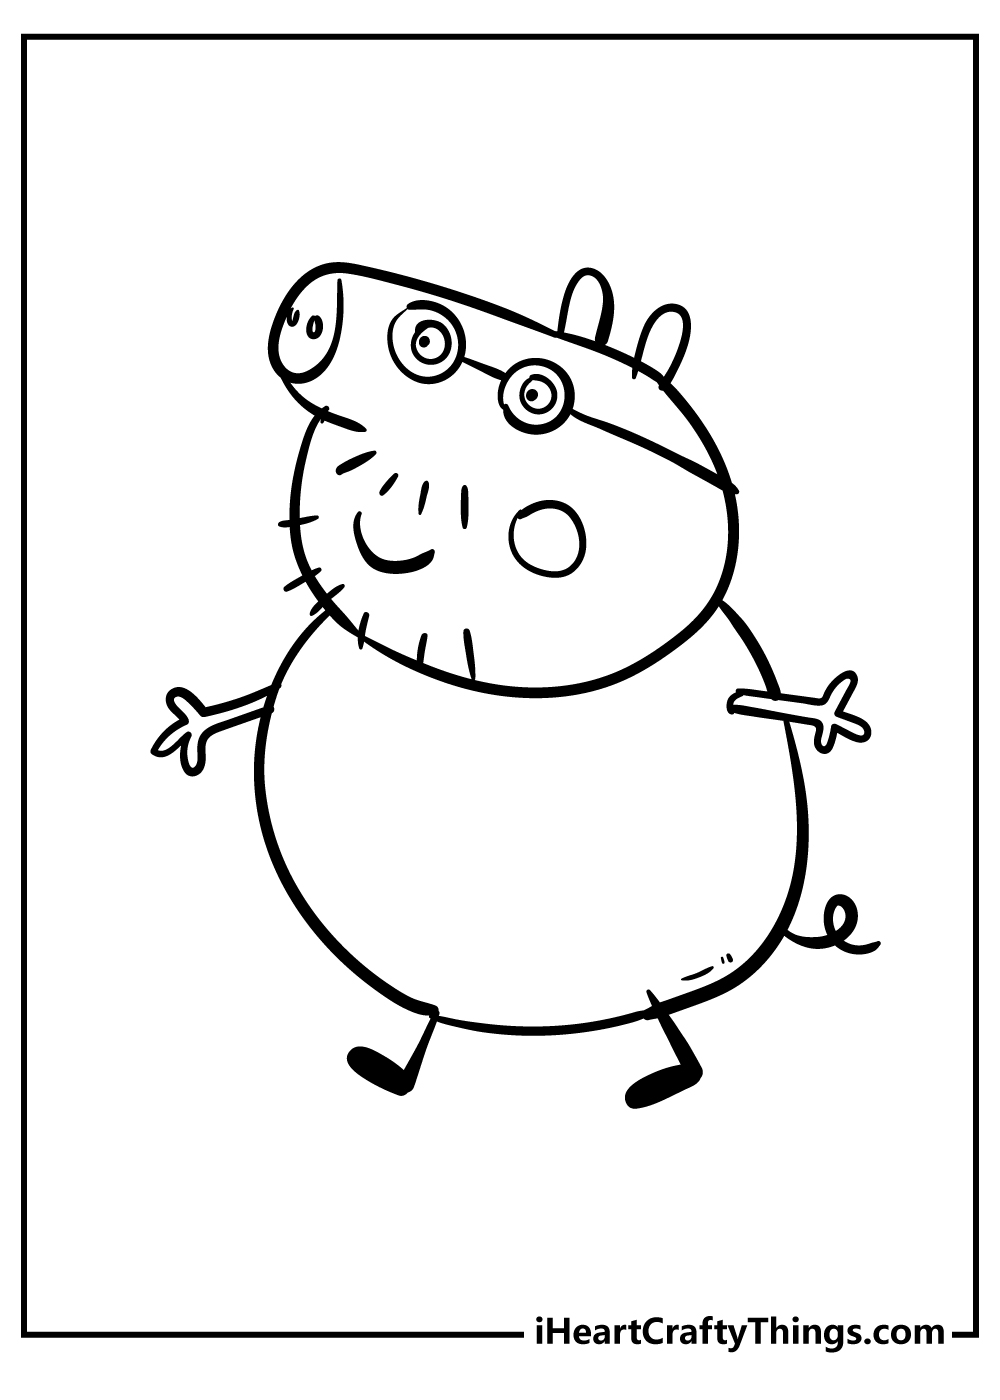
We have another member of the Pig family featured on this page. This time, it is Peppa’s father, Daddy Pig.
Much like Peppa and her brother, Daddy Pig’s skin is colored with various shades of pink. Then, he has some brown lines on his face for his beard, and he is usually seen wearing a light blue shirt.
These are the colors to go for if you want him to look accurate to how he does in the show, but you could also try out some other colors if you prefer.
Everyone needs a treat sometimes, and an ice cream cone is perfect for a hot summer day. Peppa seems to really love her treat as we can see in this coloring page.
She eats a huge ice cone with three scoops and gets ice cream all over her face. 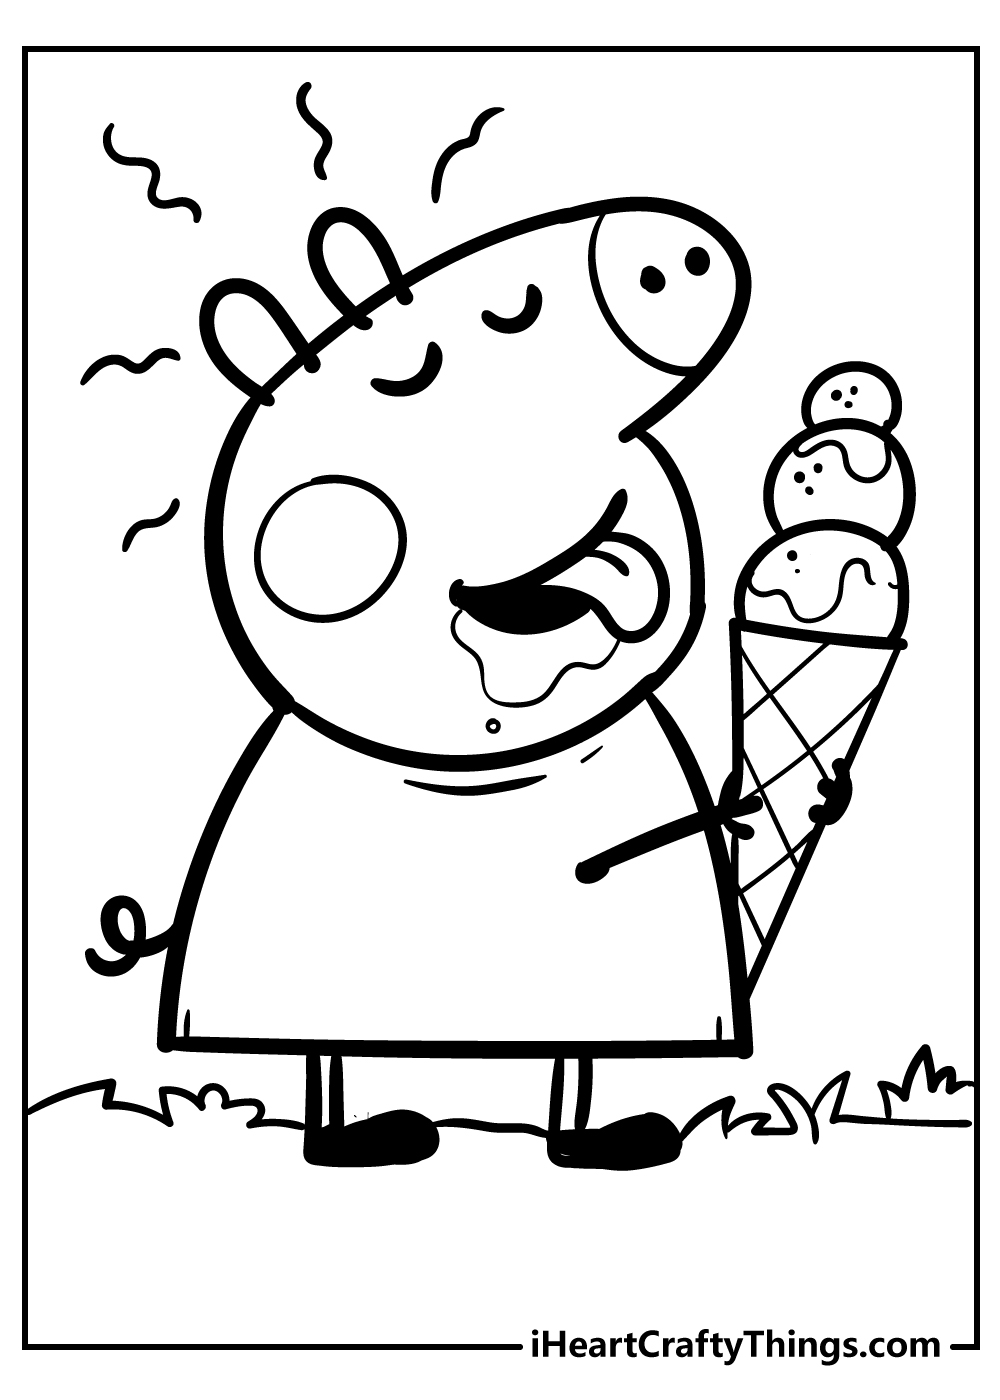
It might be time for Peppa to celebrate one of her friend’s birthdays in this Peppa Pig printable. She carries an enormous gift that is almost as big as her.
She must be giving the present to someone very special. Whose birthday do you think it is this time? 
Our next page features Zoe Zebra who is, you guessed it, a zebra! In real life, zebras have a distinctive look of black and white stripes, and the same is true for Zoe here.
In this image, her stripes have yet to be added, so you get to do that yourself!
You could use a pencil to draw the stripe outlines, and then you could use some black done with the medium of your choice in between these lines.
You could print out a few copies to practice on if you find it too challenging. You’ll get the hang of it!
Peppa’s best friend is Suzy Sheep! The two have played together since they were very little and Suzy is always coming to Peppa’s house to play.
This coloring sheet shows them holding hands and playing outside in their rain boots.
On nice sunny days, Peppa loves to play outside on her scooter. In this coloring page, she has spotted a pretty butterfly while she rides around.
George has a little scooter as well. Perhaps he will join his sister soon. 
Next, we have Granny Pig on this next Peppa Pig coloring page. Granny looks very similar to Mummy Pig, but she looks a bit different in that she has fewer eyelashes on her eyes.
Because they look so similar, you could draw these extra lines if you would like this to be that character instead!
Mummy Pig has an orange shirt whereas Granny has a pink one, so that is worth keeping in mind once you’ve chosen the character.
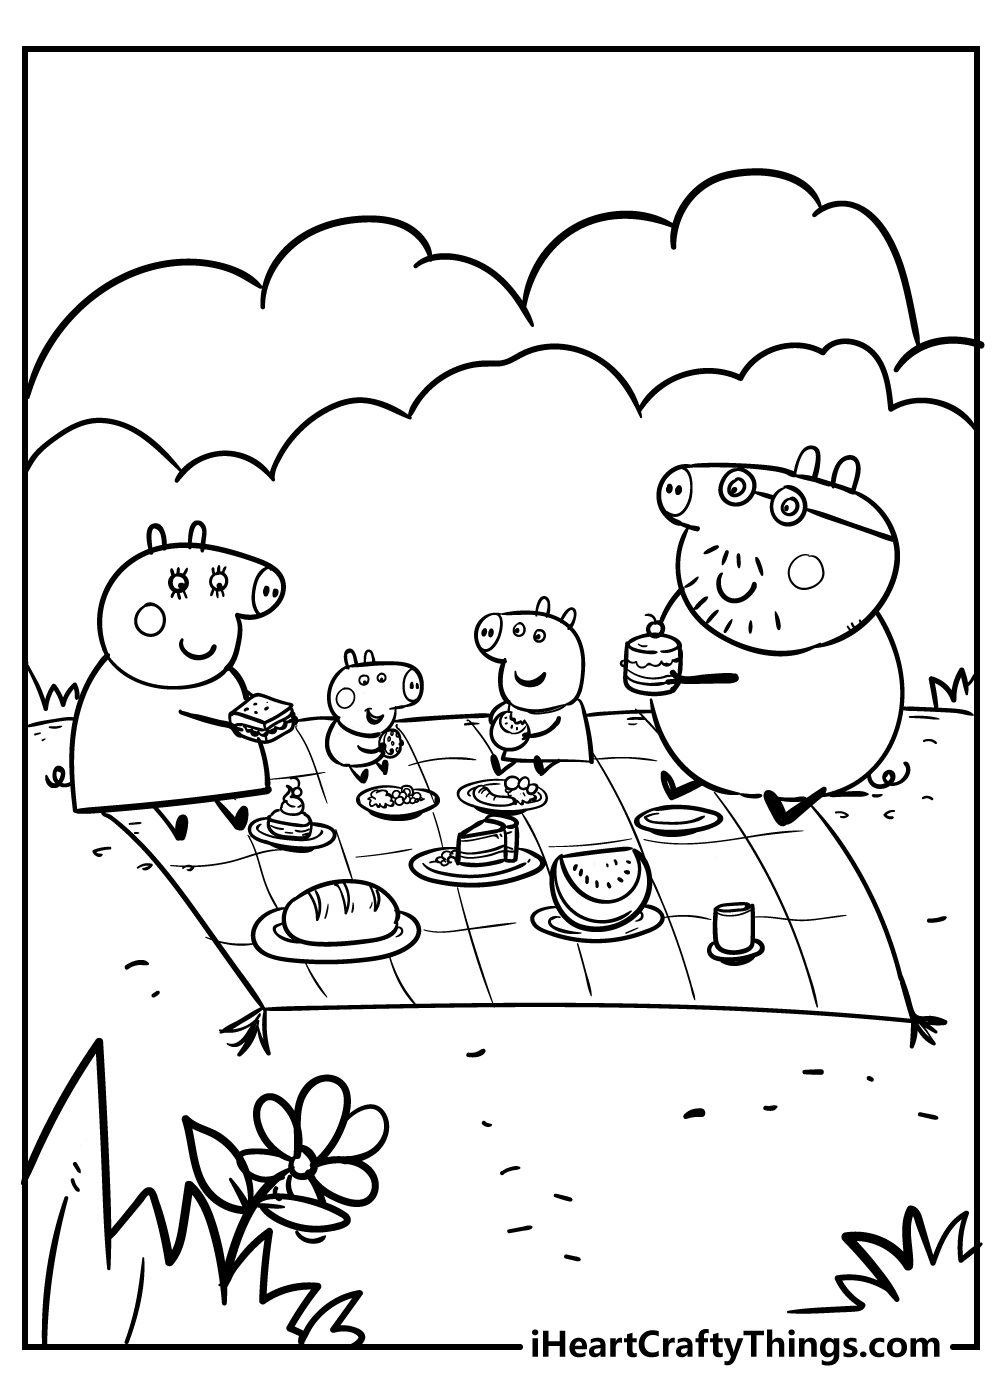
It’s a perfect day for Peppa and her family to have a picnic. This coloring page shows them sitting on a blanket under the clouds, enjoying a feast.
They enjoy bread, cakes, sandwiches, and watermelon next to a bunch of flowers. Daddy Pig even has his favorite food, which is chocolate cake.
Peppa and George don’t seem to mind the rain at all in this coloring sheet. In fact, it looks like they are enjoying it.
They have on their raincoats to keep them dry, and Peppa even wears a rain hat on her head. 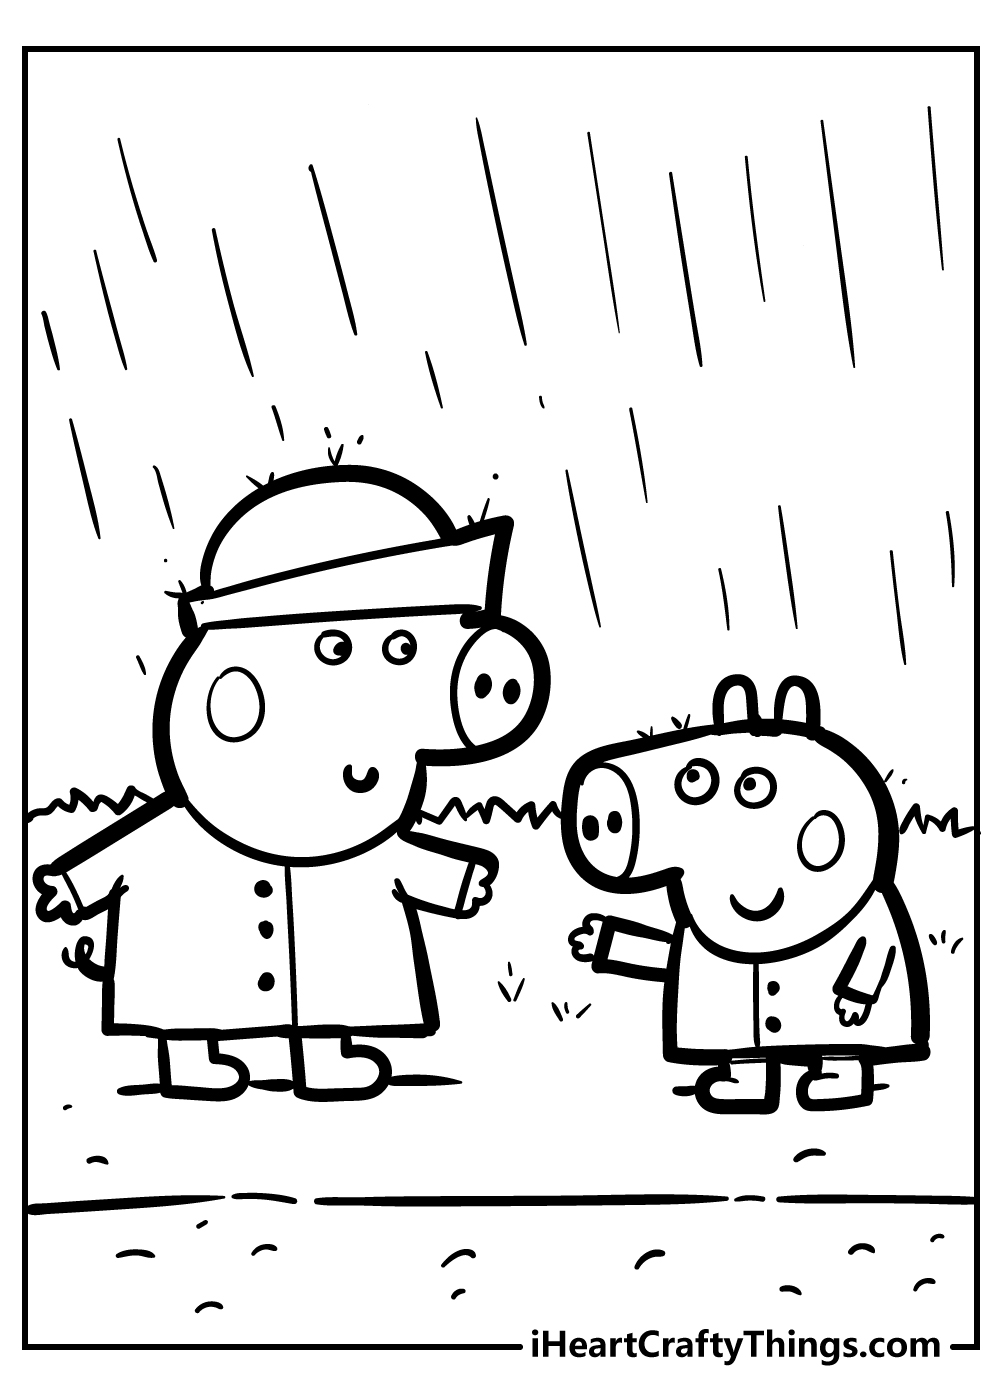
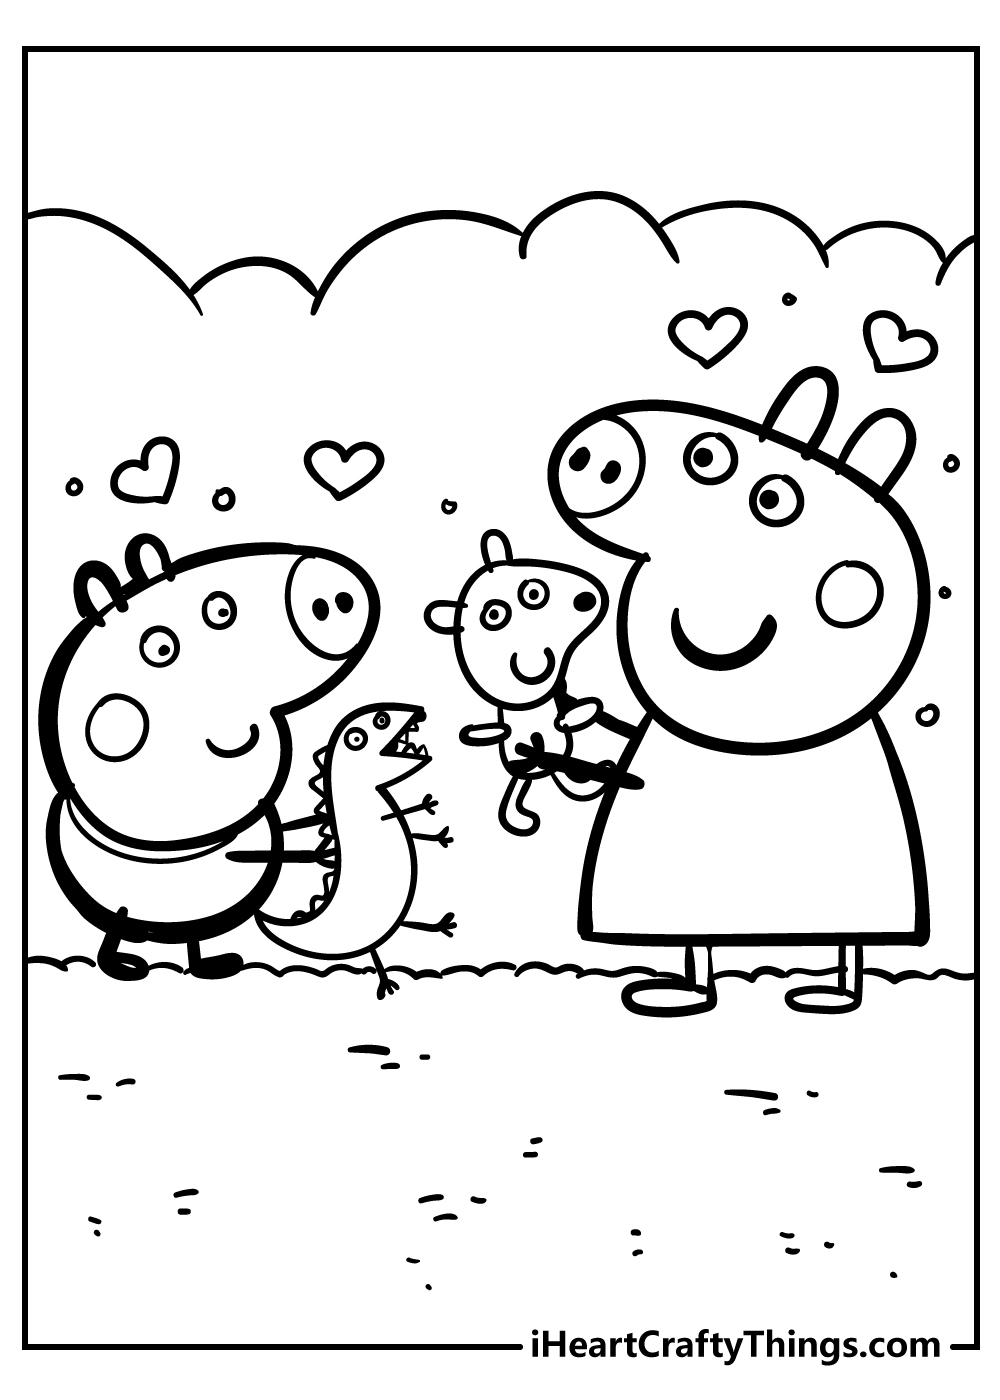
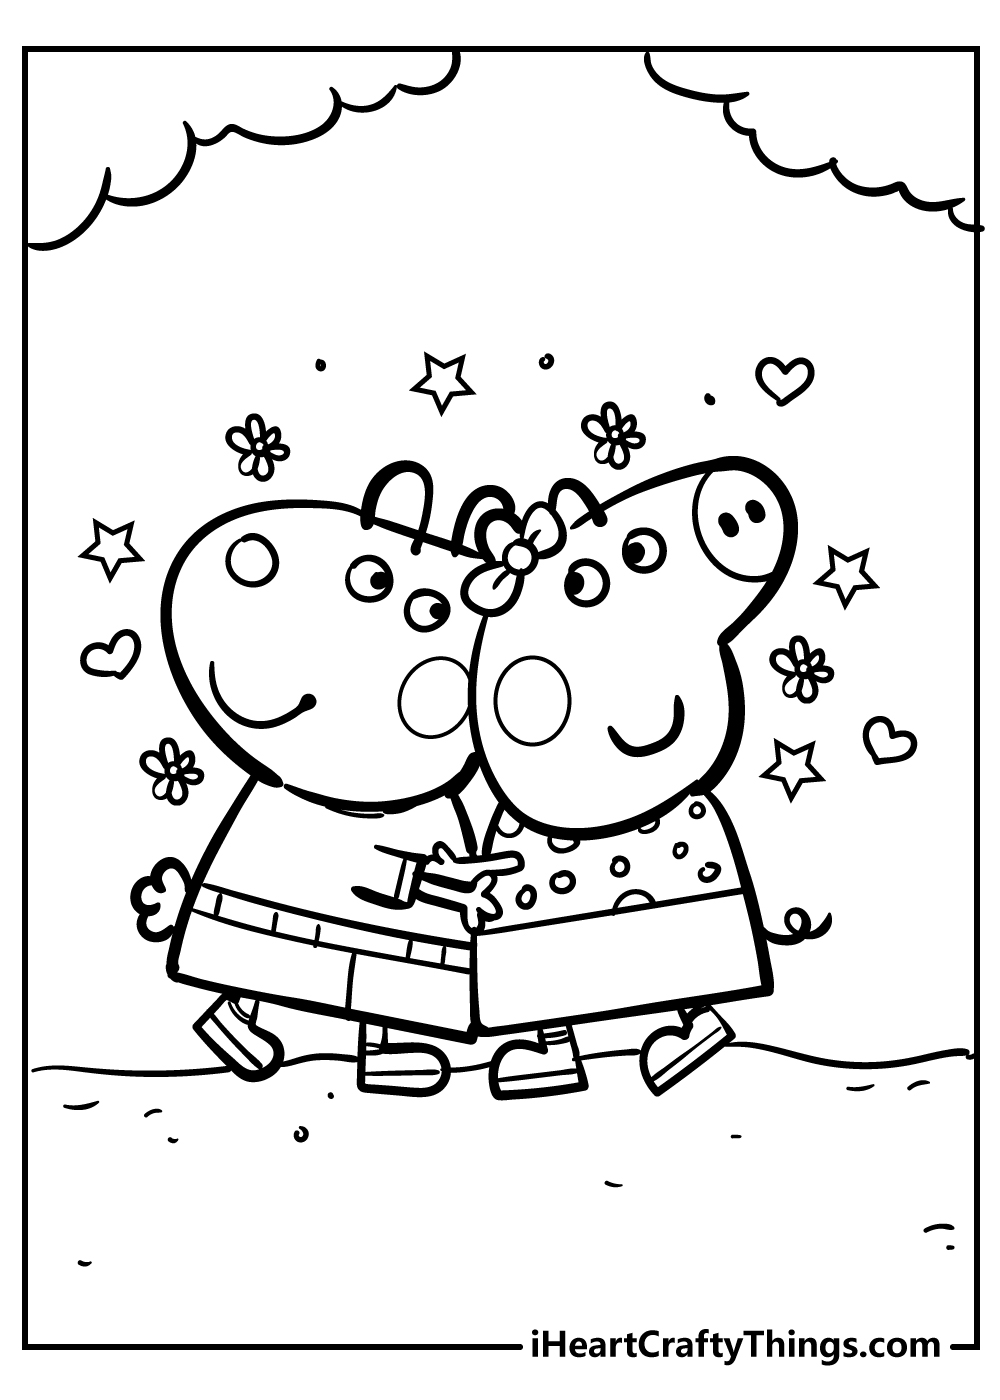
You can tell from this coloring page that Peppa and her best friend Suzy Sheep love each other very much. They give each other a hug with hearts and flowers floating in the air.
Peppa is also wearing a bow behind one ear and a polka dot shirt, while Suzy wears a sweater and pants.
We can’t get enough of these Peppa Pig coloring pages featuring George and Peppa with their favorite toys. George loves Mr. Dinosaur just like Peppa loves Teddy.
He is George’s first and very favorite toy. In this printable, we can see him happily smiling and playing with Mr. Dinosaur.
Make a wish Peppa! This coloring sheet shows her blowing out the candles on her birthday cake. She wears a party hat and it looks like this will be a great celebration.
There are all kinds of delicious treats on the table beside her birthday cake. 
Peppa is very close with her whole family. Remember – when you finish coloring your Peppa Pig coloring pages, post your finished masterpiece onto our Facebook page.
Every month we pick the best uploads and the winner gets a special prize! 
Peppa is a great swimmer, but in this printable, she has a flamingo pool floaty just to be safe.
She has on her polka dot swimming costume and is ready for a day of fun at the pool. Do you think Peppa’s friends will join her soon? 
We love these Peppa Pig coloring pages that feature George with Mr. Dinosaur. You can tell how much he loves playing with his favorite toy.
He brings him everywhere. Sometimes George likes to scare Peppa with Mr. Dinosaur, but she doesn’t seem to mind.

This time Peppa is dressed as a fairy princess! She waves a magic wand with a star on top and has a little crown on her head.
Peppa also has wings on her back that are helping her to fly through the air. 
Since Peppa is a pig, one of her most favorite things to do is jump in mud puddles, just like she is in this coloring page.
That’s probably why Peppa likes the rain so much – it creates mud! She splashes happily under a starry sky, wearing her rain boots so her feet stay dry. 
Peppa, Mummy, Daddy, And George Pig With House
Peppa With Emily Elephant Coloring For Preschoolers
Peppa Pig Wearing Fairy Outfit To Color
Peppa Pig Walking In Field With Flowers
Peppa Pig And Many Mouse Coloring Page
Peppa Pig And Gerald Giraffe Coloring Page
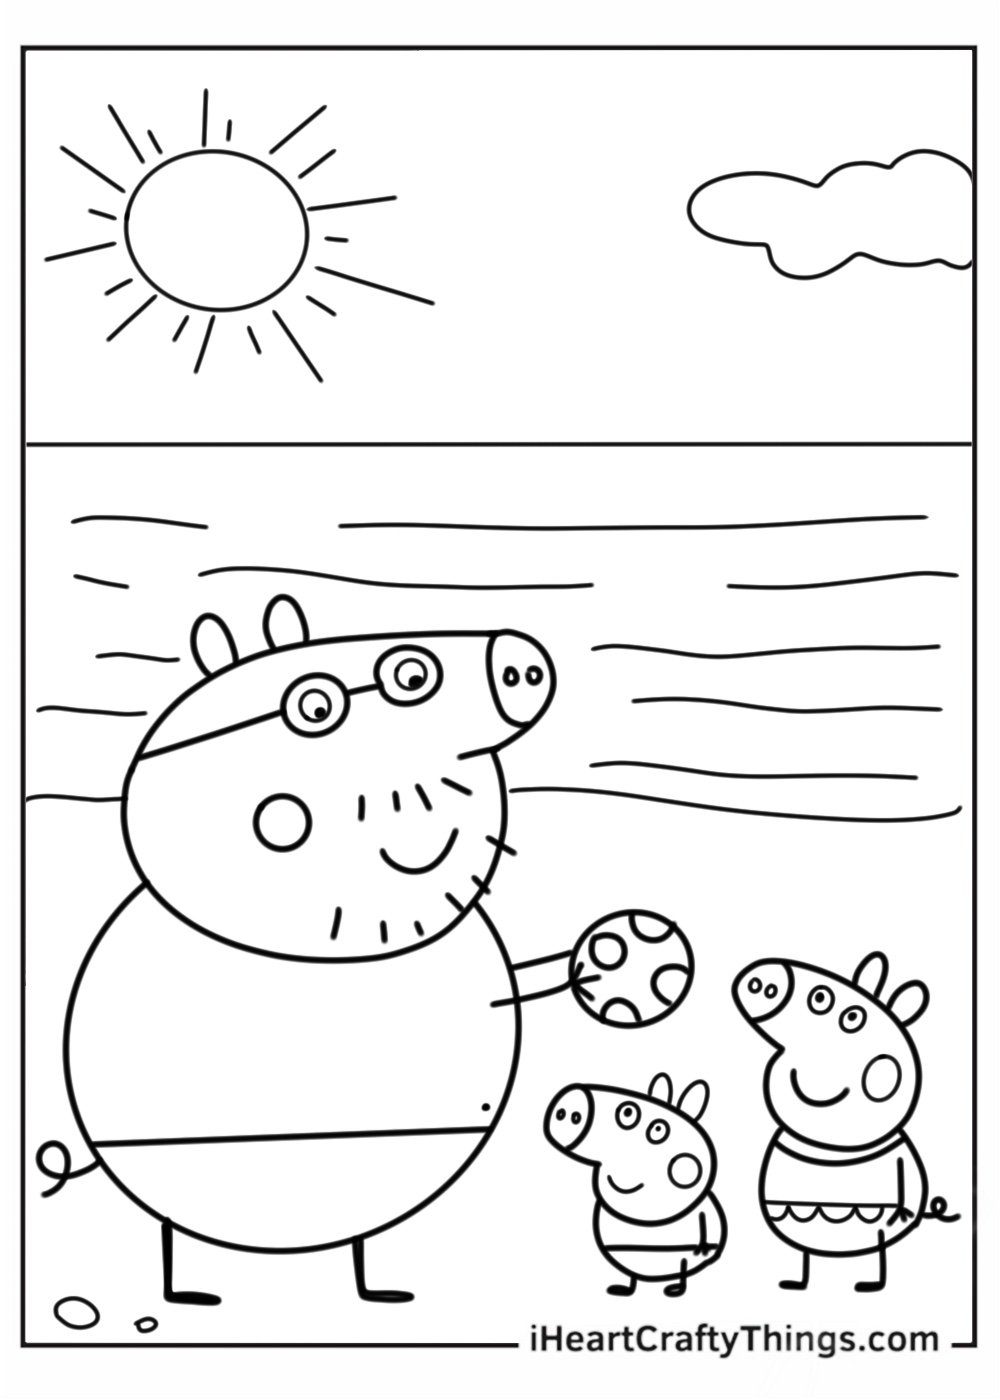
Peppa And George Playing With Daddy Pig At Beach
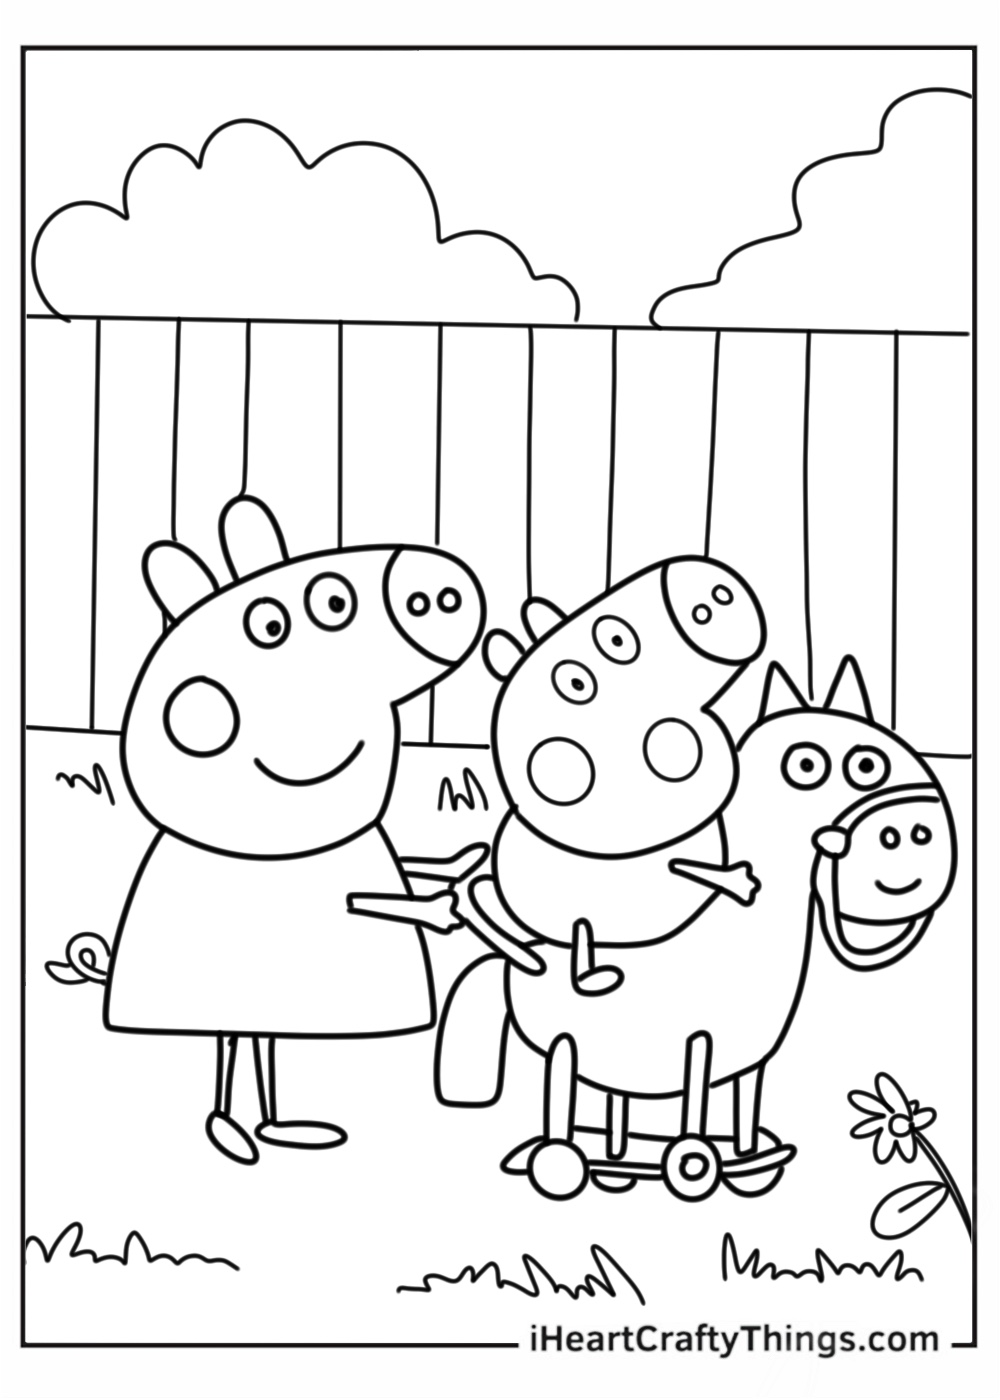
Peppa And George Playing Together On Toy Horse
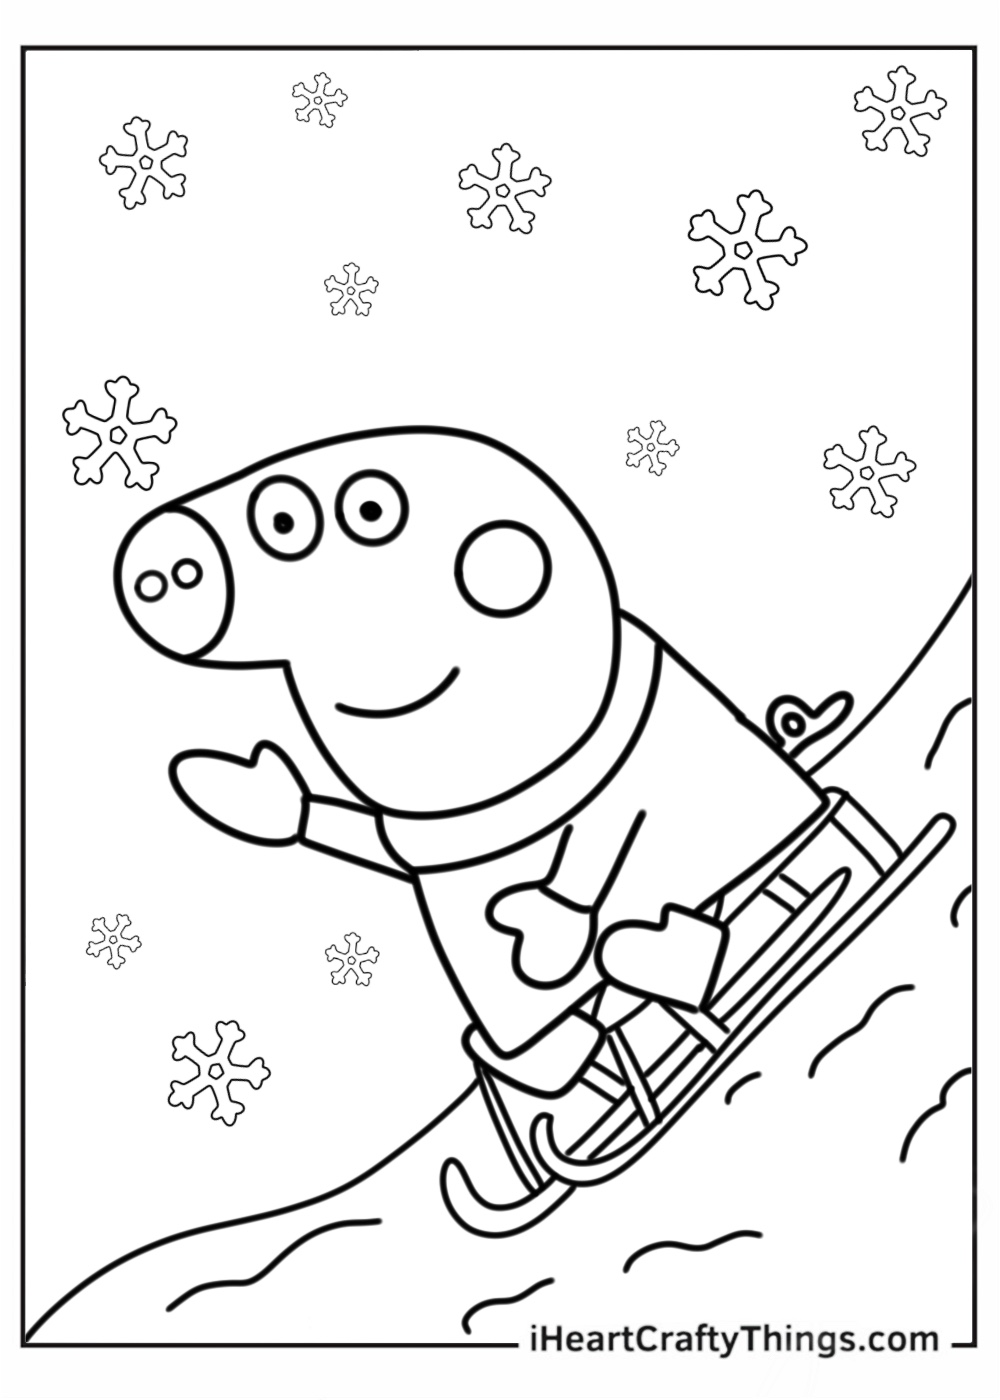
George Pig Riding Sleigh In Winter To Color
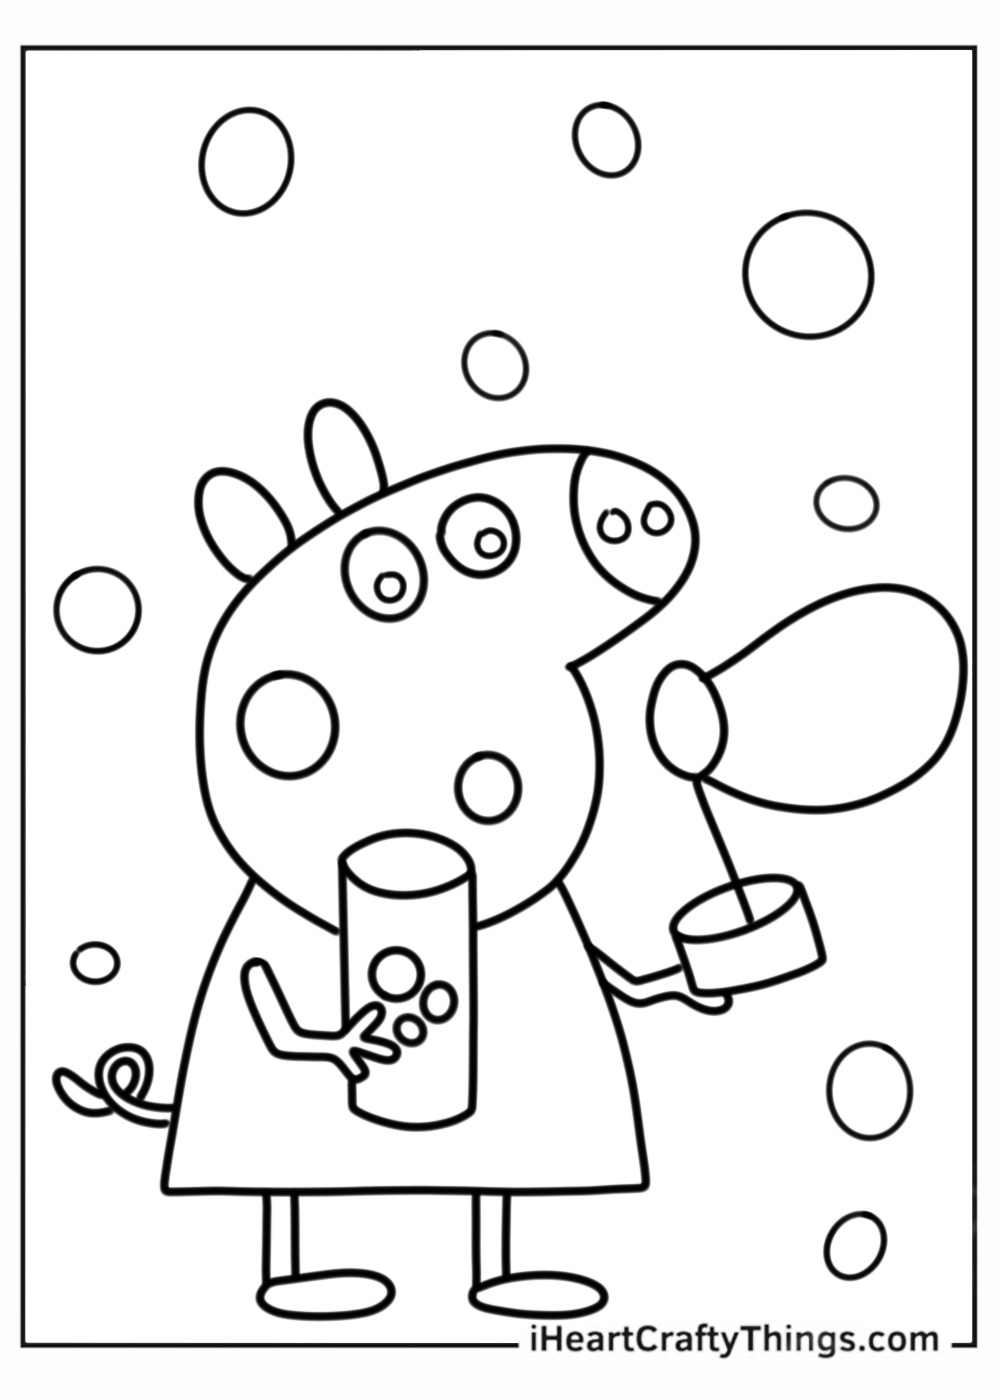
George Pig Playing With Bubbles Coloring Sheet
Remember – we are constantly updating our catalog of coloring pages and printable sheets.
Keep checking back to see which new pages have been uploaded and which new characters and animals are ready for you to print and color. There is so much more to come.
We hope you enjoyed the adventures of Peppa Pig and all her friends and family. Don’t forget to post a photo of your finished Peppa Pig coloring pages on our Facebook page.
We can’t wait to see what you’ll come up with next.