There are so many types and variations of insect species that it feels close to infinite at times. Insects can be so small that they’re hard to see or they can be much larger.
It may be hard for some insects to stand out with all of this variety, but the cicada is one that manages to do so.
This intriguing insect manages to stand out not only because of its unique physical appearance but also because of the loud, distinctive noise that they make.
Because of this uniqueness, learning how to draw a cicada can be simultaneously fun and challenging.
This is the tutorial you want if you would like to focus on the fun aspect!
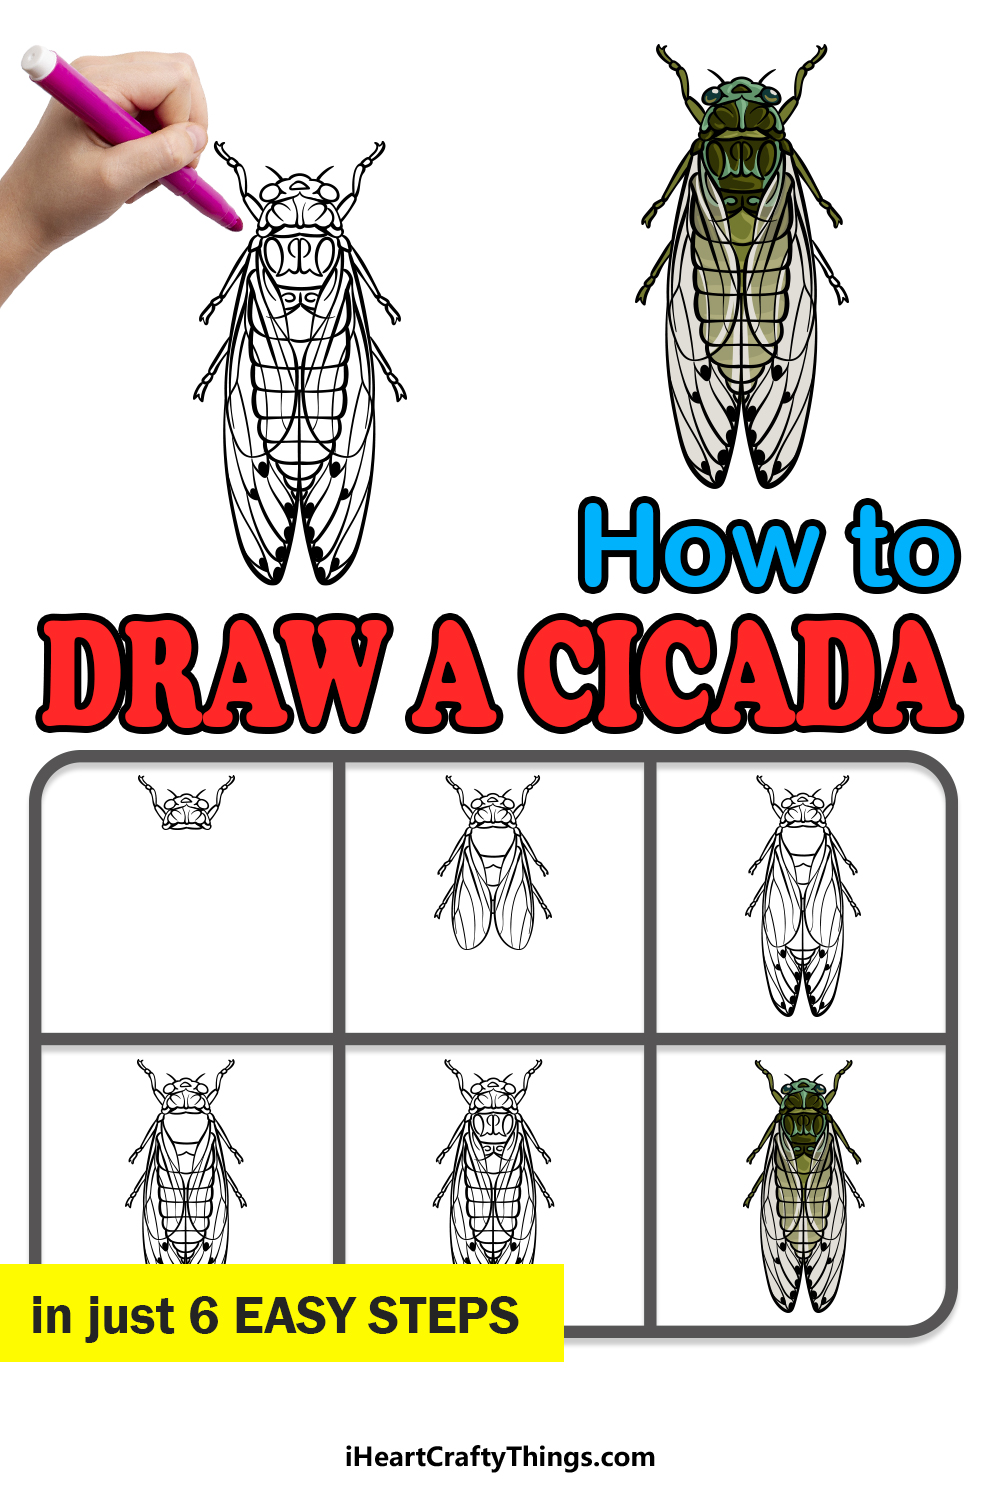
Get ready for some artistic fun as we work on this step-by-step guide on how to draw a cicada in just 6 easy steps!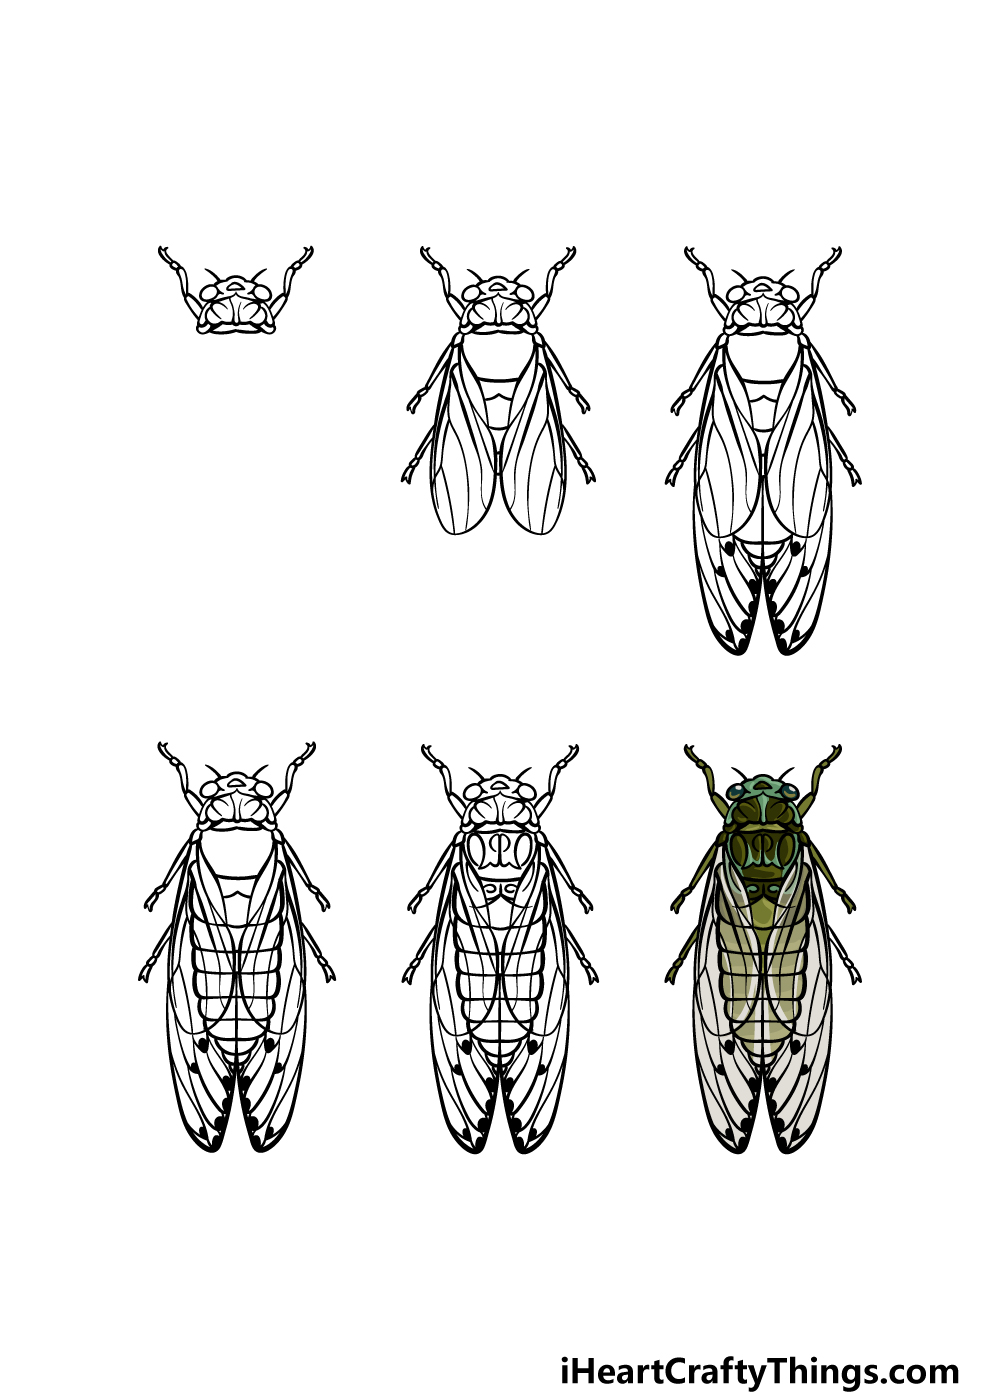
How to Draw A Cicada – Let’s Get Started!
Step 1

To begin this guide on how to draw a cicada, we will begin with the head and the front legs of the insect.
This portrayal of a cicada will be quite close up, so that means that there will be a lot of details and small sections packed into this image.
That’s why we will take it slowly as we break it down into smaller steps for you in this guide!
Start off by using some curved lines to create a thin, flat shape for the head of the cicada. There will also be two relatively large, round eyes on either side of the head.
Add the first small section of the body below the head, and then we shall add some line details within.
The front legs of the cicada will be quite thin, and they will be made up of a few smaller sections. Once the legs are drawn, we shall head on to step 2!
Step 2 – Now, draw more of the body outline for the cicada
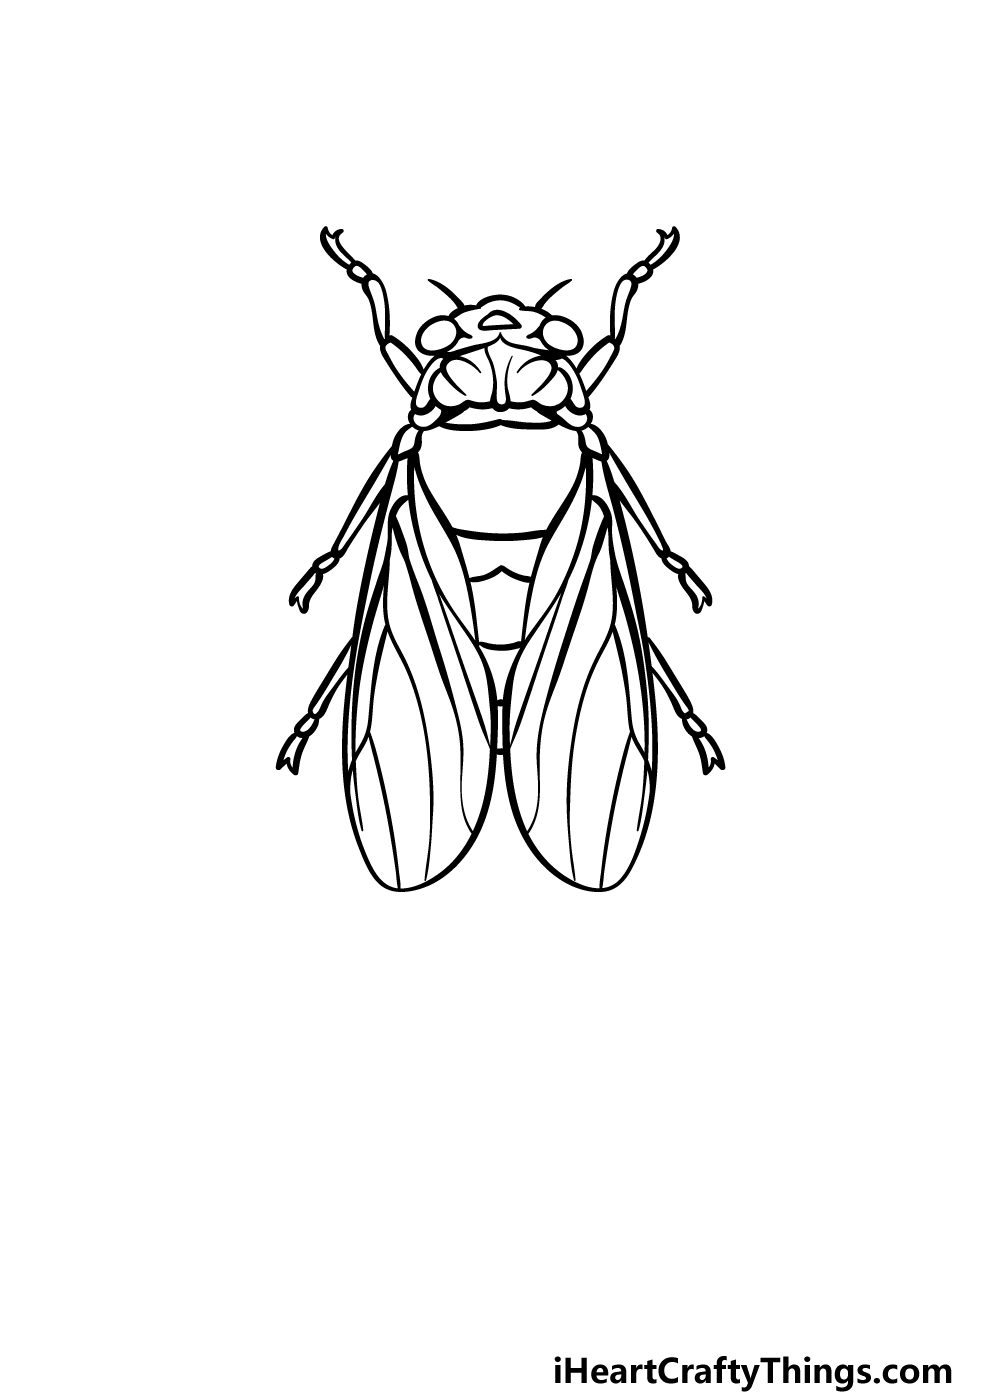
In this second step of your cicada drawing, we will be adding quite a lot to the insect! First, let’s add the main section of the wings.
These wings will start at small round shapes on either edge of the body beneath the head of the insect. They will be very thin at the base but will get wider and more rounded as you go down.
They will also have some curvy line details inside of them, and we will see the body between them as well.
Finish off by drawing four more thin legs. Much like the first ones these legs will be drawn in several sections.
Step 3 – Draw the next sections of the wings and the body
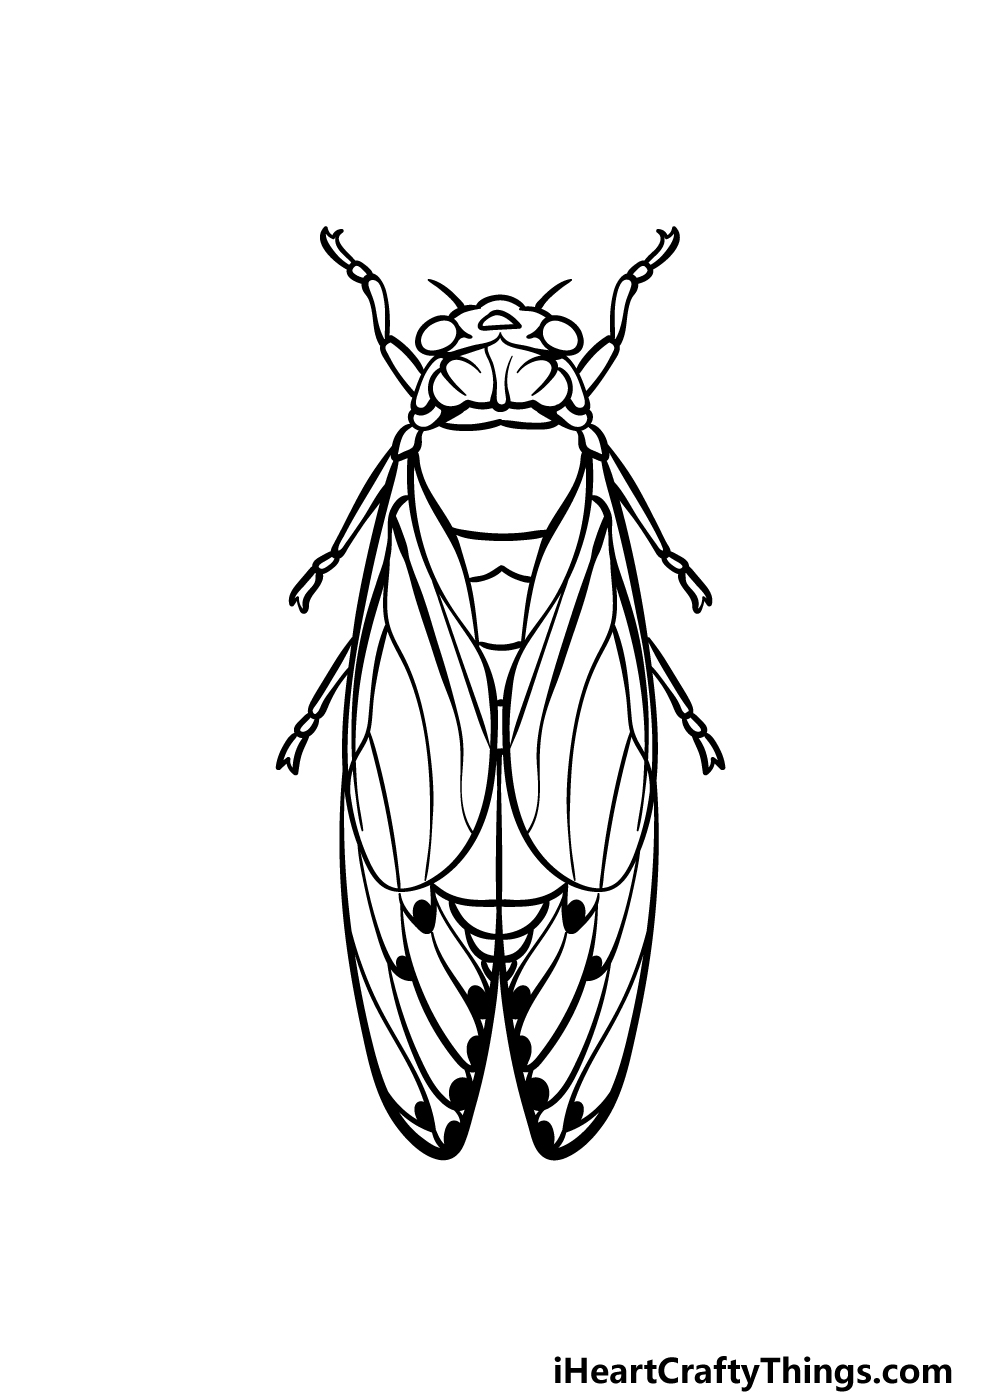
To continue this guide on how to draw a cicada, we will be adding another section to the wings that you started in the prior step.
Use some curved lines to add some rounded sections to the wings as they appear in the reference image.
Once these are drawn, we will also be adding some round shapes as extra detail near the tips of the wings.
Using some curved lines, you can also add some sections for the body beneath and between the wings. Then you’ll be ready for step 4 of the guide!
Step 4 – Next, draw the body beneath the wings
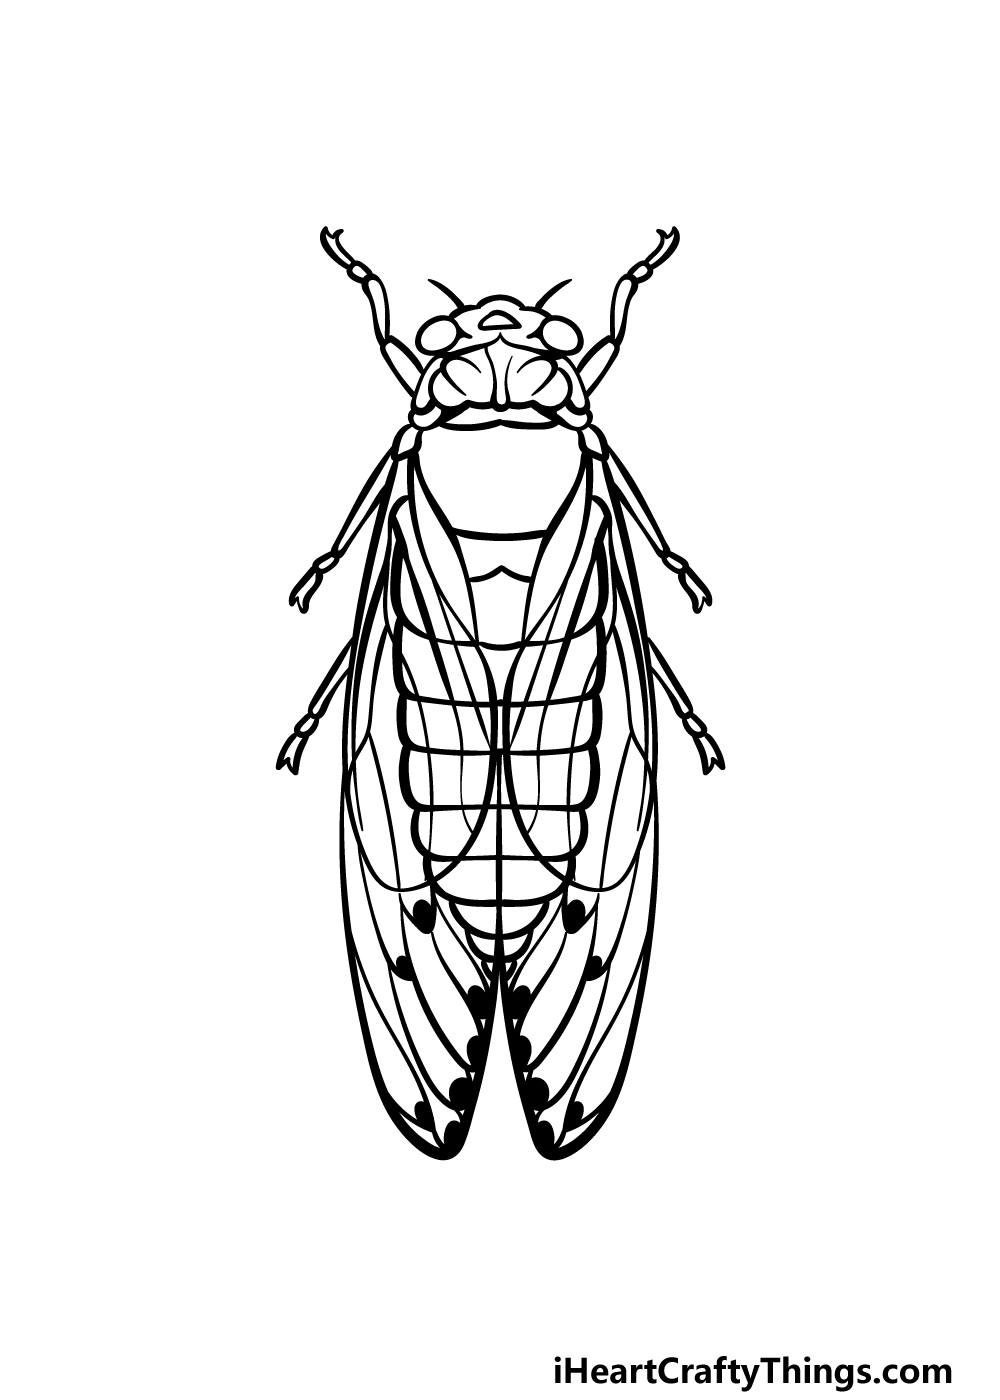
The wings of a cicada are quite thin and transparent, so this means that the body will be visible beneath them.
We will use some curved lines to represent the thin sections that make up the center portion of the body and extending to the tip of the abdomen.
With these body details drawn, you can then get ready to add some final details in the next step of the guide!
Step 5 – Add the final details to your cicada drawing
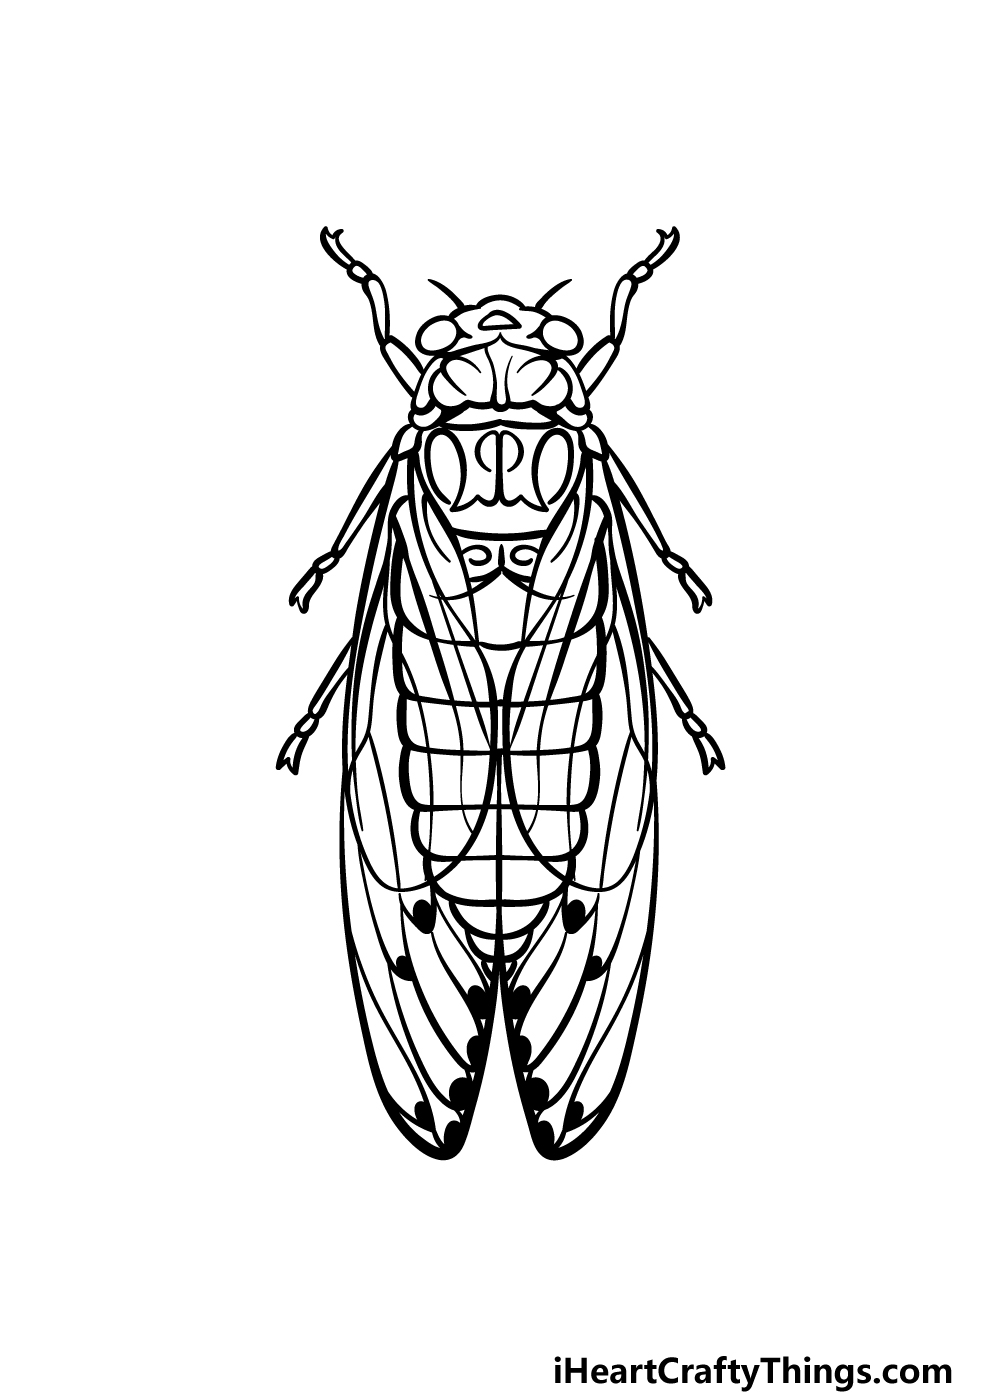
Now you’re ready to finish off the final details as we move to the fifth step of this guide on how to draw a cicada.
These details will be concentrated primarily on the area of the back that is just below the head. You can use some curvy lines to draw these details as they appear in our example.
Once you have completed these final details, you could also add some elements of your own!
You could draw a background to show the environment this insect is in or even add more insects to go with it.
These are just a few ideas out of many that you could go for, so what will you draw to finish this off?
Step 6 – Finish off your cicada drawing with color
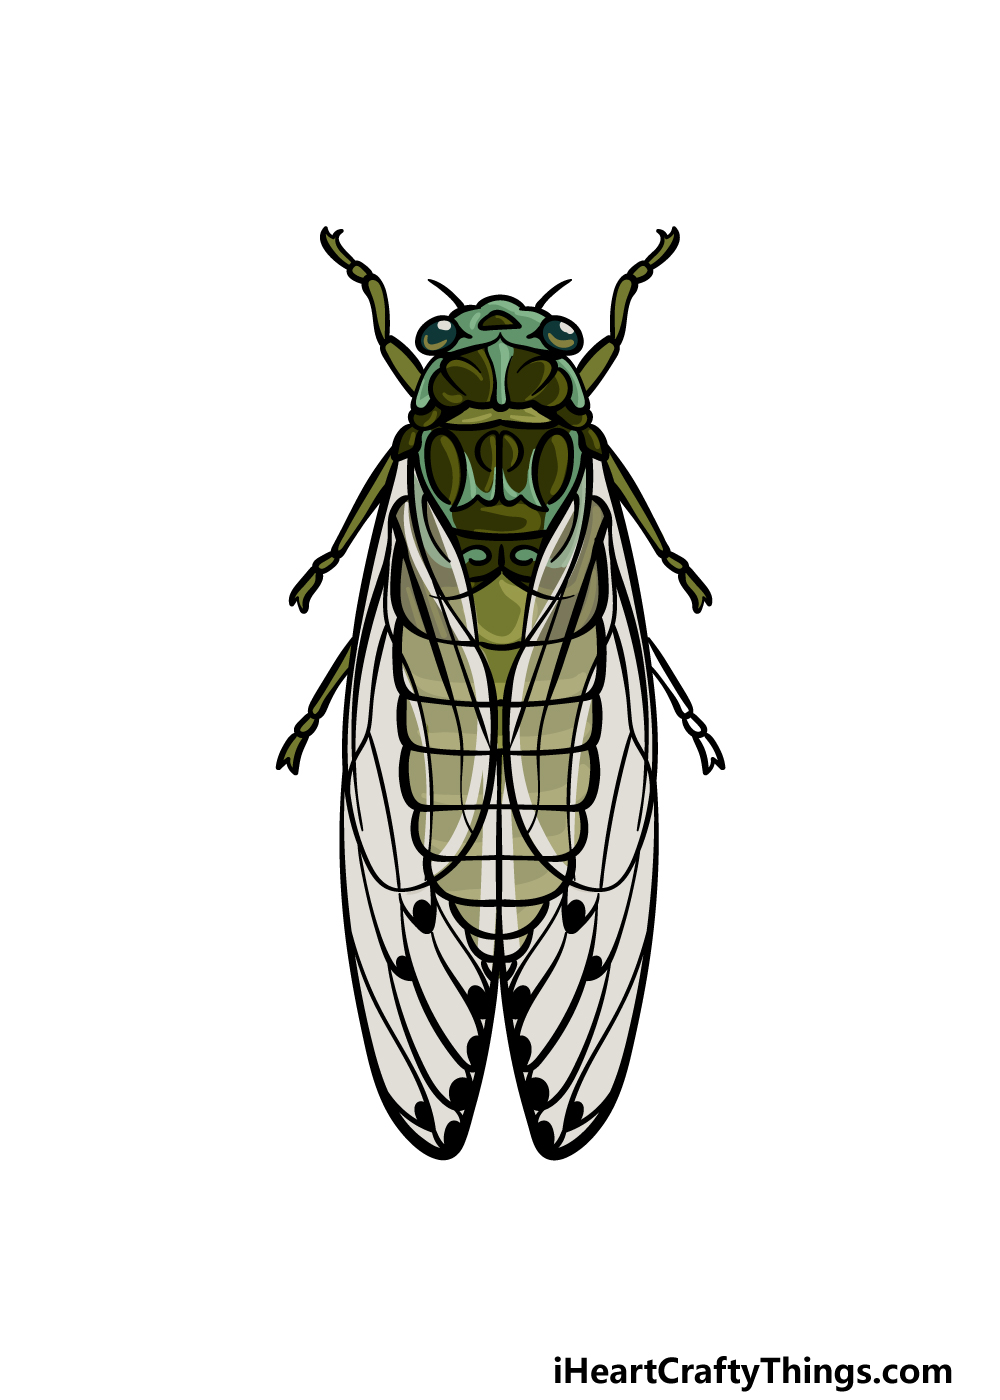
In real life, the cicada is not exactly the most colorful insect you will find. In our example image for this cicada drawing, we reflected this fact by keeping the colors a bit more earthy and muted.
We used different shades of light and dark greens for the various details and sections of the insect.
For the areas below the wings, we used much lighter shades as this gives the illusion of the wings being transparent.
When coloring your own artwork, you could go for a similarly muted approach for the colors, but you should also feel free to use any other colors you love instead!
There’s also the matter of picking which art mediums you’ll use to finish off the colors. What will you choose to finish off this image?
4 More Ways To Make Your Cicada Drawing Unique
Check out 4 fun tips for making your amazing cicada sketch even more unique!
This drawing of a cicada shows one of these insects sitting on a surface. One easy way you could make it more unique would be by showing it in flight.
This could be done by having the wings sticking out at a different angle, and you could also potentially add some motion lines around them.
You could also change some details such as the legs and position of the body.
If you went with our first suggestion, then you could take it even further by adding a background to show where this cicada is flying! This is something you could do even if you left it as is, however.
A cicada can fly anywhere it likes, so you could pick any location as the background. You could even use a room or an area in your own house or yard to help you as you draw.
A cicada is very small, so remember to depict objects in scale to this insect!
This cicada drawing looks great on its own, but you could make it look even cooler by adding some more cicadas. This would be something you could do by following the guide again.
For each cicada you add, you could change a few details and elements to make each one look unique. This would be something you could do along with adding a background as we suggested earlier.
How many cicadas would you like in this image?
Adding more cicadas to your cicada sketch is one way of populating the image. There are millions of other insect species that you could add as well!
If you love bugs and creepy crawlies then you may know of some that you could use off the top of your head. If not, you could look up some different insect examples online that you could use.
Flies, bees and butterflies would be some examples of common insects you could add to the image. What other bugs can you think of?
Your Cicada Drawing is Complete!
When drawing insects, there will usually be loads of small details and intricate elements to depict.
This can make it a bit of a challenge, but hopefully this guide on how to draw a cicada made it much easier and even more fun for you to work on!
When you have finished our design, you can keep the fun going by adding some of your own fun details and ideas.
We spoke about adding some background elements to the image, but what else can you think of that would personalize this depiction of this incredible insect?
This guide you have just completed is far from all we have in store for you, so be sure to visit our website for more drawing fun!
We have tons of guides to enjoy there, and we upload new ones often for you to enjoy.
When your cicada drawing is complete, you can show off your artwork when you share it on our Facebook and Pinterest pages. We can’t wait to see it!