


Martin Luther King Jr. is one of the most influential and revered figures in modern American history.
He gained a lot of attention for his approach to non-violent protest, and he worked hard to fight for the equality of all, becoming an important figure in the civil rights movement.
While tragically assassinated in 1968, his message lives on, and his famous I Have A Dream speech is still frequently referenced to this day. Learning how to draw Martin Luther King Jr.
Drawing real people convincingly can be quite a challenge, but this guide will show you how it can be done.
Get ready to pay tribute to this great man as we work on this step-by-step guide on how to draw Martin Luther King Jr.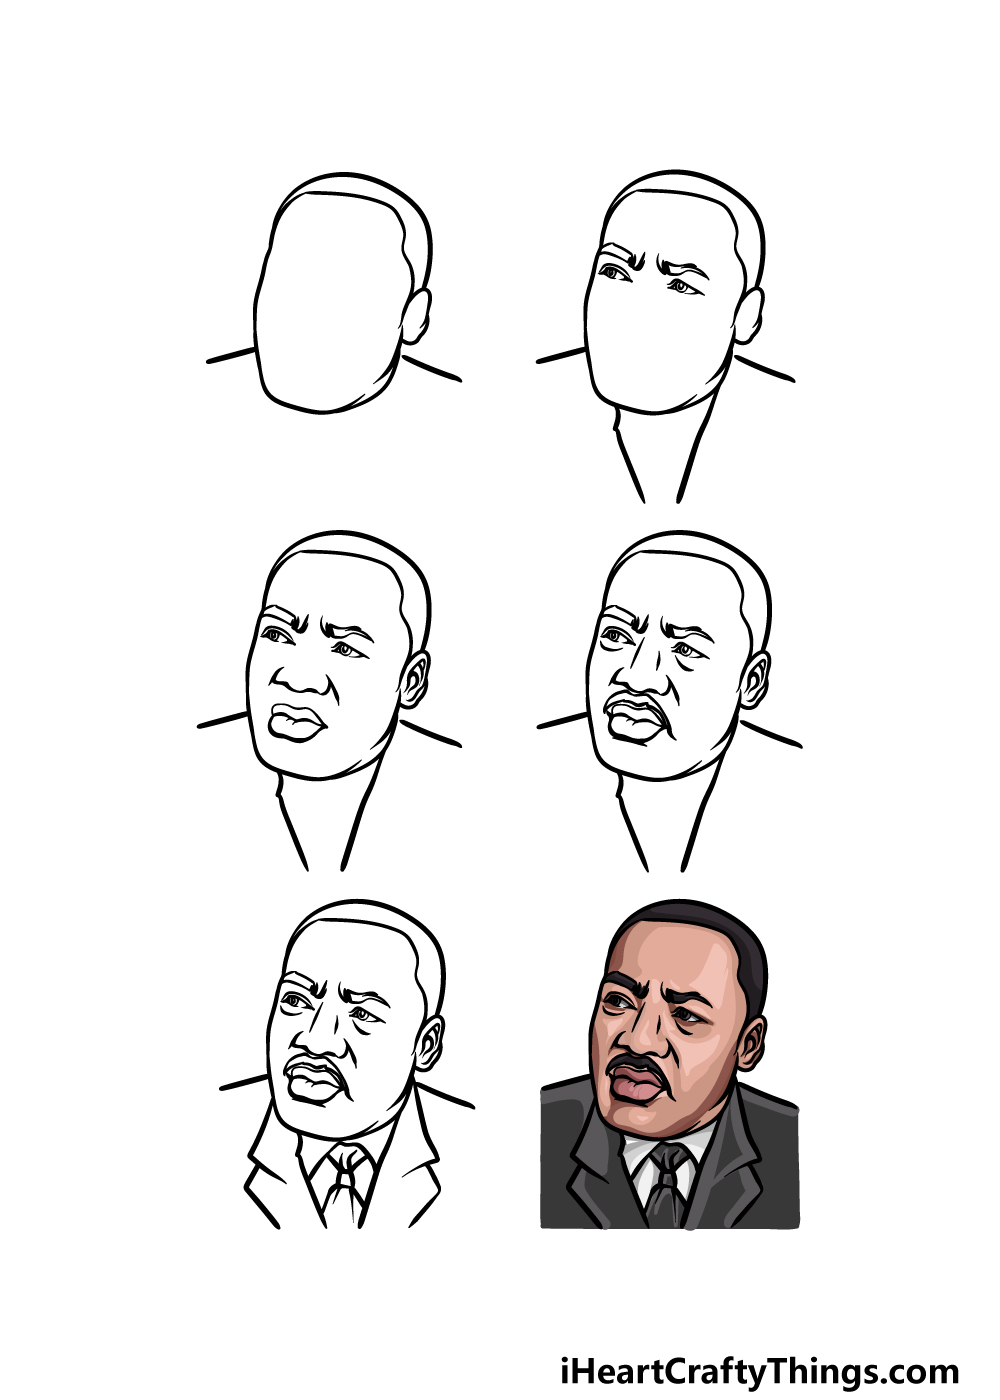
How to Draw Martin Luther King Jr. – Let’s Get Started!
Step 1
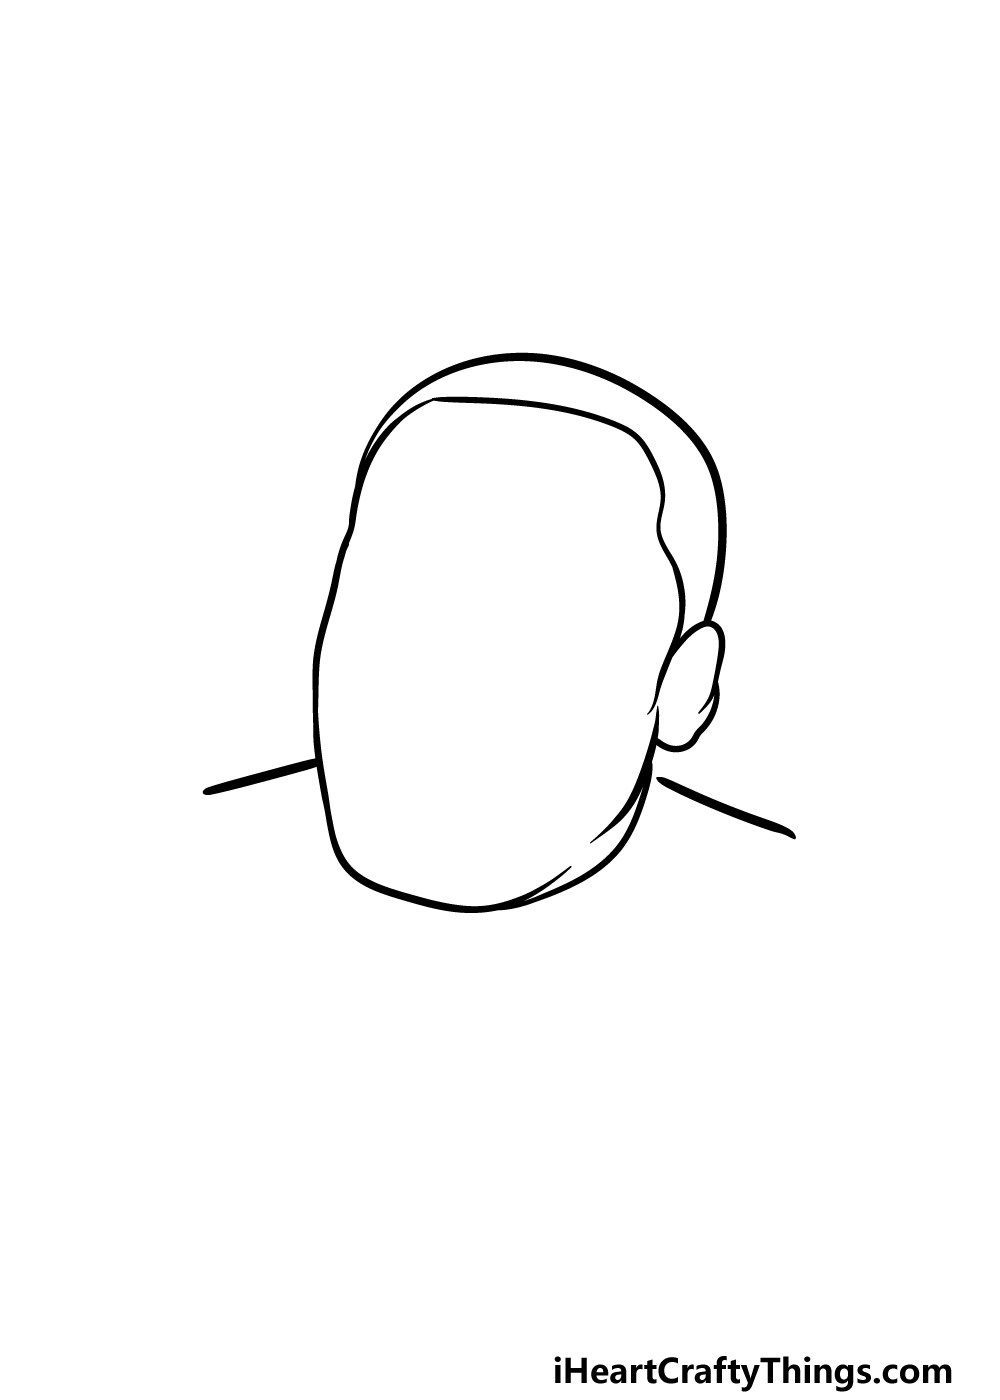
In the introduction to this guide on how to draw Martin Luther King Jr., we mentioned that it can be quite hard to draw real people.
That’s why we will take it step by step to make sure that you can get all the details looking right. To get started, we will begin by drawing the outline for his head.
Try your best to replicate the shapes that we have provided in the reference image, as this will be the best way to get the proportions of his head looking right.
We will also be drawing his ear on the side along with his hairline at the top of his head. Then you will be ready for step 2 of the guide!
Step 2 – Draw his eyes and eyebrows
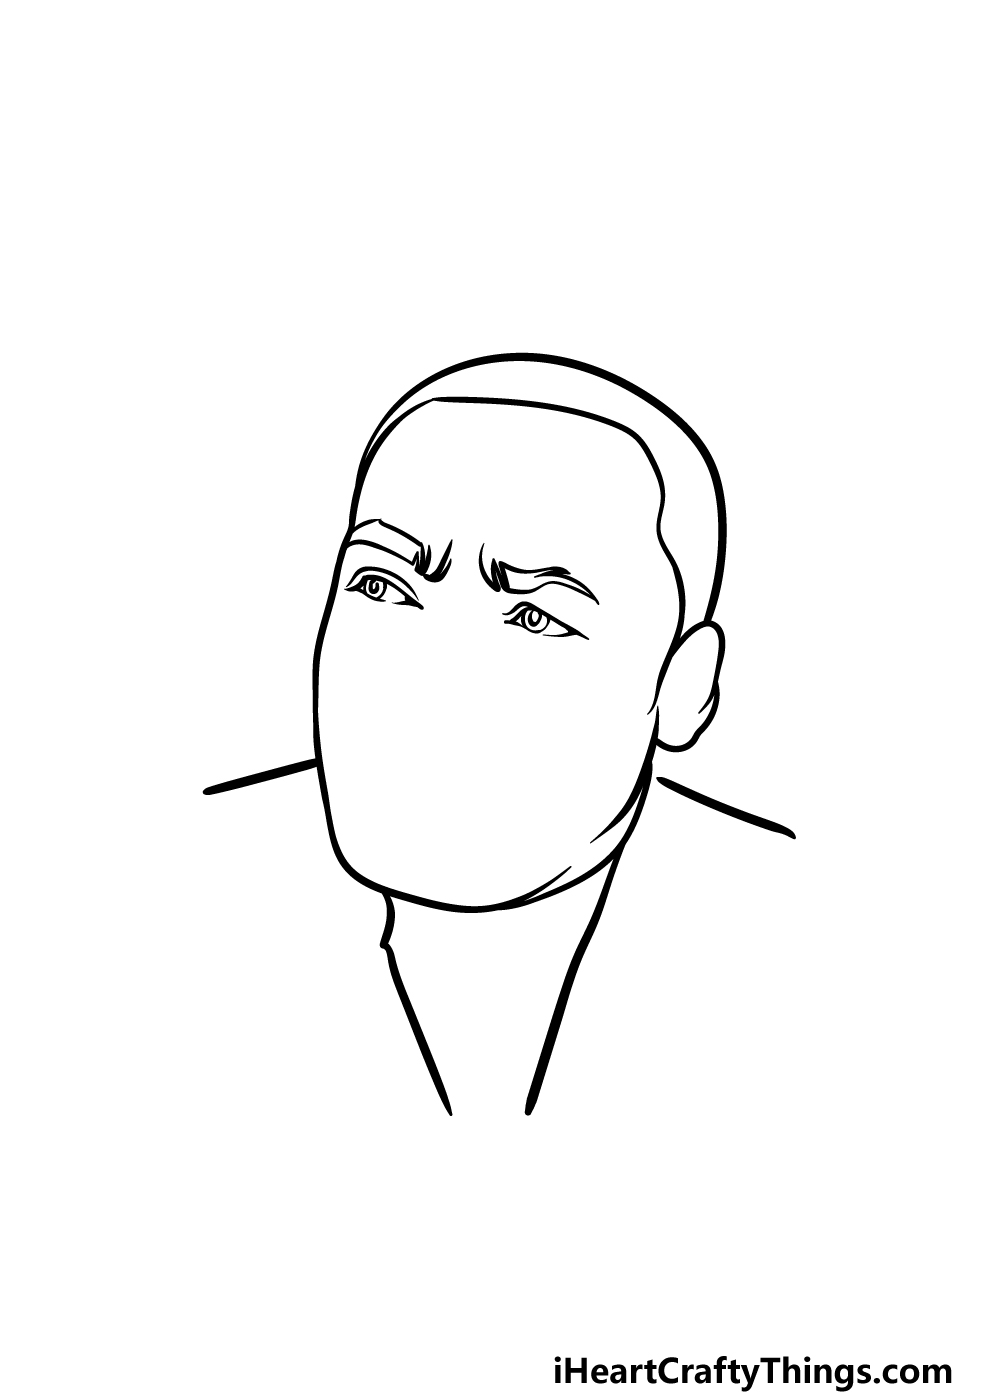
A person’s eyes are a big part of the recognizable features of a face, so they’re an important part to get right when drawing a real person.
That’s why you once again may want to try to copy the eyes and eyebrows exactly as they appear in our example as you add them to your Martin Luther King Jr. drawing.
We have arched the eyebrows in such a way as to give him a rather intense expression. His eyes also have a specific shape to them to further emphasize his expression.
Once you have drawn his eyes and eyebrows, you can also add some curved lines for the opening of his jacket beneath his face.
Step 3 – Next, draw some facial features
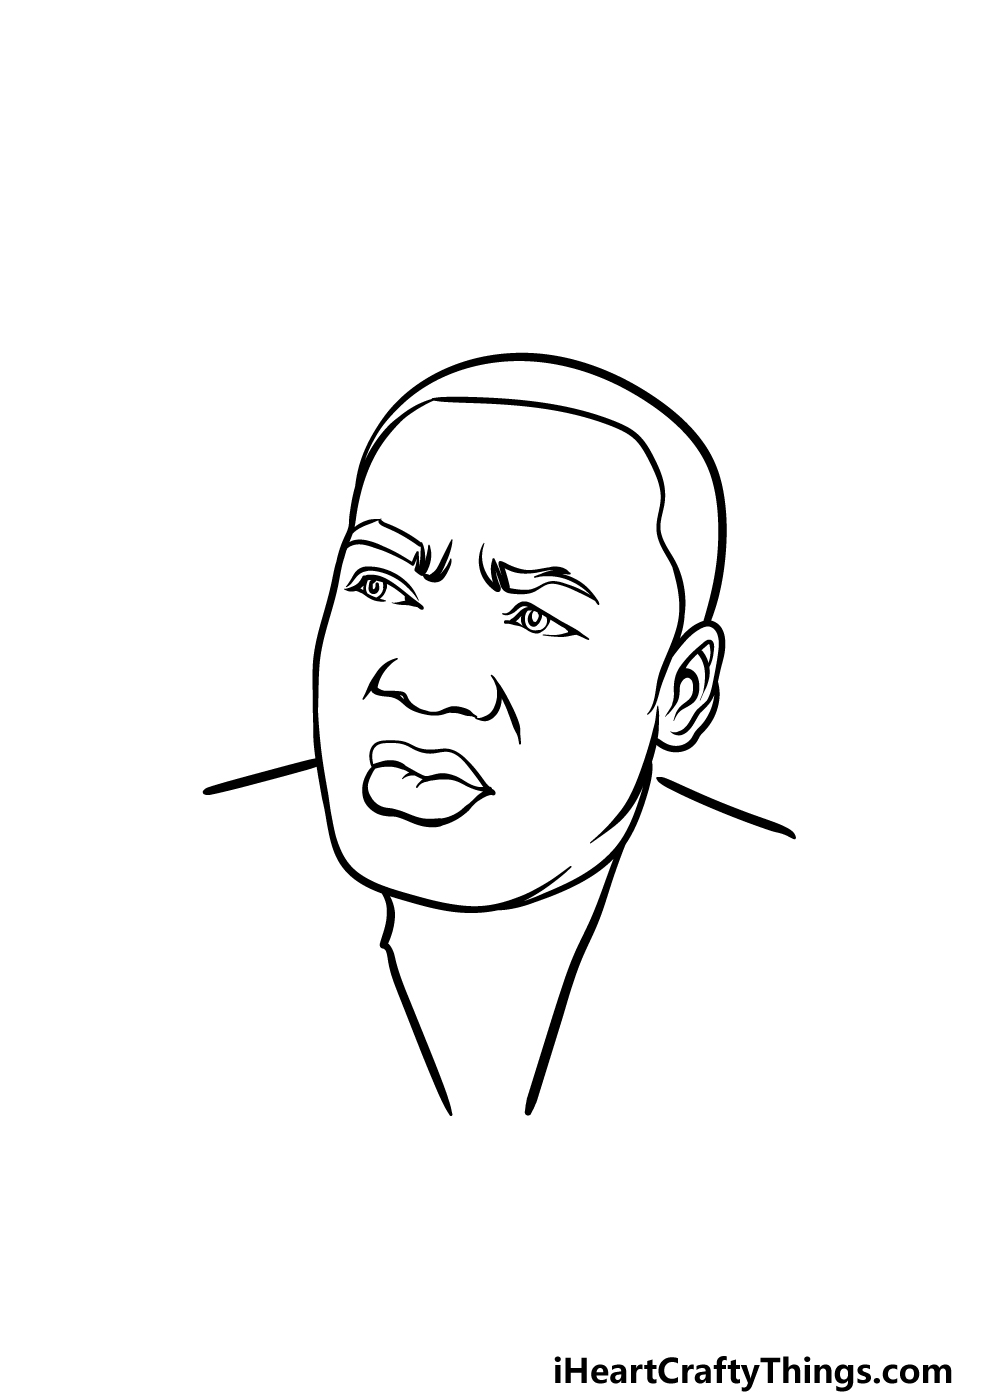
We will continue to add some more facial features to your artwork in this step of our guide on how to draw Martin Luther King Jr. First, we will use some curved lines for his nostrils and some creases at their corners.
Then, we will use some more curved and rounded lines for his lips beneath the nose. You can also add some details into his ears to make them look more realistic.
You’ll notice that he is missing his famous and recognizable mustache, but we will add it in the next step of the guide.
Step 4 – Now, draw the rest of his facial features
In the previous step of your Martin Luther King Jr. drawing, we mentioned how we would be adding some features such as his mustache in the next part.
We will stand by that in this part, as we will be adding some final details to his face!
First, use some sharply curved lines to draw his mustache below his nose and over his mouth. Once you have added that, we will then draw some more lines around his nose to finish it off.
We will also add some lines beneath his eyes to finish them as well.
Little details like these can make a big difference in making a drawing look more like a real person, so try your best to include all the lines we show in our reference picture!
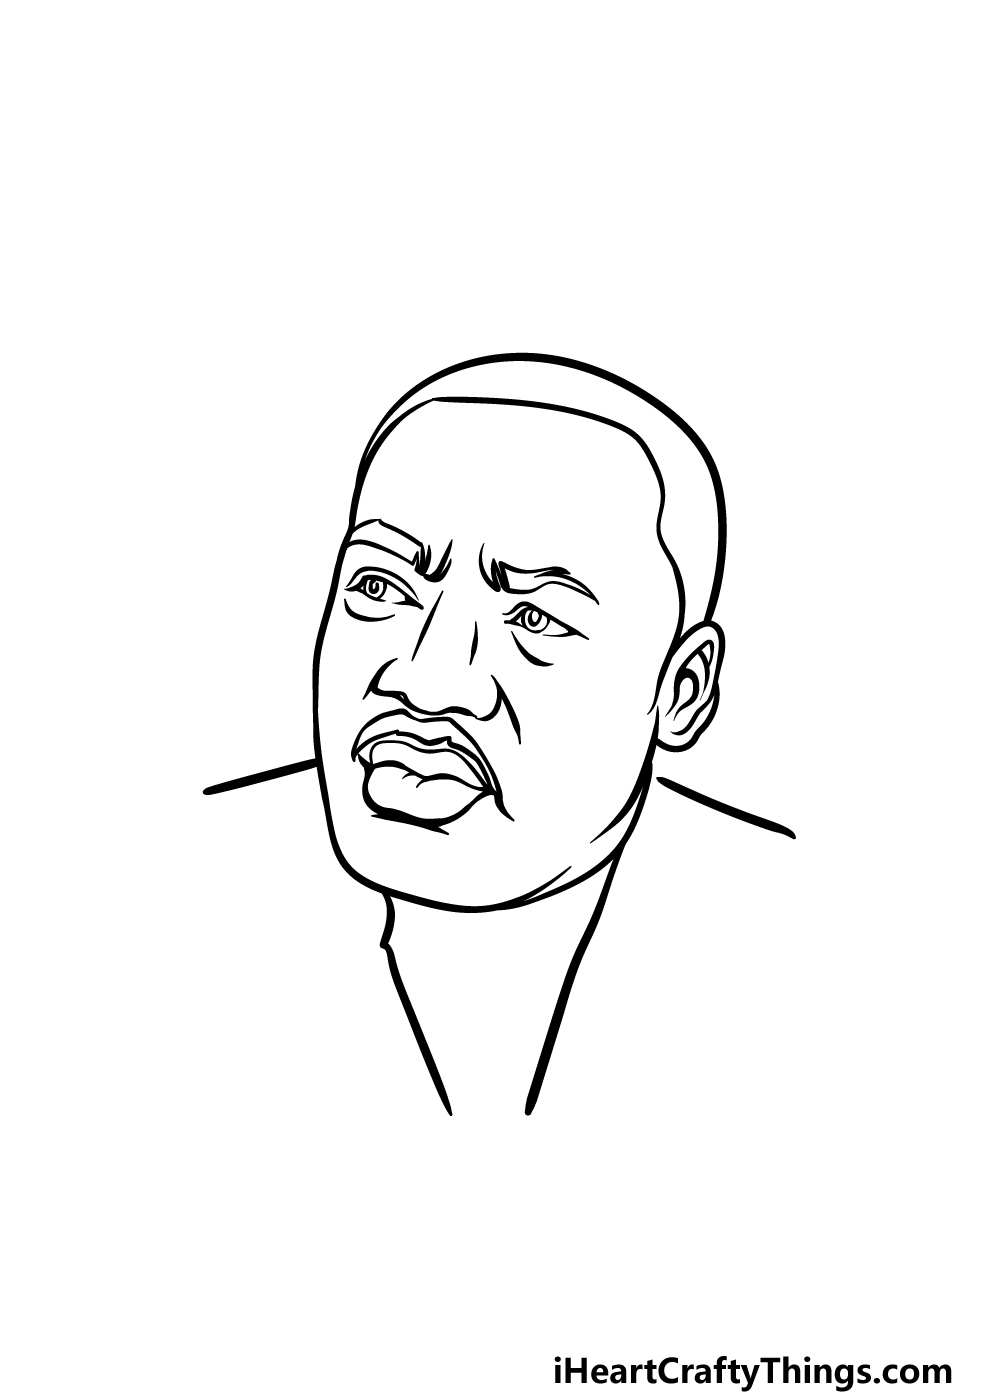
Step 5 – Add some final details to your Martin Luther King Jr. drawing
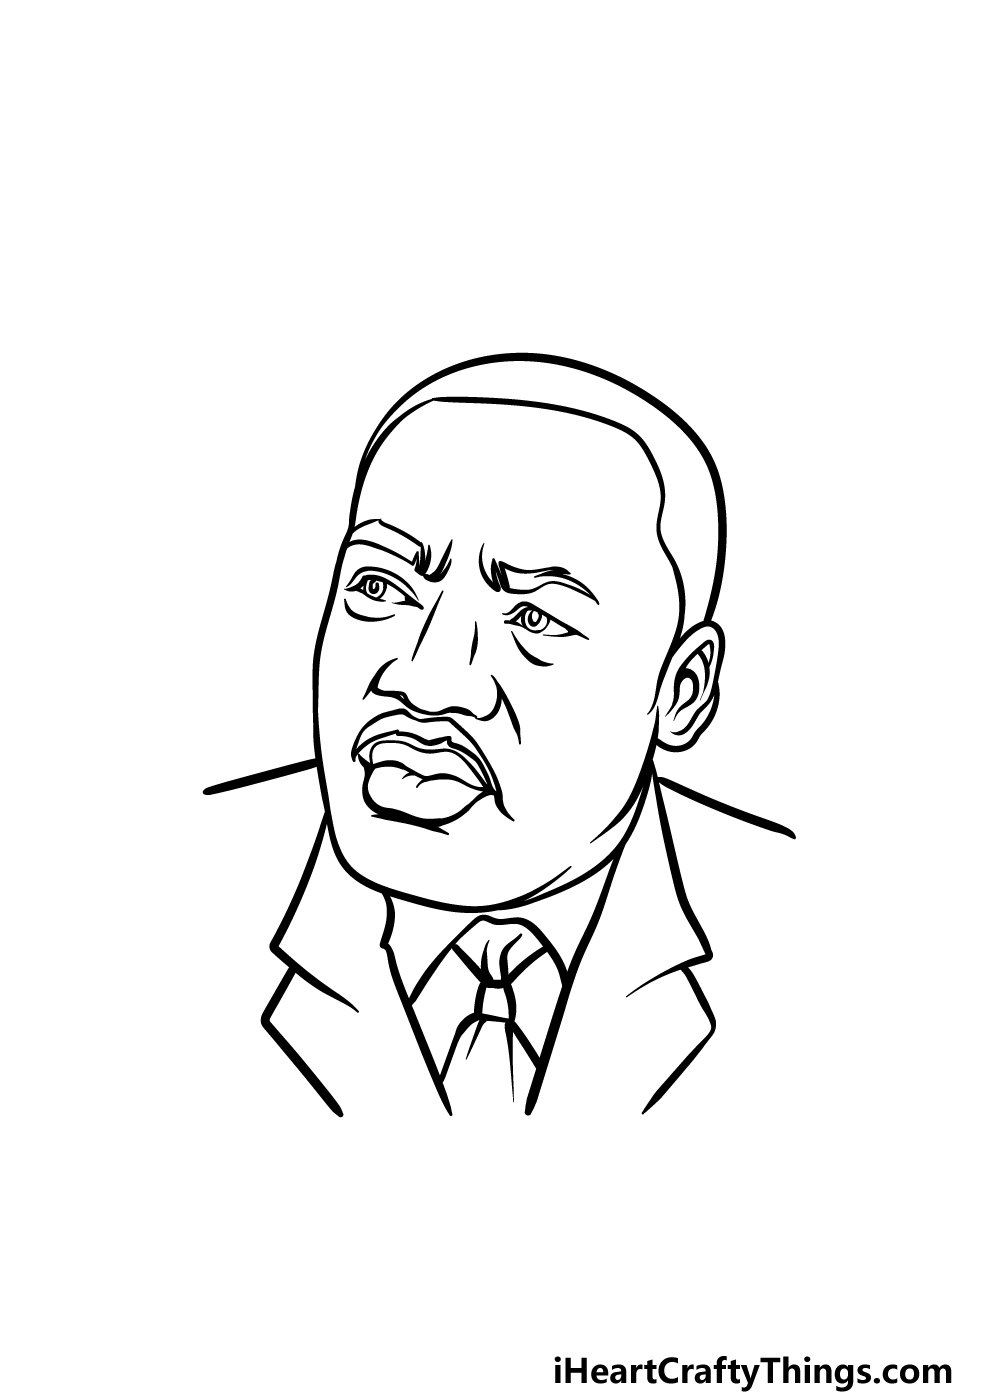
You’ve finished the face of your drawing, and in this step of our guide on how to draw Martin Luther King Jr. we will draw the final details for the rest of him.
We will mainly be drawing the lapel of his jacket, which you can create with some curved lines.
Then, we shall finish off by drawing his tie beneath his face. Once this is drawn, you are ready to add some color!
Before you do that in the final step, you could also add some details of your own. You could draw a background for him, or even draw one of his many famous quotes into the space behind him.
How will you finish off this drawing before the final part?
Step 6 – Finish off your Martin Luther King Jr. drawing with some color
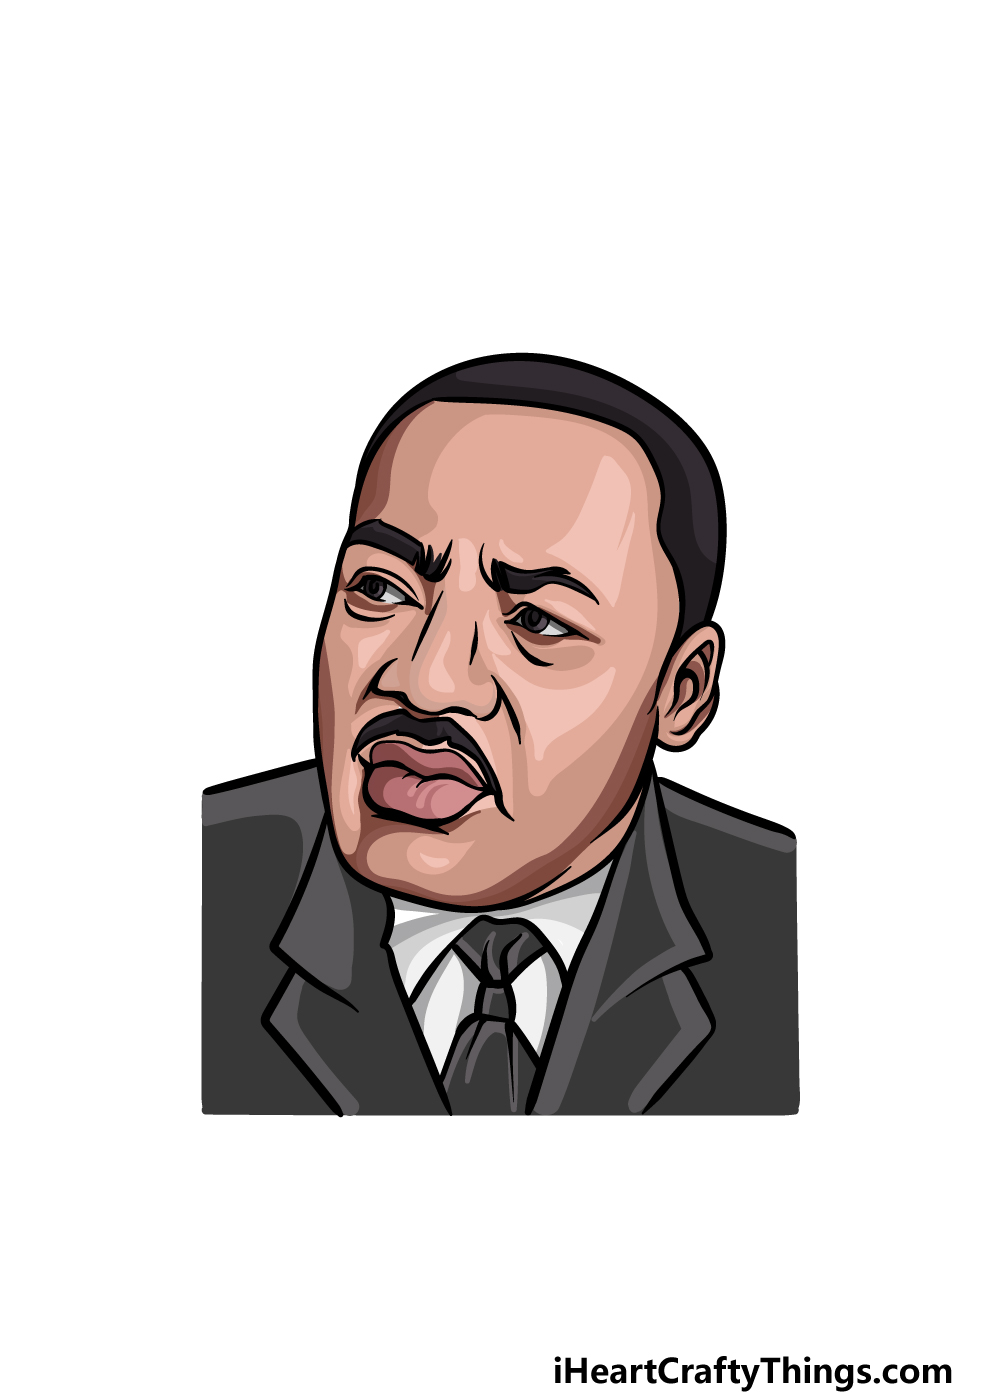
You have reached the final step of this Martin Luther King Jr. drawing, so now you’re ready to finish off with some color!
In our reference picture, we used various tones to give his face some more definition, and it makes it look like a colorized picture of Martin Luther King Jr.
A lot of the photographs we have of him are in black and white, so it could be an interesting touch to use shades of grey for this image to make it look like an old photo.
How will you color in this picture to finish it?
5 Tips To Make Your Martin Luther King Jr. Drawing Even Better!
Celebrate this great man as we make your Martin Luther King Jr. sketch even greater!
Much of the footage we have of Martin Luther King Jr. is in black and white. That could be a great color scheme to use for your Martin Luther King Jr. drawing!
By using tones of light and dark greys, you could make this look like old news footage. Using light browns and yellows would make it look like an old photo for another idea.
For this drawing of Martin Luther King Jr., we went with a portrayal of his head and shoulders. If you want to add to the scene, you could show more of his body.
This could be more of his chest and his arms, or you could add even more! It all depends on the kind of portrayal you want to create.
Taking the previous tip even further, you could also draw a scene for him to be a part of. For instance, you could draw him at a podium giving one of his amazing speeches.
Or, maybe you could show him marching for Civil Rights. These are just a few examples of the inspirational poses you could create to commemorate him.
One of the things Martin Luther King Jr. is known for is his way with words. There are many memorable quotes associated with him, and you could use them for this Martin Luther King Jr. sketch!
Perhaps the most famous one is “I have a dream,” and that would look great in this image. What other quotes would you like to incorporate into this picture?
Finally, you could also use different art tools and mediums to make your Martin Luther King Jr. drawing even more special. Sometimes, artists will use stylistic colors for their portrayals of great people.
You could use bright colors done with colored pens and markers or maybe use some more subtle paints. It all depends on what kind of image you want to go for!
Mixing mediums can also help to create a more unique look.
Your Martin Luther King Jr. Drawing is Complete!
This was a slightly tricky drawing to complete, so you should be very proud of reaching the end of this guide on how to draw Martin Luther King Jr.
Even though it can be difficult to draw, in this guide we aimed to show you that it can be made much easier when you know what to do and take it slowly.
We hopefully achieved this goal for you so that you could enjoy the drawing process!
Now that it is finished, you can draw some of your own details and elements. We mentioned incorporating some Martin Luther King Jr. quotes into the background as one idea, but what else can you think of for this image?
Then, you can visit our website for more incredible drawing guides to enjoy. These guides feature everything from more real people to objects, animals and fictional characters. There is something for everyone, and we have more on the way!
We would love to see how you commemorated this great figure, so please do share your Martin Luther King Jr. drawing on our Facebook and Pinterest pages for us to see.