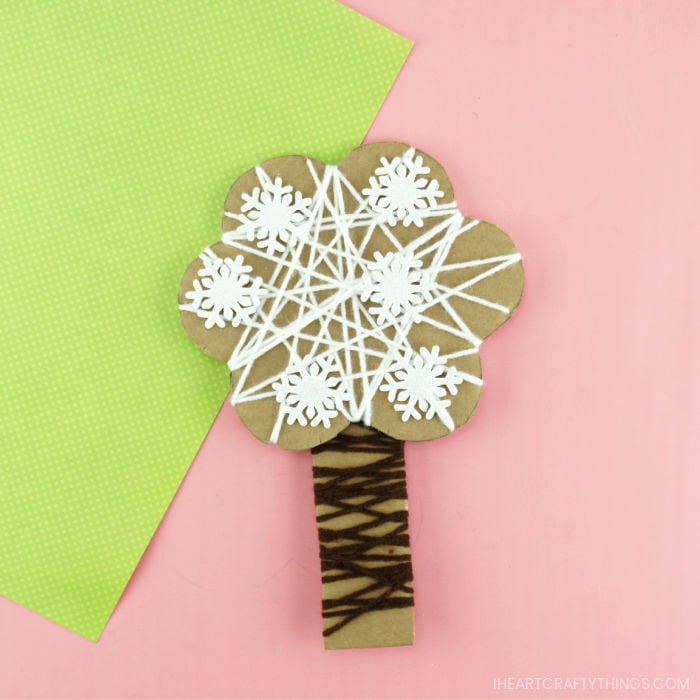
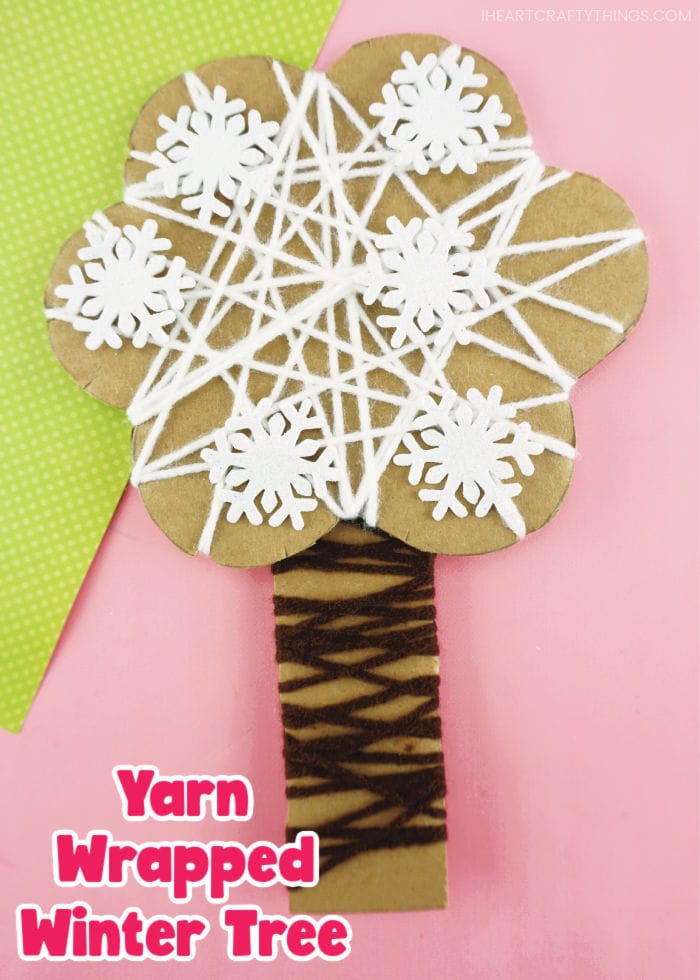
This yarn wrapped winter tree craft is a fun fine motor activity for preschoolers to enjoy this winter. You could also prep the activity beforehand and have it ready as an afternoon busy bag activity.
Are you teaching your preschooler about the four seasons in preschool this year? If so, this fun winter tree craft is a great activity to compliment the unit. It is packed with amazing fine motor skills work for those little hands and fingers.

This post contains affiliate links to the products mentioned. Read our disclosure policy for more information.
We added foam snowflake stickers to the top of our tree to add an additional winter element to it. I love how it looks. If you don’t have stickers available you can leave them off though. Or, children might enjoy drawing their own snowflakes on the cardboard tree top before wrapping the yarn around the tree.
Read our easy instructions below for how to make this fall tree craft with your kids. We also have a how-to video inside this post you can watch before getting started.
Supplies needed for this preschool fine motor activity
- tree craft template <—– Get the Template Here
- cardboard
- white and brown yarn
- scissors
- hot glue gun
- tape
- snowflake stickers
Instructions for creating this yarn wrapped winter tree craft
1. Cut out tree parts
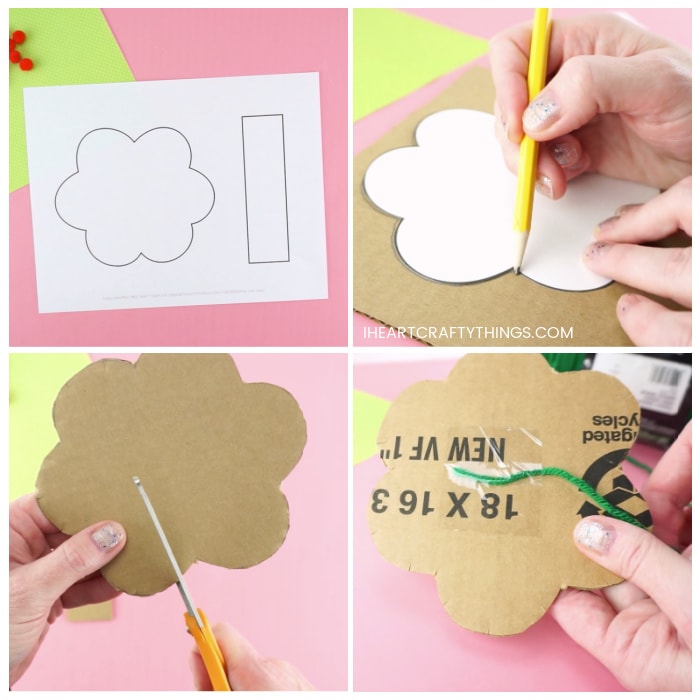
Download and print out our tree template. Trace the treetop and trunk piece from the template onto cardboard with a pencil. Then cut them out.
2. Cut small slits around the scallop shapes of the tree top
Go along the tree top shape with your scissors and cut small slits around the scallop shapes of the cardboard to create additional places to help hold the yarn in place when wrapping.

3. Cut white yarn strand and wrap it around tree top
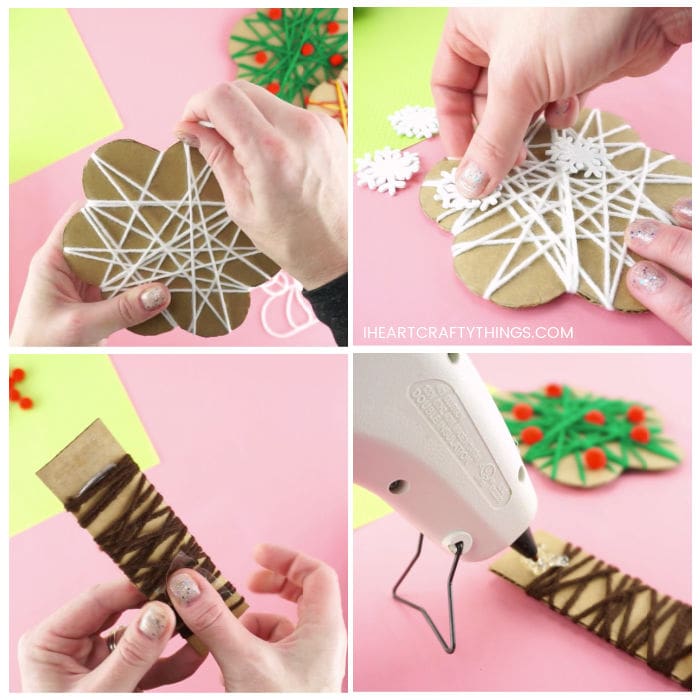
Cut off a long strand of your white yarn. Tape one end of it on the back of the tree top. Now it’s ready for the wrapping. Your little one can have fun wrapping the yarn around the tree top in any way they want. When they reach the end, tape it onto the back of the tree. We used clear packaging tape for an extra secure hold.
4. Add snowlakes
Peel the backing off your foam snowflake stickers and place them around your yarn wrapped tree top.

6. Cut brown yarn strand and wrap it around tree trunk
Cut off a long strand of your brown yarn and tape one end of it onto the back of the tree trunk. Now your little one can wrap it around the tree trunk. When they reach the end of the yarn, tape it onto the back of the tree trunk.
7. Glue tree top onto the trunk
Finish your yarn wrapped winter tree by using a hot glue gun to glue the tree top onto the tree trunk to make your tree. Adult supervision is always required when using a hot glue gun. You could also tape the two pieces together with sturdy tape like duct tape.


