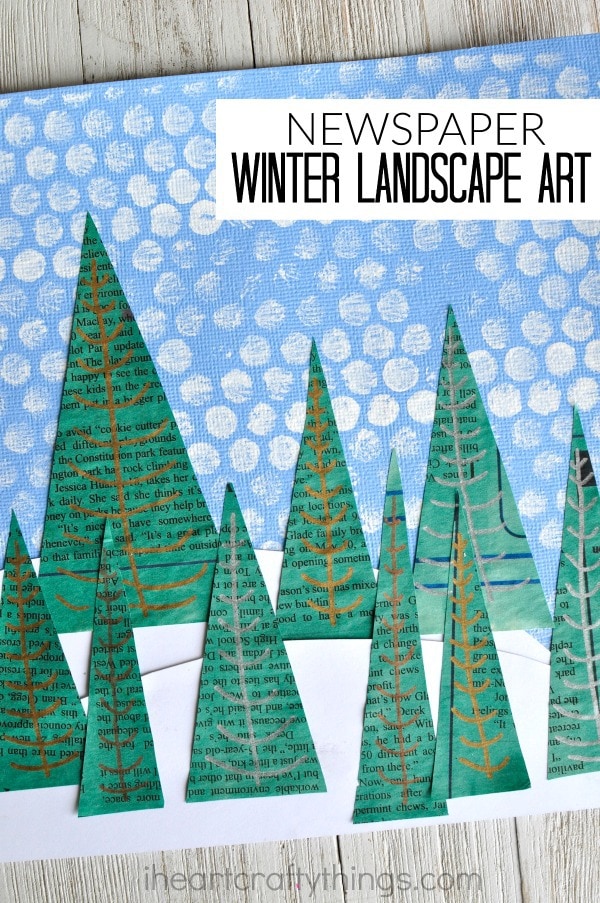
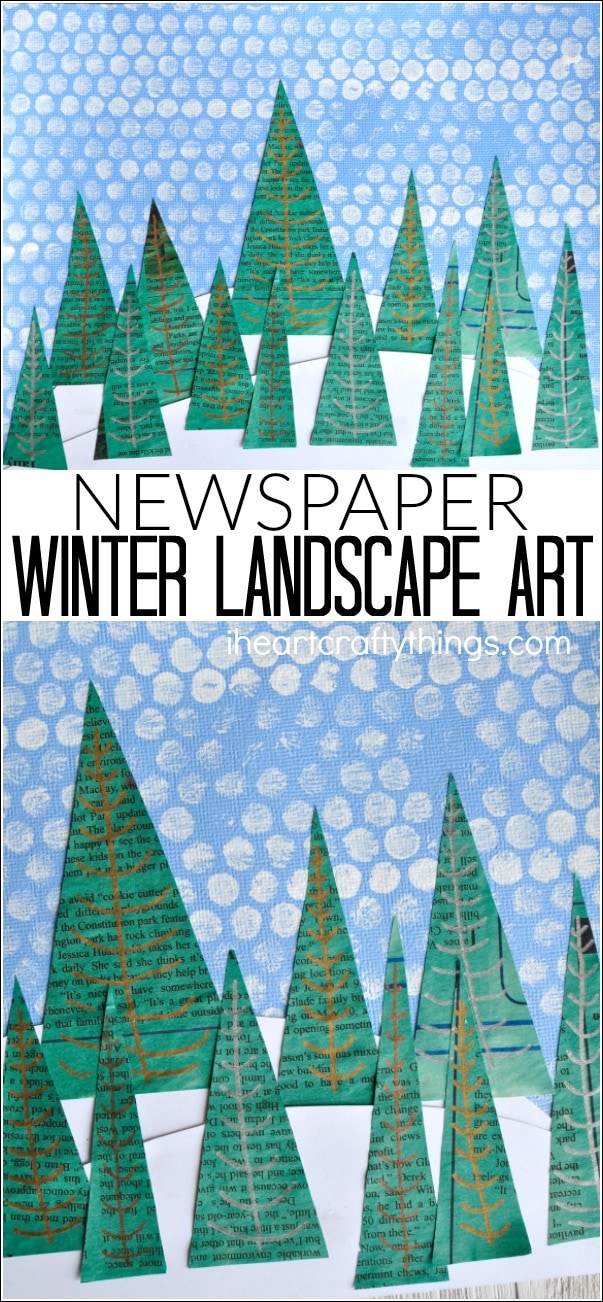
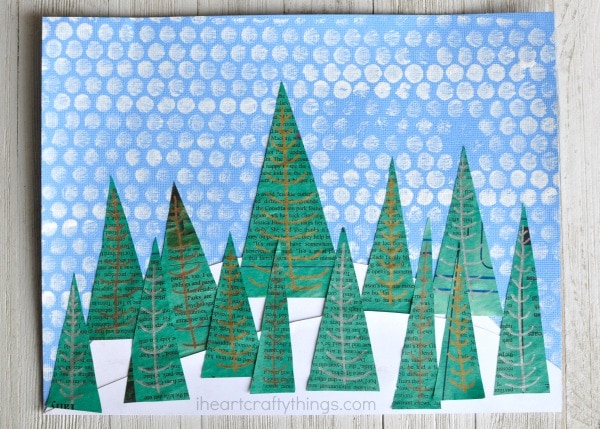
Looking for some beautiful winter art lessons to share with your children this season? If so, you are going to love this winter landscape art for kids. Using newspaper and a variety of different materials makes it a fun mixed media art project. Did I mention the end result is stunning?!
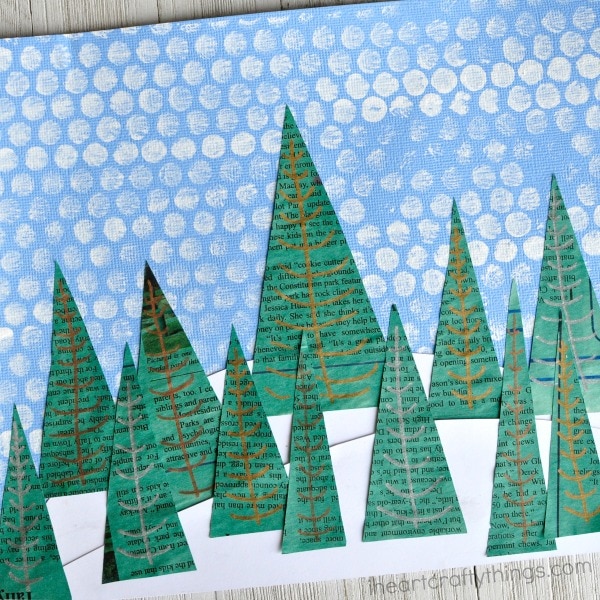
I’m not a big fan of living in a snowy climate (Brrr!!) but I love, love looking up at our mountains and seeing the beautiful evergreen trees set against the snowy landscape every winter.
We just had a big storm for Christmas so it was especially gorgeous during all of our holiday travels this past week. It inspired us to make this newspaper winter landscape art project this week. The printed bubble wrap background adds a perfect falling snow texture to the art project.
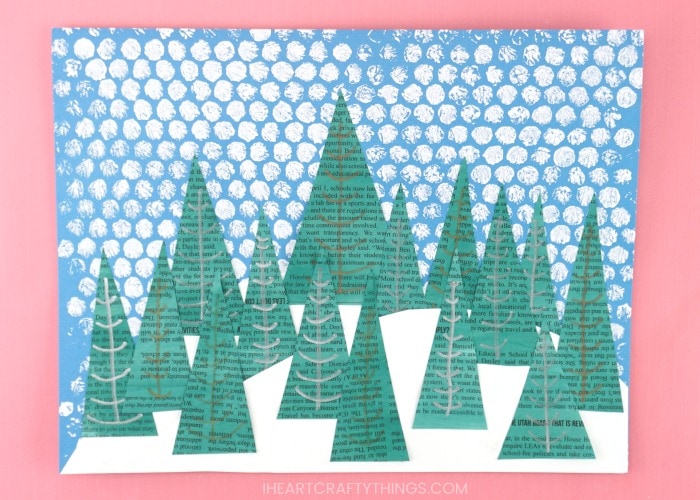
Before you get started making your beautiful winter landscape artwork, make sure to watch our full video tutorial inside this post.
Supplies needed to make your winter landscape art:
This post contains affiliate links to the products mentioned. Read our disclosure policy for more information.
- newspaper
- green watercolors
- paintbrush
- sponge paintbrush
- light blue and white cardstock
- bubble wrap
- white paint
- paper plate
- metallic markers
- scissors
- glue stick
Instructions on how to make a snowy mountain landscape art project:
1. Paint a section of newspaper with green liquid watercolors
Start by painting a section of newspaper with green liquid watercolors. The newsprint will be saturated at first but let it dry completely for several hours or overnight and it will harden back up.
2. Paint a section of bubble wrap with white paint
Cut off a section of bubble wrap a little bigger than your light blue cardstock. Pour some white paint onto your paper plate and use a sponge paintbrush to paint the raised bubbles of the bubble wrap with the white paint.
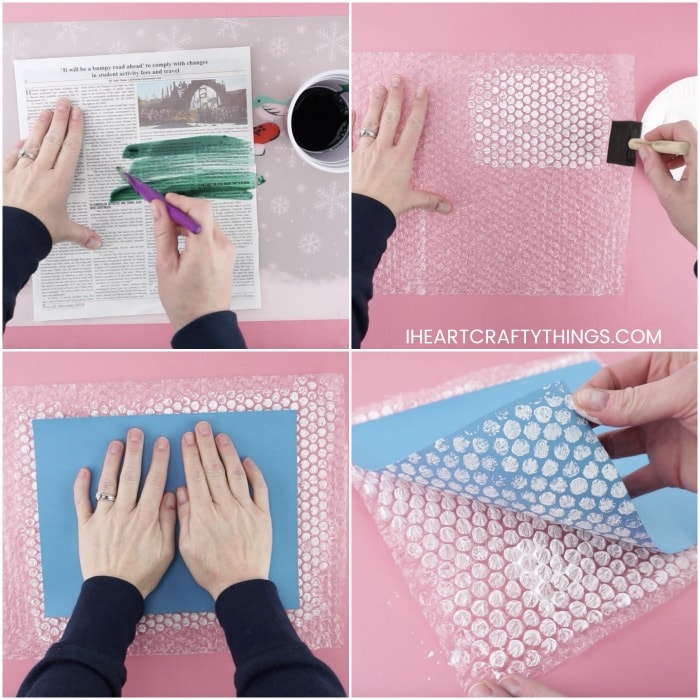
3. Place blue cardstock down onto painted bubble wrap
Carefully place your blue cardstock down onto the painted bubble wrap. Rub your hands all over the paper to transfer the white paint from the bubbles onto your paper.
Slowly peel off your blue cardstock from the bubble wrap to reveal the falling snow. Set your paper aside to dry completely.
4. Cut about 12-15 triangles out of painted newspaper
Once your painted newspaper has finished drying, cut out about 12-15 triangles in in varying sizes. Each of the triangles will become a winter tree for your art project.
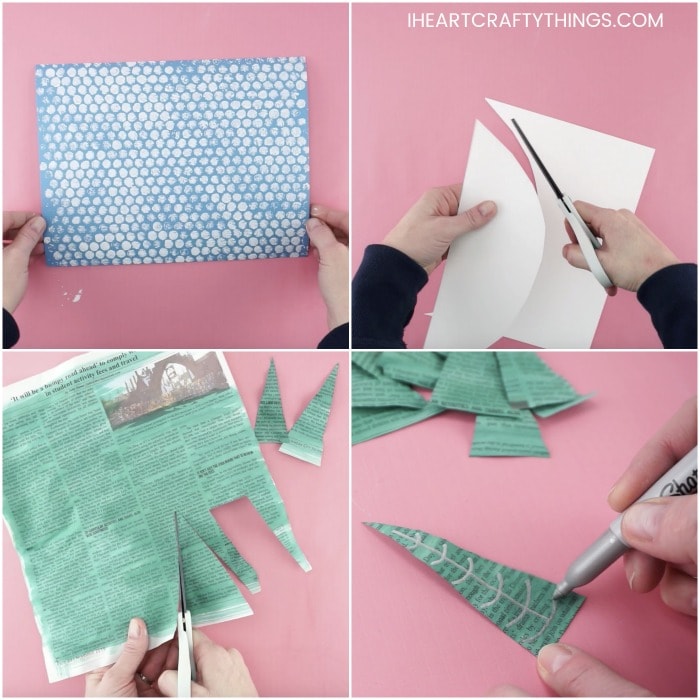
5. Draw a trunk and limbs on each of newspaper trees
Use metallic markers to draw a trunk and limbs on each of your newspaper winter trees. We used silver, gold and copper to add extra color to our artwork.
Note: As an alternative to using metallic markers you can also use an oil pastel to make markings on the newspaper trees.
6. Cut out two snowy hills from a white cardstock paper
Cut out two snowy hills from a sheet of white cardstock paper with the paper lengthwise. We used both the top and bottom flat edge of the paper as the bottoms of each of the hills. Ideally, you want one hill to be larger than the other to help add dimension to your winter landscape.
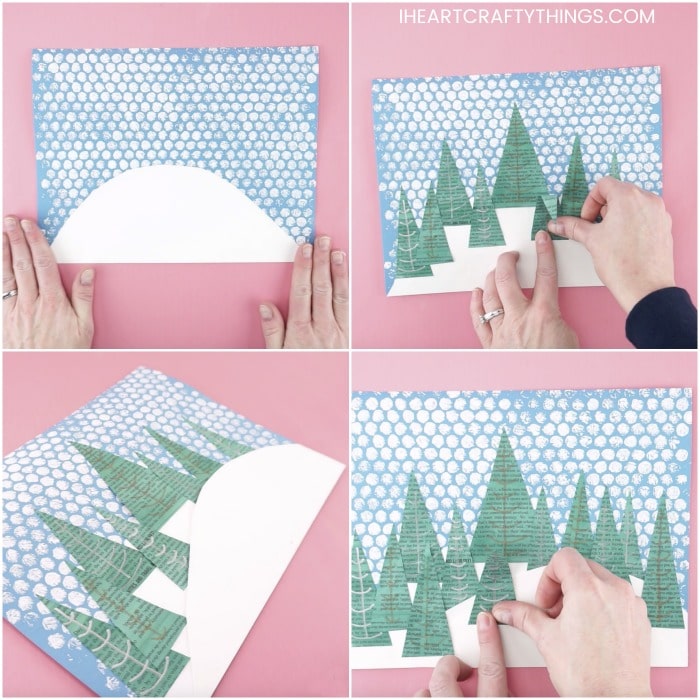
7. Glue larger snowy hill
Glue your larger snowy hill at the bottom of your snowy blue cardstock.
8. Glue trees on the hill
Arrange several of your newspaper winter trees around the white hill. When you are satisfied with their placement, use a glue stick to glue each of the trees in place.
9. Glue second snowy hill and remaining trees
Glue your second snowy hill at the bottom of your artwork, on top of the other hill and trees. Glue the remainder of your newspaper trees on the snowy hill.
