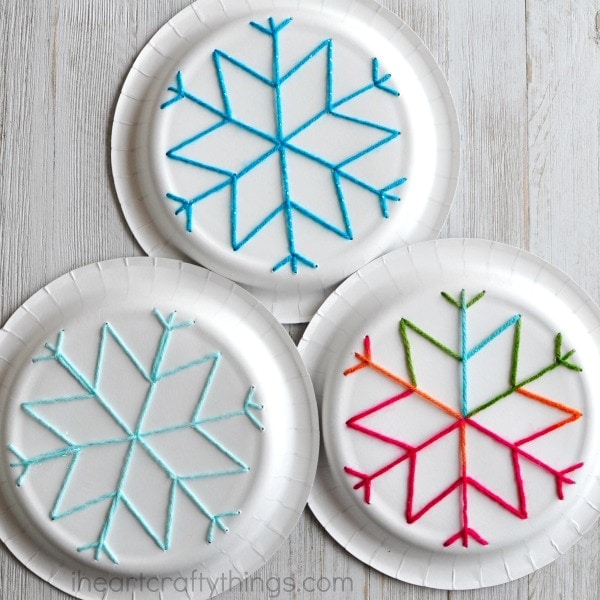
Eeek! I’m a little bit obsessed with how cool our latest winter craft turned out. I came across some fun snowflake paper plates at my local Target and was struck with the idea of how to turn them into this gorgeous paper plate snowflake yarn art.
Not only is this a perfect activity for the winter months but it’s great for beginning sewing and fine motor skills.

This post contains affiliate links to the products mentioned. Read our disclosure policy for more information.
Supplies Needed to Make this Paper Plate Snowflake Yarn Art
– paper plates
– push pin
– steel yarn needle (for adults only)
– yarn (color of your choice)
– scissors
– tape
Instructions for Making this Paper Plate Snowflake Art
1. Poke holes in all end points and intersecting points of snowflake on paper plate
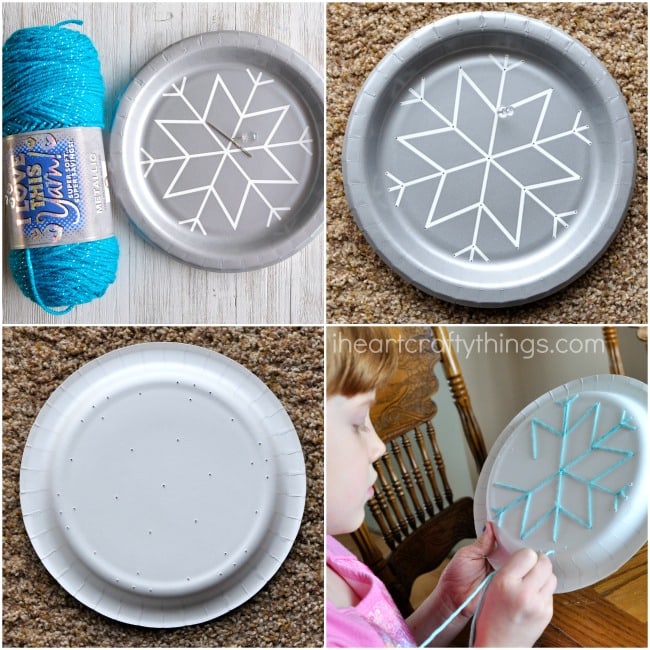
Start by using your push pin to poke holes in all the end points and intersecting points of the snowflake on your paper plate. See picture below. We have found the best way to do this is to place our paper plate on the carpet and then poke the holes. This way the push pin easily goes through the paper plate and you don’t have to worry about the pin scratching or hurting the surface below. (NOTE: If you can’t find these paper plates simply draw a snowflake pattern on the front of a regular paper plate.)
You can see the picture below with all the holes showing through the bottom of the paper plate. This is an important step so the holes are prepped for bringing the yarn needle through, and also so kids can see the outline of where the thread will go next.

2. Thread yarn through yarn needle
Cut off a big piece of your yarn. Thread one end through your yarn needle and tie a knot at the base of the needle. Then tie a double knot at the end of the yarn.
3. Thread the needle and yarn through the snowflake pattern
Thread the needle and yarn through the center hole in the plate on the front of the plate, then use the holes you poked and the pattern on your paper plate to thread through the snowflake pattern. You will end up going through some of the holes a few times to get the pattern complete. When you reach the end of your snowflake pattern cut off any excess yarn and tape the end of the yarn onto the paper plate.

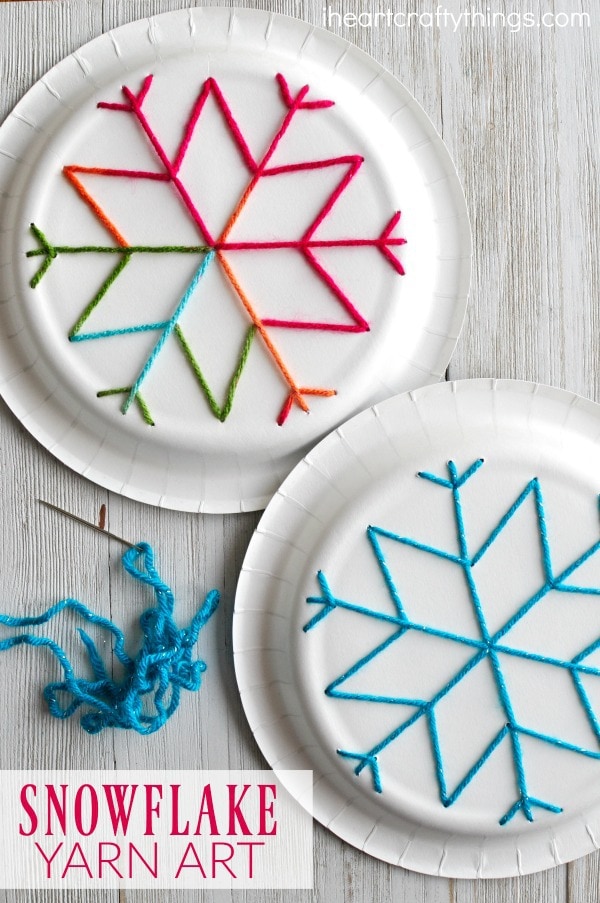
The end result of the paper plate snowflake yarn art is so gorgeous on the back of the paper plate. I loved how both the multi-colored snowflake turned out and the blue ones. You can make several and thread them together to make a fun winter themed banner to hang in your home. Or decorate your snowflakes even further with sequins, glitter glue and craft gems.
While my Kindergartner completed this craft with me it was a big challenge for her. I had to stay by her side and guide her through about half of the snowflake before she was able to be let loose on her own and complete the snowflake. Because of this, I wouldn’t recommend this for preschool students unless you plan on doing it as a one-on-one activity with them. Elementary age students of all ages will enjoy the challenge of this craft though.


