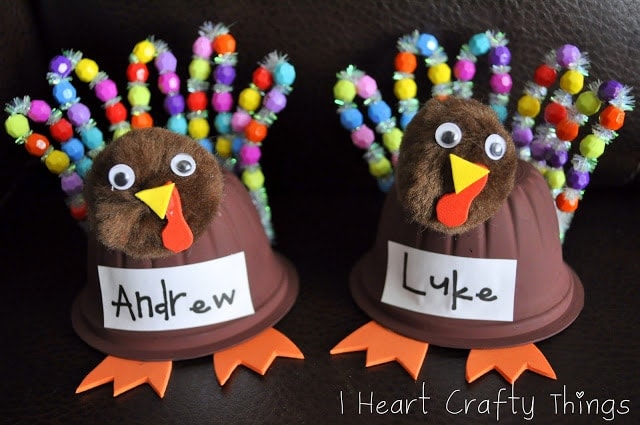
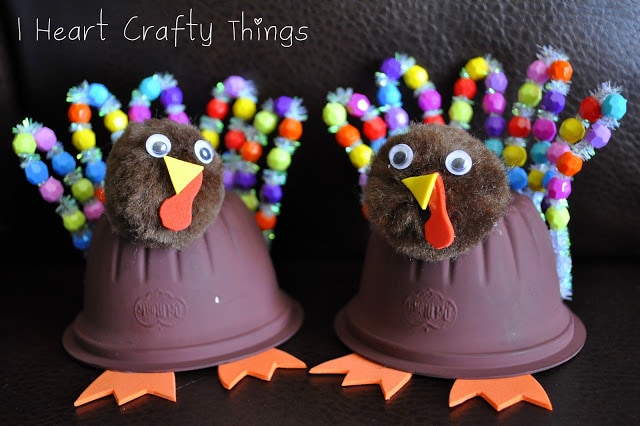
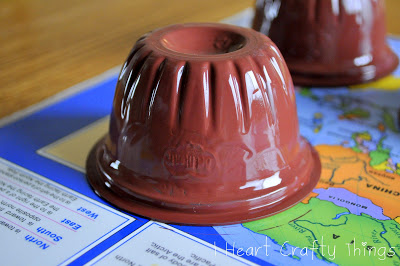
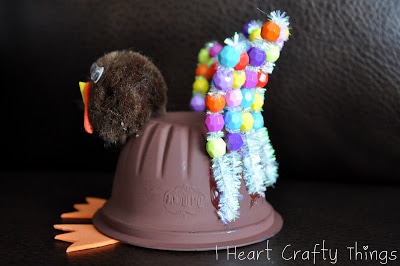
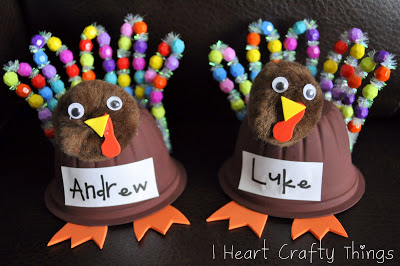
To make our turkeys we started by painting the outside of plastic fruit cups with brown acrylic paint. (They may require two coats, dependent on how thick you put the paint on.) Let them dry completely.
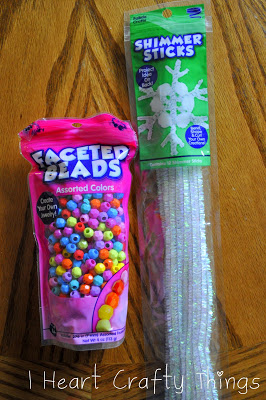
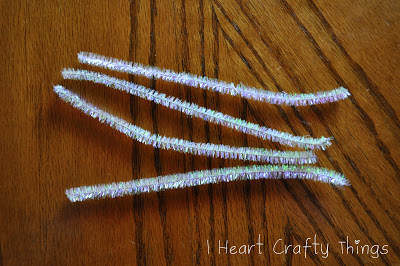
When thinking of how to attach feathers to our turkeys I instantly thought of some great products my friends at Craftprojectideas.com recently sent me: Faceted Beads and Shimmer Sticks. I am a huge fan of Craftprojectideas.com products, and found these to be of great quality and worked extremely well for this project. You can pick them up at your local Wal-Mart in the craft section.
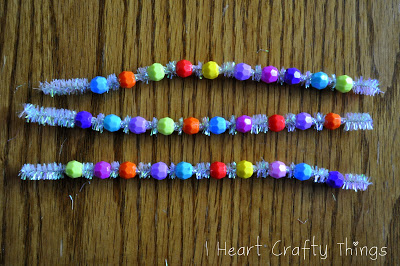
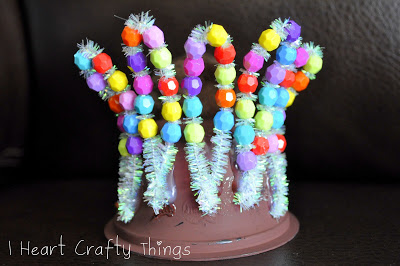
Next, bead each Shimmer Stick with anywhere from 8-11 beads. We left space in between the beads so the shimmer stick would show through.
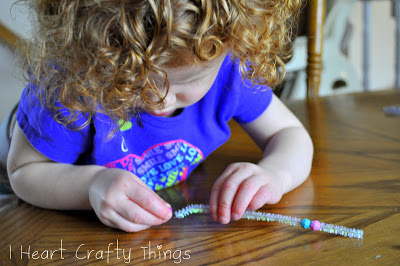
Did I mention how great this is for toddlers/preschoolers for hand and eye coordination? Here is my two-year old little helper who managed to bead several strands all by herself and loved every minute of it.
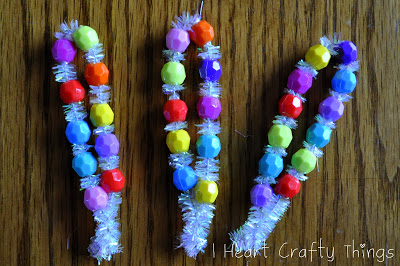
Complete each feather by folding it in half and twisting the bottom together to secure the beads in place.
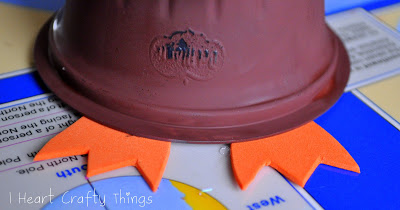
We also cut some turkey feet out of an orange foam sheet. You can see in this picture below that my cup is not quite dry yet and I decided to handle it. BAD IDEA! Some of the paint came off quickly and I ended up having to do touch-ups.
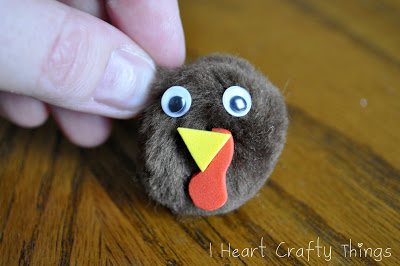
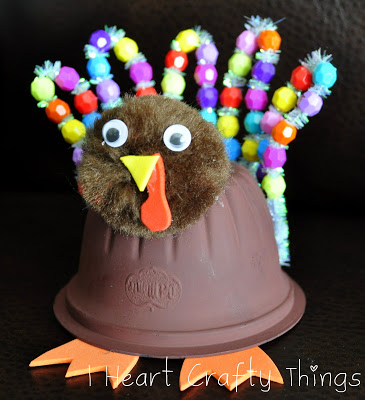
Once your fruit cup is completely dry, use a hot glue gun to attach the head and feet to your cup, and the feathers to the back of your cup.
The best part about using the Shimmer Sticks is how they are bendable to position them how ever you choose on your turkey. I curved mine out a little to give them more of a full effect.


