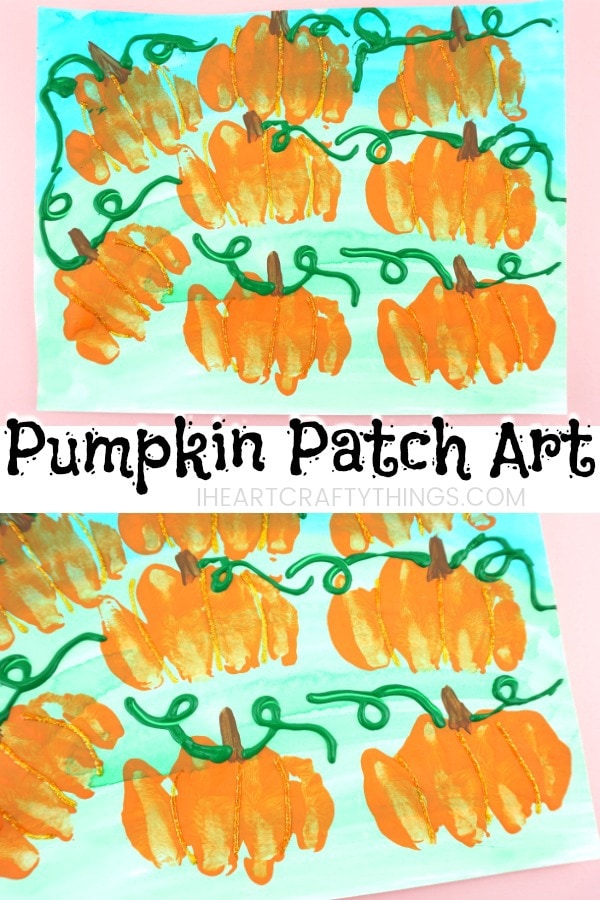
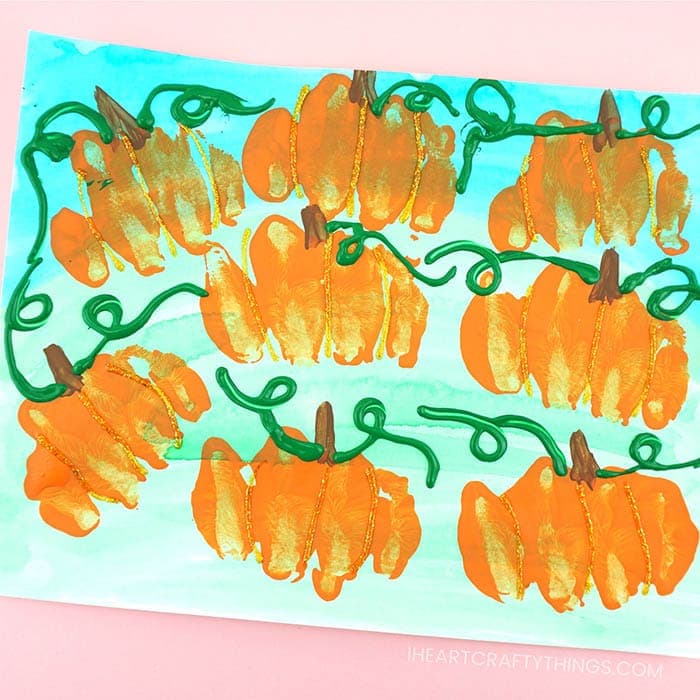
We are gearing up for our annual trip to the Pumpkin Patch and I thought what better way to get excited than with a fun craft! We used our knuckle prints to make pumpkins and created this adorable Pumpkin Patch Art Project. My kids’ artwork turned out so cute! If you are like us and enjoy a trip to the pumpkin patch every October, your kids are going to love making this gorgeous pumpkin patch art project.
This post contains affiliate links to the products mentioned. I Heart Crafty Things is a participant in the Amazon Services LLC Associates Program, an affiliate advertising program designed to provide a means for sites to earn advertising fees by advertising and linking to amazon.com.
Supplies needed:
- white cardstock
- watercolors
- paintbrush
- orange, green and brown paint
- paper plate
- orange glitter glue
- plastic squeeze bottles
Instructions:
1. Paint hill and sky on your paper
To make our pumpkin patch craft we started by using liquid watercolors (watered down a bit) to paint a large hill with sky on top. To help my children, I used a light pencil marking to draw the hill before the kids painted. Set the paper aside for the watercolors to dry completely.
2. Paint pumpkin shape using kids fist
After the watercolors are dry, place some orange paint onto a paper plate. Have the children make a fist with their hand. Dip the fist into the orange paint and then press it down onto the hill to make pumpkins. I helped my children press down their fists at first to help them get the hang of it.
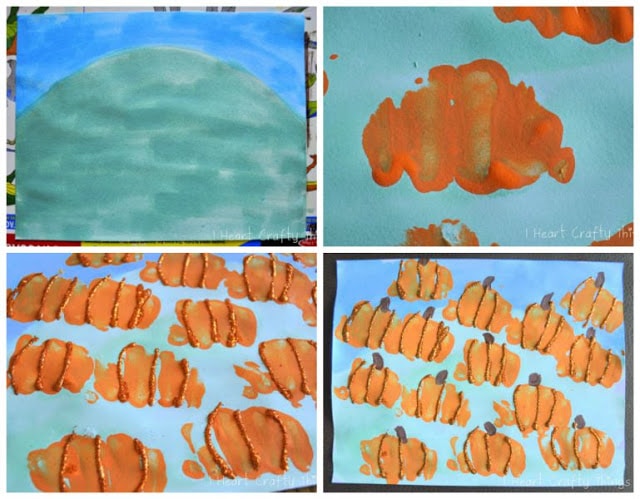
Children continue dipping their fist into the orange paint and then onto their hill to fill it with pumpkins. Set your paper aside for the paint to dry again.
3. Draw lines with glitter glue
After the pumpkins are dry, use glitter glue to draw lines in each pumpkin along the finger lines of the fist to give the pumpkins dimension. As an alternative to glitter glue, you can use school glue and orange glitter. Glitter glue is much less messy though.
4. Paint stems on pumpkins
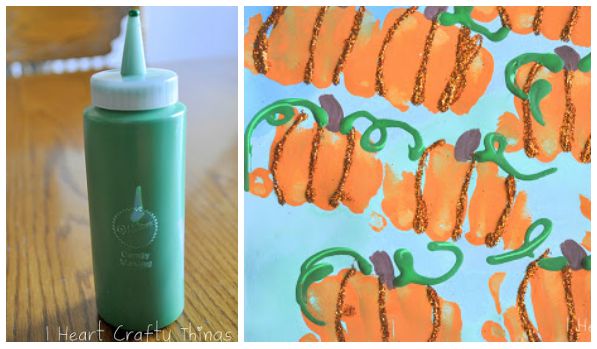
Once the orange glitter is dry, pour a small amount of brown paint onto a paper plate. Use a paintbrush to paint pumpkin stems at the top of each of the pumpkins.
5. Add curly vines
Now use green paint to add some curly vines to each of the pumpkins in your pumpkin patch art project. The trick to making the vines is using one of these plastic squeeze bottles. Simply fill the plastic bottle partially with green paint. The small tip helps kids be able to squeeze out the paint carefully to make some curly vines on their pumpkins.
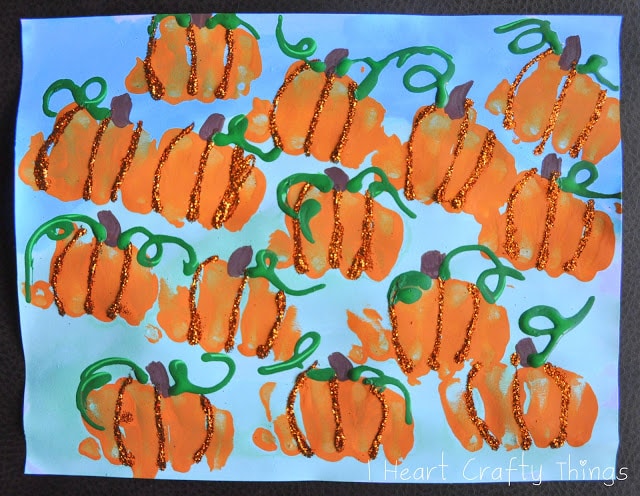
I had my kids practice on a separate sheet of paper to get used to squeezing the bottle and making some swirls before they painted on their pumpkin patch art project. Note: Any leftover paint can be squeezed right back into your green paint bottle.
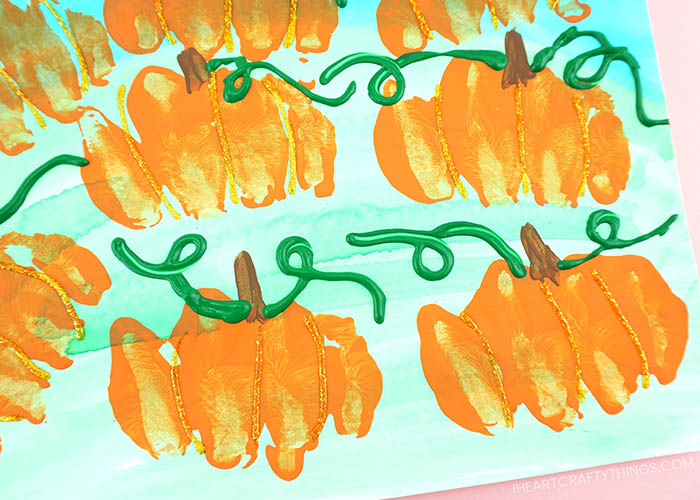
Your pumpkin patch art project is complete!
The finished project is bright and cheery and is sure to bring excitement for the fall season into your home!
Watch the video below for a step by step guide on how to make this fun dinosaur craft with our handy templates we shared above.
