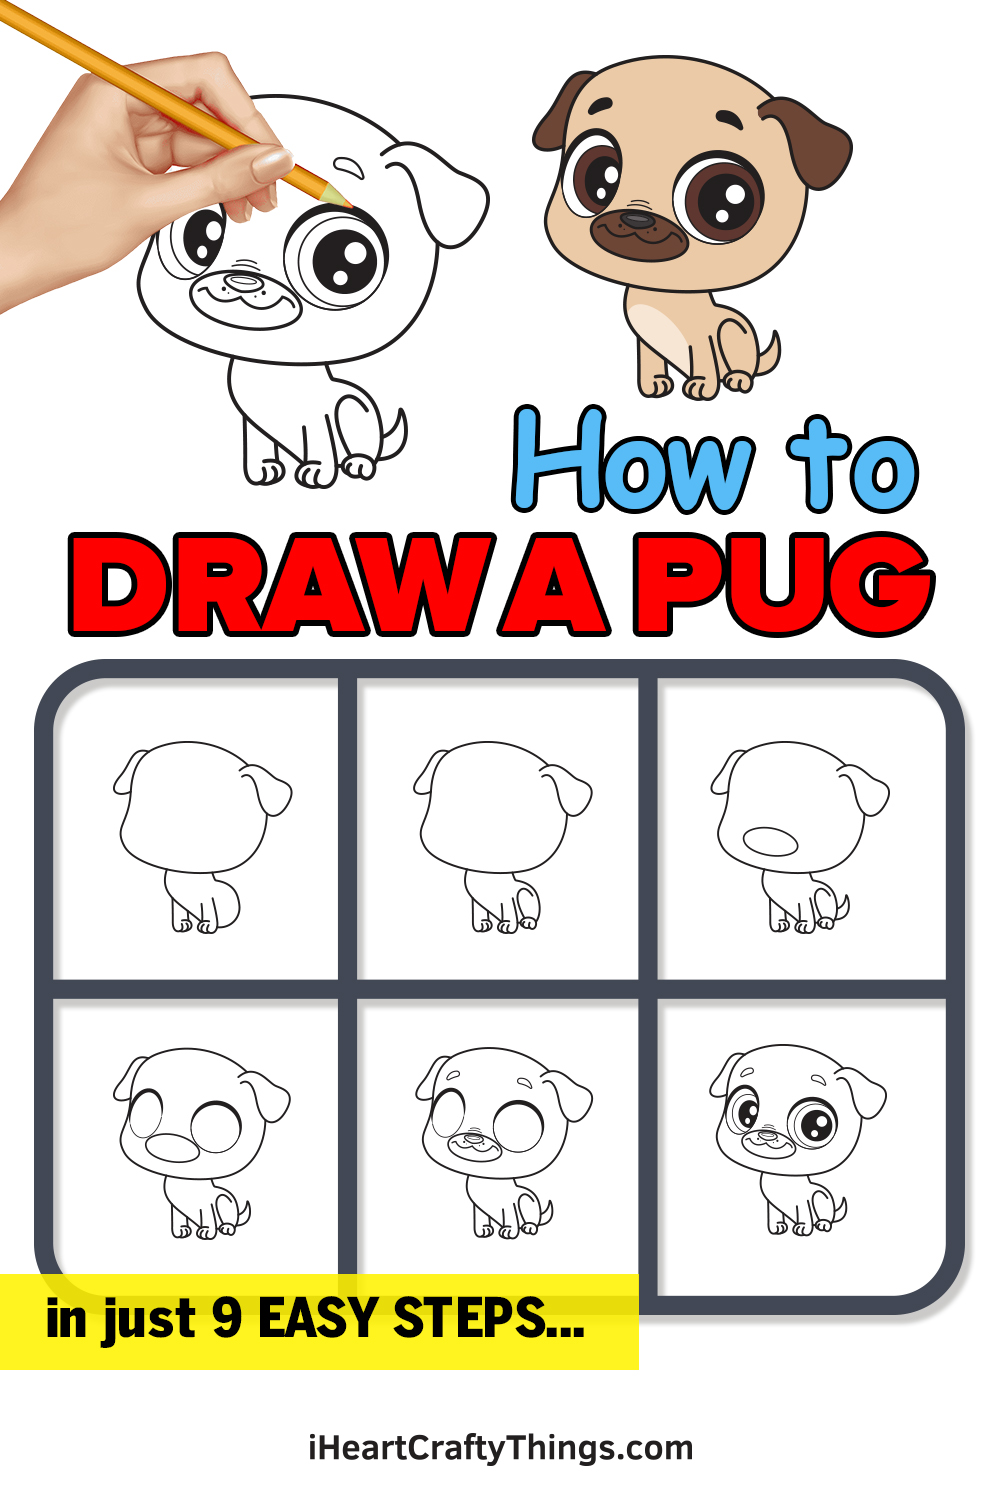
You are just a few steps away from learning how to draw a pug! By following this guide for kids, you will see the easiest way to draw one of these lovable pups.
Pugs have become increasingly popular in recent years, and it’s due to the fact that they have such a unique appearance. They have squishy little faces that may not be traditionally beautiful but are super adorable in their own way.
Not everyone gets to own a pug of their own, and so drawing one can be the next best thing! In this guide, you will see the easiest way to make your very own cartoon pug.
Once you have finished the steps, you could even make a background or add some toys for your new pug pal to play with!
Discover How To Make Your Pug Drawing By Watching This
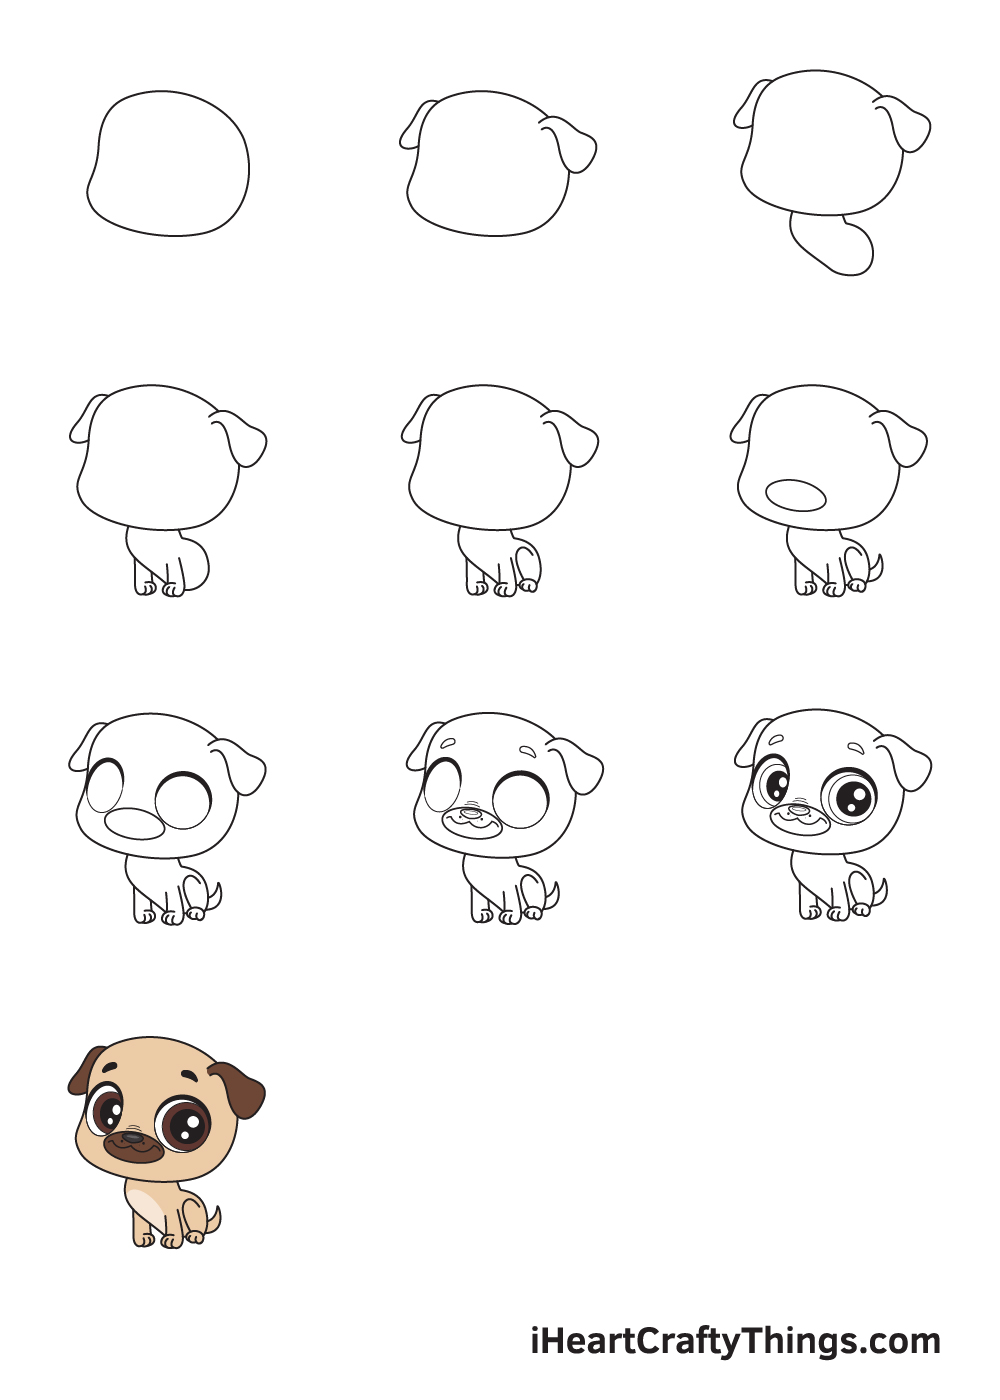
How to Draw a Pug – Let’s get started!
Step 1
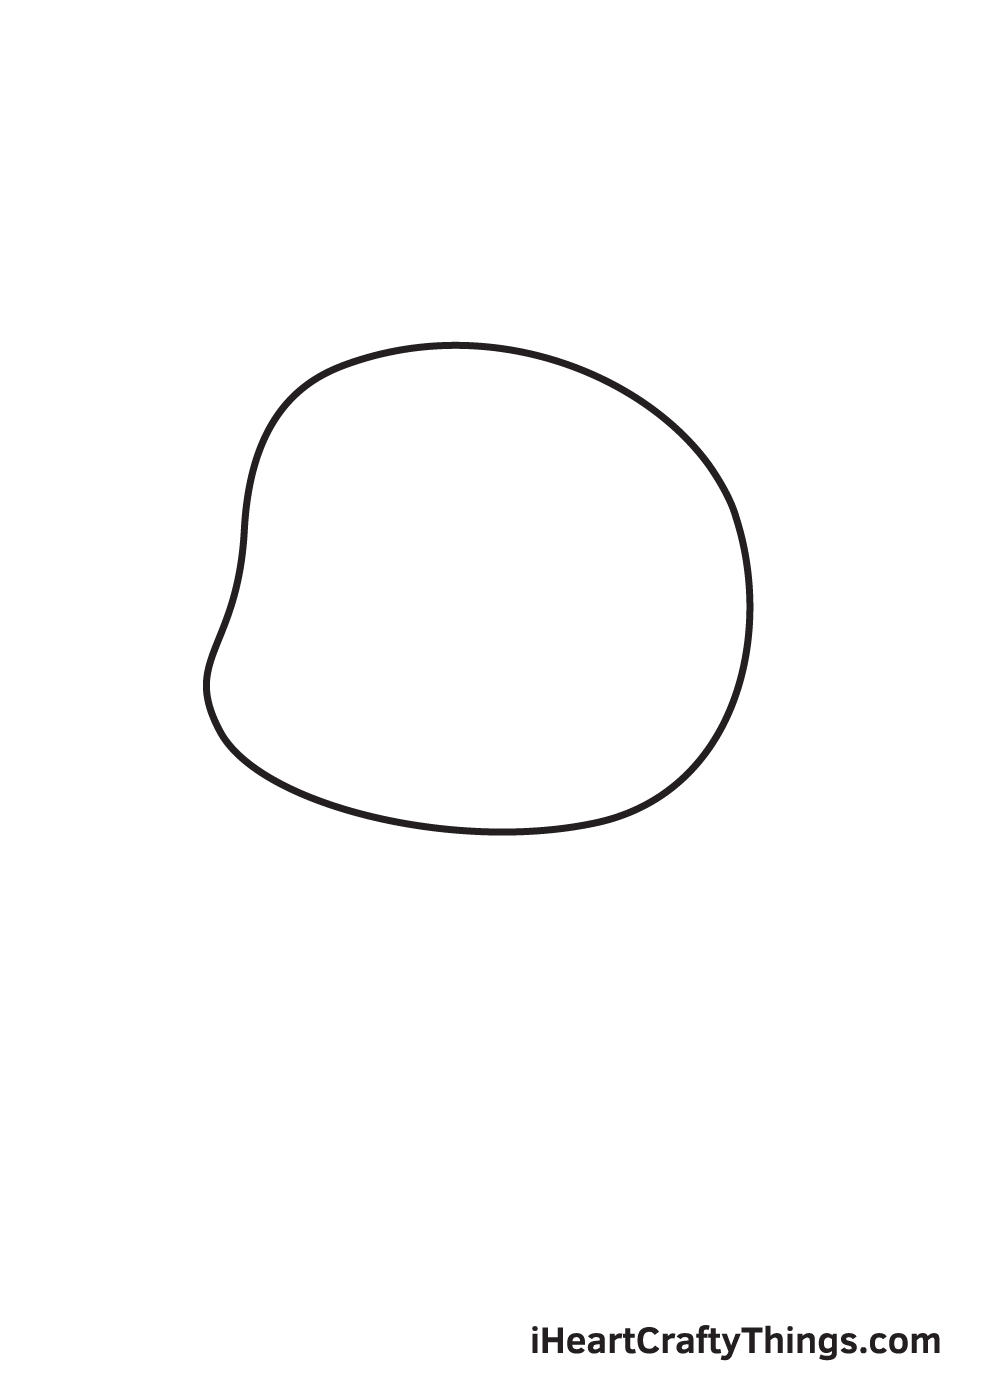
Starting right above the middle of your paper, draw an irregular circle shape to outline the shape of the pug’s head. Emphasize the chubby cheeks of the pug by making it a bit wider than the rest of the face, as shown in the illustration.
Avoid pressing down too hard with your pencil when drawing the outline. It is crucial to draw with a light hand so you can easily erase any lines from the outline that you no longer need later on.
Remember, when drawing a rough sketch or outline, draw with light strokes.
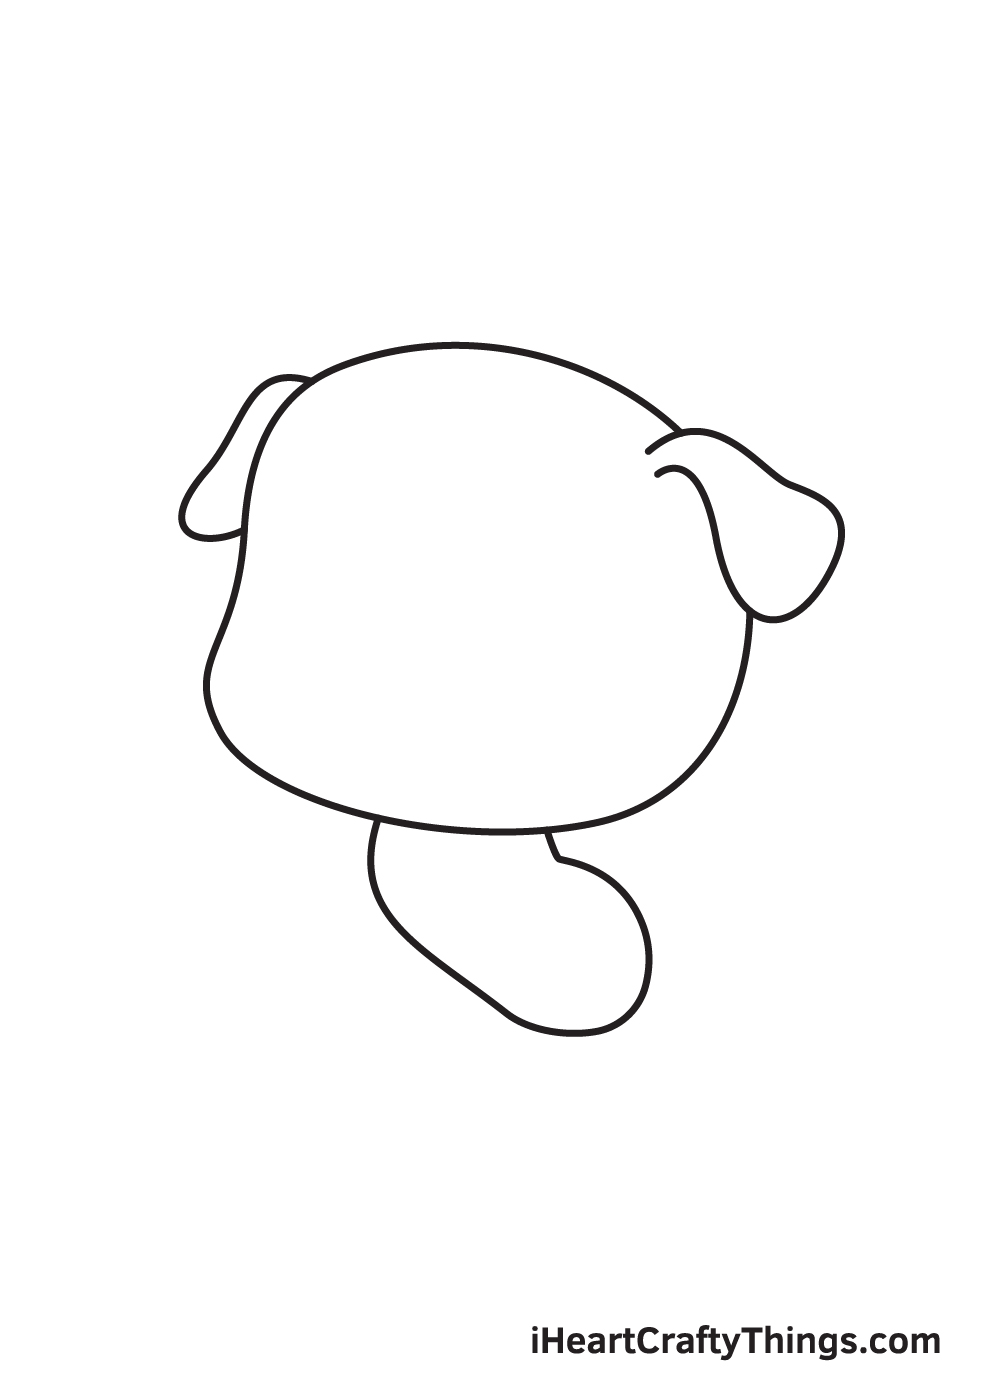
Step 2 – Create an Outline of the Pug’s Head
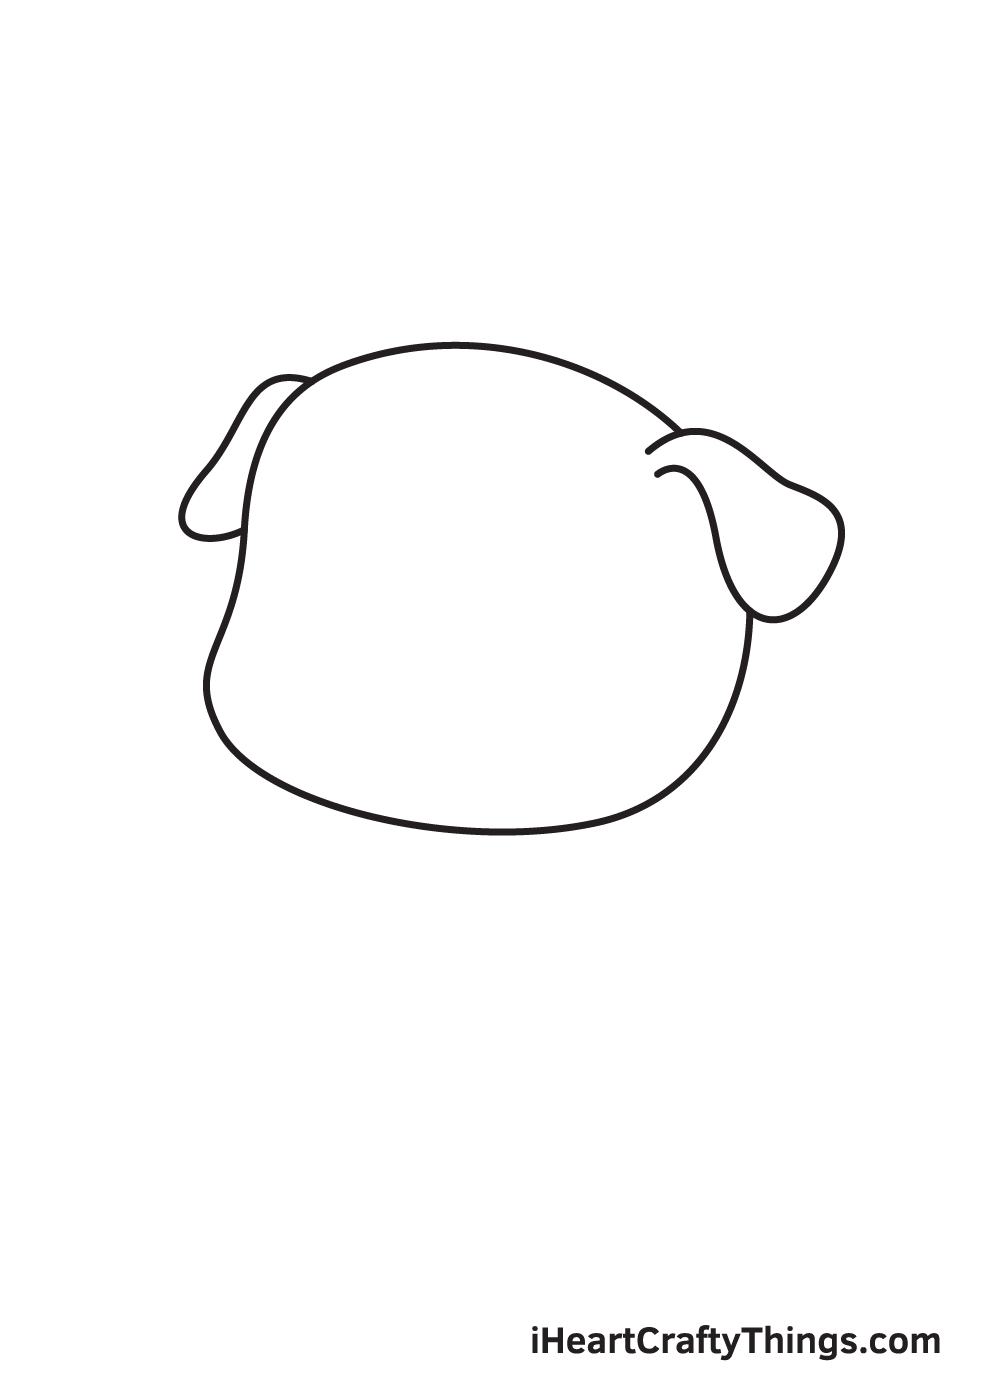
Pugs are particularly known for their cute little fold-over ears, so that’s what we will be drawing in this step.
Simply draw an uneven shape with a tapered top and wide bottom to form the right ear that is fully visible.
Then, draw a similar shape halfway through on the opposite side to create the left ear. Don’t forget to erase the lines overlapping inside the ears to polish up the shape!
Step 3 – Then, Outline the Body of the Pug
Draw an elongated shape with a round bottom right underneath the head to create the body. Take note that this is only the body’s outline, so make sure you draw with a light grip to avoid harsh lines that are difficult to erase!
As you can see in the illustration, the body of the pug is relatively smaller than its head. That is because we’re drawing a cartoon or an animated pug.
Needless to say, you’re free to make the body as big or as small as you want!
Step 4 – Next, Draw the Front Legs of the Pug
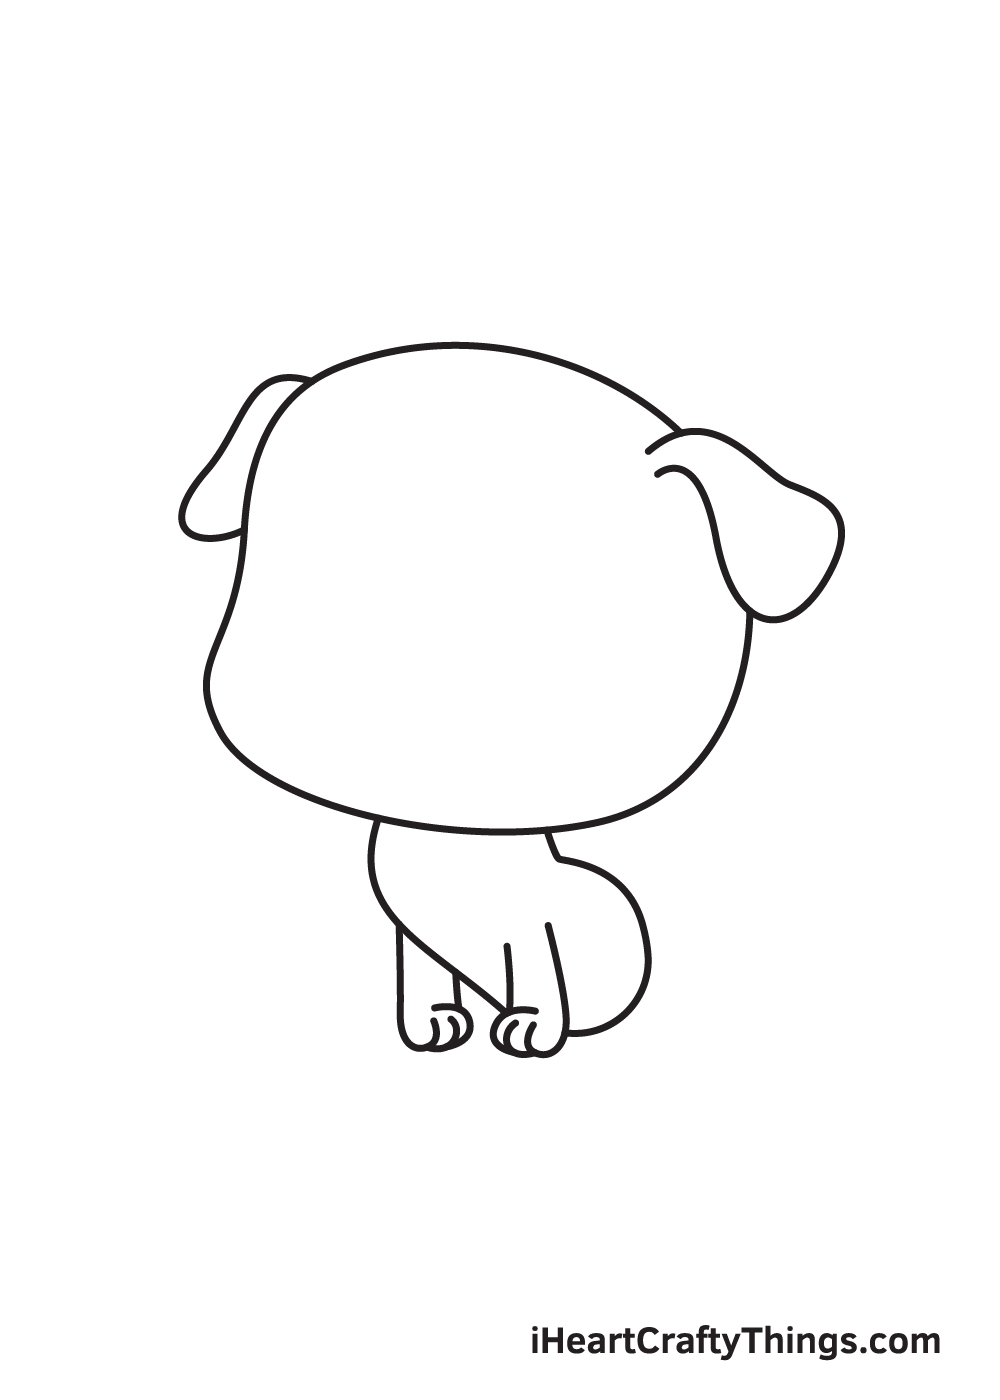
Draw two short vertical parallel lines on each side of the pug’s chest. This forms both front legs of the pug.
Afterwards, draw a curved line forming a wide letter “C” at the bottom of each leg to create the feet. Don’t forget to draw two small curved lines within each foot to create a division between the paws!
Step 5 – Now, Draw the Hind Legs of the Pug
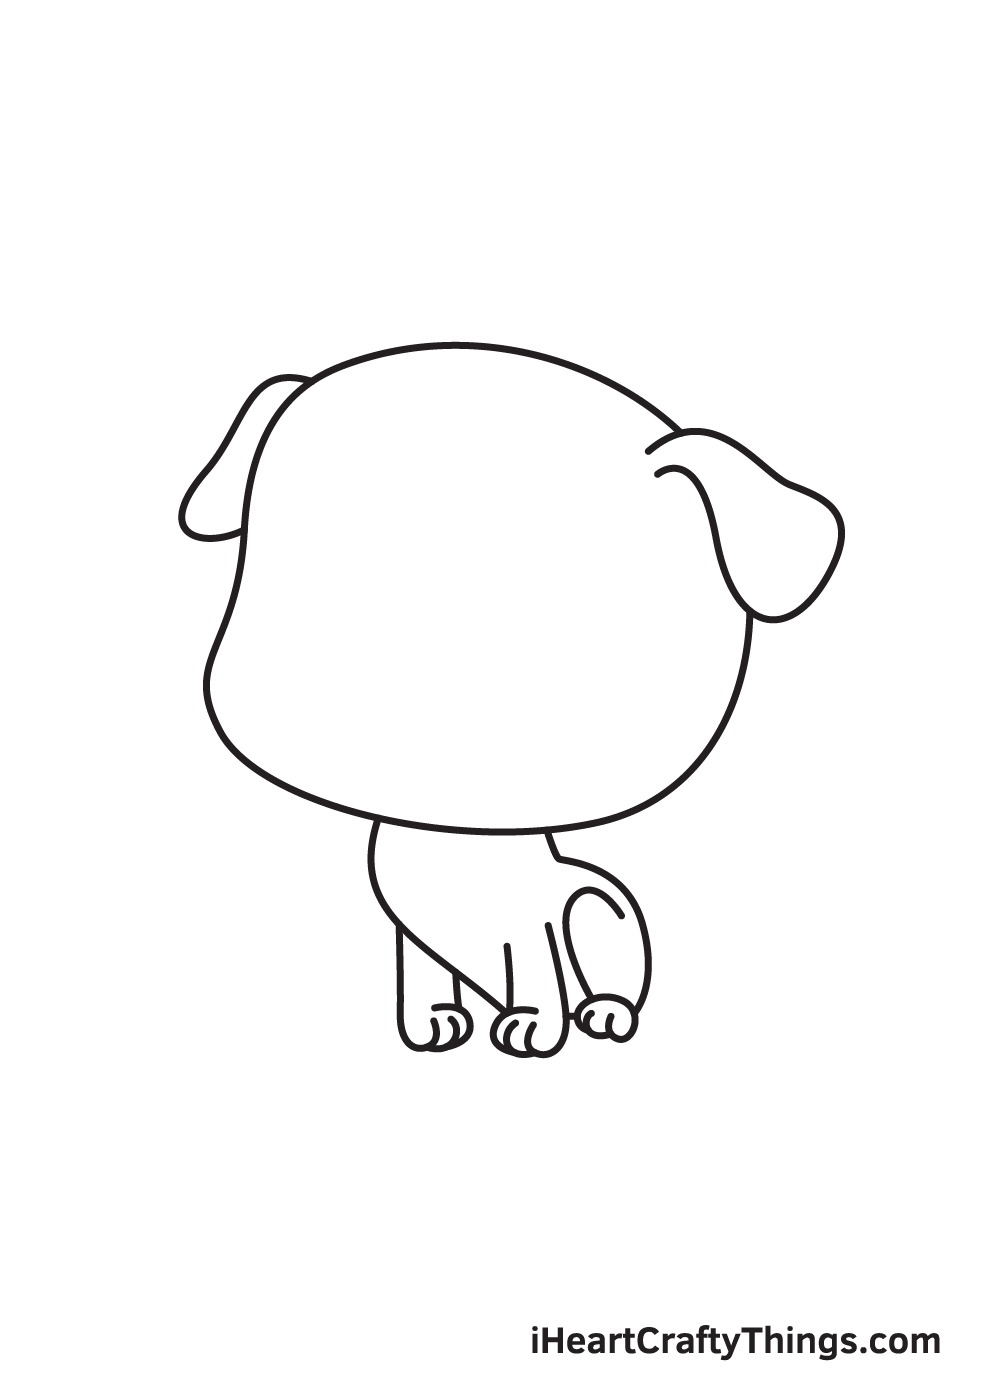
Draw an upside down U-shaped curve with the left line longer than the other on the bottom back of the pug’s body.
This creates the appearance of a folded hind leg. Afterwards, draw the foot with three paws at the bottom of the hind leg.
Since the pug is facing sideways, only its left hind leg is visible. Thus, we’ll skip drawing the opposite leg on the back.
Step 6 – Afterwards, Draw the Tail of the Pug
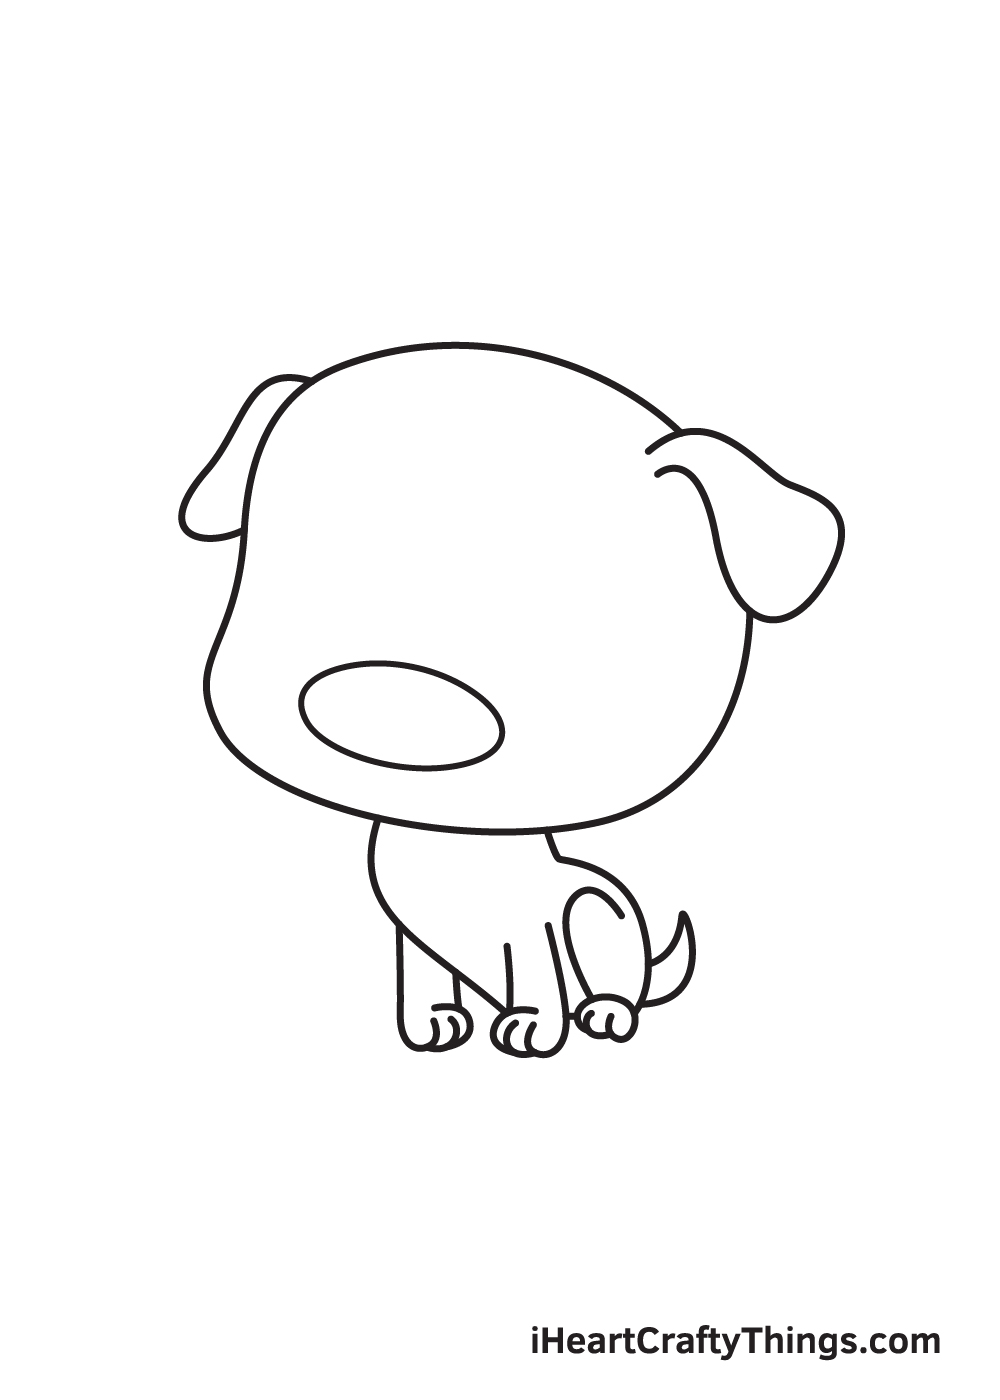
Pugs typically have short pointed tails, so that’s what we’ll be drawing in this step. Create the tail by drawing a narrow pointed shape on the bottom back of the pug’s body.
In the illustration shown above, the tail is simply raised upwards. However, you can also draw it in a spiral form if you like!
Create the snout by drawing a sideways oval shape at the bottom middle inside the face of the pug. This is where you will be drawing the nose and the mouth of the pug later in the following steps.
Step 7 – Outline the Shape of the Pug’s Eyes
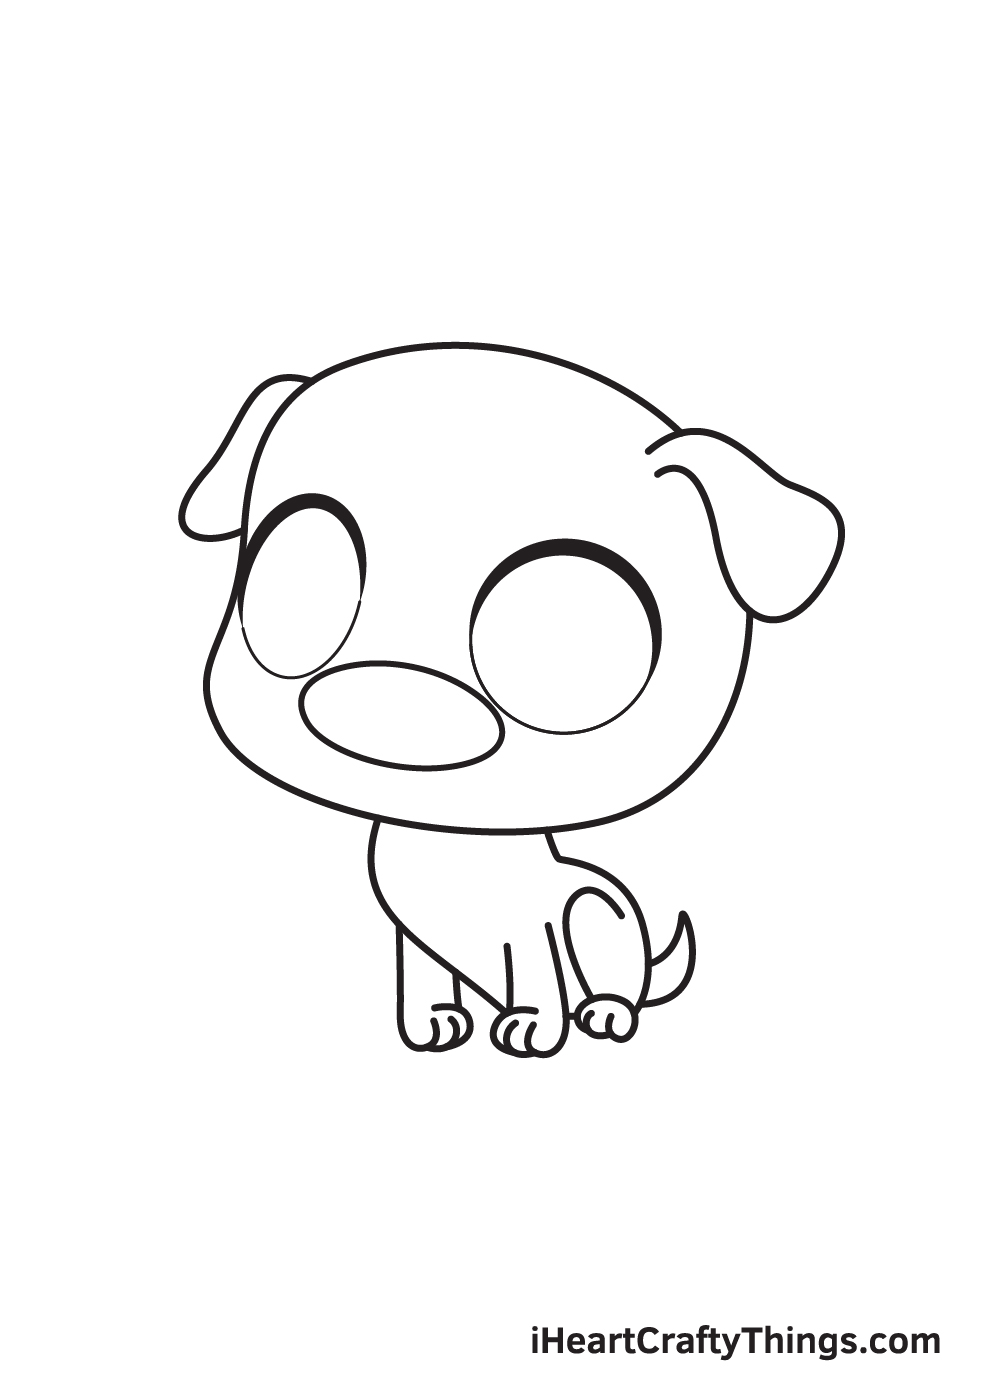
Above the outline of the snout, draw two enormous circles to create the shape of the pug’s eyes.
Pugs are known for their large, bulging pair of eyes—in fact, it’s one of their most distinctive features!
Step 8 – Draw the Remaining Facial Features
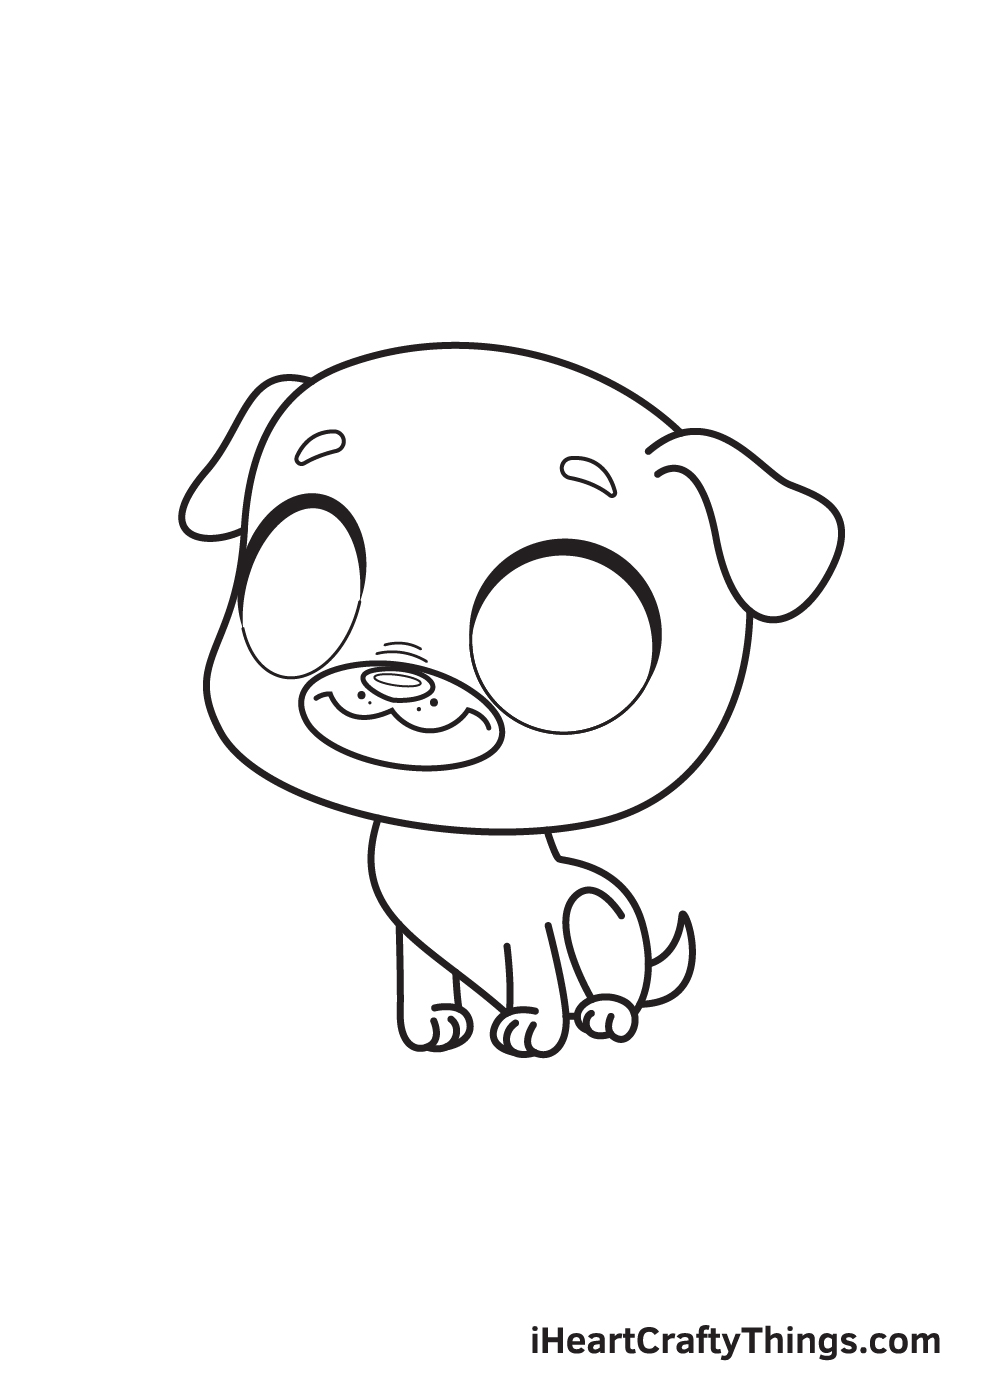
Now, we’ll be drawing the rest of the facial features to complete the look. Starting from the top to the bottom, proceed by drawing a curved eyebrow above each eye.
Then, draw a sideways oval shape with a slightly pointed bottom paired with a W-shaped curved line inside the snout. Don’t forget to add tiny dots within the snout for extra details!
Step 9 – Shade the Pug’s Eyes to Add Emotion
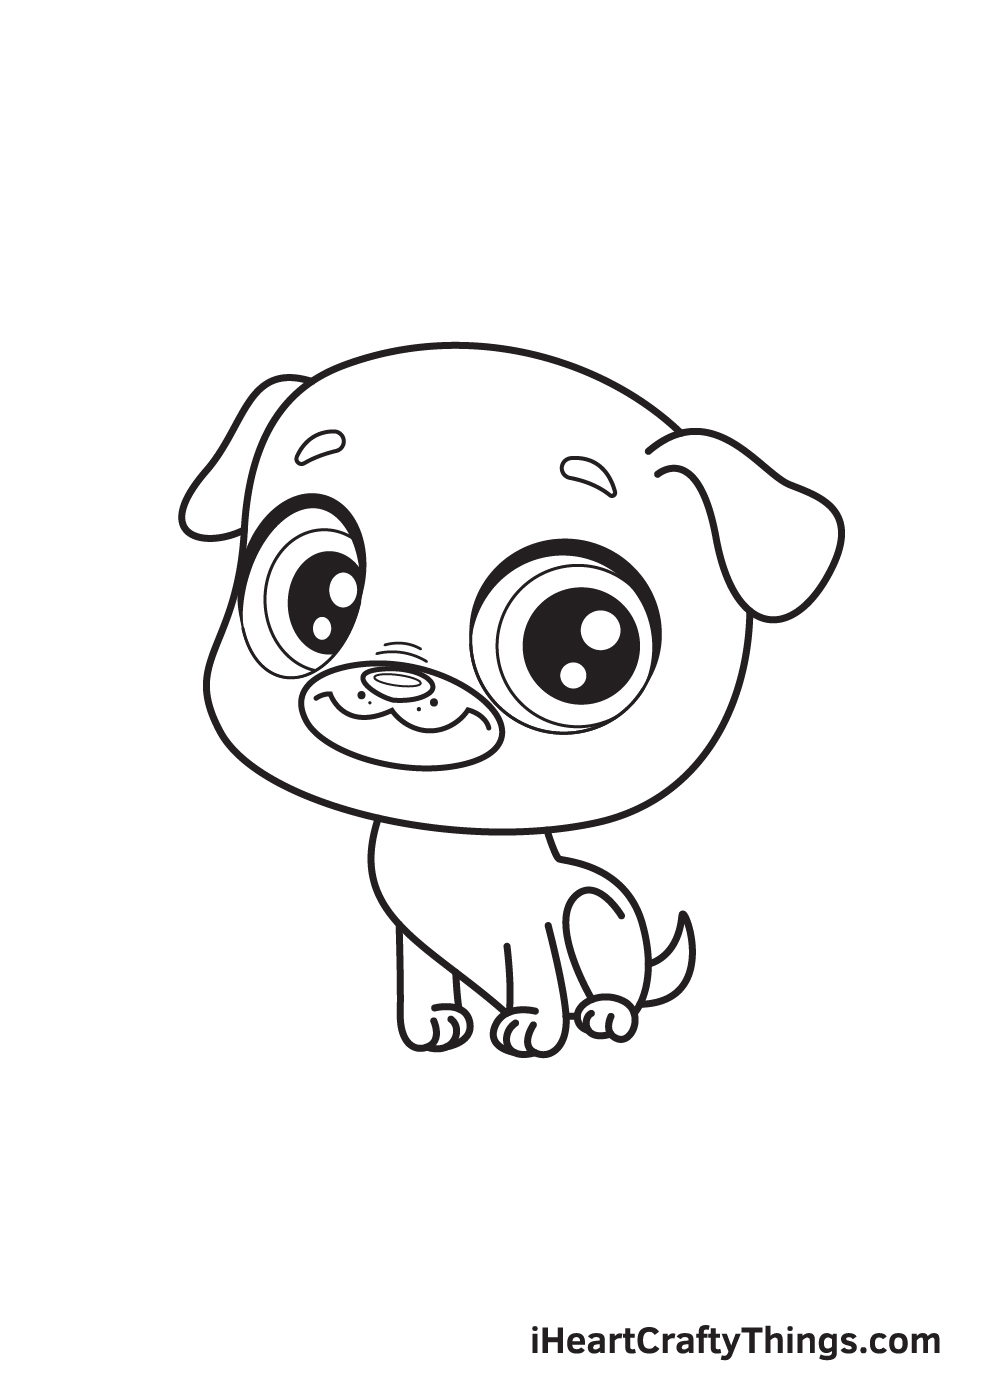
Like any other characters and animals, how you shade the pug’s eyes determines if it will look sad or happy. It all depends on the glimmer of the eyes.
Inside the outline of the eyes, draw a circle shape on either side depending on which direction you want the pug to be looking at. In this case, we drew the pupil on the right side.
Afterwards, draw a smaller circle inside the pupil to create the iris. Then, draw two more tiny circles inside the iris.
Now, shade the entire iris except for the two tiny circles. This creates a dramatic “sparkling eyes” effect, making the pug look cheerful!
In this step, we will now be adding colors on our drawing—so exciting!
Pugs come in four primary colors: black, fawn, silver fawn, and apricot. Any other color is a variation of any of these or a combination of two.
While you may have limited color options for your pug drawing, you’re free to use a unique set of colors to create a one-of-a-kind pug!
Have fun playing with colors until the pug ultimately comes to life!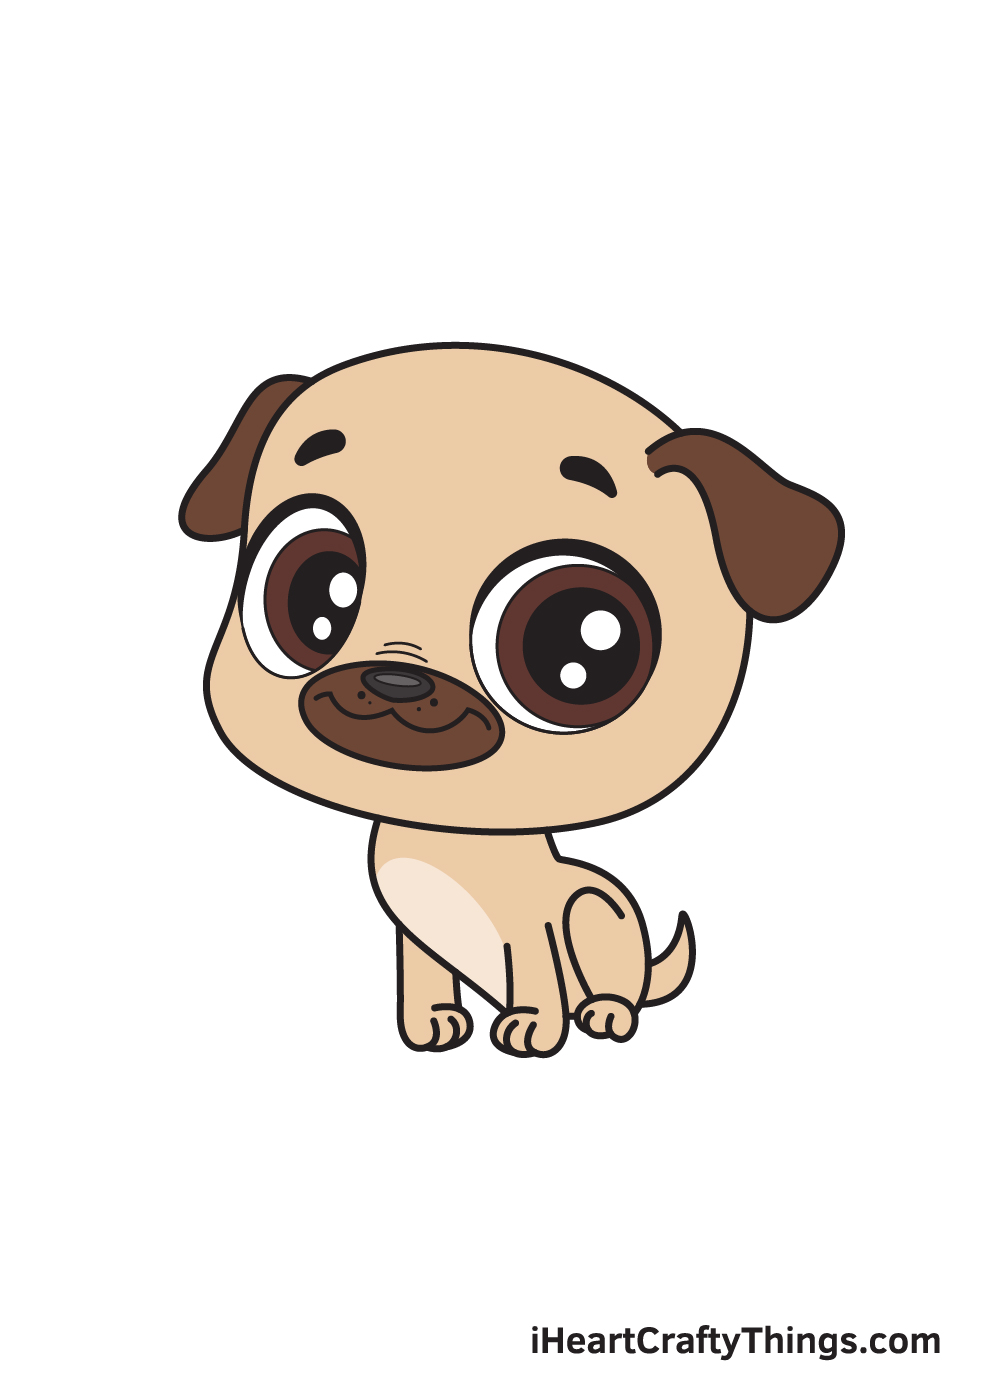
Here’s how you can make your pug drawing even better…
Make your adorable pug sketch even better with these fun and easy suggestions!
For this pug drawing, we created such a cute cartoon version of this famous dog breed. We love the style it is drawn in, but if you want to create your own take then you could change the design a bit.
You might want to make the pug look a little more realistic or maybe even simplify the design even more! If you can’t decide, maybe you could make a few different variations done in different styles.
Everyone knows that pugs are super cute. The only thing cuter than a pug is more pugs!
That’s why we think it would be great to add a few more pups to this drawing of a pug. You know how to do it after finishing this guide, so it should be easy enough to do.
You could create all kinds of fun and cute scenarios for the pugs to be involved in, too! What kinds of pug adventures would you like to create.
Some people like to dress up their cute pups in clothing. This can help keep them warm in cold weather or just make them look even cuter.
We think it would look so adorable if you added some clothing to this pug sketch! Maybe it could be wearing a fluffy beanie or even a nice sweater.
These are just a few ideas, but you could create any kind of doggy outfit you like! How would you like to dress up a cute pug?
Once you have chosen which of these tips you would like to try out, you can finish it all off with a background. If you were to do this, you could create any kind of setting you can imagine!
It could be as simple as having the pug sitting in a living room next to a fire. Or you could create a pug party with lots of treats and balloons!
What kind of setting would you like for this pug drawing?
Your Pug Drawing is Complete!
If you had fun with this drawing tutorial, then you’ll surely enjoy our guides on drawing other breeds of dog like a husky!
Check out our “How to Draw” catalog to explore more free drawing tutorials like this one. Which dog breed would you like to learn how to draw next?
Don’t forget to show off your masterpiece once you’re done drawing and coloring the pug! Take a picture of your artwork and flaunt it on various social media channels. And while you’re at it, we hope you take time to like our Facebook page too!
We’re excited to see your adorable pug drawing!