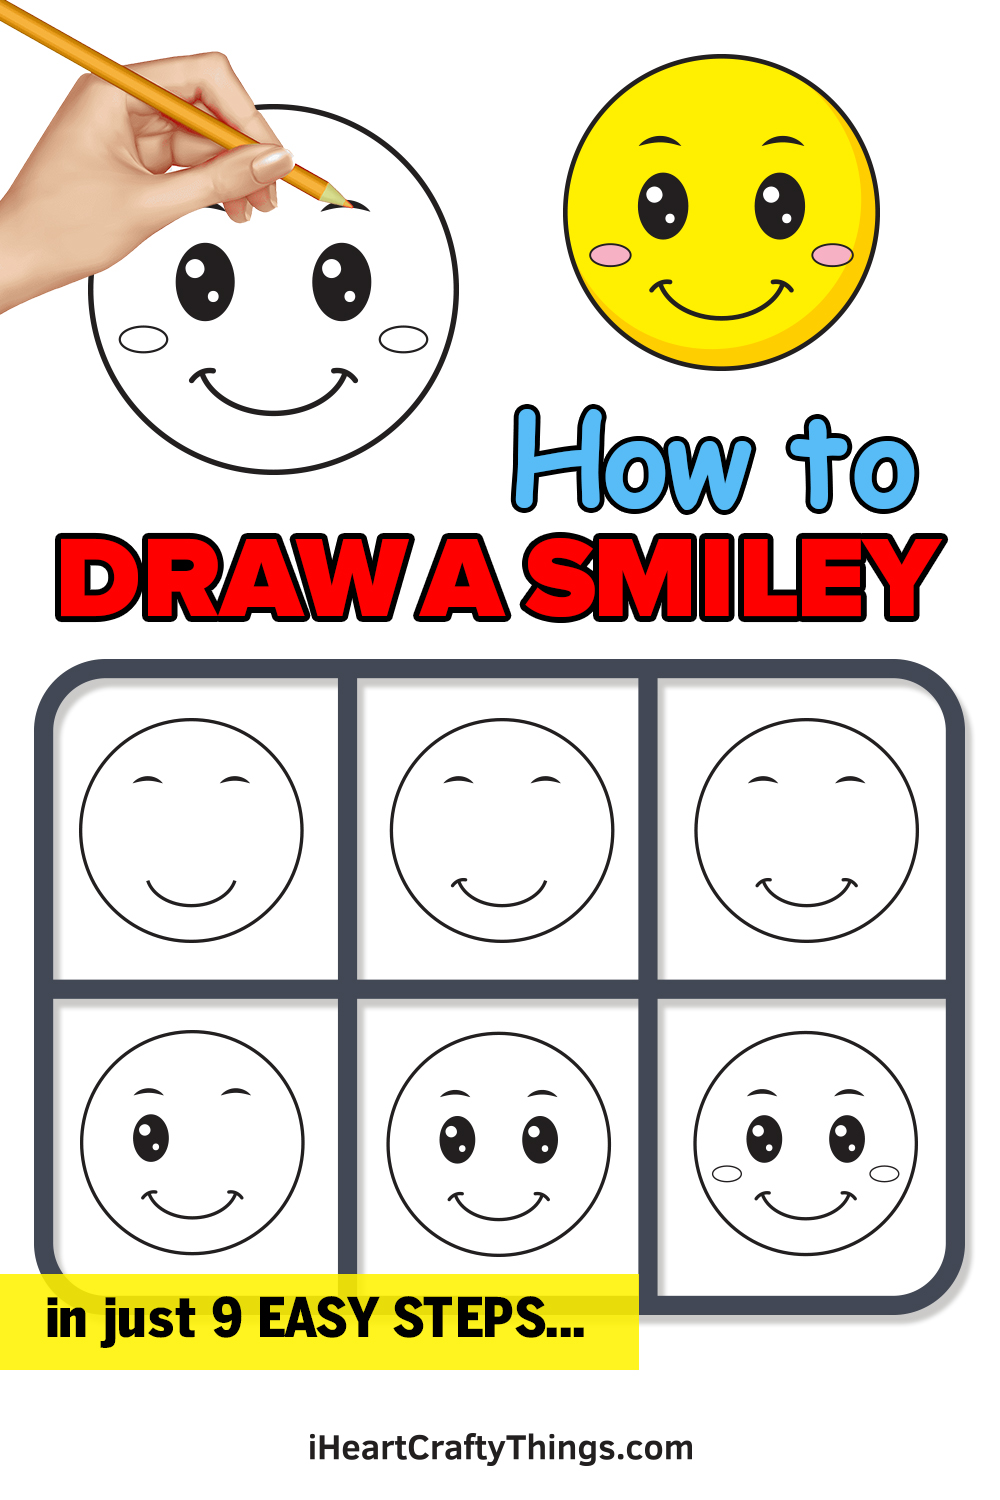
This guide on how to draw a smile is sure to put a grin on your face! Once you have worked through this tutorial for kids, you will be able to make some happy designs of your own.
The smiley face is a simple yet effective icon that we use to represent joy and happiness. There is a reason that they are used in conversations and designs that are meant to cheer people up.
Even though we see these smiley faces so much, it isn’t always so easy for you to do. If you want to make a smiley face design, then I’ll show you exactly how.
I’ll talk you through everything you need to know and tell you about the best art tools you can use to make this drawing. After that, you could make some changes to make some of your own expressions and designs.

See How To Make Your Smile Drawing
How to Draw a Smile – Let’s get started!
Step 1
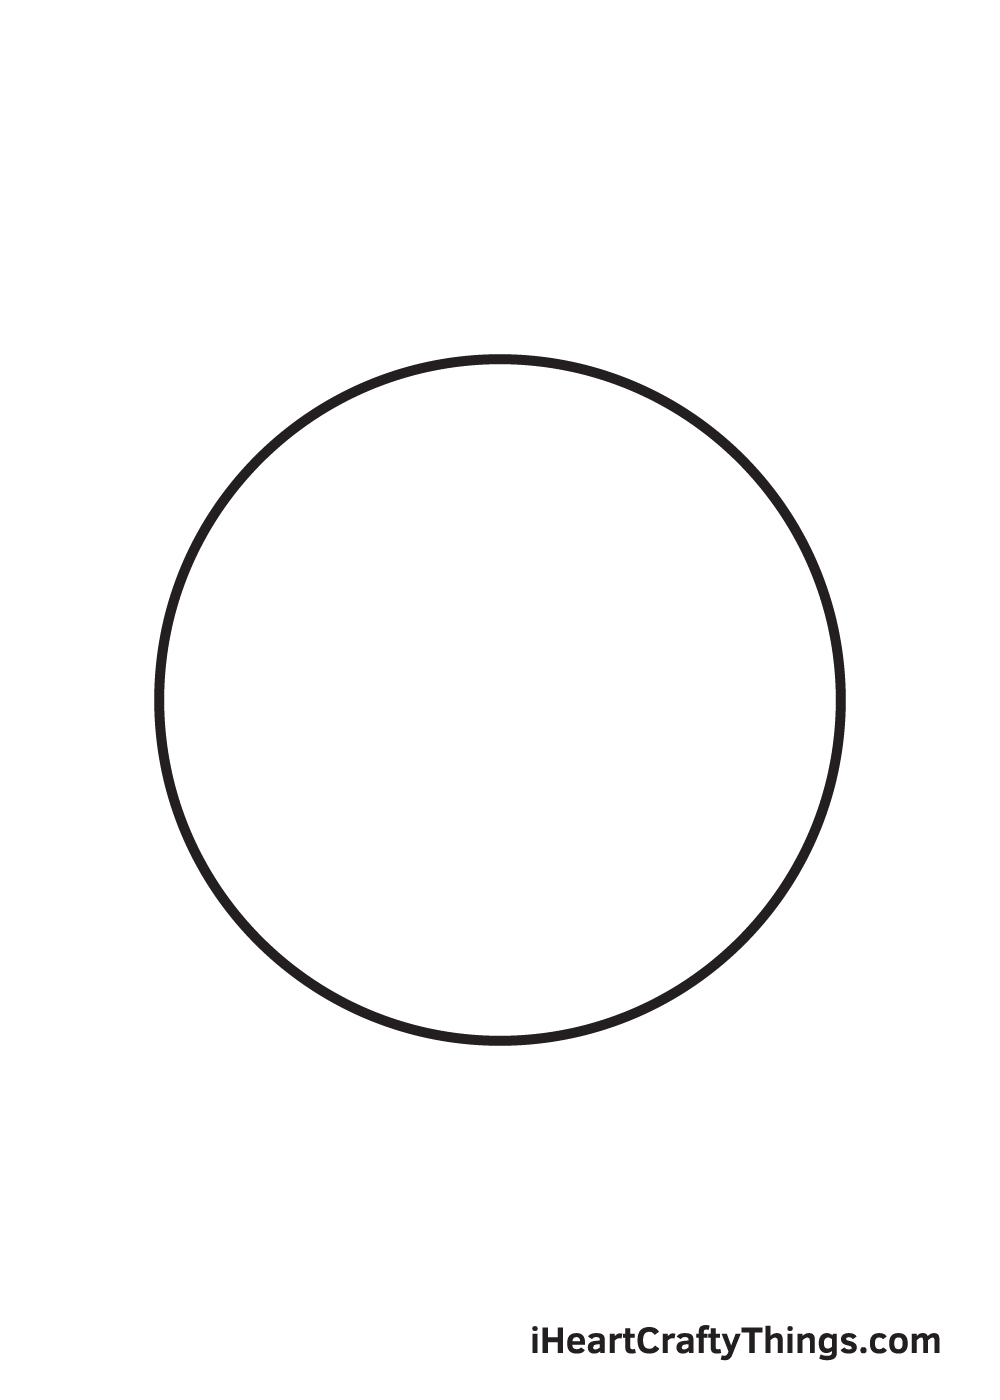
Start by drawing a perfect circle shape in the very middle of your paper. This outlines the head of the smiley face.
If you need help drawing a perfect circle, don’t hesitate to use a compass. It is a drawing tool that assists you in drawing a symmetrical circle quickly and easily.
Here’s a useful tip: create reference lines by drawing an intersecting horizontal and vertical line across your paper.
The point where the two lines meet marks the spot on where you should draw the circle. This helps ensure that the smiley face will be drawn in the center.
Step 2 – Draw the Left Eyebrow of the Face
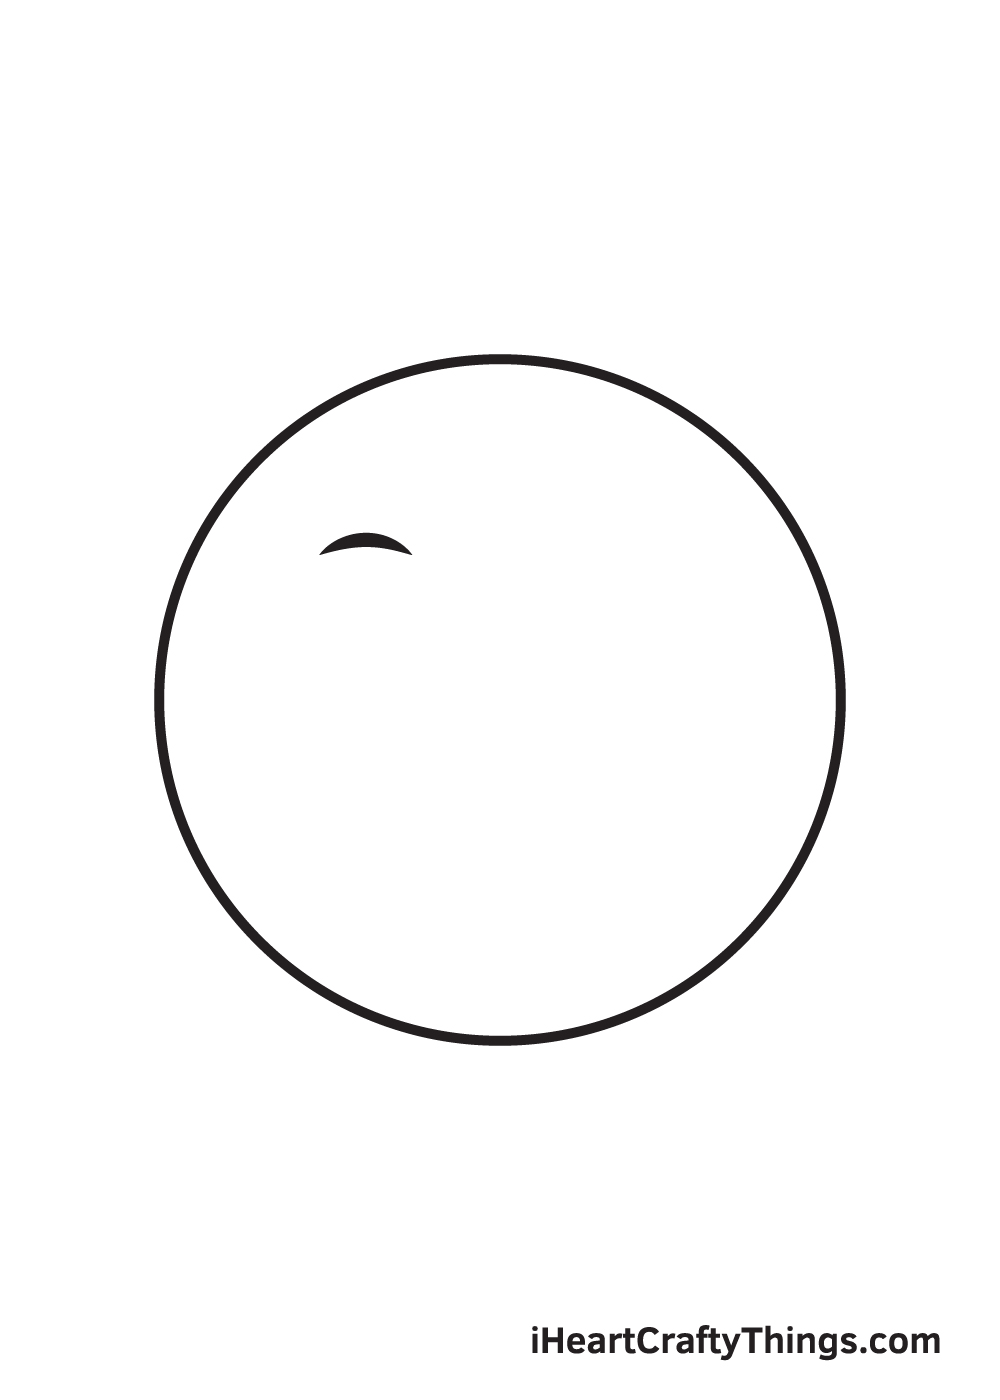
Draw a short downward curved line on the upper left side of the face.
This forms the left eyebrow of the smiley face.
Step 3 – Next Complete Both Eyebrows
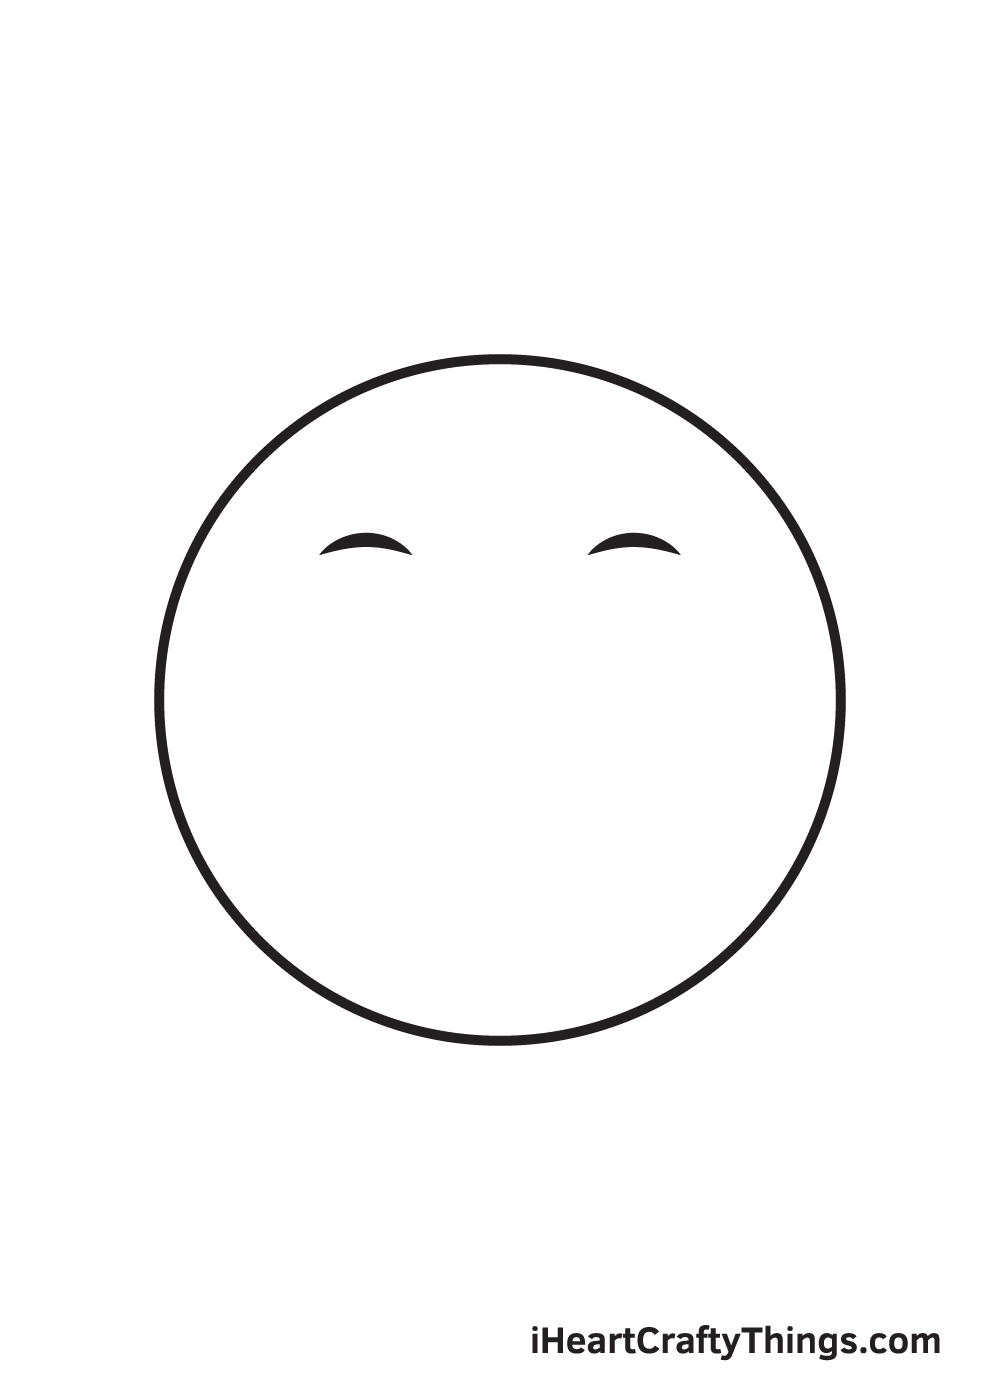
Draw another short downward curved line on the opposite side of the face. This forms the right eyebrow of your smiley face.
After completing this step, the face should now have a pair of eyebrows. Make sure that the eyebrows are parallel to each other.
Step 4 – Then, Put a Wide Smile on the Face
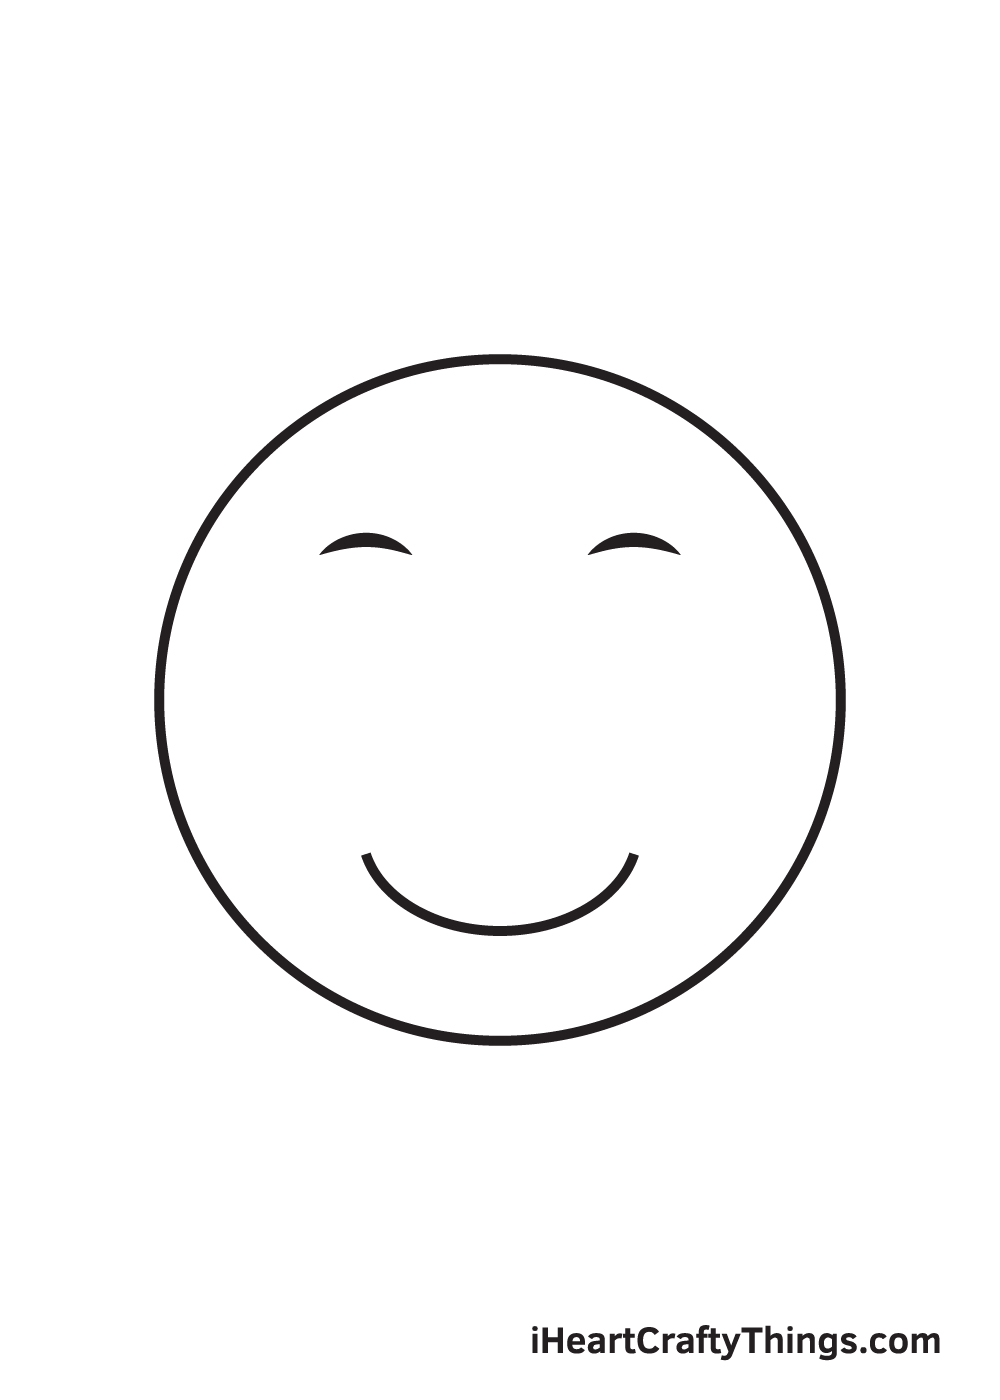
At the bottom of the face, draw an upward curved line to create the smile.
This curved line should be relatively longer than the first two curved lines we drew in the previous step as this should form a huge grin.
Step 5 – Draw a Smile Line on the Left Side

Draw a short line converging with the left endpoint of the smile that we drew in the previous step.
This creates a smile line on the left side of the smiley face.
Step 6 – Add a Smile Line on Both Sides

Repeat the previous step on the opposite endpoint of the smile.
Now, you have a smile line on both sides. Smile lines make the smile appear bigger and wider.
Step 7 – Draw the Eye on the Left Side

Draw a standing oval shape right underneath the left eyebrow. This creates the outline of the left eye of your smiley face.
Then, draw two small circle shapes within the eye. Now, add shade to the entire eye while leaving out the two tiny circles unshaded. This creates an illusion of glimmer in the eye.
Take note that the circle on the upper part of the eye should be a bit bigger than the one at the bottom.
Step 8 – Complete Drawing Both Eyes

Repeat the previous step on the opposite side to create the right eye of your smiley face.
After completing this step, you should now have a pair of huge, gleaming eyes. This helps make the face appear more ecstatic!
Step 9 – Now, Add a Blushing Effect
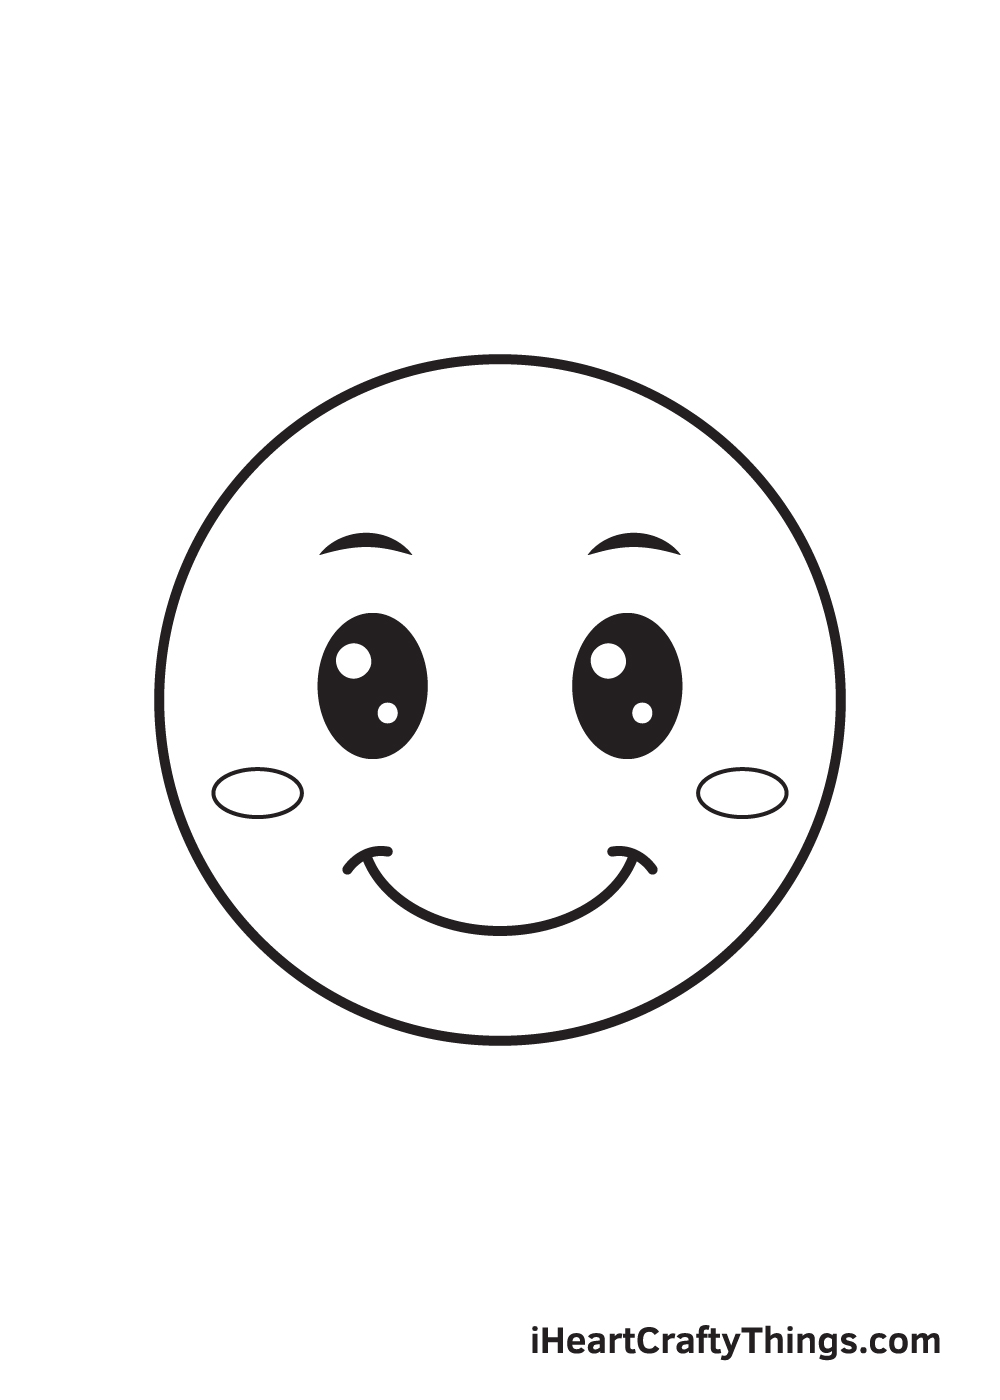
Add more emotion to your smiley face by making the cheeks appear flushed. Proceed by drawing a small sideways oval shape on each cheek to create a dramatic blushing effect.
Now that we’ve successfully drawn a smiley face, it’s time for the part you’re probably most excited about, which is coloring your drawing.
As you can see in the illustration, we colored the smiley face using the same colors of an emoji. We used a vibrant yellow color for the entire face and a hint of pinkish hue for the blushing cheeks.
You can opt to color your smiley face similar to how we’ve done ours or you can use a unique set of colors.
We recommend doing the latter so you can have fun playing with colors and customizing your artwork!
4 More Ways To Make Your Smile Drawing Unique
Have a fun time creating a smile with these 4 tips to try out!
There are many different types of smiles, and you could easily turn this smile sketch into one of them. One example would be to make the smile much bigger.
You could do this by drawing another curved line beneath the smile to create a crescent shape.
Then, add some vertical lines to show the teeth inside of the mouth.
That’s one way that you could change the smile, but you could also make it smaller! What kinds of smiles can you think of creating?
Another interesting thing to try for this drawing of a smile would be to create entirely unique facial expressions. There are lots of different emoji faces you could use as inspiration!
You could either change the expression on this face or maybe draw lots of circles beside it with different expressions. Filling the page with different facial expressions could be a fun way to make a page that has lots of fun details to admire!
Next, we think it would be fun to turn this smile drawing into a proper cartoon character. You could do this in a very simple way by drawing some limbs coming off of the head.
That would make the head the body of the character as well, and you could make the limbs in a simple cartoon style. If you decide to try this, what kinds of positions and poses would you put the character in?
Once you have finished designing your smile sketch, you are left with the question of what to do with all that empty space. That means you can have some fun finishing off the background!
There are so many possibilities, and one would be to draw a designed background setting. This would be an especially good idea if you were to make this face into a cartoon character.
You could really go with any kind of fun setting you like! Or, maybe it would look cool to fill the background with shapes, colors and patterns.
Your Smile Drawing is Complete!
We hope you have fun with this step-by-step drawing tutorial. That was quick and easy, wasn’t it?
Now that you’re capable of drawing a smiling face, you can incorporate this whenever you want to draw a human face with a happy facial expression. You can use this for animals too and on any object you want to animate!
There are a lot of other facial expressions signifying different emotions. Which facial expression would you like to draw next?
Let us know and we’ll do our best to curate a drawing tutorial for it. Don’t forget to check out our “How to Draw” catalog so you can keep enjoying brand-new drawing tutorials.
Once you’re done drawing and coloring a smile, make sure to show off the results of your hard work. Take a picture of your masterpiece and share it on our Facebook page and Pinterest.
Don’t be embarrassed, we’re sure it looks awesome. While you’re at it, we hope you take time to like our Facebook page too!
We’re excited to see your colorful smile drawing!