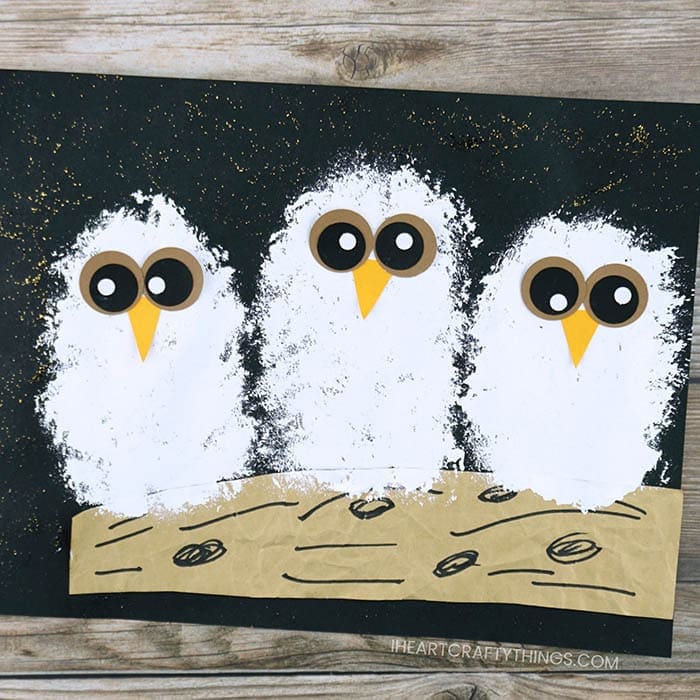
Baby owls are pretty much the most adorable thing ever, don’t you agree? So today I am showing how to make this cute craft.


How to Make an Owl Babies Craft
This post contains affiliate links to the products mentioned. I Heart Crafty Things is a participant in the Amazon Services LLC Associates Program, an affiliate advertising program designed to provide a means for sites to earn advertising fees by advertising and linking to amazon.com.
Supplies needed:
- brown craft paper
- brown, black, white and orange cardstock
- black marker
- glue stick
- white acrylic paint
- large pom-pom
- clothespin
- small paper plate
- gold glitter glue
- circular foam brush
Tutorial:
1. Make a branch
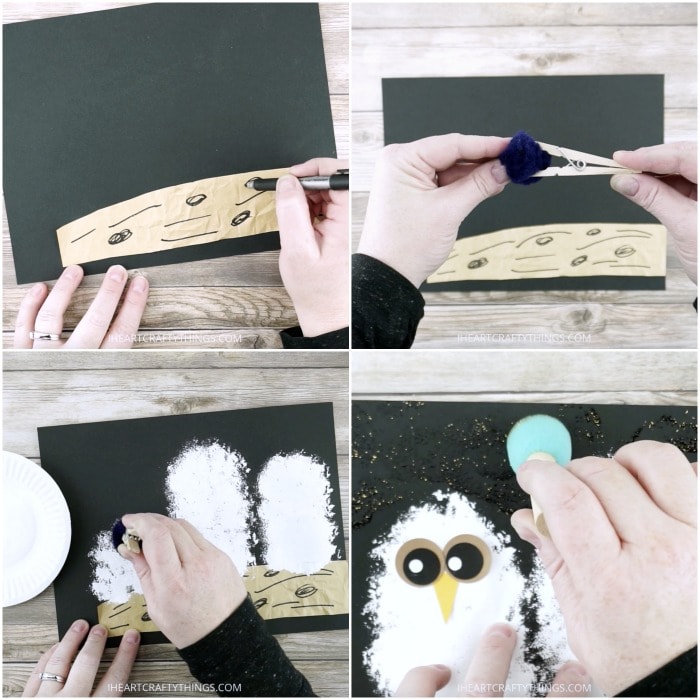
Tear off a piece of brown paper to use as our branch for the owls to sit on. I happened to have a piece of brown packaging paper on hand so we used that, but any piece of brown paper would do. You can use brown craft paper or even a brown paper lunch sack. Crinkle the paper up into a ball and then unfold it to give it more of a tree branch texture.
2. Glue branch to the card
Add some glue on the back of your tree branch and glue it at the bottom of your black cardstock paper.
3. Decorate the branch
Use a black marker to create lines and knots on your tree branch. I was super impressed by how well my boys did this step. There tree branches looked awesome!

4. Paint your owls
Now it’s time to paint your baby owls at the top of the tree branch. Start by attaching a pom-pom to a clothespin to use it for a dabber paintbrush. Pour some white paint onto a small paper plate. Dab the pom-pom brush into the white paint and then onto your black paper at the top of the tree branch. Dab several time onto the paper with the pom-pom to start making the shape of a fluffy baby owl.
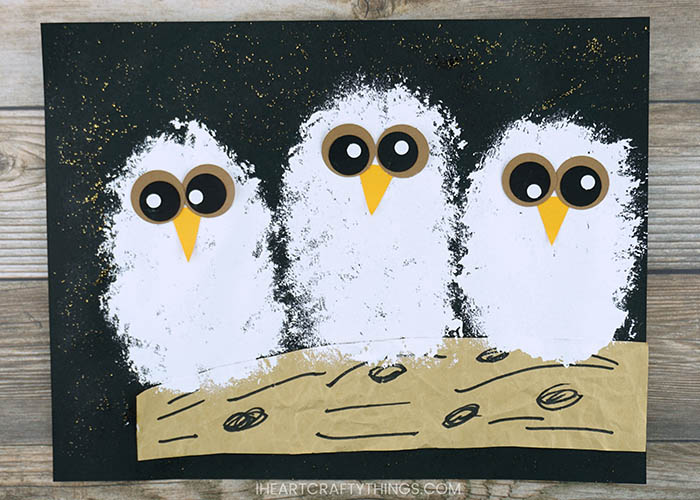
Continue dabbing the pom-pom brush into the white paint and back onto your paper to create three owl babies on top of your tree branch. We tried to make our owls small, medium and large, just like in the story. My youngest son got a little carried away with his largest owl, but I can’t blame him really because it was so fun painting with the pom-pom.

5. Make eyes & beak
Before we started the project I pre-cut circles for the eyes and triangles for the beak to glue on. The brown circles were 1″ diameter, black circles were 1/2″ diameter, and the white circle is just a hole punch. You could also easily have the kids cut out their own circles. Glue all of the pieces for the eyes and the beaks onto each of the owl babies.
6. Make a stars
To create a nighttime background that looks like twinkling stars, pour some gold glitter glue on a small paper plate. Use a circle foam brush to dab the glitter glue all over your black cardstock, around your baby owls, to create stars.
Your owl babies craft is complete!


