


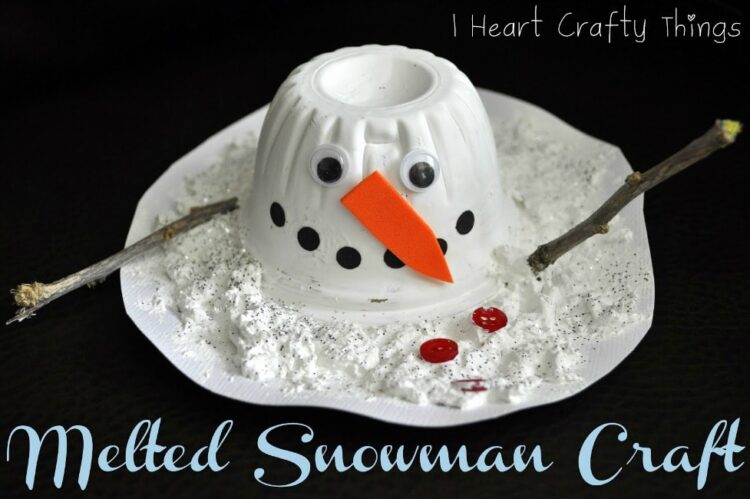
I came up with this fun melted snowman craft and I’m excited to share it with you! After giving it a trial run I know my kids are going to love making it!
Supplies you will need:
- empty plastic fruit cup, washed and dried
- white, orange and black cardstock paper
- white acrylic paint
- paint brush
- flour
- silver glitter
- twig
- buttons
- googly eyes
- hole punch
- hot glue gun
- scissors
Directions:
1. Paint the outside of plastic cup
Start by painting the outside of an empty plastic fruit cup white. It may need two coats. My little girl is a huge fan of Mandarin Oranges so we always have tons of these around.
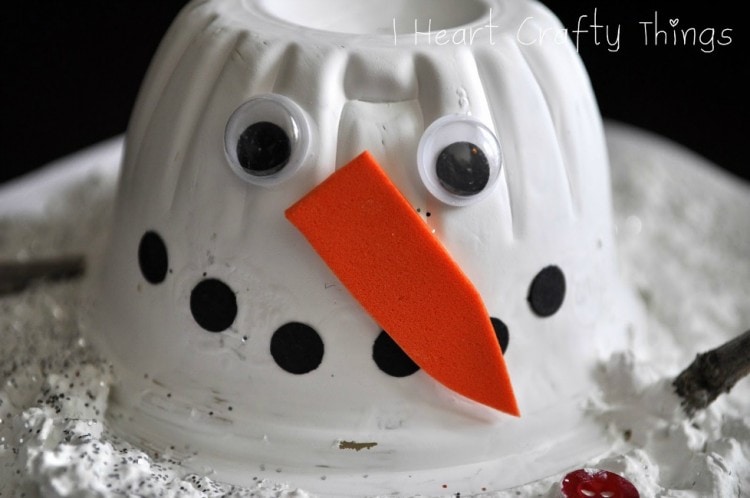
2. Glue on eyes, nose and mouth
Once dry, turn it upside down and glue on googly eyes, an orange carrot nose made from a foam sheet (or orange paper), and black circles (made from a hole punch) for the coal mouth.
3. Cut a circular shape out of white cardstock paper
Next, cut a circular shape out of white cardstock paper. It doesn’t have to be perfect, in fact I think it looks better not perfect. Just make sure to make it quite a bit bigger than the plastic fruit cup.
4. Make melted snow, add some glitter
To make the melted snow, mix white acrylic paint and flour together until it is a paste consistency. I start with a 1:1 ratio of the paint and flour and then add more paint until it gets to the paste consistency. Spread it all over your white circle, leaving thick amounts in places. At this point I sprinkled some silver glitter on the paint to make the snow sparkly.
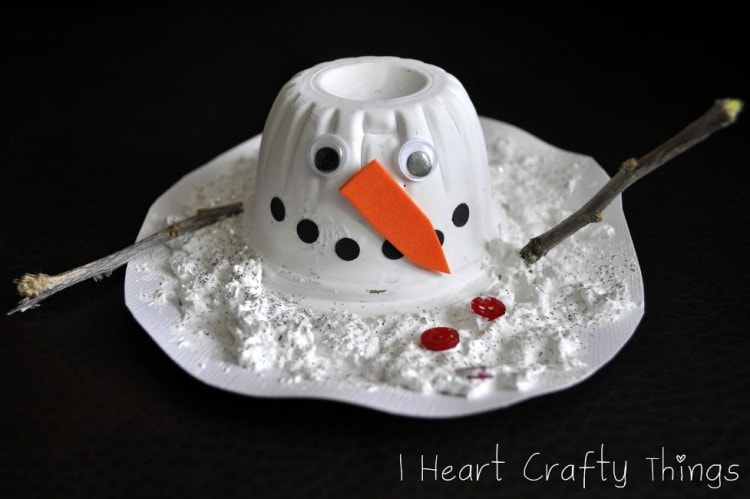
5. Press snowman head into white paint while it is still wet
Press the snowman head down into the white paint while it is still wet. You can add more snow (paint/flour mixture) around the snowman if needed.
6. Add arms and buttons
You can also press down a couple small buttons into the white paint to act as the buttons that melted off the snowman. I also cut a couple small twigs off of one of our bushes in our front yard for the arms and pressed them right into the white paint. The paint is so thick with the flour in it that they stuck right in. I positioned mine differently on each side to give it more effect.
7. Let craft dry overnight
The paint is really thick so it will need to dry overnight.
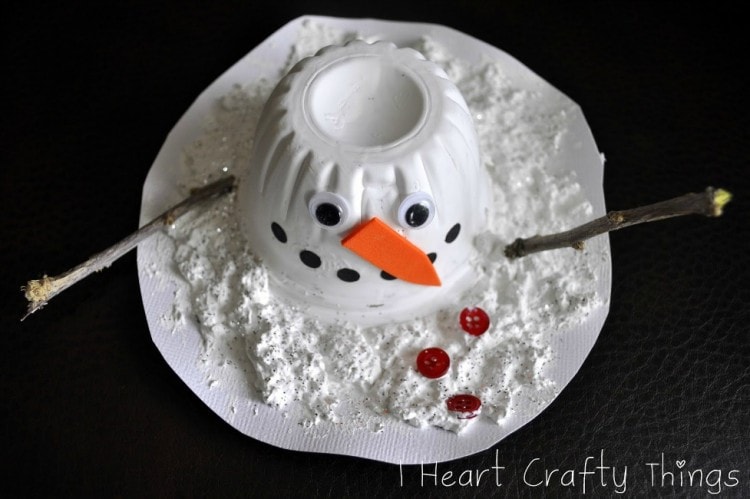
After taking these pictures I thought it would have been fun to add a scarf around him with extra fabric scraps. Oh well, next time…