There are billions of fish in the world, making up thousands upon thousands of distinct species of fish.
They can come in all kinds of different shapes, sizes and colors as we find them in our oceans, rivers, lakes, dams and even our own homes.
From a mighty shark to the goldfish in the fishbowl in your living room, fish has captivated us for many years!
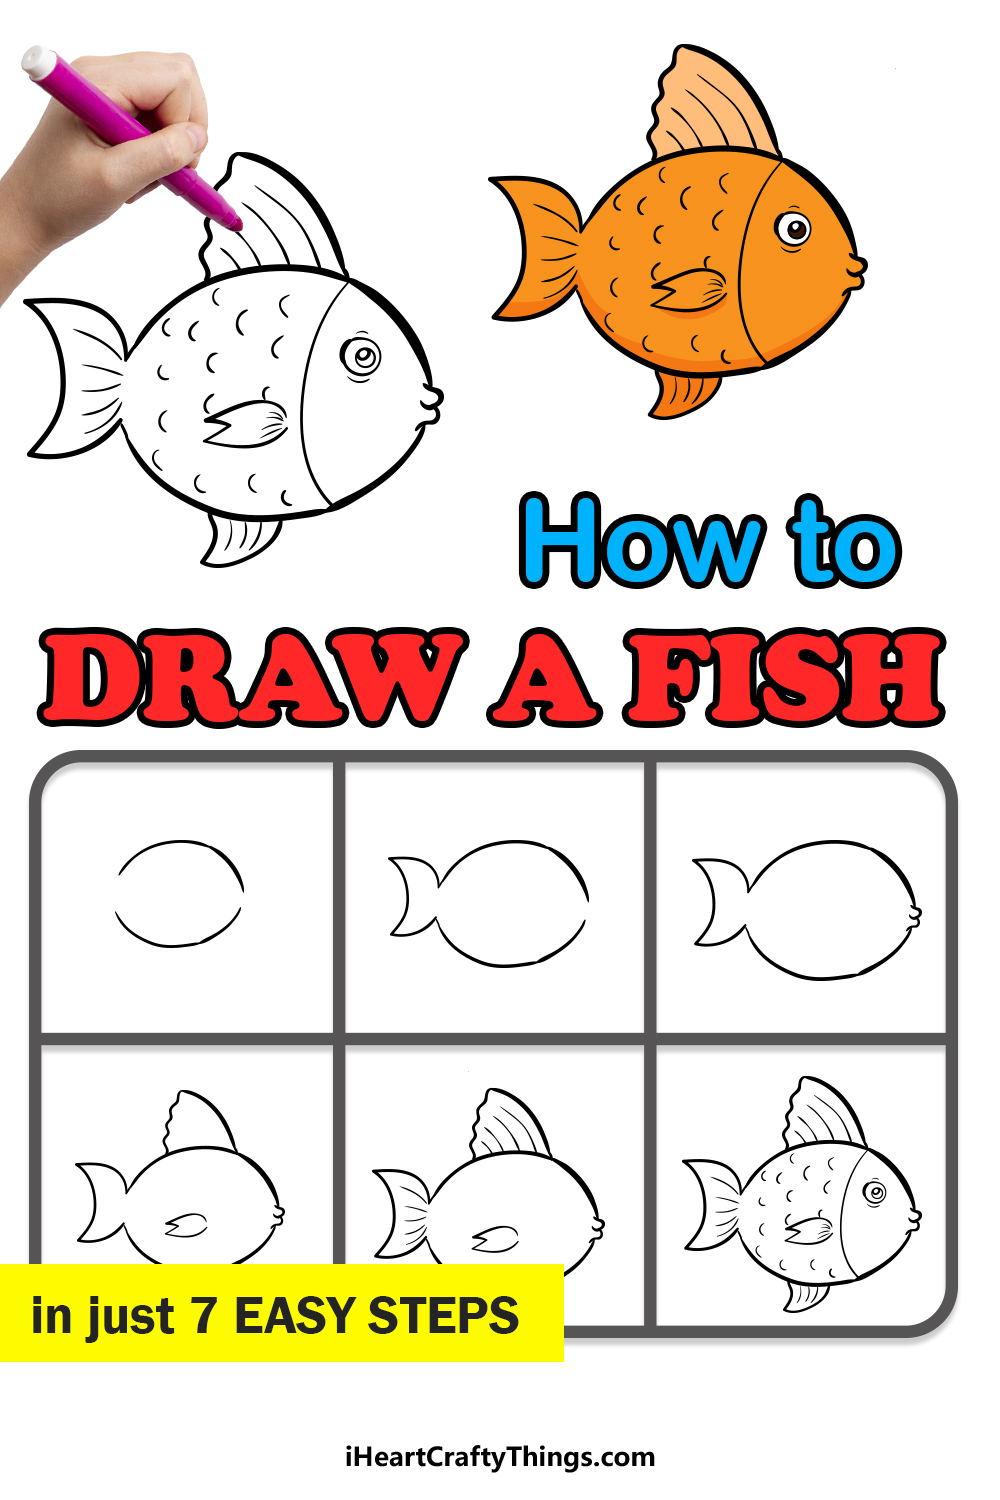
If you are a fan of fish, you may be wondering how you could learn to draw a fish, and we’re here to show you how.
This simple, step-by-step guide on how to draw a fish in just 7 steps will have you drawing a fish before you know it!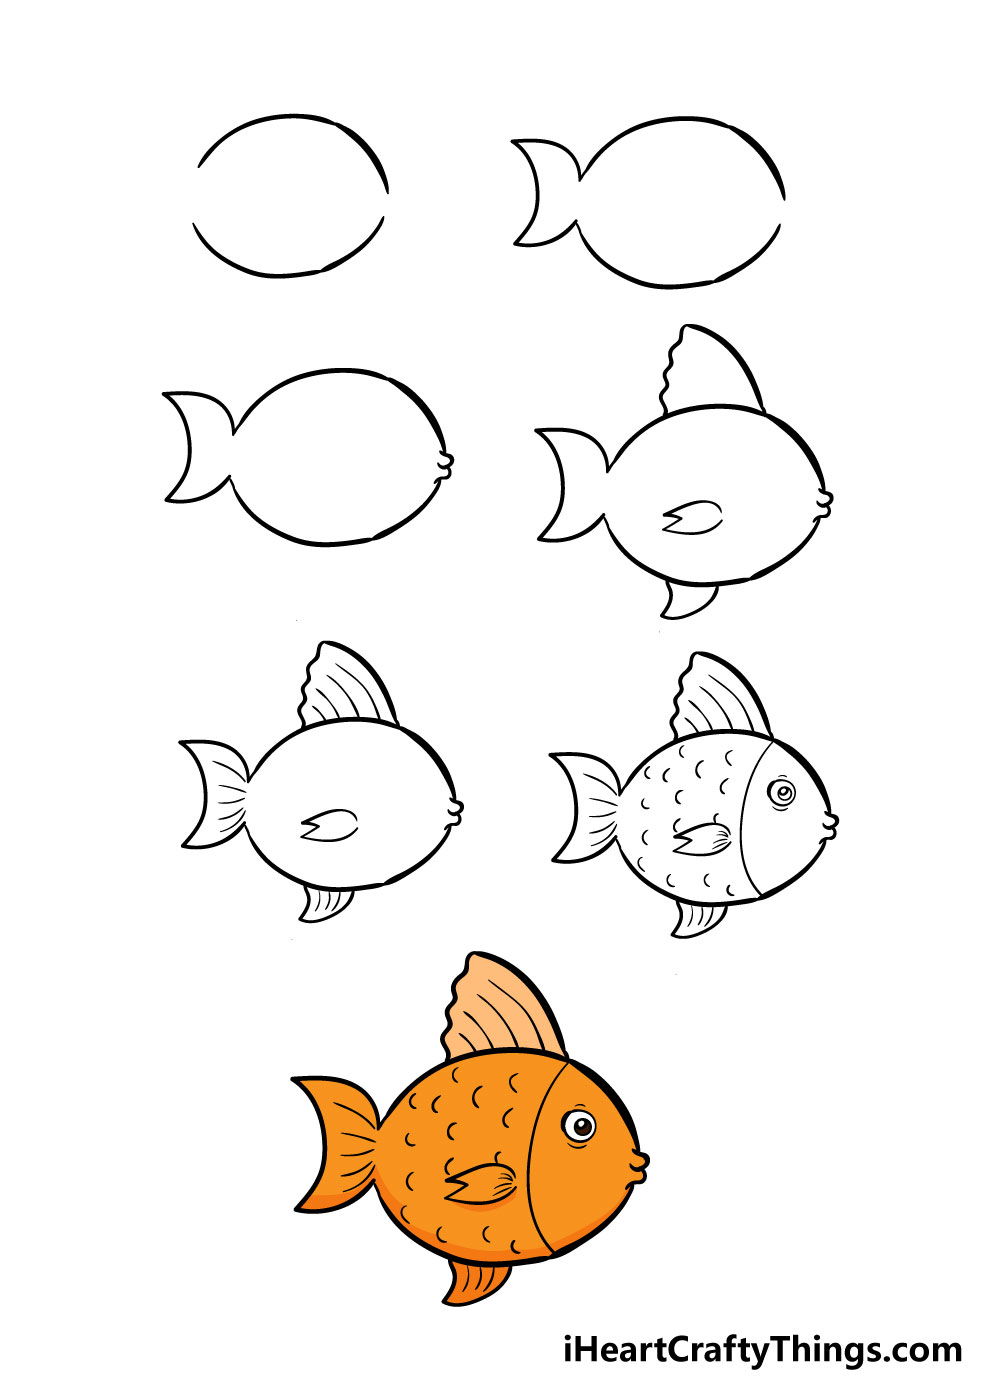
How to Draw a Fish – Let’s get Started!
Step 1

In order to learn how to draw a fish, we will be breaking it down into several simple steps. For the first one, we will start off by drawing two lines curving in on themselves.
It should look a bit like you were drawing an oval, except with a space at the left and right sides.
If you’re having a tricky time with this, you could try to draw with a pencil first and then go over it with a pen once you’re happy with it.
Step 2 – Draw in the tail of the fish
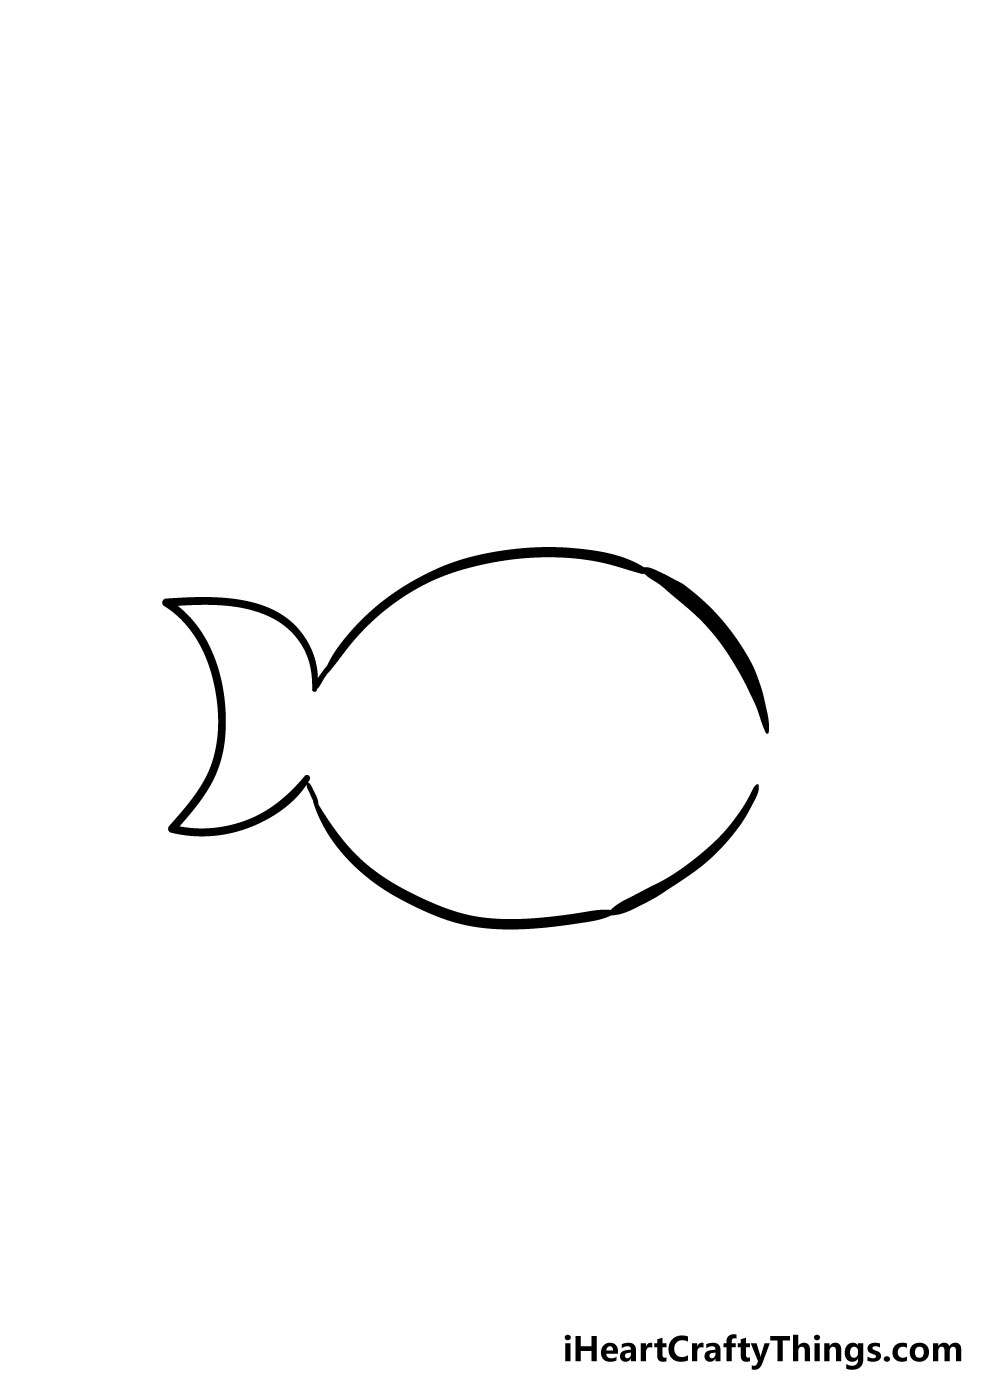
For step 2 of this guide on how to draw a fish, we will be drawing in a tail for your fish drawing.
We’ll be placing it at the lefthand side of the fish, and it will look a bit like a half-moon shape as you can see in the image.
Step 3 – Next, draw in the fish’s lips
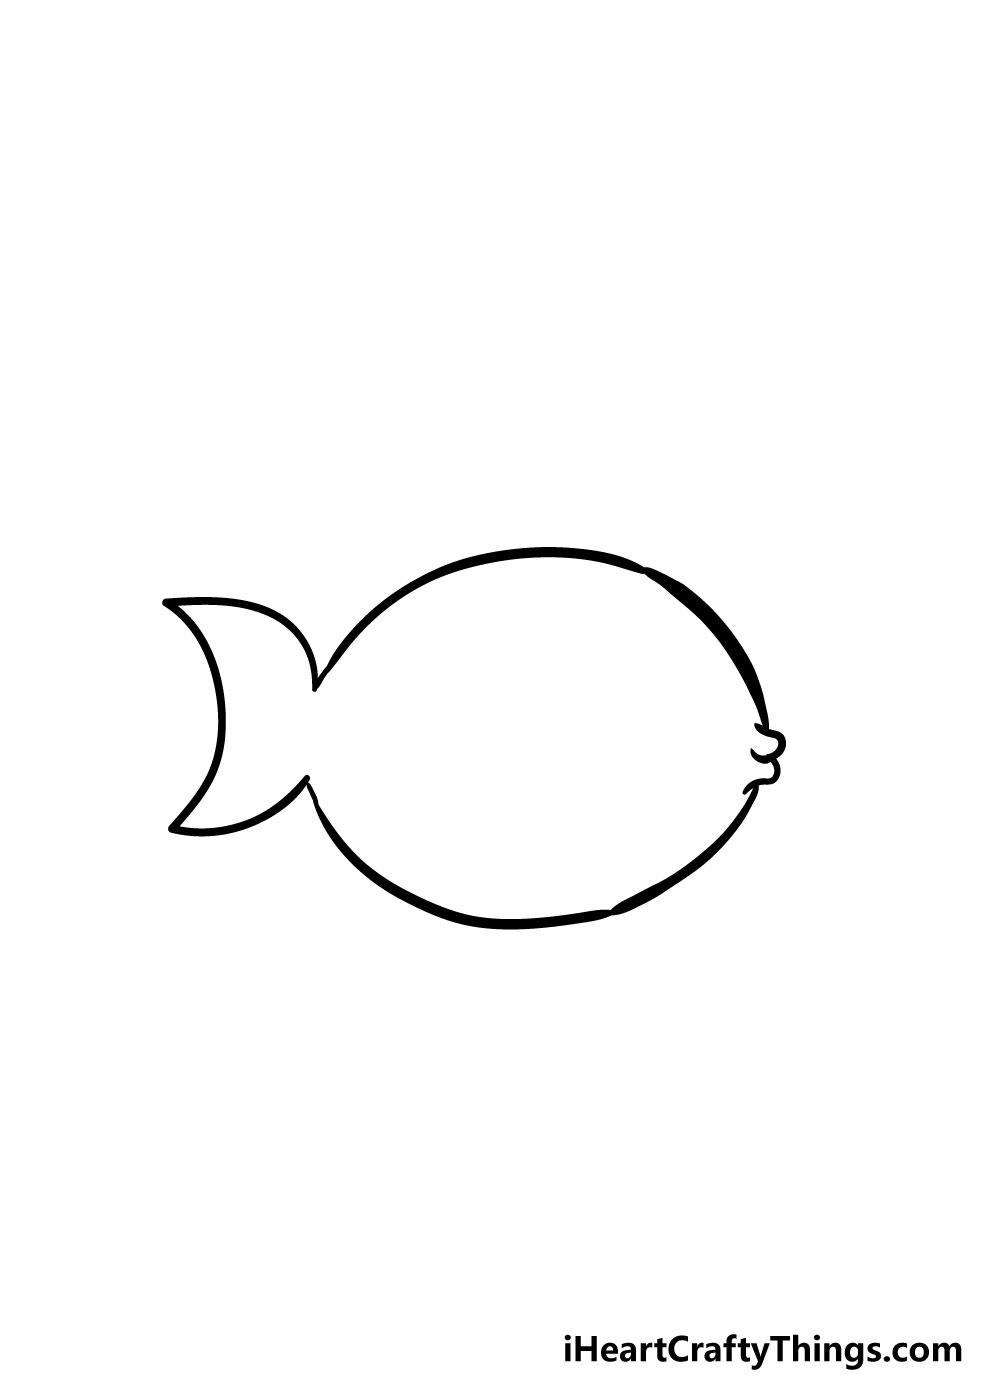
Now that we have the fish’s body and tail, we will be drawing in some lips for the fish.
These will go at the small gap we left on the right side of the fish, and will look a little bit like a sideways curved ‘w’.
That will help to give a puckered lip effect for your fish.
Step 4 – Now draw in the fins of your fish
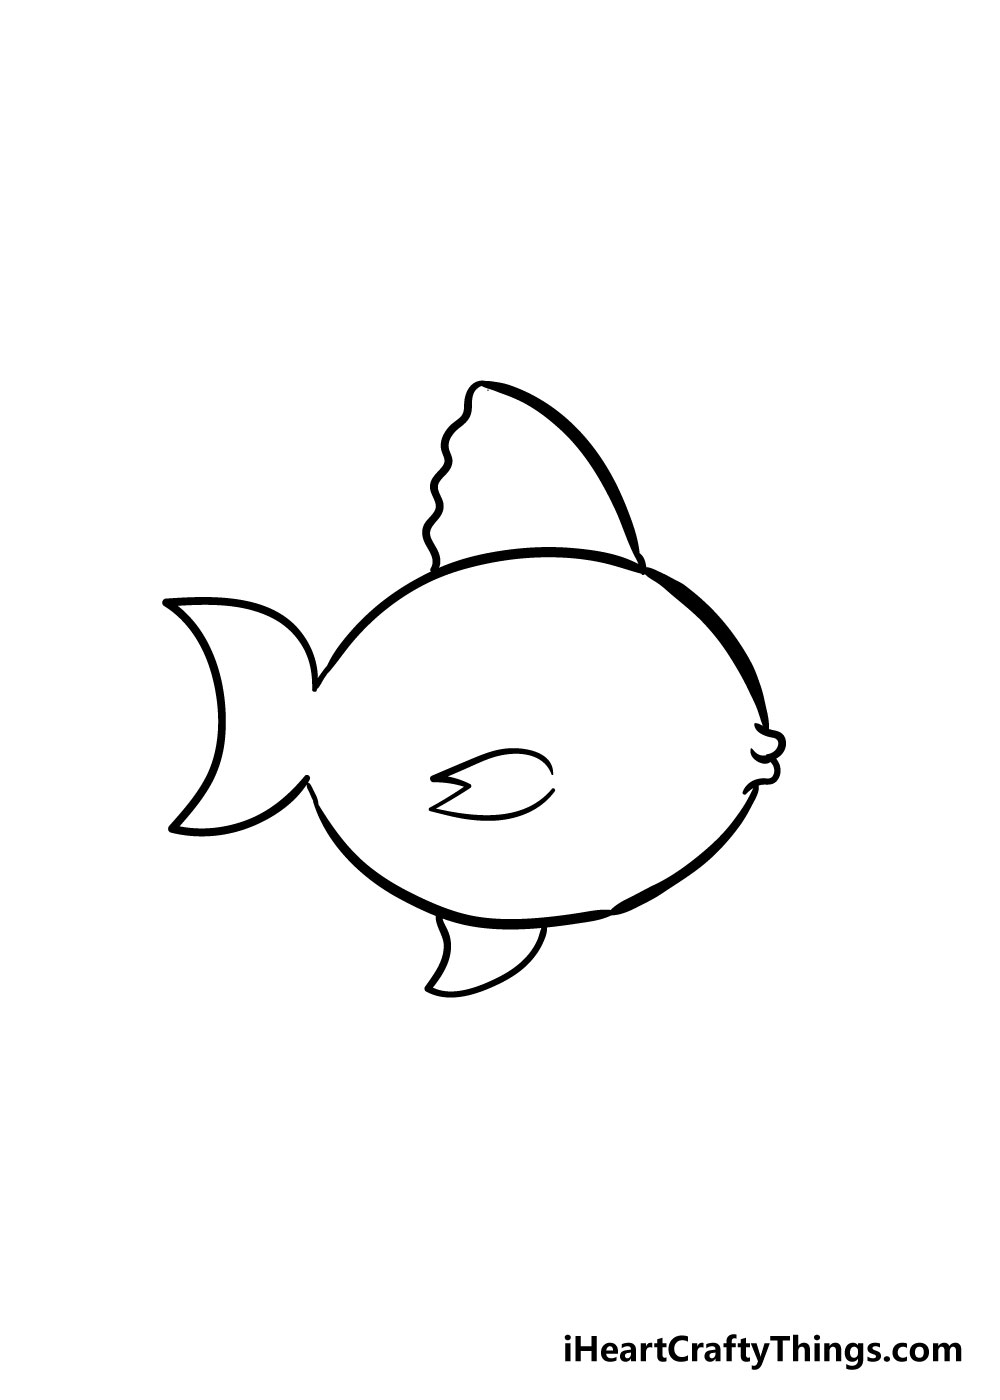
Your fish is really starting to take shape now! For this step of our how to draw a fish guide, we will be adding in some fins for your fish.
Starting with the top one, you can start it off by drawing a curved line down to the fish.
You can then use a more wavy line going down to the body of the fish, as it’s shown in the reference picture we have.
For the fin on the fish’s body, you can use a few curved lines to form the shape that you see in the picture. If you prefer, you could also use a simpler triangle shape instead.
Lastly, the final fin on the belly of the fish will look a bit like a small, curved triangle. With that fin added, we can move on to the next step!
Step 5 – Next you will be adding in some fin details
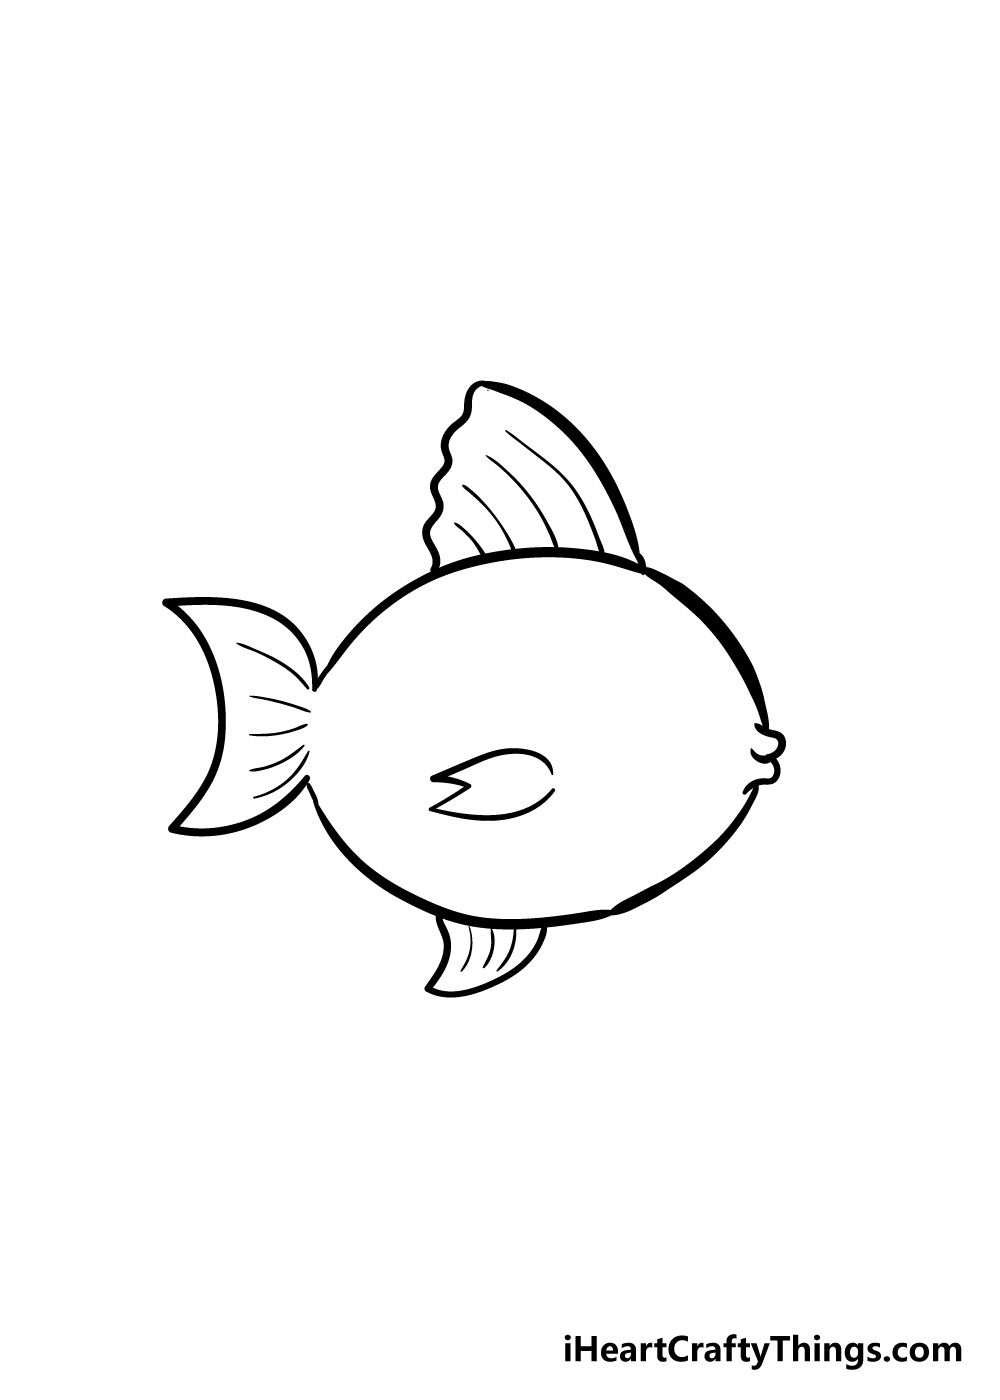
Now that you have the fins for your fish drawing, we can add in some line details inside them. Using the reference image as a guide, you can draw in some thin lines inside the fins.
You can keep them looking exactly as they do in the picture, but you can also change it up a bit and add in more or fewer lines if you like!
Step 6 – Now draw in the eyes and final details
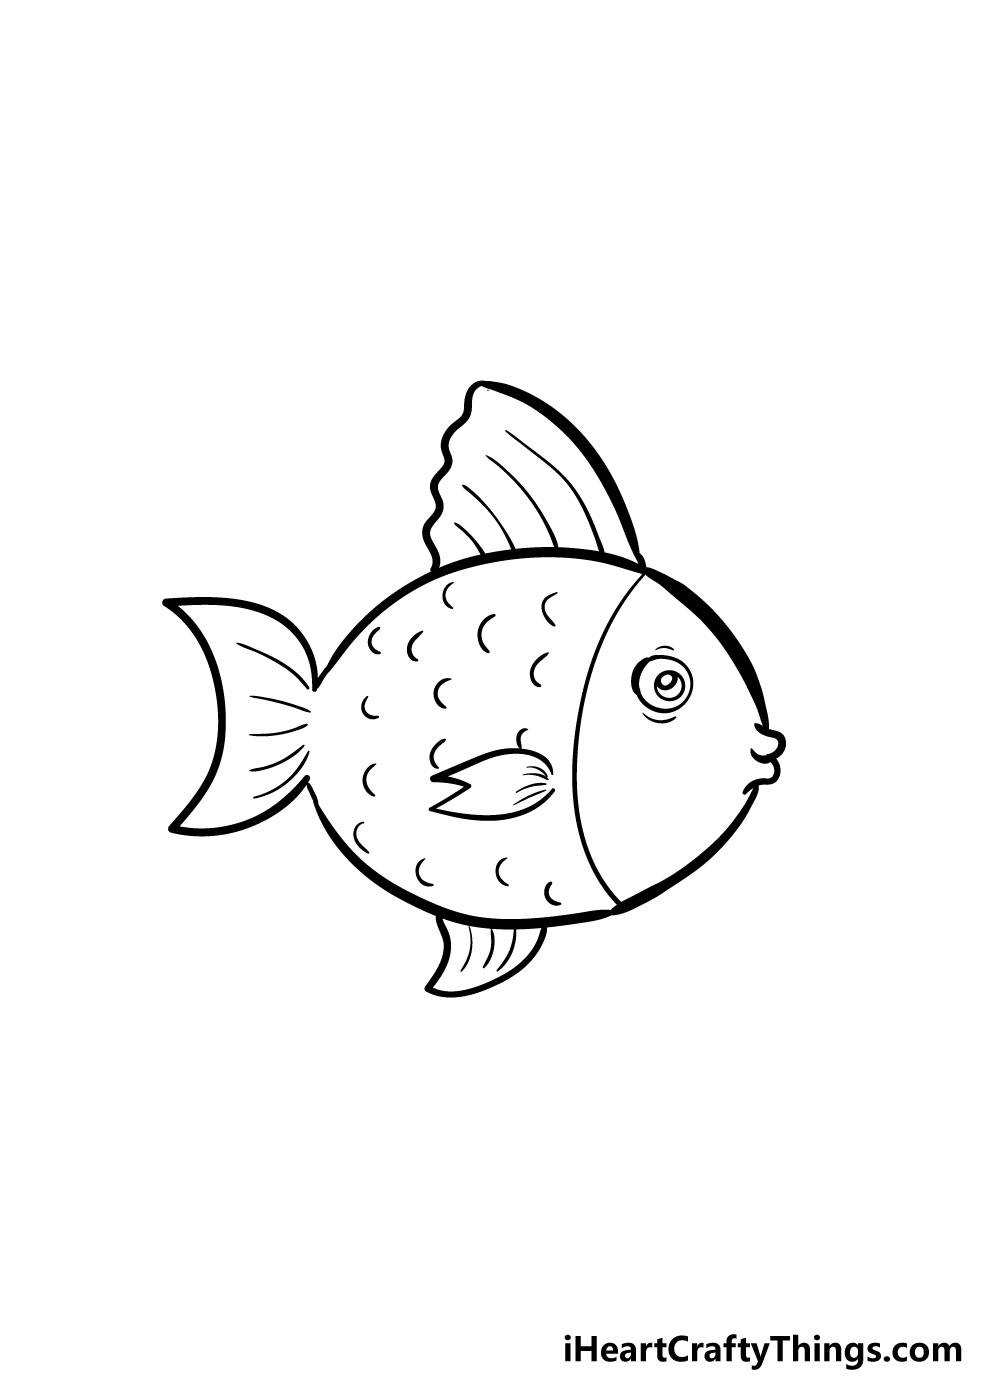
Your fish drawing is very nearly finished now! All that remains for now is to add in some final details, so we will focus on that for this step of our guide on how to draw a fish.
First of all, you can add in some eyes by drawing a small circle inside a larger circle as it appears in the image. You could also use a simpler colored circle or another variation if you prefer!
Next, you can make a face for your fish drawing by drawing a curved line after the middle fin of your fish.
Lastly, you can create a scaly appearance for your fish drawing by drawing in lots of little curved lines onto the body.
With those details, your fish drawing is fully drawn and just needs one more thing to finish it off!
Step 7 – Now finish it off with some color
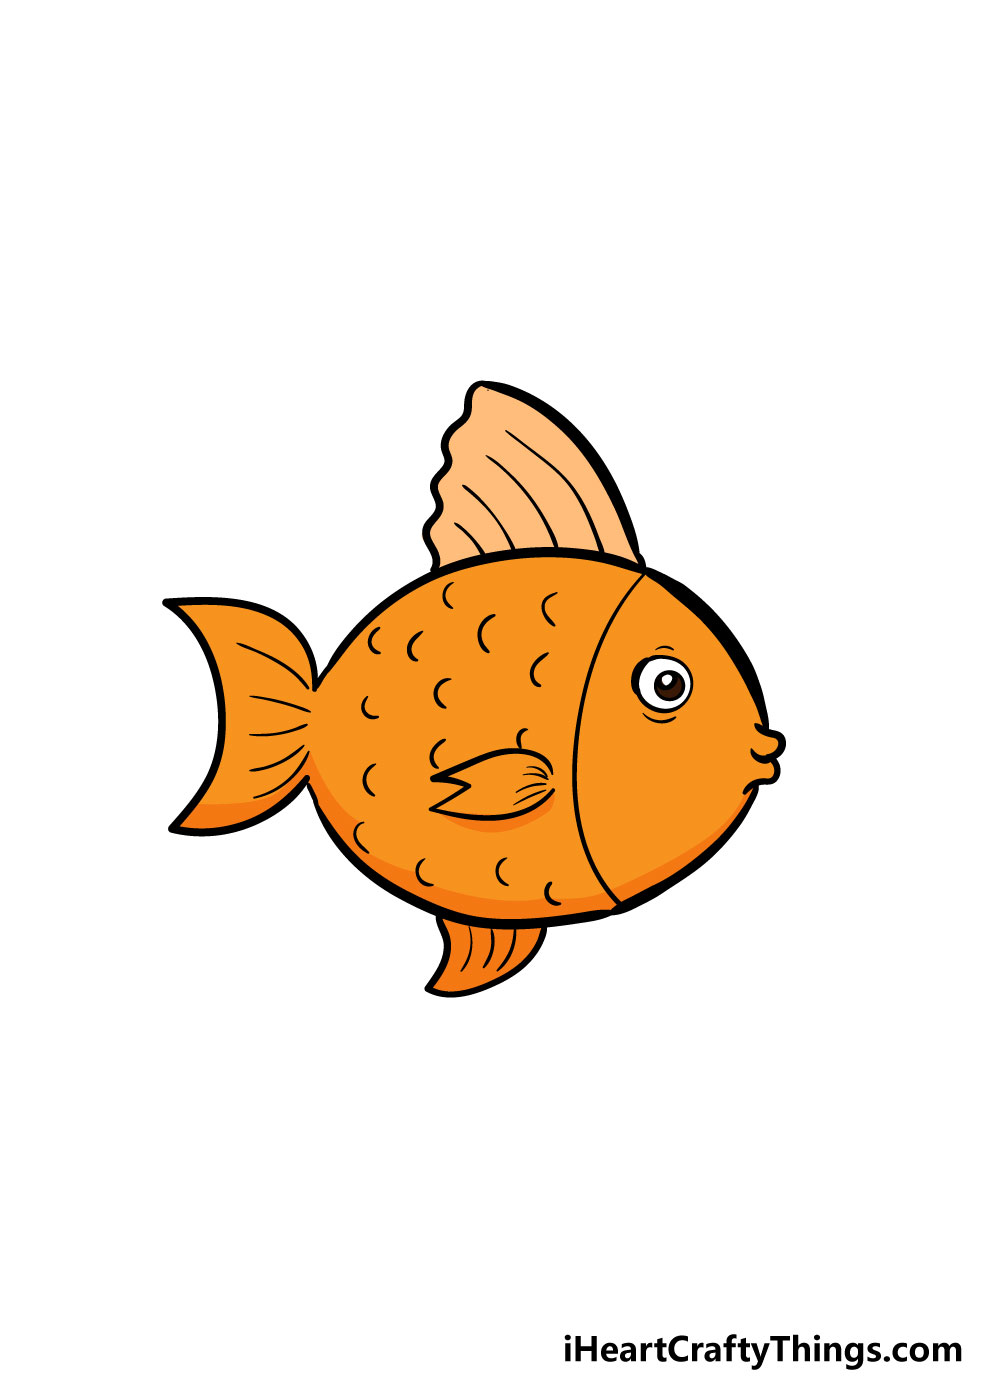
Now that you’ve drawn your fish, you can get started on what is possibly the most fun part, coloring it in!
For this step, you should really let your creativity and imagination run wild, as there are no wrong answers here.
We’ve shown one way you could color in your fish, but you certainly shouldn’t feel limited by that!
Fish can come in every color imaginable, so the sky’s the limit with how you could color in your fish drawing.
You could also color in the background to make it look like the fish is in water, and then you could draw in some bubbles for a fun detail!
Experimenting with different art mediums can also be a great way to have some great color variations.
I especially think that some watercolor paints would be perfect for this drawing, as they can give it a lovely softer look.
We can’t wait to see how you finish off your fish drawing with your colors!
5 Tips To Make Your Fish Drawing Even Better!
Your fish drawing is already looking amazing, but there are ways to really take it to the next level.
We added some details to your fish sketch throughout this guide, but fish can display many different patterns on their bodies.
One great way to customize this picture is to add some unique pattern designs of your own to the body in order to personalize it even more!
Completing a drawing is always such a satisfying feeling, but when it’s done you don’t have to stop there! One way to keep the fun going is by adding a background setting to finish it off.
This fish could have an ocean scene behind it or maybe some fun toys in a fishbowl. You can really use your imagination when coming up with a background!
The style of this fish sketch has been left quite simple, and while that looks great in its own way, you can also go for a more realistic approach by adding fine details.
Fish are covered in scales, so this is one example of some details you can add to your drawing. These could be drawn with lots of small, curved lines all over the body.
We love the design of this fish, but we also wanted it to be open enough that you could customize it as you like.
If you like a certain species of fish, you could change some of the elements of this design to look like that species. It could be as simple as changing the fins or giving the fish a different body shape!
The last way to make this drawing of a fish look even more spectacular is to use some incredible colors. The colors you use could be as bright or as muted as you like, and it’s all up to you.
You can even incorporate fun and unique mediums or use crafts such as glitter and stickers to make the fish really catch the eye. What colors will you use for this fishy artwork?
Your Fish Drawing is Complete!
We really hope that this step-by-step guide on how to draw a fish in 7 steps helped you a lot!
Learning to draw can be so much easier and a lot more fun when you break it down into smaller steps that you can follow, and that’s what we tried to do when creating this guide for you.
If you follow this guide, keep trying and have fun with it, I know you’ll have an incredible fish drawing in no time!
Once it’s drawn, you can also have lots of fun coloring it in with different colors and mediums, and this will make your drawing look even more awesome.
We will be uploading lots of new drawing guides such as this one, so be sure to check our site out frequently to never miss out on the fun!
Once you’ve drawn and colored in your fish drawing, we hope that you will share it to our Facebook and Pinterest pages for us to enjoy!
We always love to see how creative you’ve all been, and we’re already looking forward to seeing some amazing, colorful fish drawings from you!