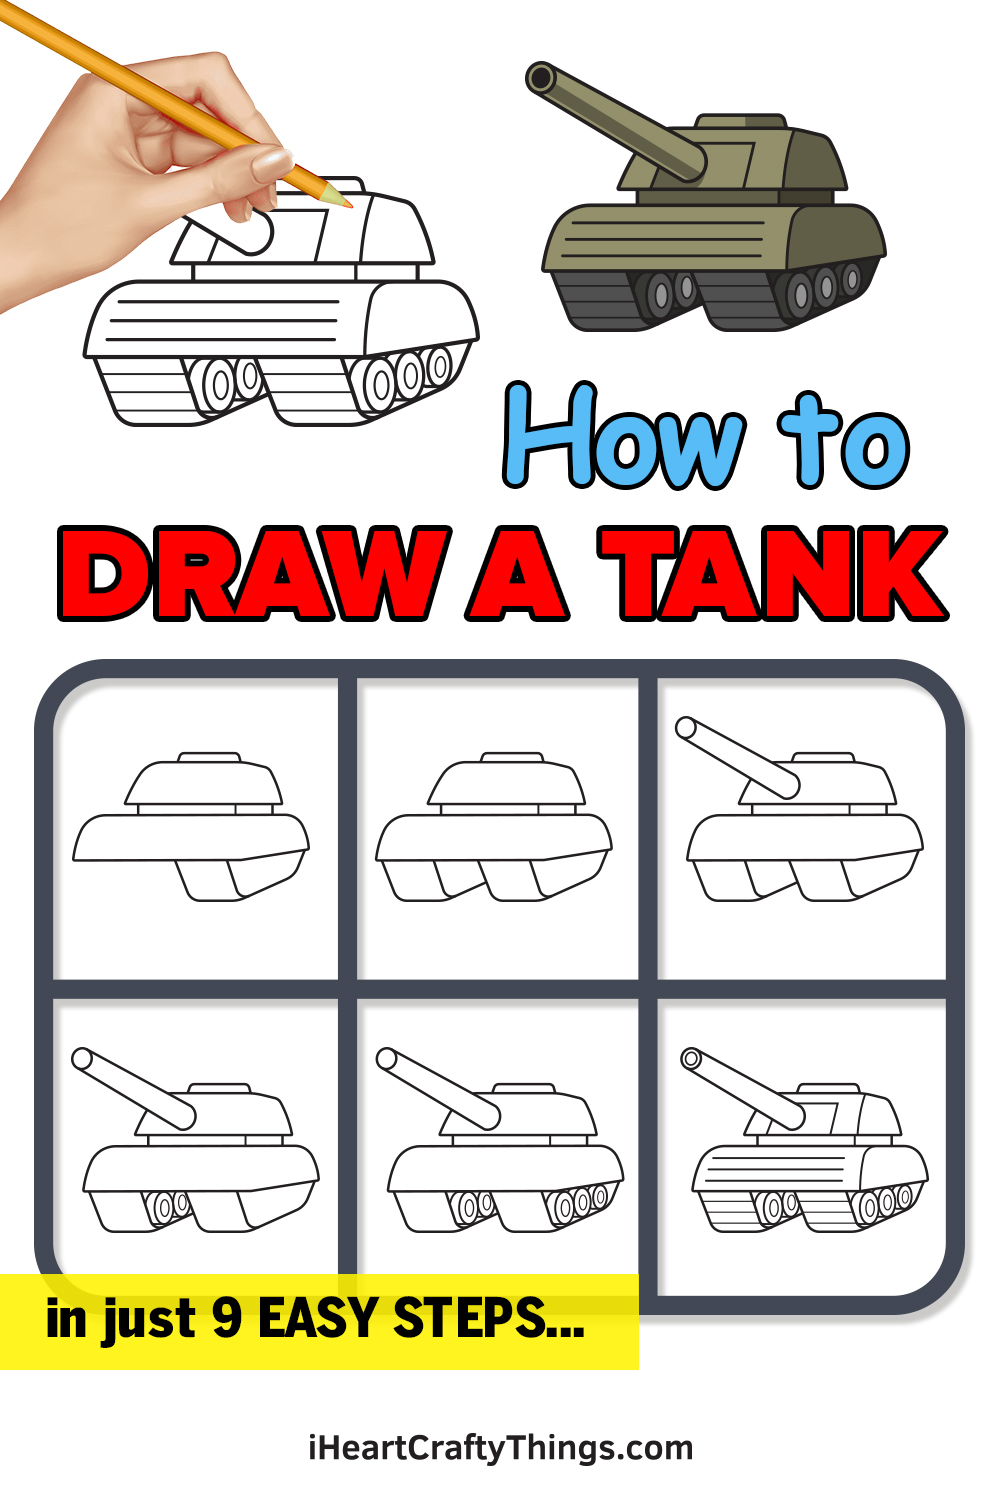
If you want to know how to draw a tank then this guide for kids will show you the easiest way to do it! Let’s see how you can recreate this powerful vehicle so that you can make some cool designs of your own.
When tanks were created, they represented a shift in the nature of warfare. These vehicles are incredibly powerful and hard to destroy, making them a formidable threat whenever they appear.
There are many different kinds of tanks that armies use, but they will all generally have a bulky armored appearance. In this tutorial, I will show you how to make your own version of this tank.
It’s a basic design that you can then customize with your own details like camouflage, weapons and background elements. It will be fun and easy for anyone, so let’s begin!
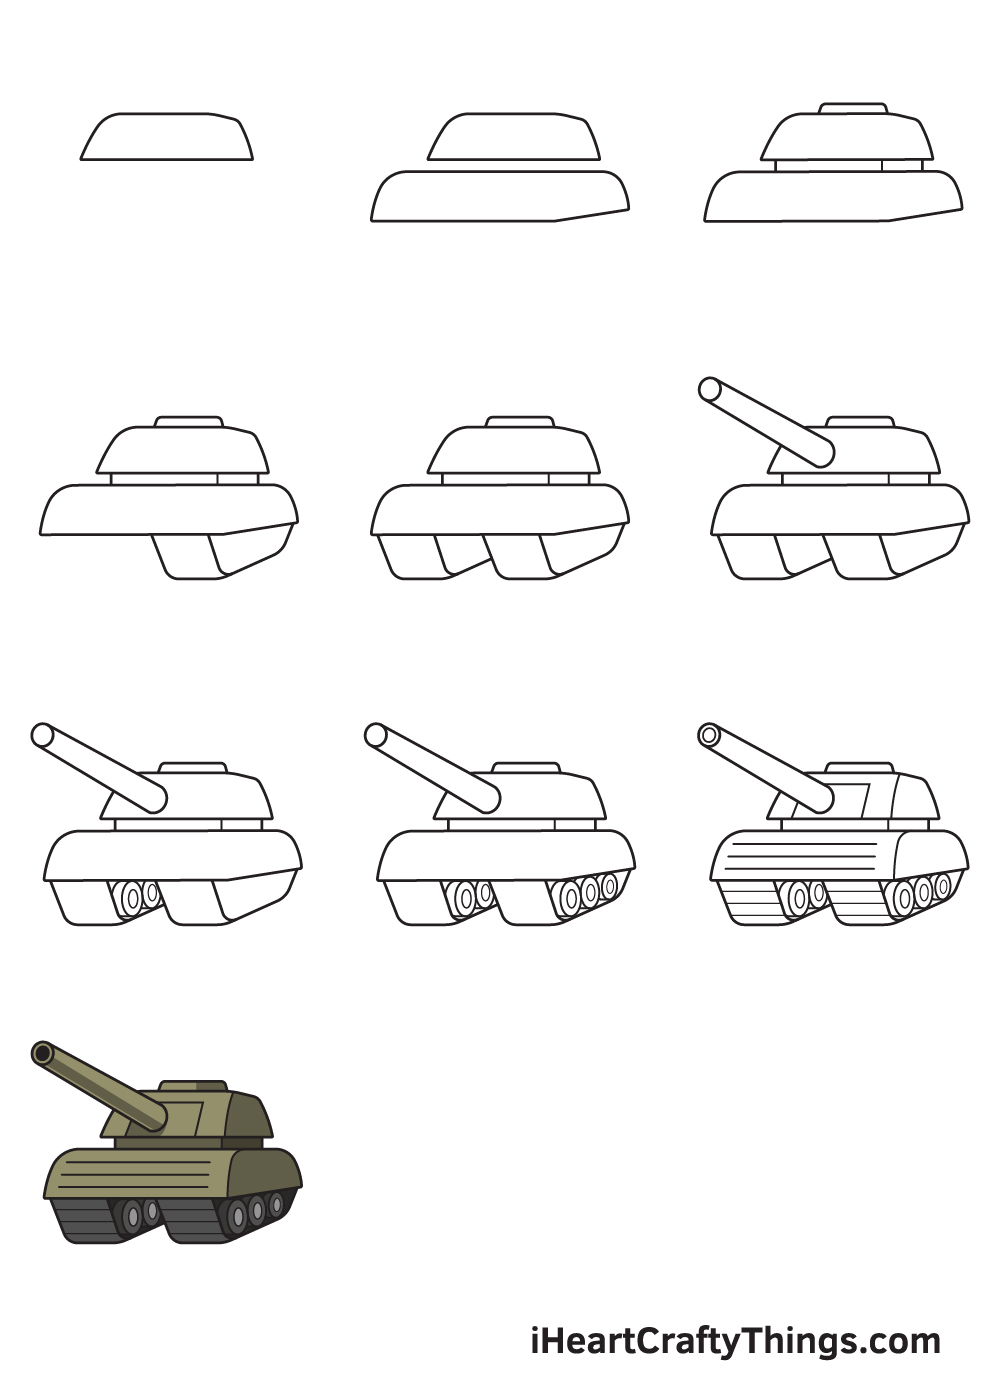
Find Out How To Make Your Tank Drawing
How to Draw a Tank – Let’s get started!
Step 1
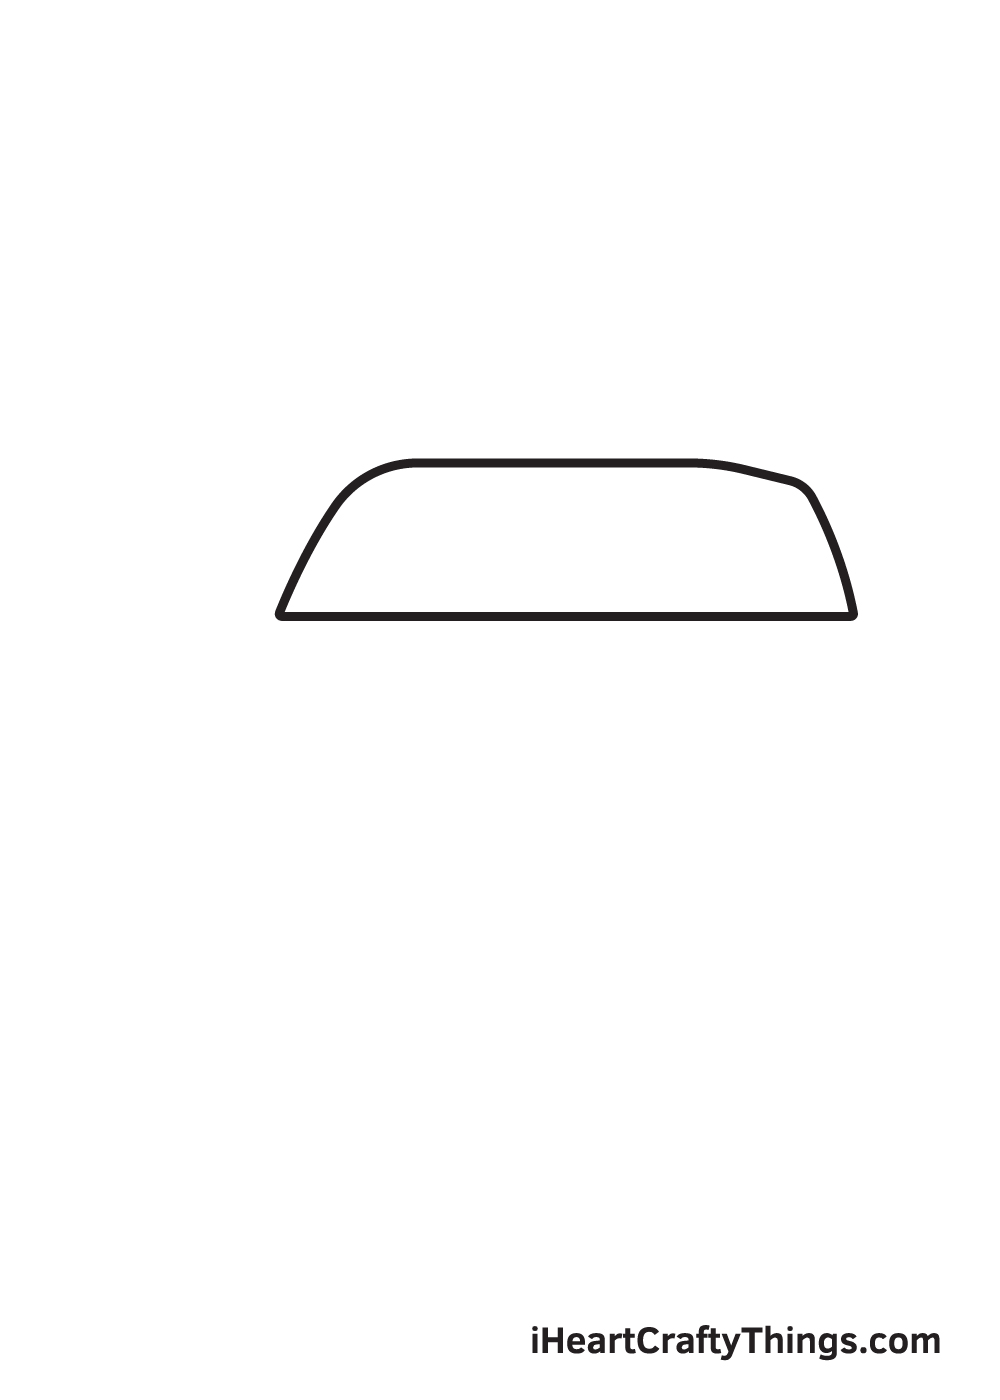
Start drawing the tank by creating the top section.
Draw two horizontal lines connected with three curved lines, just like the one in the illustration.
Step 2 – Outline the Structure of the Tank
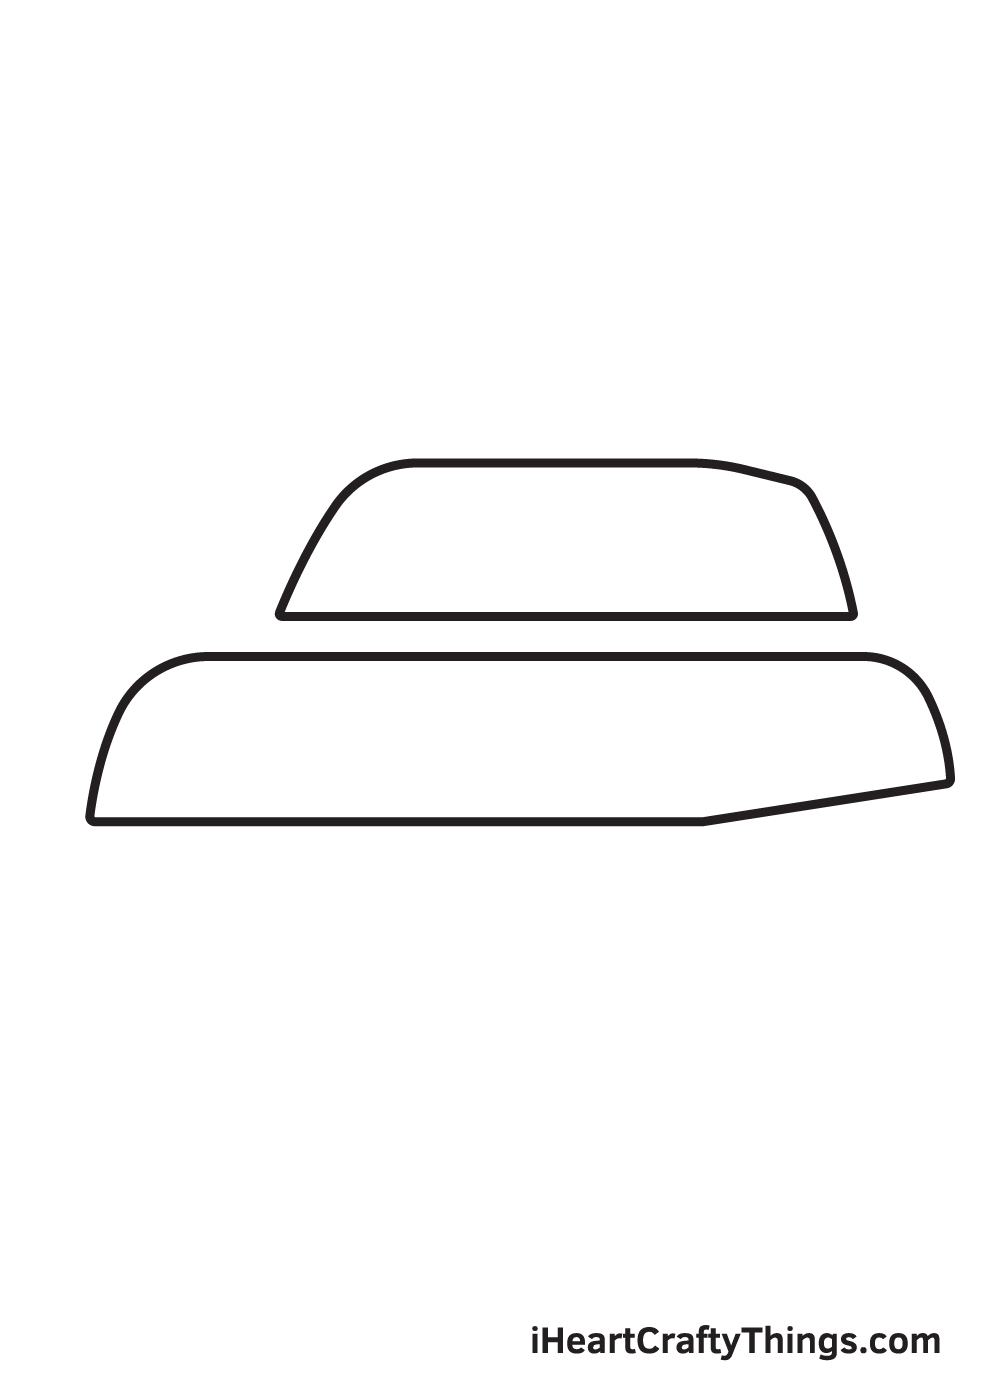
It’s time to draw the body of the tank.
This will look like a bigger version of the one you drew on Step 1. Put this below the one you drew on Step 1.
Step 3 – Next, Draw the Foundation of the Tank
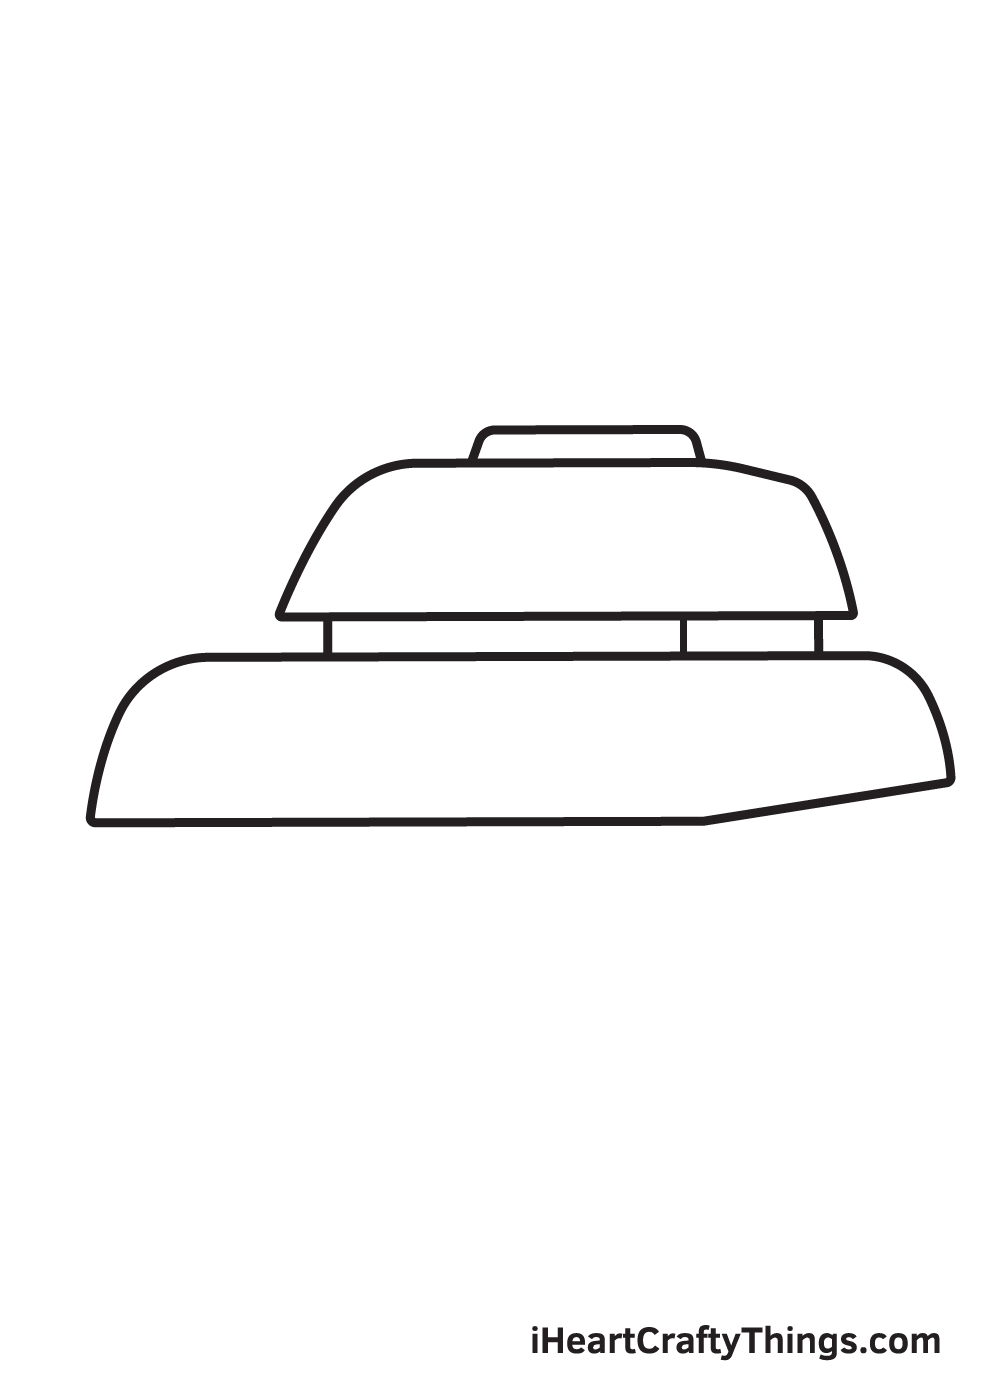
This time, you will connect the two sections you drew on Steps 1 and 2.
Draw three short vertical lines and a fairly long horizontal line, as seen in the illustration.
Step 4 – Draw the Right Track That Supports the Wheels
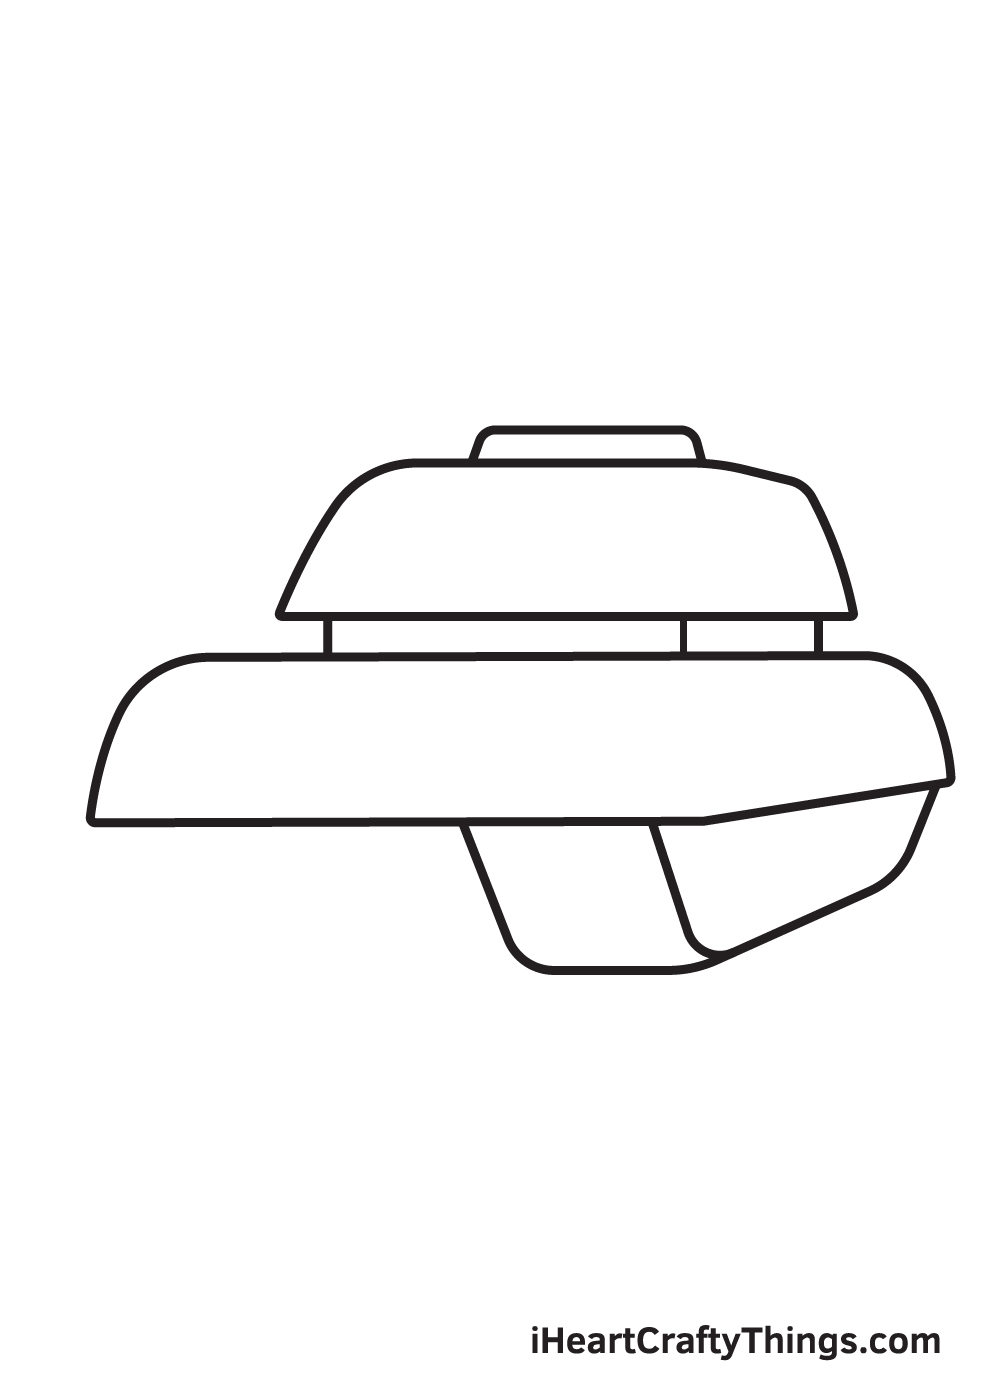
It is time to draw the outline of the track of the tank (the track houses or contains the road wheels).
Draw three fairly short diagonal lines, one longer diagonal line, and a short horizontal line, as seen in the illustration. This will form the right track of your tank.
Step 5 – Draw the Left Track That Supports the Wheels
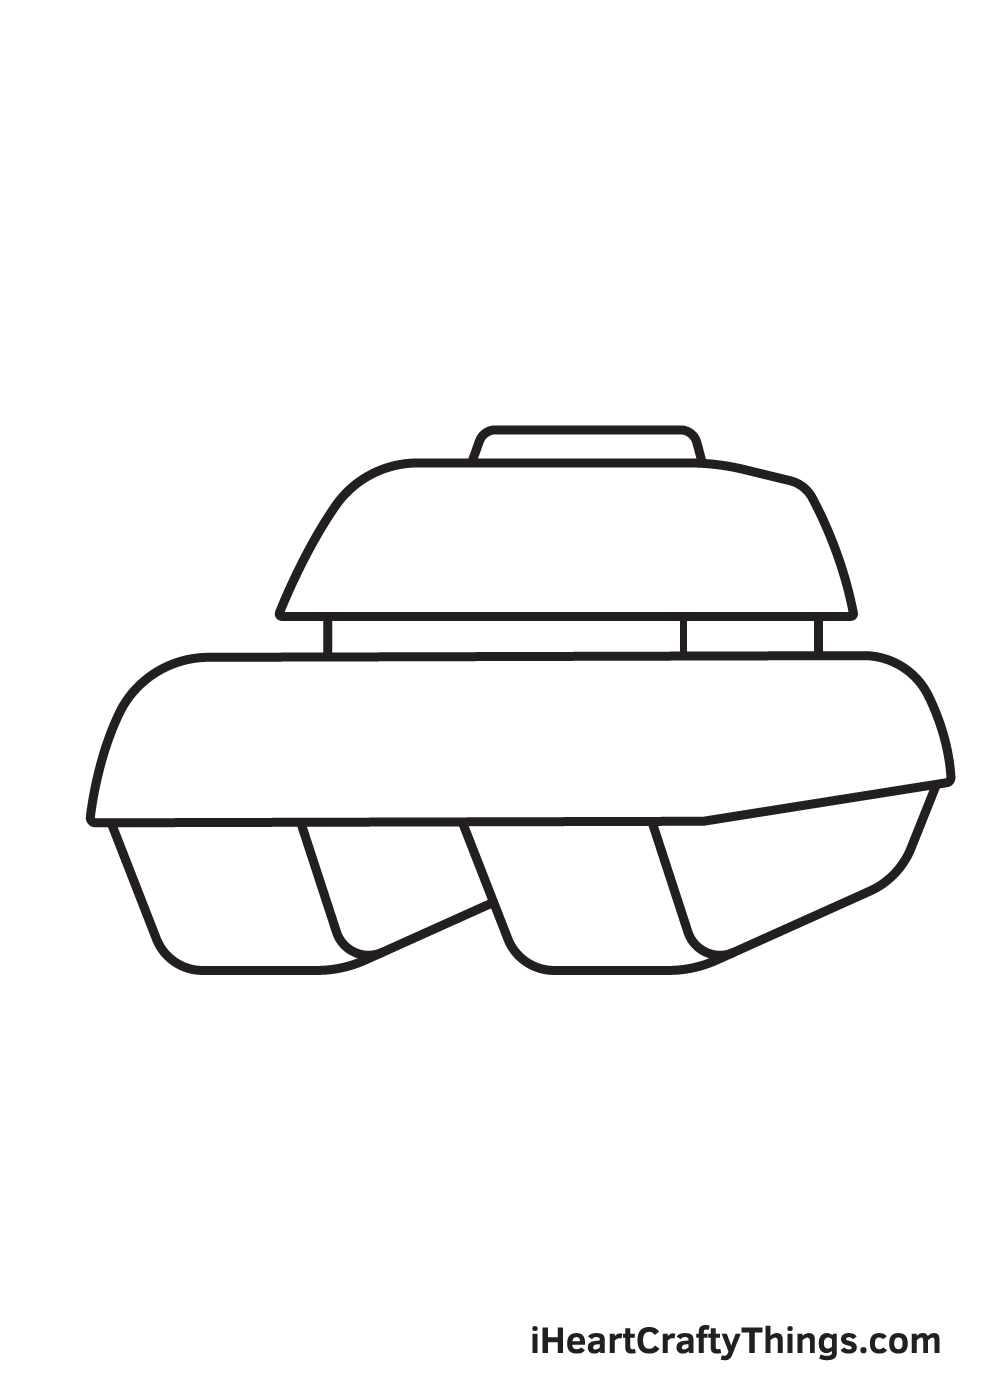
In this step, you will simply recreate what you did in Step 4.
This time, you will draw the left side of the tank’s track.
Step 6 – Draw the Main Gun and the Fume Extractor
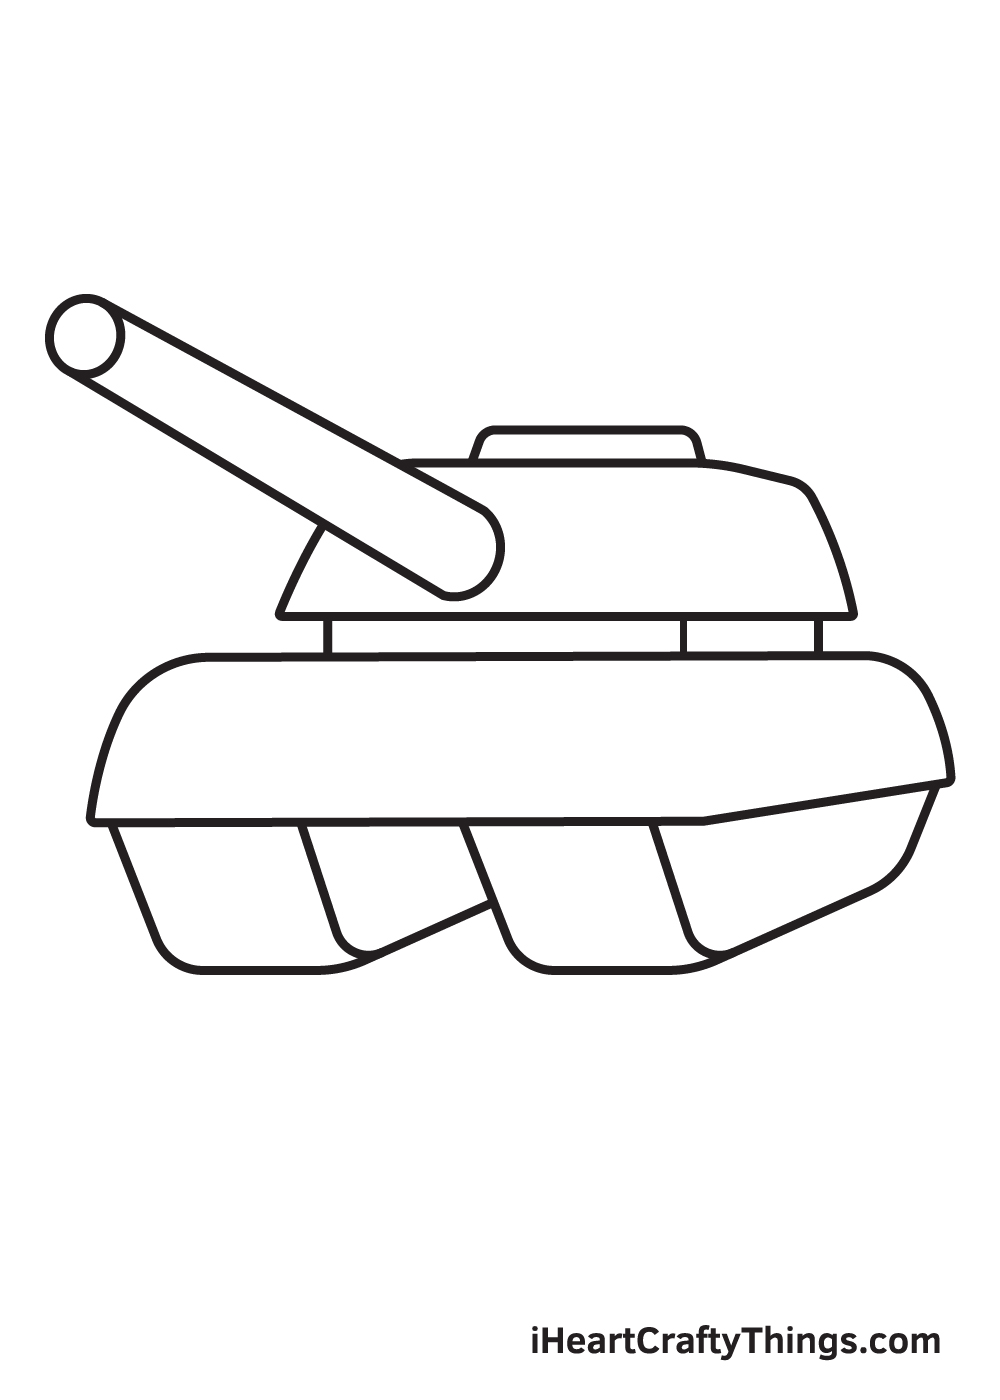
At this point, your tank still has no firepower. So it is time to add the main gun of the tank! Draw a small circle at the left edge of two long and unconnected diagonal lines (as seen in the illustration).
A semi-circle or curve added to the right side will make it look like it’s connected to the top part of the tank.
Step 7 – Draw the Wheels on the Left Side
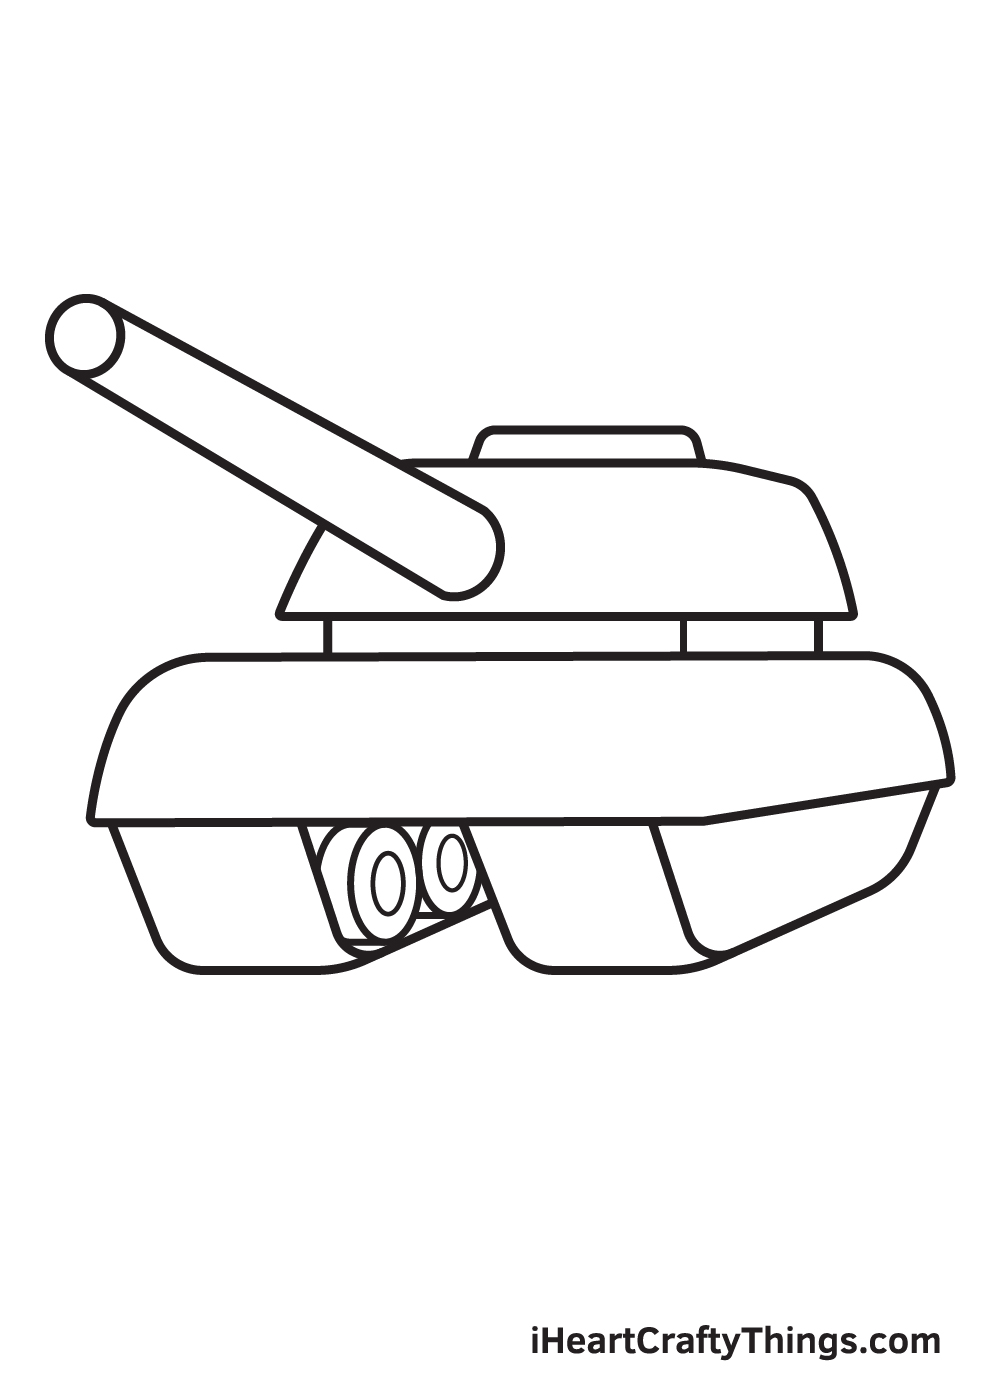
As mentioned in Step 4, the road wheels are housed inside the track of the tank. It’s time to create the road wheels of the left track.
Draw two circles (with an inner circle on each) like the ones shown in the illustration.
Step 8 – Draw the Wheels on the Right Side
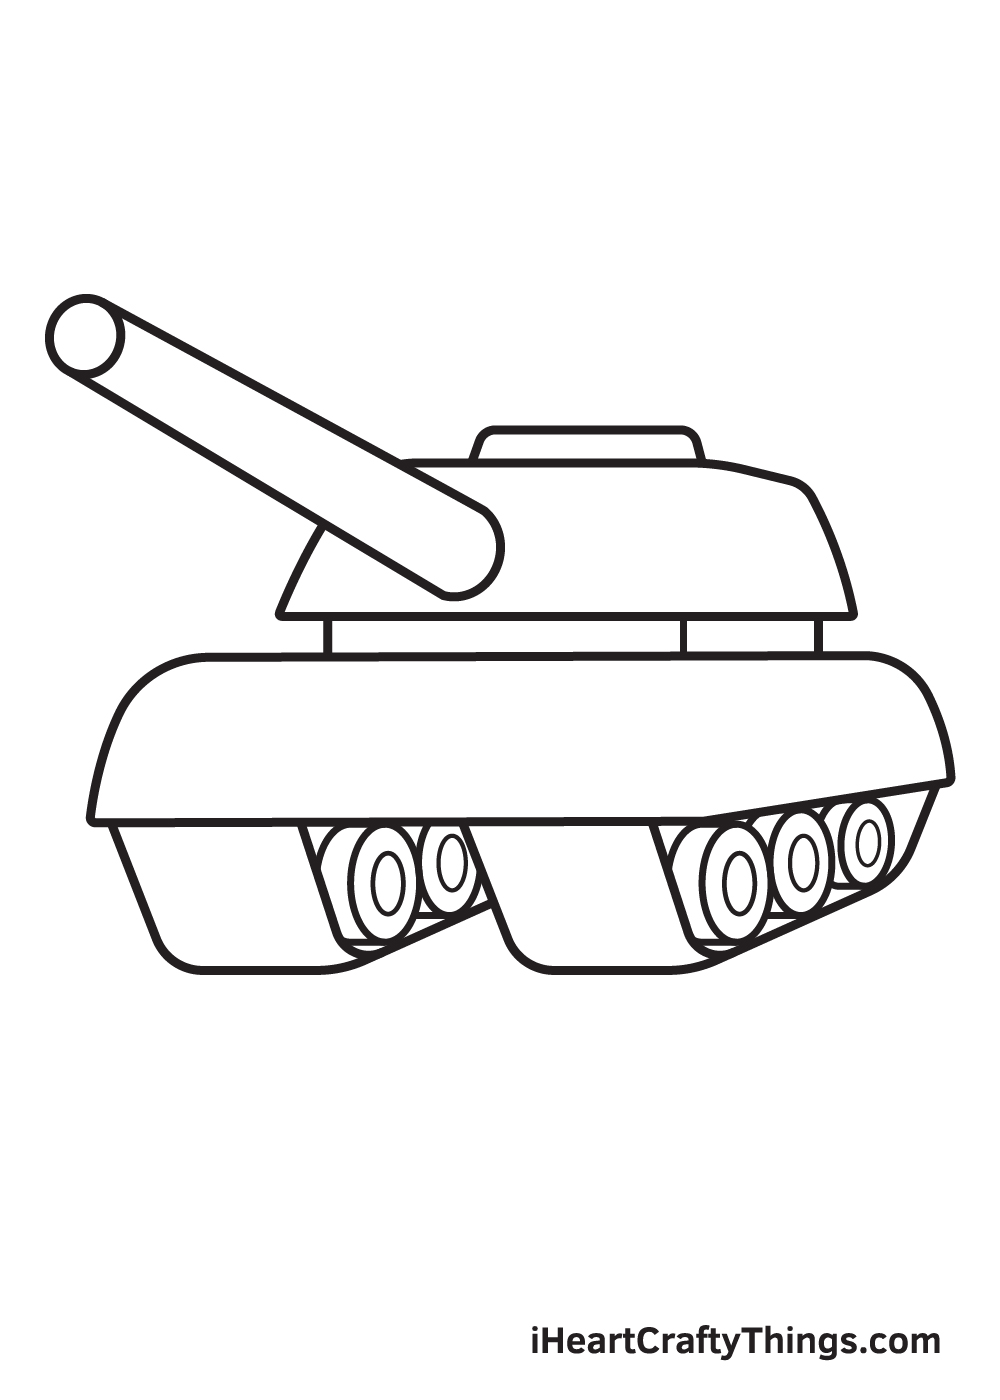
It’s time to add road wheels on the tank’s right track.
Following the instruction in Step 7, draw three circles to represent three road wheels.
Step 9 – Complete the Structure of the Tank
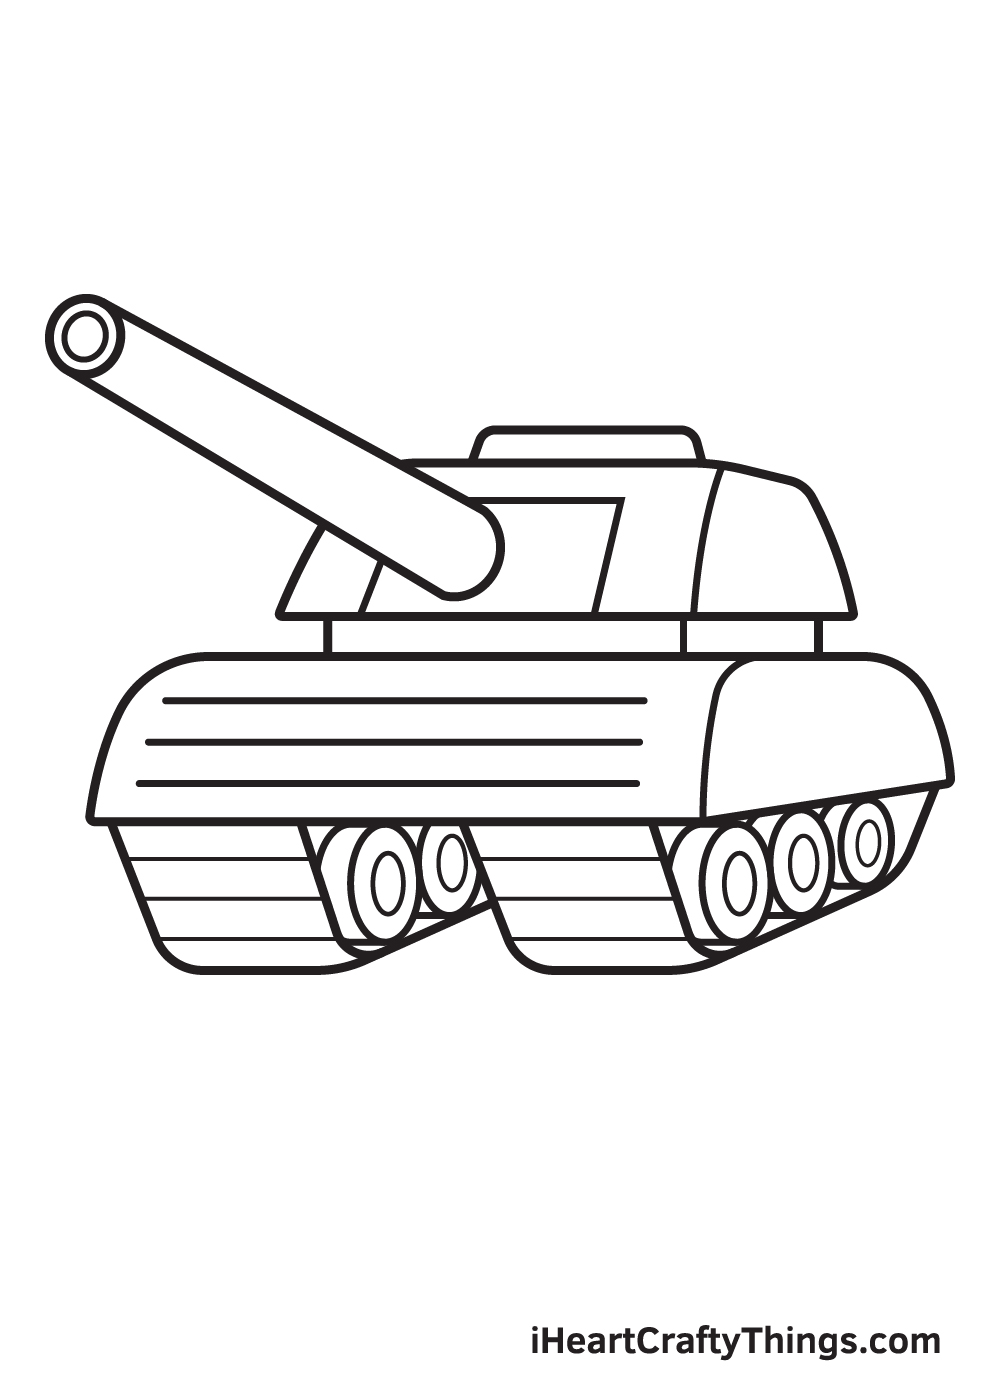
In this step, you will make your tank look a lot more realistic and formidable. Draw a square-ish shape at the middle of the top section you drew on Step1.
Add one downward diagonal line each on the right sides of the sections you drew on Steps 1 and 2. Add an inner circle on the left edge section you drew on Step 6.
Finally, add vertical lines on the body and on both tracks. Review the illustration to find all the details.
The final touch is to add colors to your tank! Add tints of brown, gray, white, or other colors to make your tank look better!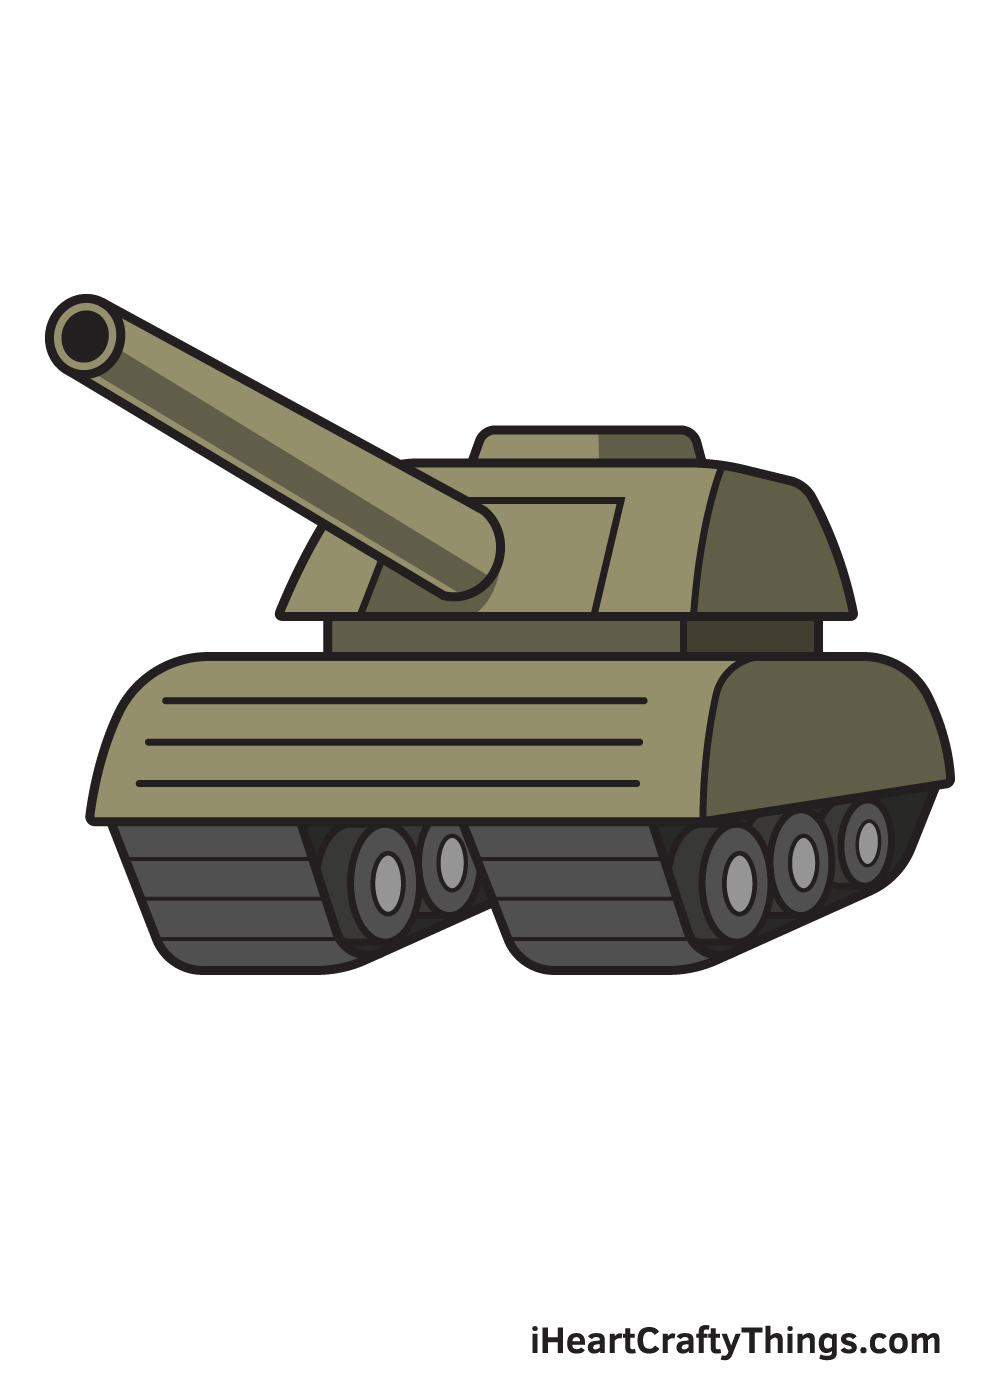
4 More Ways To Make Your Tank Drawing Unique
Get this tank sketch ready for battle with these 4 great tips we have for you!
Battle tanks come in many different shapes, sizes and variations. If you wanted to personalize this tank sketch, you could change some of the details in order to make it even more unique.
These details could be small, but they will make a big difference in drastically changing the design. The changes could be to the gun portion, the treads or the body.
You could look at pictures of real tanks to give you some inspiration on how to change the design!
Tanks are designed to be able to operate in a wide range of different tough terrains. You could show where this one is operating by drawing a background setting for the tank sketch.
For a few ideas, you could have a sandy desert setting or maybe a snowy tundra. These are just a few places, but there are many other environments that could work!
Where do you think this tank could be driving through as it heads to battle?
The next tip we have for this drawing of a tank leads on from the previous one. If you placed the tank into some distinctive terrain, you can decorate the tank with camouflage to suit it.
For instance, if you went with a desert setting then you would want to use some browns for the camouflage. In a snowy environment, you would be using whites, greys and light blues.
This is another case where you can look up real tanks to see what their camouflage looks like.
Lastly, it would make this tank drawing even cooler if you added some soldiers around it. The soldiers could be on and around the tank, and this is another tip that would go nicely with the previous ones.
If you have a hard time drawing humans, then you can draw them in a simpler cartoon style. Once again, looking at real pictures online can make it much easier.
What kinds of poses could you use for these soldiers?
Your Tank Drawing is Complete!
We hope you had fun drawing a tank with this step-by-step drawing tutorial. What would you like to draw next? Let us know and we’ll do our best to create a drawing tutorial for it.
Remember, all of our drawing tutorials are 100% free for you to use as learning materials in your drawing activities.
We are regularly updating our “How to Draw” catalog, so don’t forget to keep checking back to continuously learn how to draw something new!
Drawing a tank successfully is a milestone, so you should feel proud of yourself for completing a masterpiece!
Take a photo of your artwork and share it on various social media platforms. And while you’re at it, we hope you take the time to like our Facebook page too!
We are excited to see your powerful tank drawing!