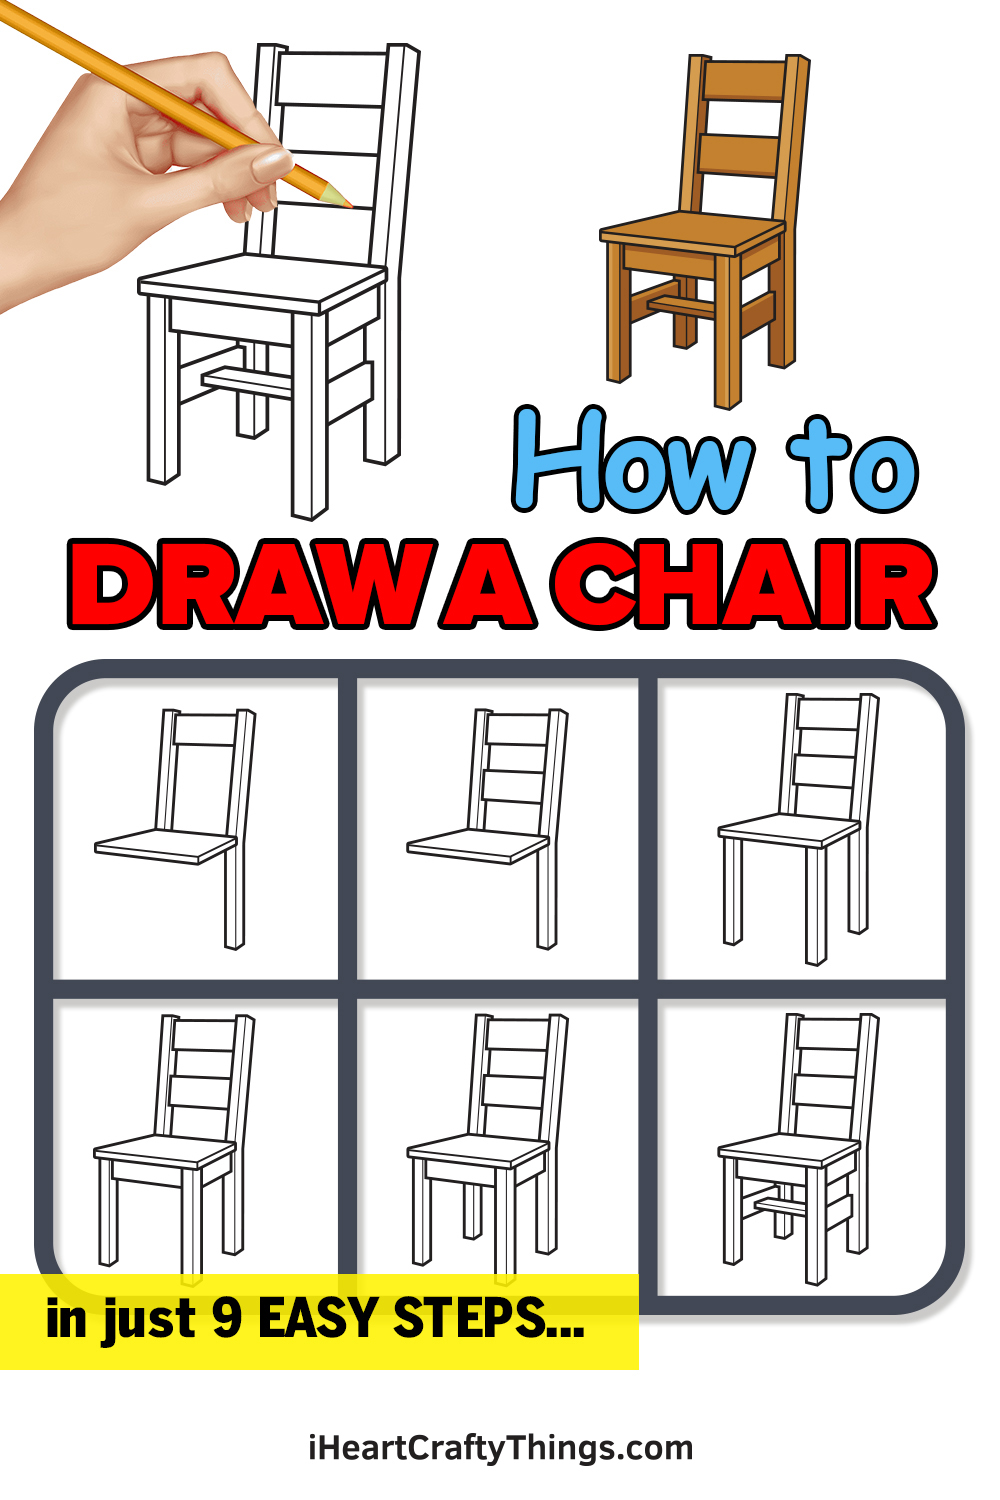
It’s time to see how to draw a chair by following this guide for kids! You are about to see that it’s fun and simple to design your own chairs when you know what to do.
Chairs are something that we all use every day. I would imagine that there’s a good chance you’re sitting on some kind of chair as you read this.
They come in many different forms and sizes, and it’s fun to find the chair that’s perfect for you. With so many to choose from, it’s hard to try them all though!
By following this guide, you will be able to make one of your own. I will show you how to work through all of the steps so you can make this design.
Then, you can take it even further with your own ideas and details to make a unique chair.
See How To Make Your Chair Drawing By Watching This
How to Draw a Chair – Let’s get started!
Step 1
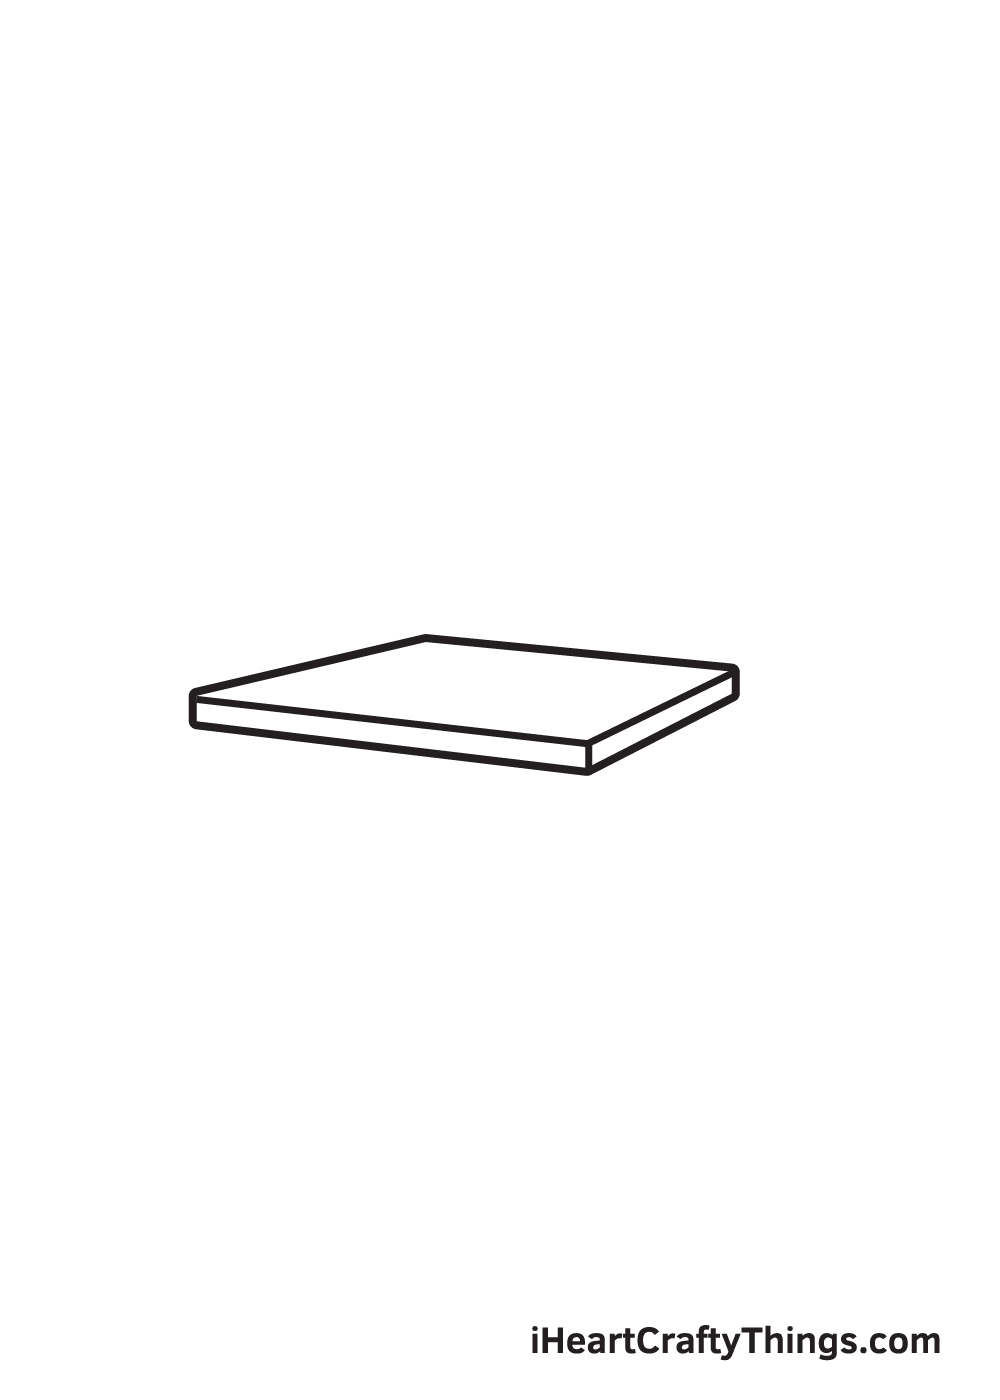
Starting in the very middle of your paper, draw the seat of the chair. It is the part of the chair that directly touches our bottoms whenever we sit down.
Here’s a useful tip: draw a vertical and a horizontal line across your paper to create reference lines. The point where the two lines meet is where you should draw the seat of the chair. This guideline will ensure that your chair will be perfectly aligned.
Step 2 – Start With the Seat of the Chair
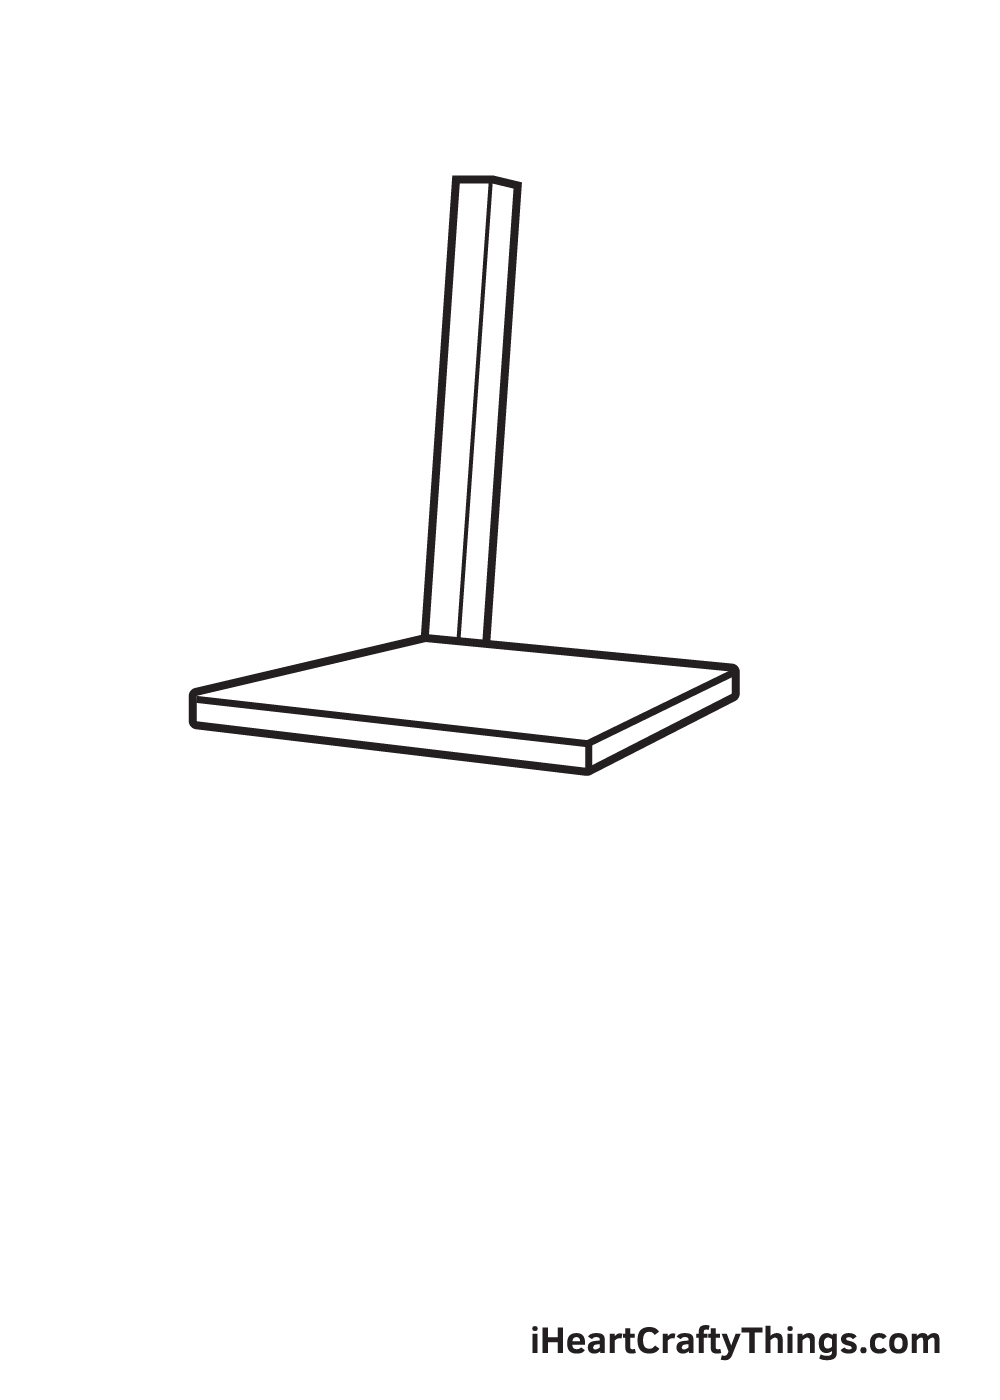
On the rear left corner of the seat, draw one stile or back leg. The stile helps support the chair to keep it upright and balanced.
Don’t forget to draw the dimensions for each part of the chair to make it look more realistic.
Step 3 – Draw the Stile or the Back Leg

On the rear right side of the seat, draw another stile or back leg similar to the previous step. This time, however, the leg should extend all the way down.
Step 4 – Next, Draw the Crest Rail
On the upper part of the chair, draw a crest rail in between the stiles. You can do this by simply drawing two parallel horizontal lines in the middle of the upper portion of the back legs.
The crest rail is the carved or profiled top rail of a chair. It helps support our back when we’re sitting down, enabling us to sit comfortably.
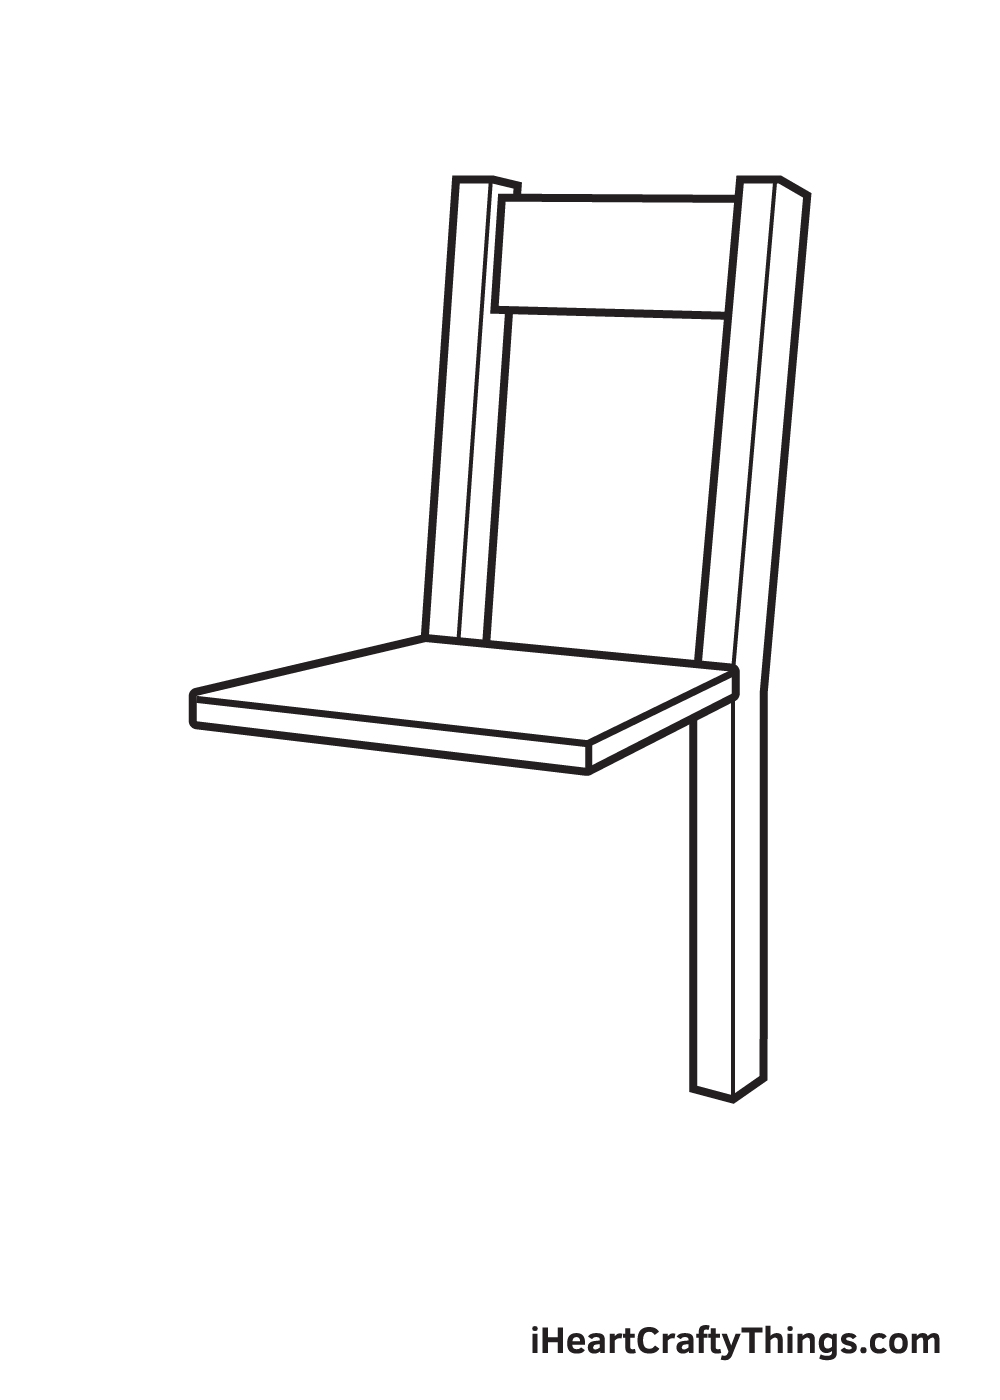
Step 5 – Then, Draw the Lower Back Rail

Below the crest rail, draw another rail that looks exactly like what we have drawn in the previous step. The rails support our back and enable us to sit upright, allowing us to sit cozily while maintaining our body posture at the same time.
Bear in mind that the crest rail and the lower back rail must be slightly apart from each other. The crest rail is the one at the top, while the lower back rail is the one at the bottom.
Step 6 – Draw the Front Legs of the Chair
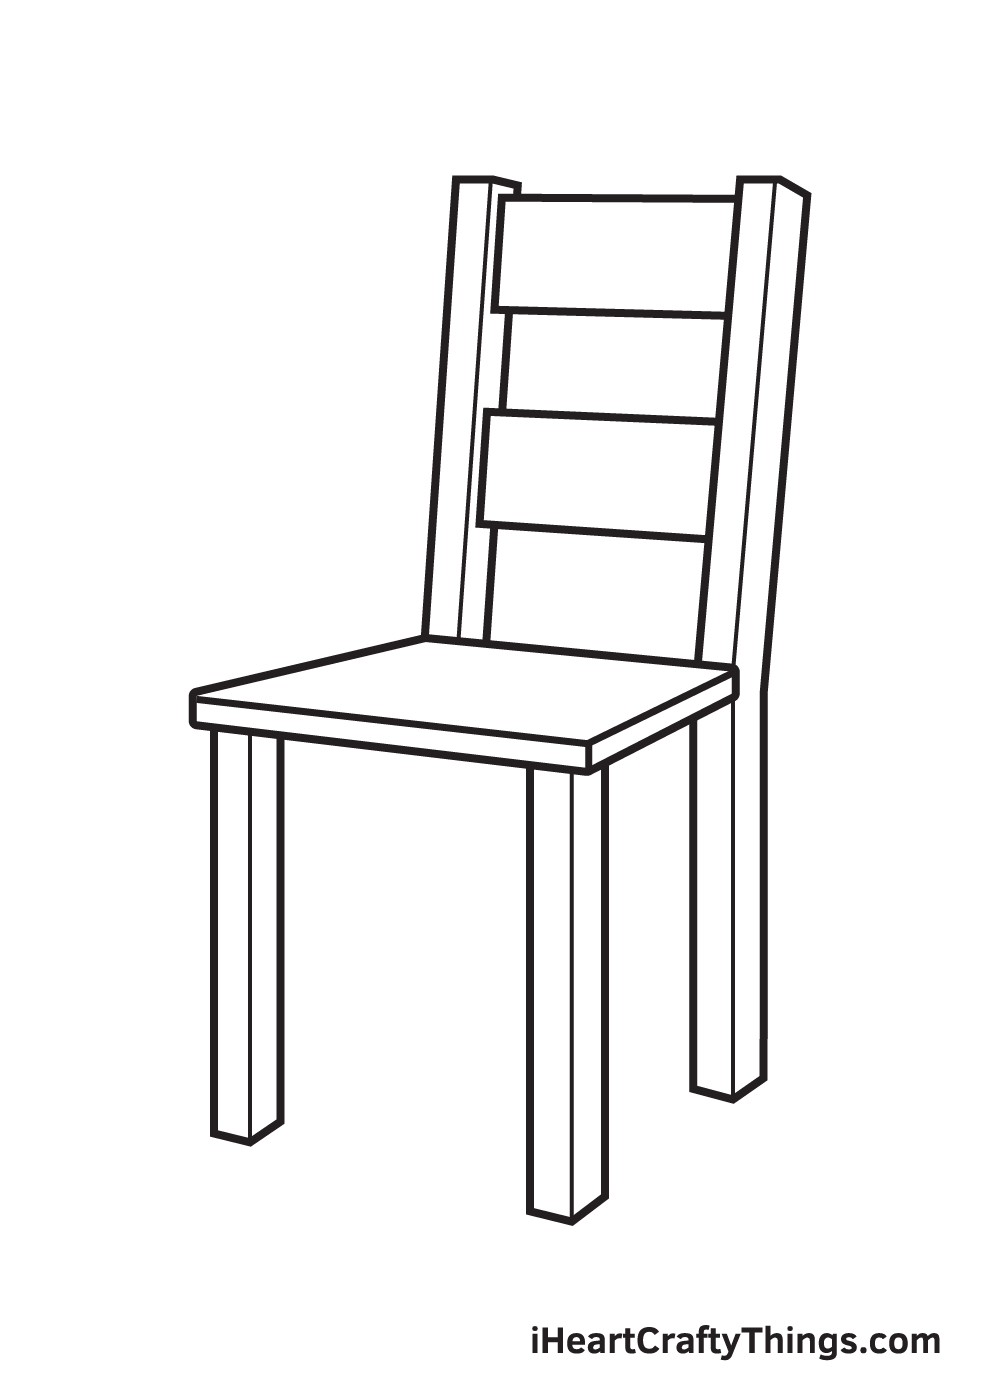
Right underneath the front part of the seat, draw a leg on each corner to complete the chair’s front legs. When drawn correctly, it should look exactly similar to the rear leg we have drawn in the third step.
Remember, the front legs should appear slightly lower than the back legs to create a realistic three-dimensional effect.
Step 7 – Now, Draw the Seat Rail on All Sides

Right underneath the seat, draw a seat on both visible sides of the chair (the front and the right side). To draw a seat rail, simply draw a horizontal line below the seat.
A set rail provides additional durability to the chair, enabling the chair to carry more weight.
Step 8 – Complete All Four Legs of the Chair

Now that we have drawn the three legs of the chair (two front legs and one back leg), only one leg is missing to complete the chair’s set of legs.
On the rear left side of the chair, draw a back leg right underneath the seat. And there you have it—your chair drawing now has four complete legs!
Step 9 – Draw the Cross Stretcher Under the Chair
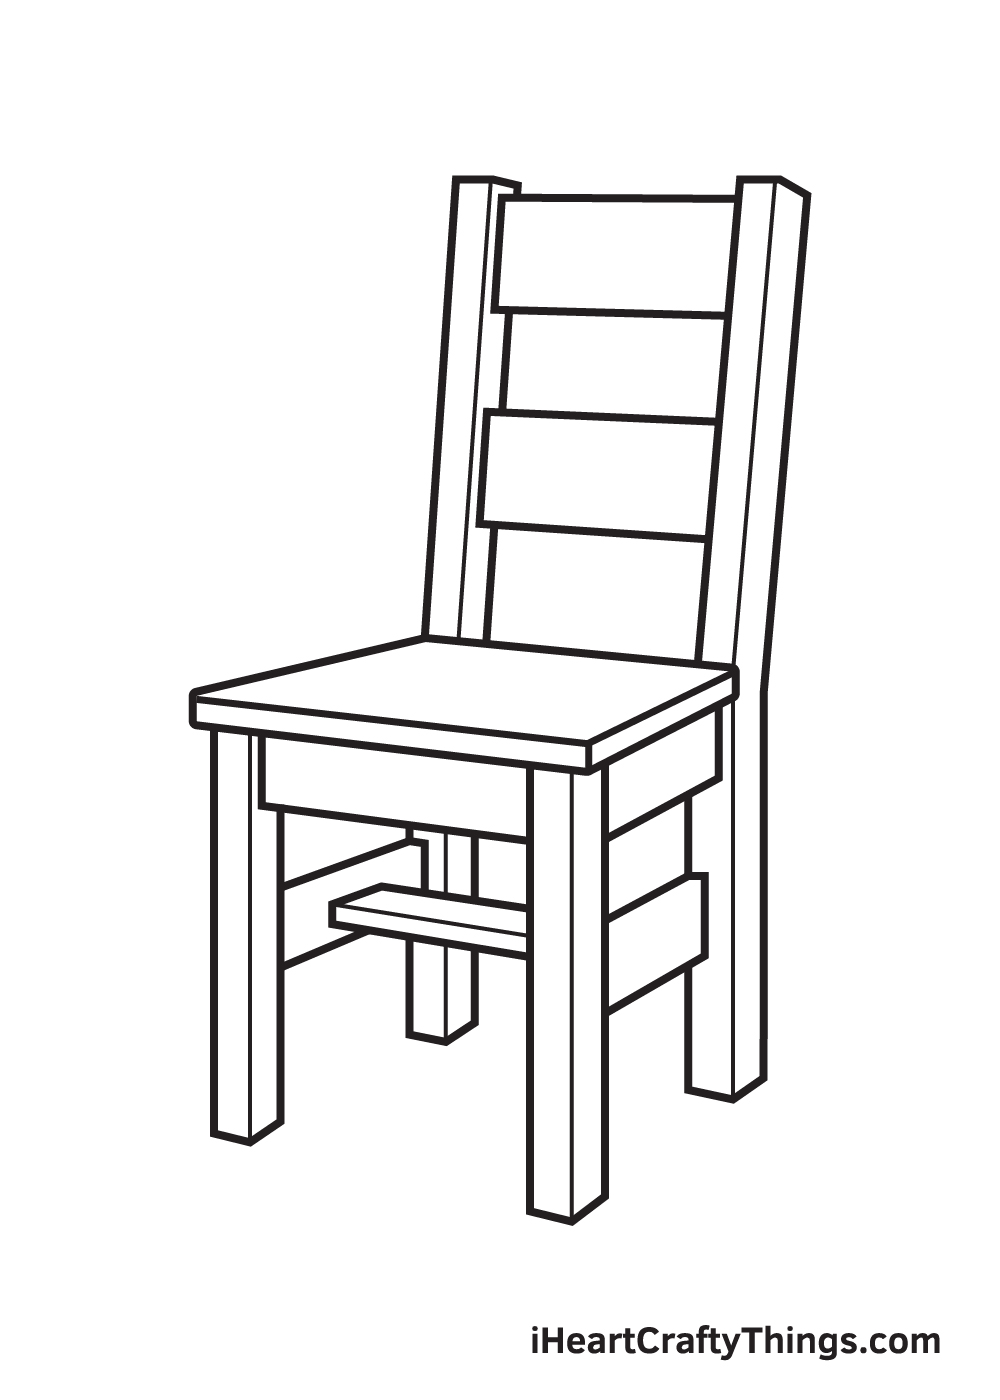
In this step, we will be drawing the last part of the chair—the cross stretcher!
Draw a rectangle shape in between the front and back left leg and the front and back right leg. Then, draw a tilted rectangle shape in between the two rectangles we have drawn just now.
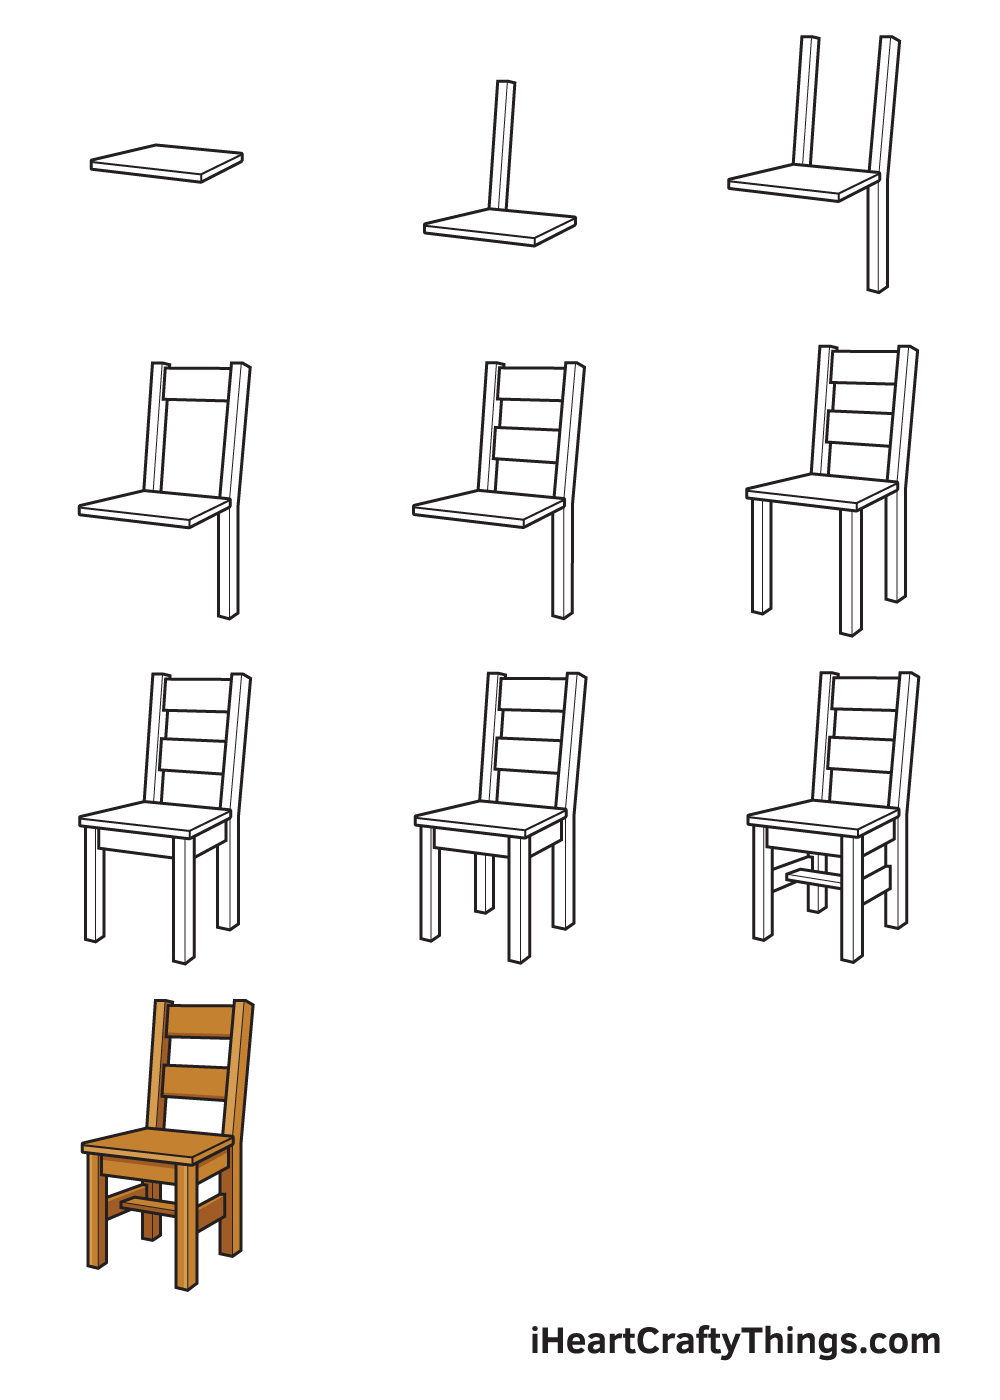
And there you have it; you have successfully drawn a chair. Now, all it’s missing is a splash of vivid and vibrant colors to finally complete your artwork!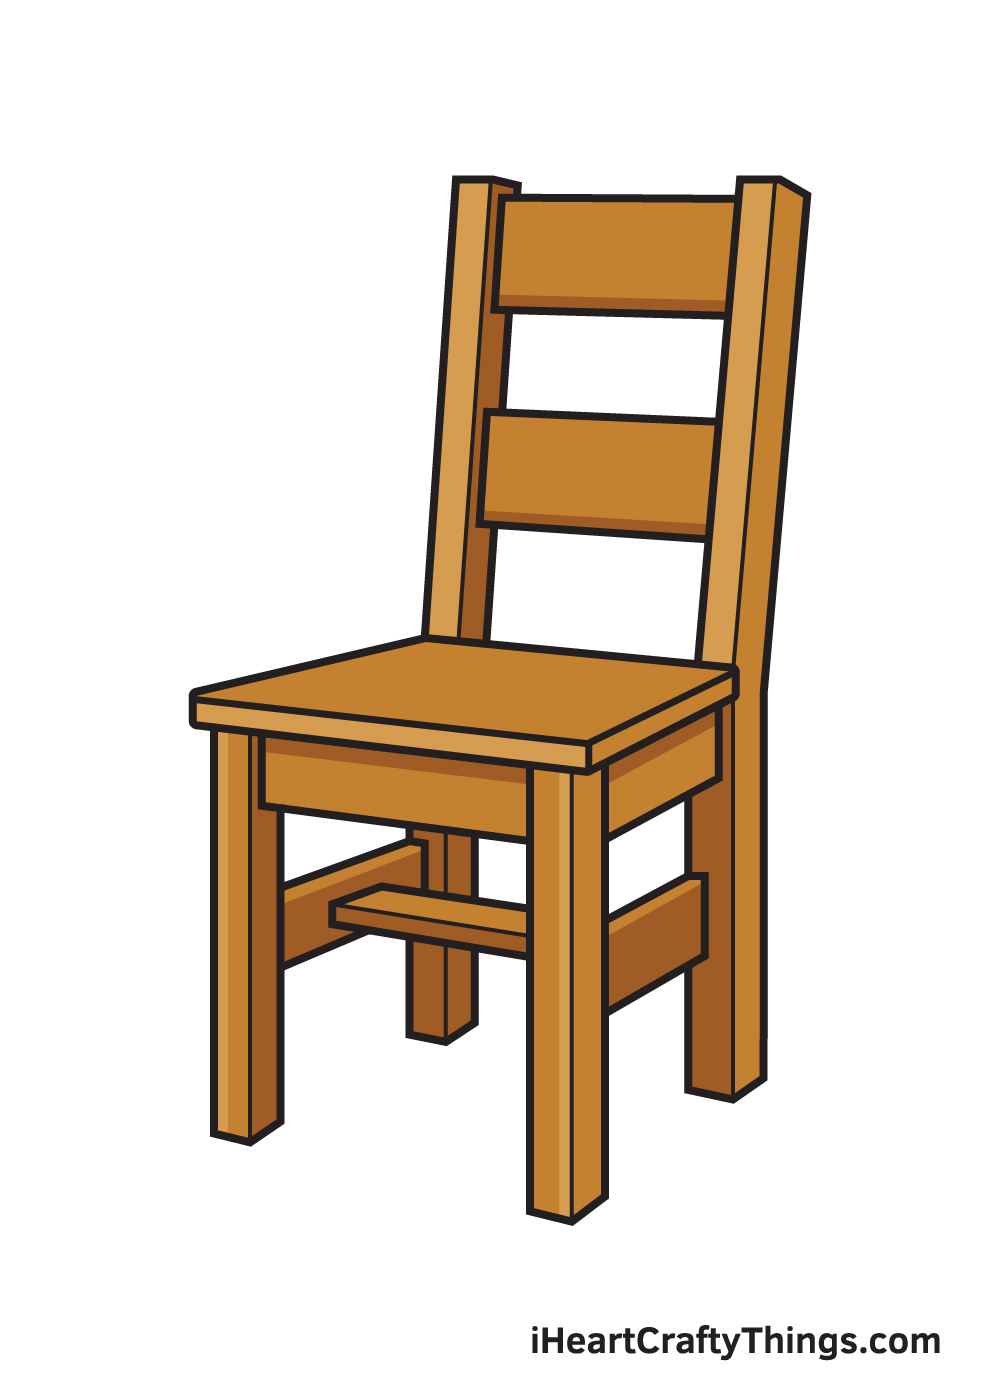
Finally, here is the most exciting part—filling in the colors for your awesome drawing! This is the part where you can show off your artistic skills and your ability to mix and match various colors.
Chairs are made out of various materials, including wood, metal, acrylic, and any other durable materials. This furniture also comes in a wide range of colors, which varies greatly depending on which material it is made of.
Feel free to color your chair drawing however you like and use any colors you prefer! And while you’re at it, why not try experimenting with different coloring materials as well?
Do this to take your chair drawing to the next level
Grab your favorite chair as we show you how to make this drawing look even better!
The chair drawing we created in this guide is quite a simple design, and this was done to make it easier for you.
Now you can focus on adding some fancier details, and we have a few ideas. You could add a cushion to the chair to make it look better and even comfier!
Or, you could add some carved detailing onto the wood of the chair itself. These are just a few ideas, but there is a lot you could do to make this chair more detailed.
You can also add this chair to a more realized setting by adding more things around it. You could add more furniture such as a desk or a coffee table if you’re feeling extra creative.
Or, maybe you could give this chair sketch a cozier feeling by adding a sleeping cat or other pet onto the chair.
You could make the background as detailed and busy as you like, and that will be great for creating a more realized scene.
Another way to make this drawing very unique is by changing the design of the chair. Once you have the hang of the details of this particular drawing of a chair, you can change the structure.
Chairs come in many different shapes and sizes, so you would have many different options to choose from. You could use chairs in your own house or look up pictures if you want to have some inspiration.
Lastly, you can play around with colors and mediums with this drawing. In our guide, we used some browns to make a wooden look for the chair.
You could use different mediums to make it look more varnished or matte for a few ideas. Or, you could use some brighter colors to make it look as if it has been painted.
What kind of effect do you want for the colors? Whatever you have in mind, we know you can do it!
Your Chair Drawing is Complete!
We hope you enjoy this step-by-step tutorial on how to draw a chair. With this guide, you can surely draw and color a chair along with its complex features and elaborate details in no time.
And the most fun part is, you can customize its physical attributes and play with various colors as much as you like!
We are always updating our “How to Draw” catalog, so make sure to keep checking back on our website to take advantage of newly uploaded tutorials.
All you need is a pen and paper and you’re all set to start drawing! We are excited to see what you will draw next. We’re sure it will be just as amazing as this one!
Once you’ve finished your masterpiece, we’re certain you must be feeling very proud of yourself—as you should be! Completing this chair drawing is definitely fulfilling.
Make sure to show off your work of art and share it on our Facebook page and on Pinterest. We’re sure it looks amazing! We can’t wait to see your colorful chair drawing!