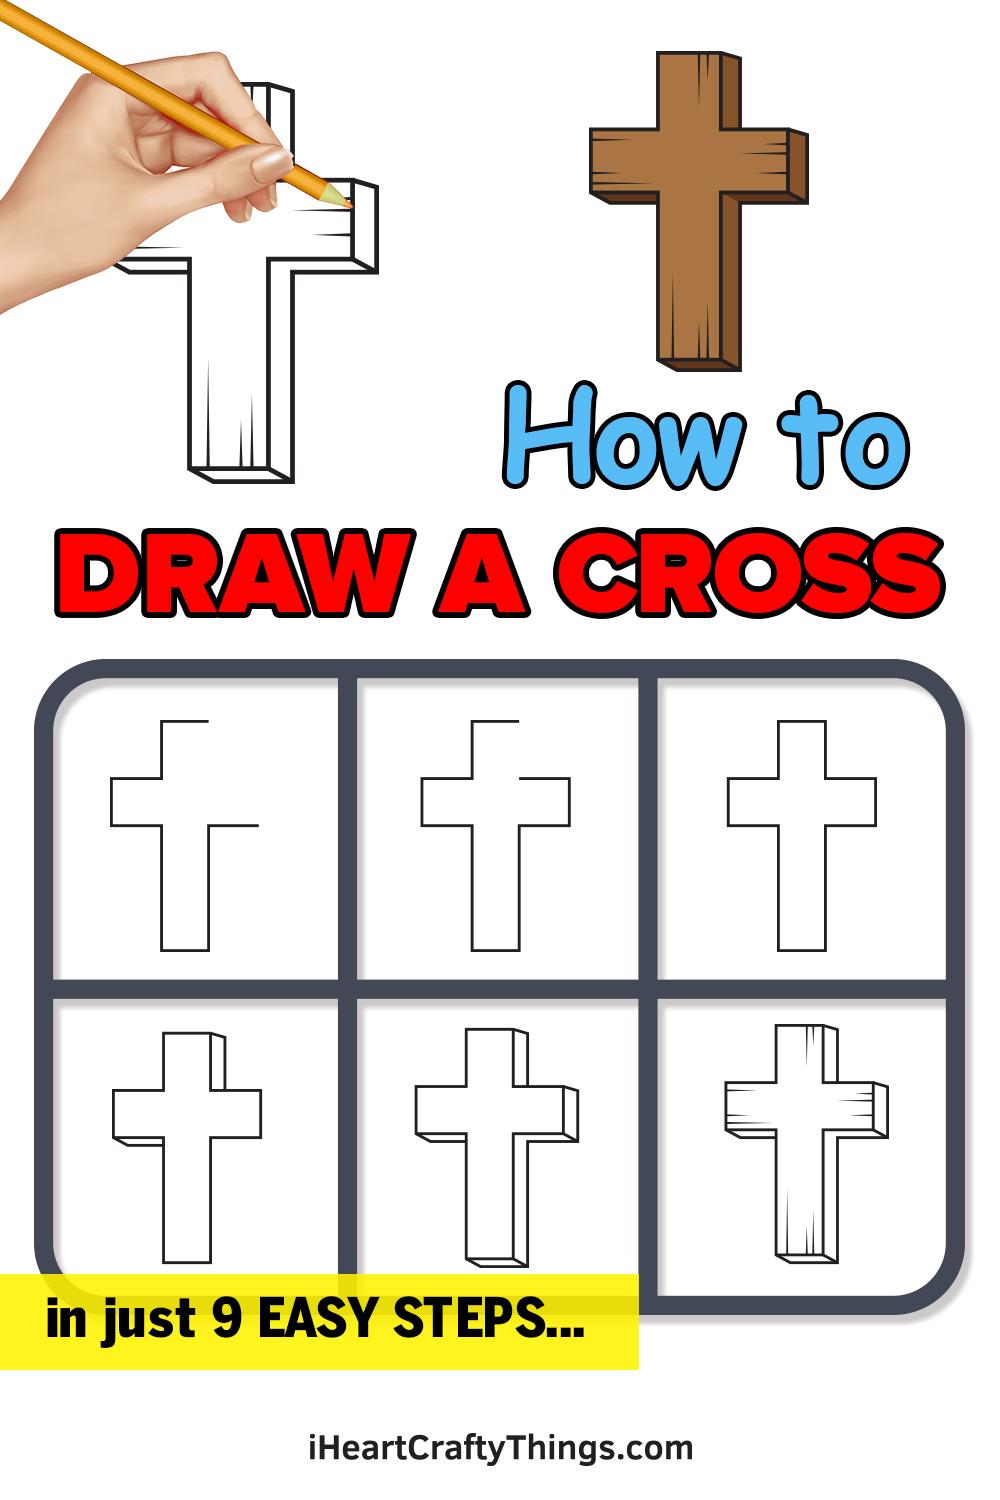
Learning how to draw a cross will enable you to create all sorts of amazing designs. This guide for kids is here to show you how easy it can be when you have steps to follow.
The cross is a symbol that is religiously important and symbolic to millions worldwide, so learning to draw one can be a really enriching experience.
In this guide, we will be creating a three dimensional design with some texture to make it look as if it is made of wood. It’s simpler than you may think to make such a design, and we will do it together!
Once you have finished your cross drawing, you could even add some inspirational messages or draw a background to show what the cross means to you. First, let’s follow through the steps together to see how you will create the design you see below.
Watch Our Guide On How To Create A Cross Drawing
How to Draw a Cross — Let’s get started!
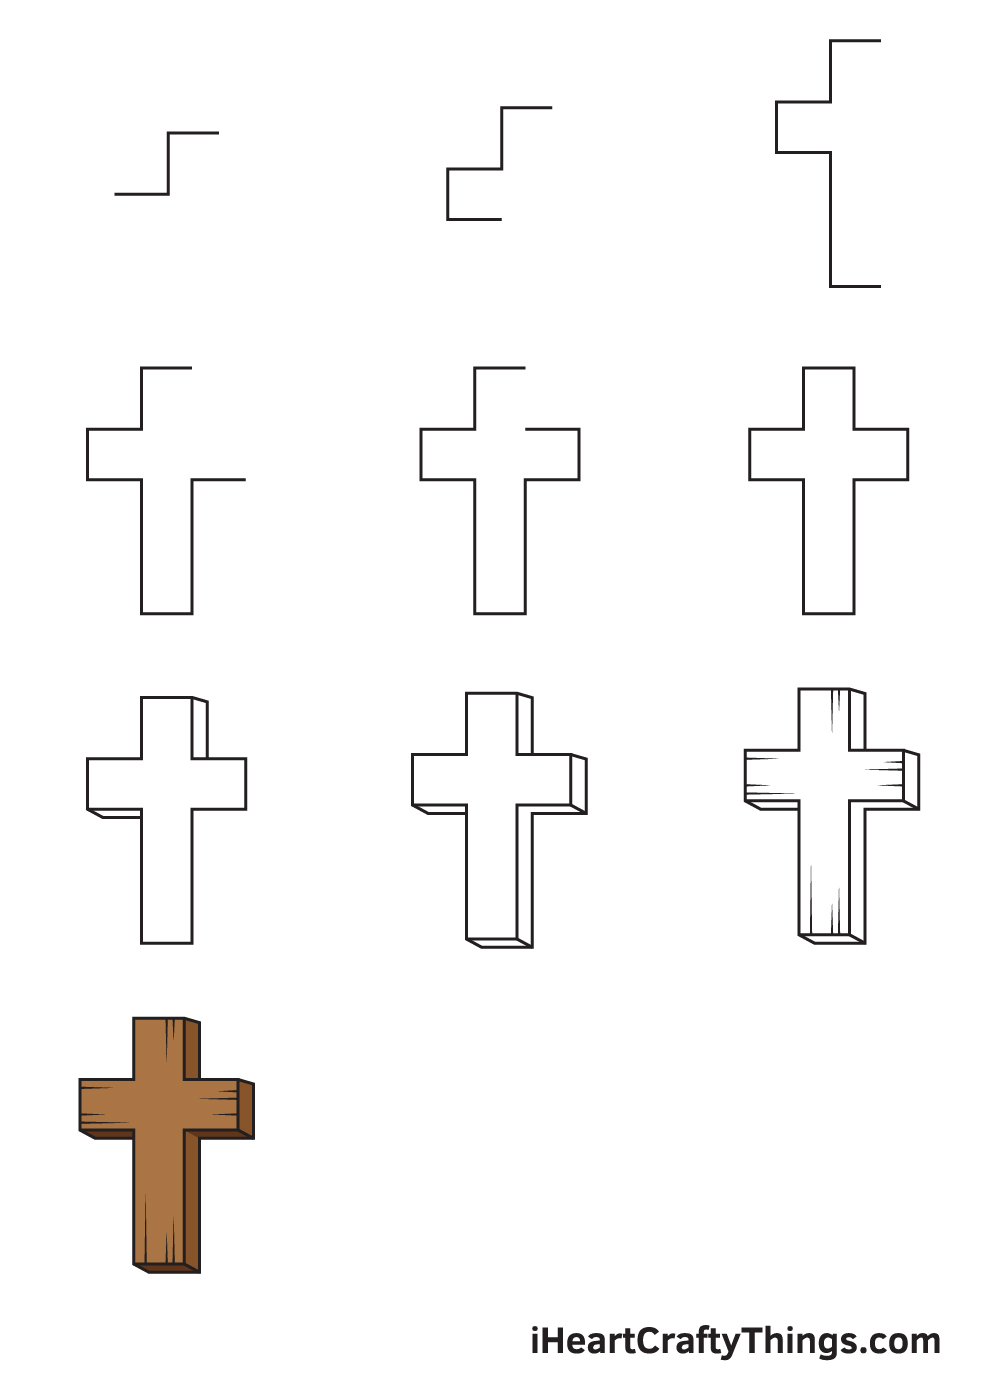
Step 1

Starting in the upper middle portion of your paper, draw a horizontal line to outline the top of the cross. Then, starting from the left end of the horizontal line, draw a vertical line.
Afterwards, draw another horizontal line from the bottom end of the vertical line going to the left. Keep in mind that all three connected lines should have the same length.
When drawn correctly, it should look like a stair with two steps, as shown in the illustration. Feel free to use a ruler to help you draw straight lines quickly and effortlessly.
This will help ensure that all the lines forming the cross are drawn evenly and proportionally.
In order to make sure that the cross will be drawn in the middle of your paper, draw a horizontal line and a vertical line across your paper. Use it as reference lines to help you determine the perfect spot to draw the lines on.
Step 2 — Draw the Head and the Left Crossbar

Starting from the left end point of the last horizontal line we drew in the previous step, draw a downward vertical line with the same length. Then, from the bottom end point of the vertical line we just drew, draw a horizontal line going to the right.
This horizontal line should be aligned with the one right above it, as shown in the illustration. After finishing this step, the left crossbar of your cross should now be complete.
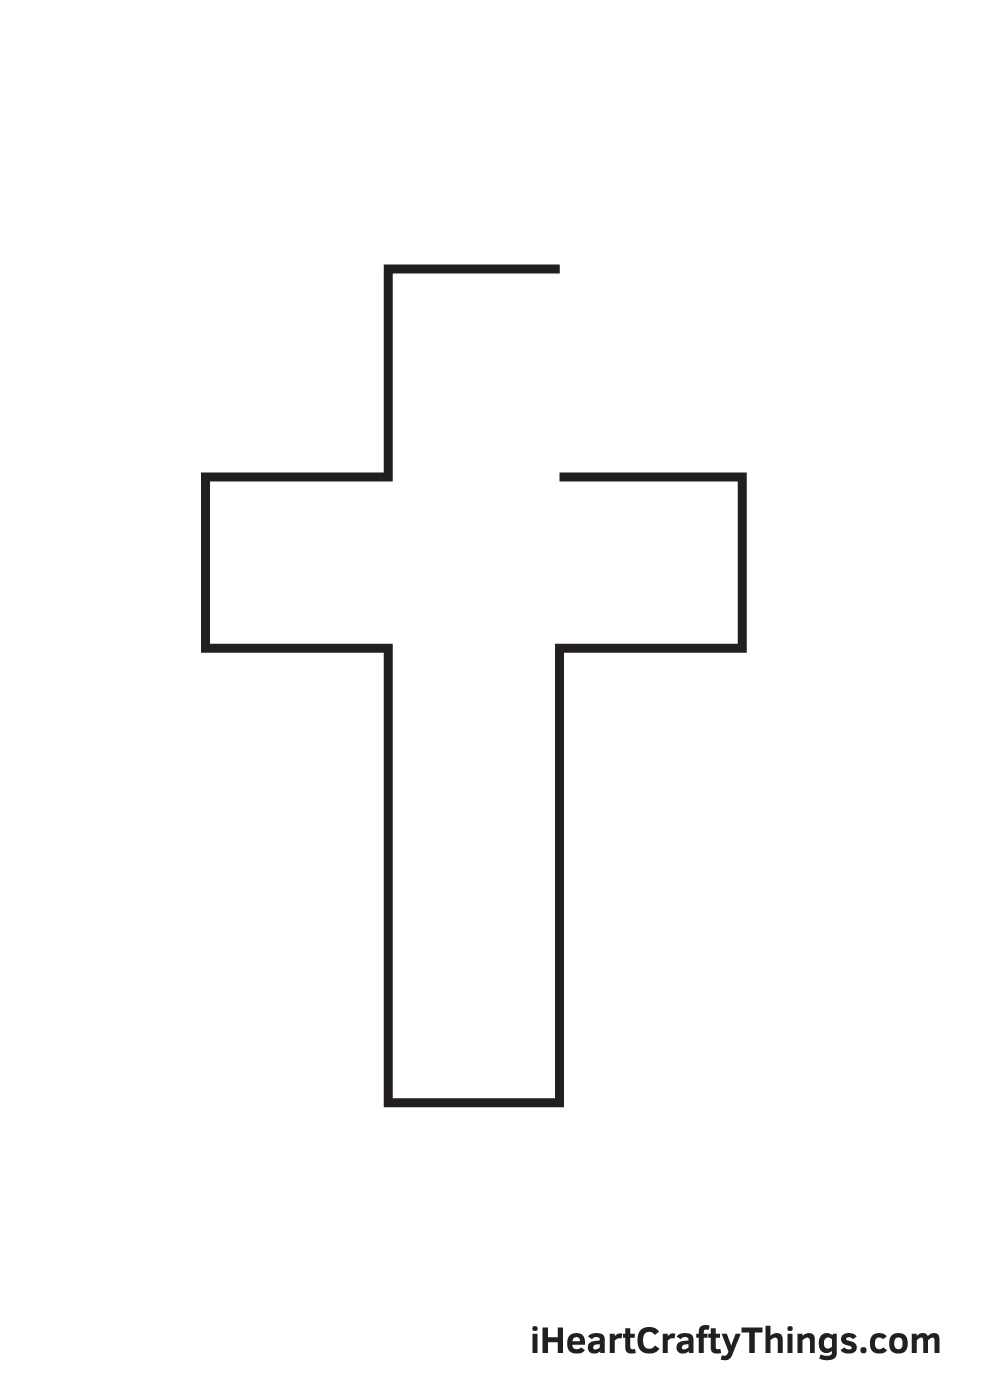
Step 3 — Complete the Left Side of the Cross

Draw a vertical line starting from the right end point of the bottom line of the left crossbar. Afterwards, draw a horizontal line beginning from the bottom end point of the vertical line we drew just now.
Keep in mind that the bottom body of the cross should be relatively longer than its upper body, thus the line at the bottom should be of greater length.
Step 4 — Draw the Lower Right Part of the Cross

Draw an upward vertical line emerging from the right end point of the bottom of the cross. After drawing the vertical line, the bottom part of the cross should now be complete.
Next, starting from the top end of the vertical line we just drew, draw a horizontal line to structure the bottom line of the right crossbar.
Step 5 — Finish Drawing the Right Crossbar
Now it’s time to complete the form of the right crossbar by drawing an upward vertical line beginning from the right end point of the last line we drew in the previous step.
Then, connect it with a horizontal line going left. At this point, the crossbar on both sides of the cross should now be finalized.
Step 6 — Finalize the Shape of the Cross
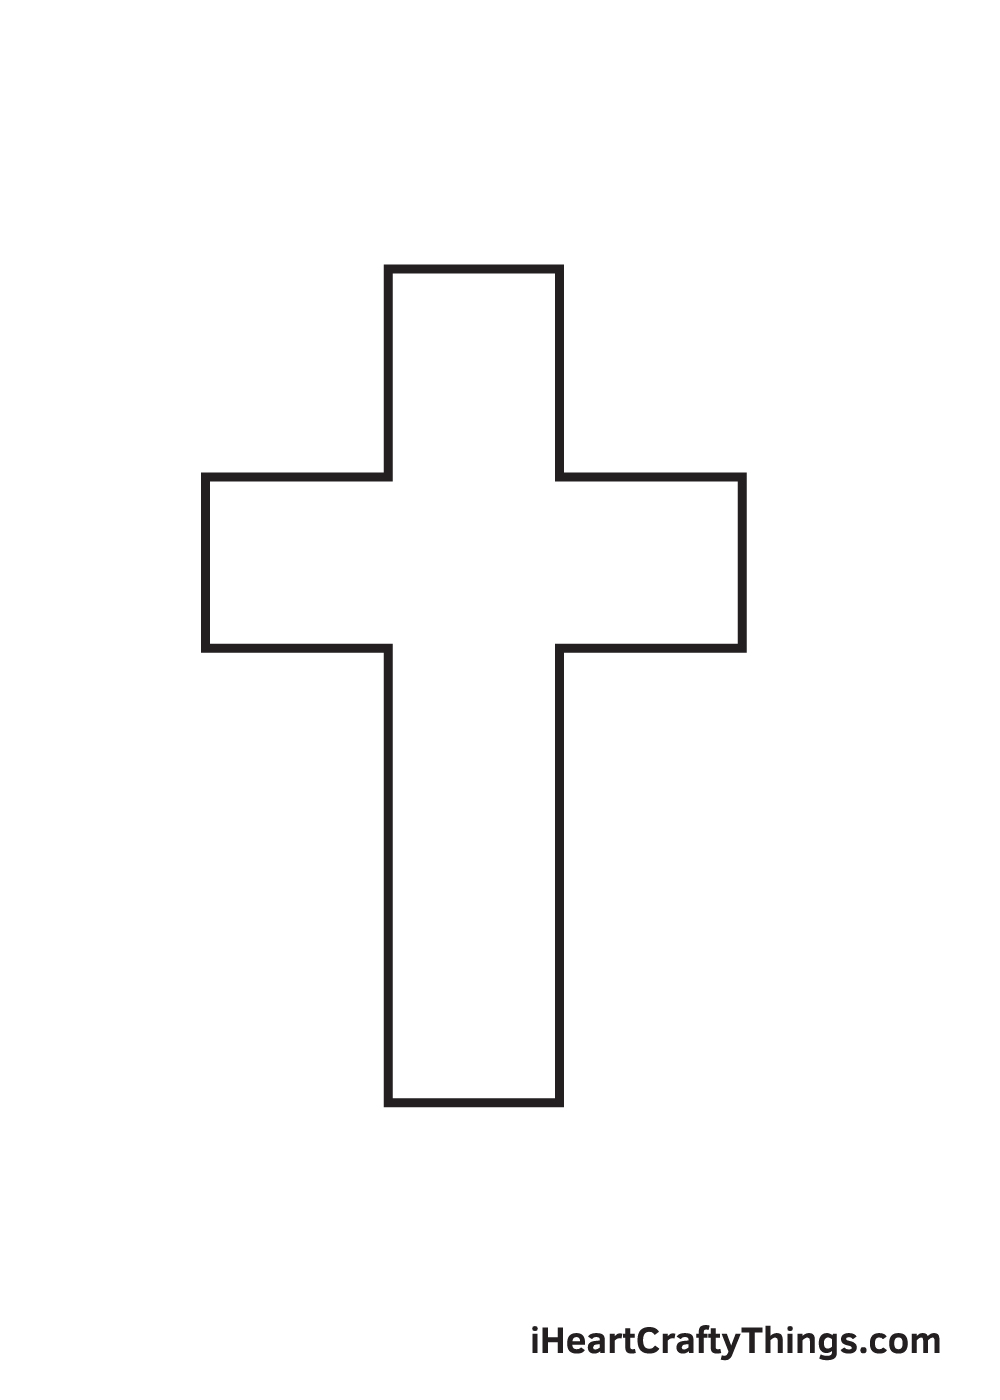
Draw a vertical line on the blank space, connecting both ends of the horizontal line at the top and the one at the bottom.
After finishing this step, the shape of the cross should now be finally complete.
Step 7 — Add a Width Illusion on the Cross
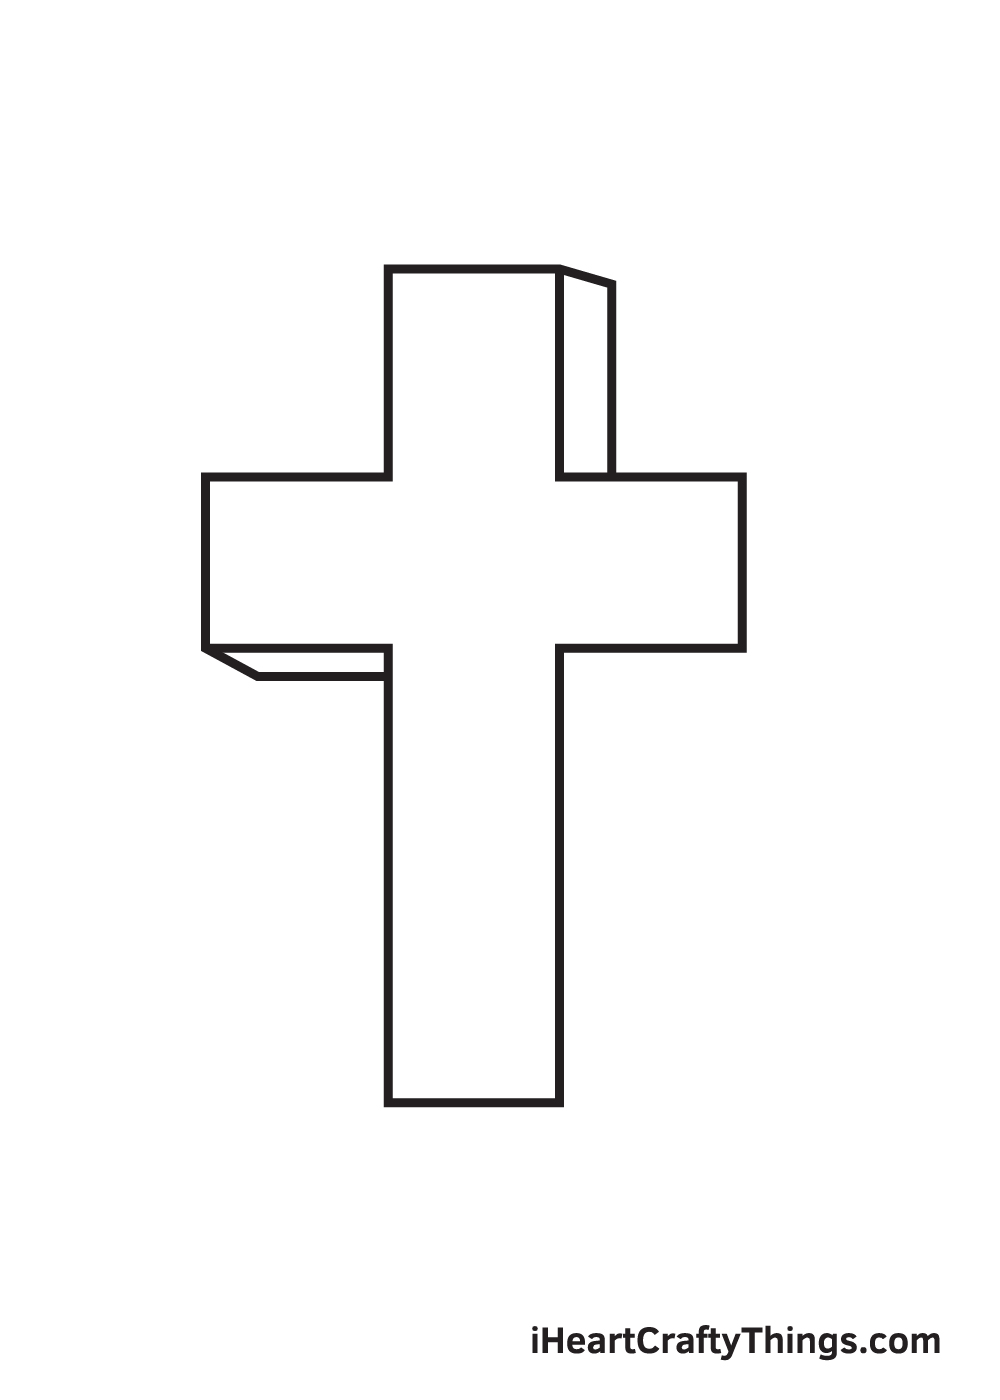
Now that we have successfully drawn the outline of the cross, it’s time to draw the dimensions of the cross to make it appear more realistic.
Start by drawing a short slightly diagonal line on the right side of the top of the cross. Then, draw a vertical line following the outline of the cross.
Now, moving on to the bottom part of the left side of the crossbar, draw a diagonal shape from its corner and draw a horizontal line parallel to the outline of the cross.
Step 8 — Create a Three-Dimensional Effect
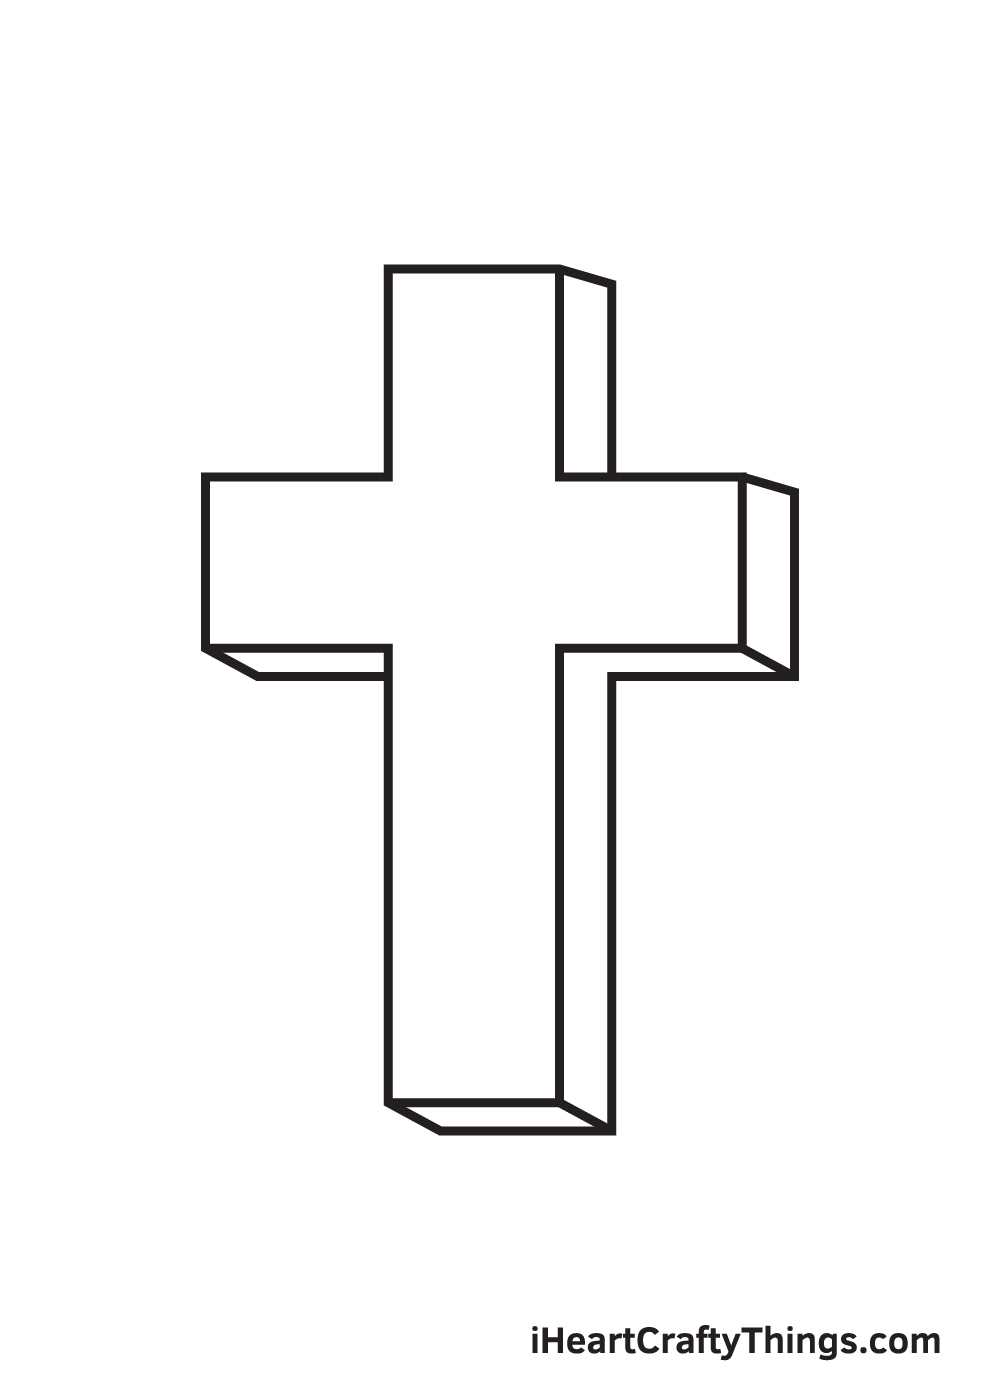
Repeat the previous step on the entire right side of the cross as well as its bottom part. Don’t forget to add diagonal lines on all the corners of the cross to create a realistic 3D effect!
Step 9 — Add Patterns and Texture on the Surface
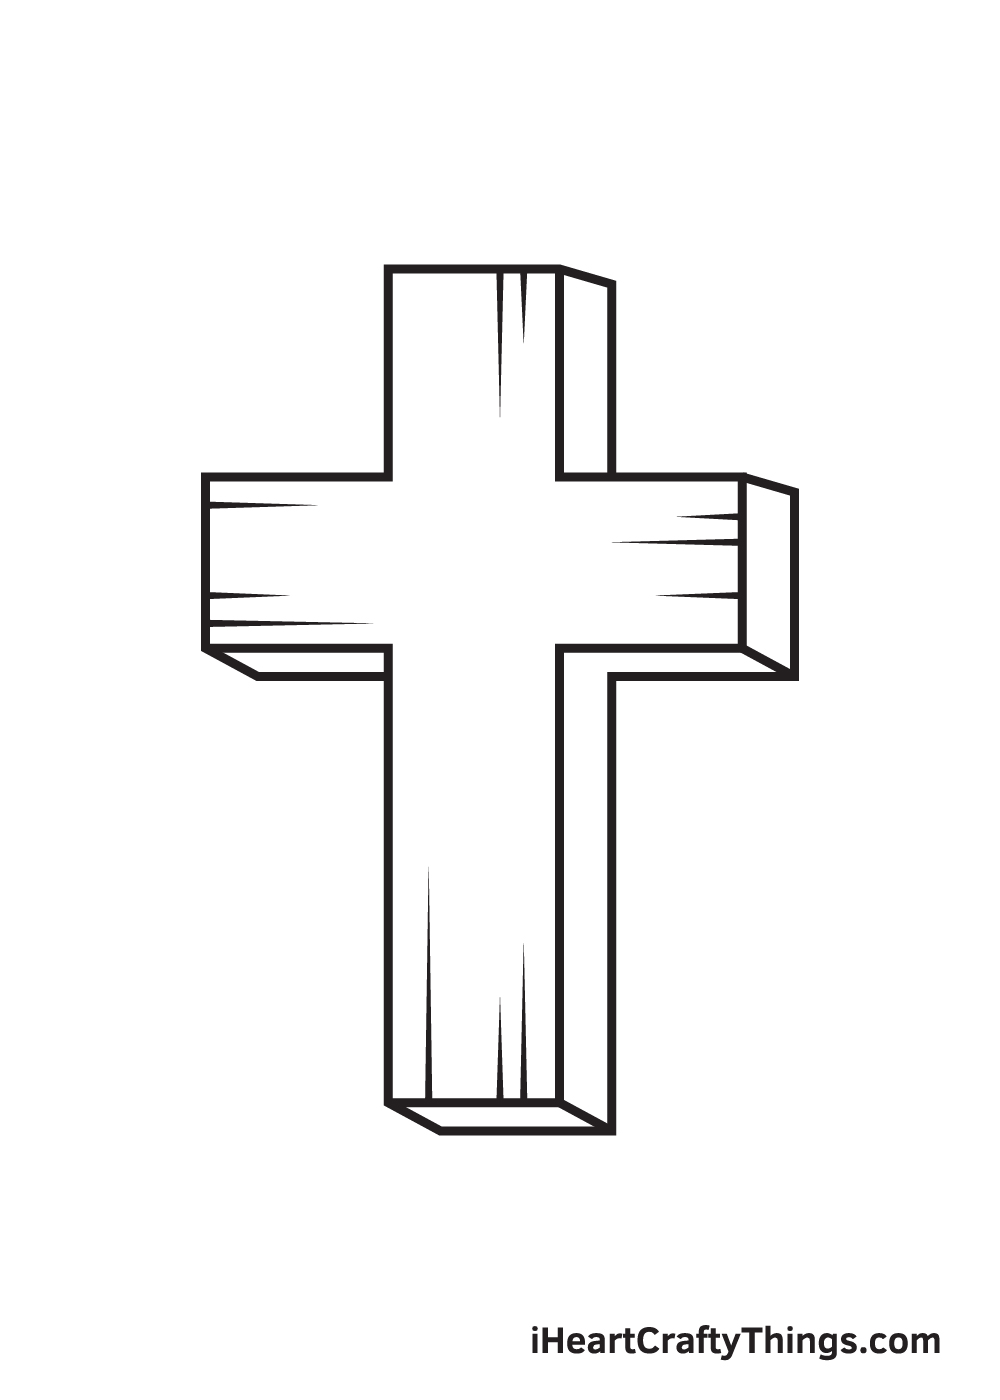
Make your cross appear more realistic by drawing straight lines in various lengths on all four sides of the cross.
When drawing the lines, make sure that the part of the line near the edge of the cross should be thick, and it should be getting thinner as you go further.
Finally, here is the most exciting and fun part, which is coloring your drawing! This is the part where you can showcase your artistic skills and ability to put together different colors.
A cross is traditionally made out of wood, so it is usually brown in color. However, you can make the cross any color you want. After all, it’s your work of art! So, it’s all up to you!
Enjoy choosing the colors and watch as the cross ultimately comes to life! And while you’re at it, why not try experimenting with different coloring materials as well?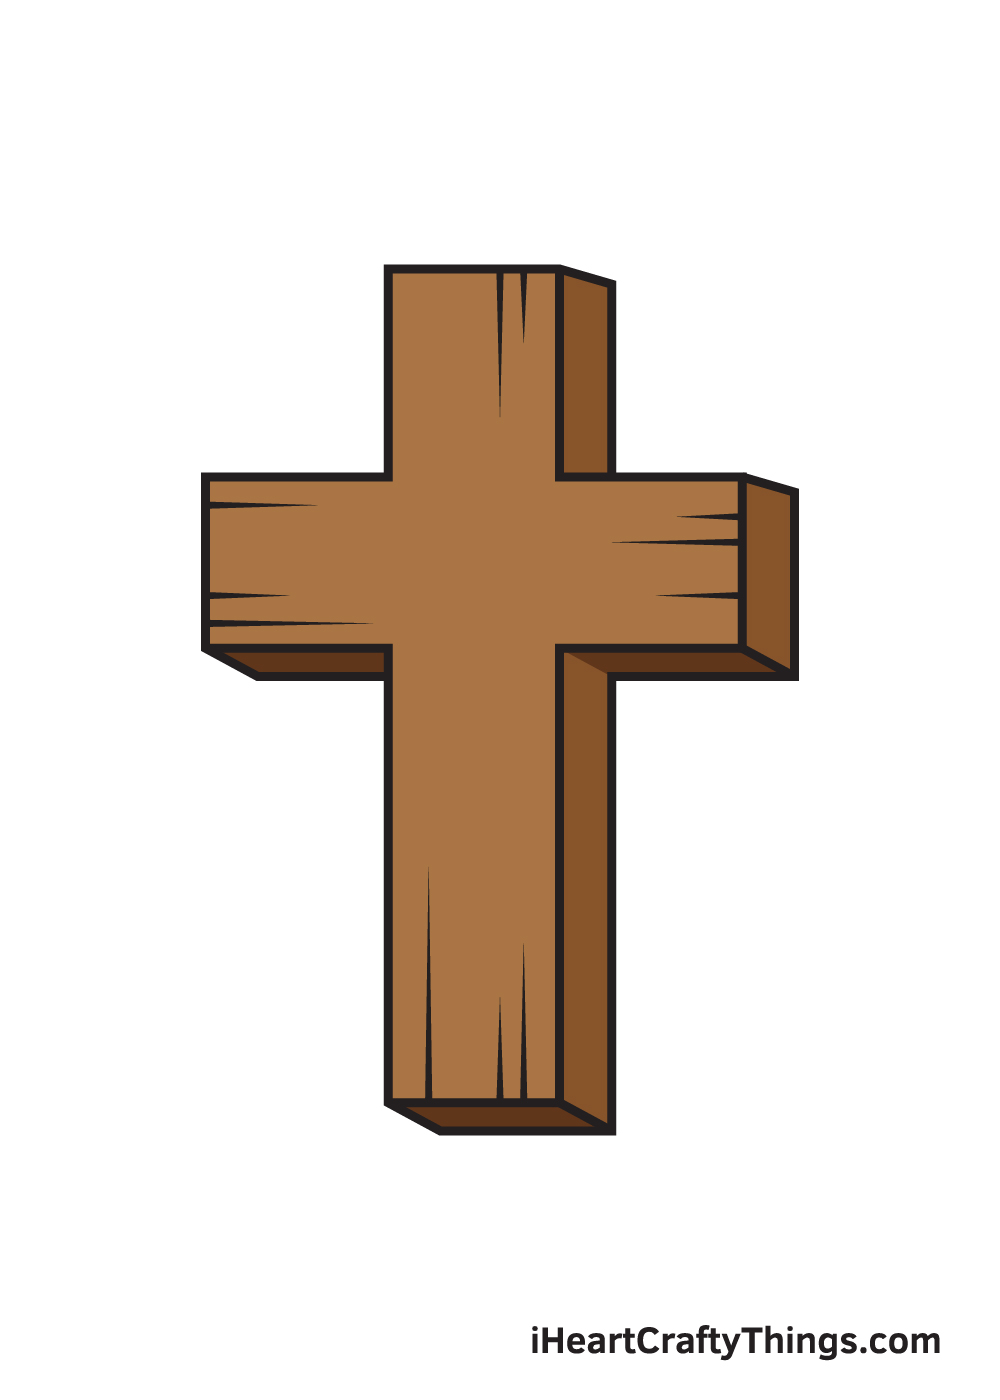
5 Tips To Make Your Cross Drawing Even Better!
Now, let’s go over 5 tips on how you can make this cross sketch even better than it already is!
Earlier in this guide, we mentioned how the cross has been used as a symbol of the Christian faith for many years.
It is also closely associated with holidays such as Easter. For that reason, you could add some details and additions to do with Christianity to further emphasize the connection.
Maybe you could write a favorite bible verse underneath the cross drawing!
In the previous tip, we spoke about adding some elements relating to Christianity, but there are also some cool backgrounds you could add to the page.
You could draw some heavenly clouds with the cross on a hill, or you could draw a shape that you then color in.
These are just two ideas, but what else could you use as a background for this beautiful image?
The drawing of a cross that we created in this guide is done in a simple yet effective style that has a 3D element.
You could change up the style a bit, and this could include drawing it at a different angle or in a slightly different shape. It’s up to you to decide how you may like to change it!
We covered a few ways that you could color this picture in the guide, and mentioned how brown would be the most obvious color to go for.
No matter which colors you choose, we would also recommend using different art tools and mediums to achieve different textures and variations.
Maybe some acrylic paint would help you capture the wood effect!
Once you are happy with how your cross drawing looks, you can figure out how to present it. You could put it in a frame in order to hang it on a wall for one idea.
Or, you could draw it on some thick cardboard and fold it to create a card to give to someone you care about.
These are a few different ways you can present your artwork, but how else could you display it?
Your Cross Drawing is Complete!
We hope you enjoy this step-by-step cross drawing tutorial. Whether you’re a beginner or an expert in drawing, we’re sure you can draw a cross flawlessly with the help of this guide.
If you love drawing geometric shapes, this will surely be a fun activity for you!
We are always updating our catalog of “how-to-draw” series, so make sure you keep re-visiting our website to continuously enjoy brand-new drawing tutorials. Which geometric shape would you like to draw next? Let us know!
Once you’ve successfully drawn a cross and colored it, we’re sure you must be feeling proud of yourself—as you should be!
Flaunt your artwork by sharing it on our social media platforms, including our Facebook page and Pinterest.
We are excited to see your colorful cross drawing!
Here Is A Holy Cross Drawing To Inspire You!
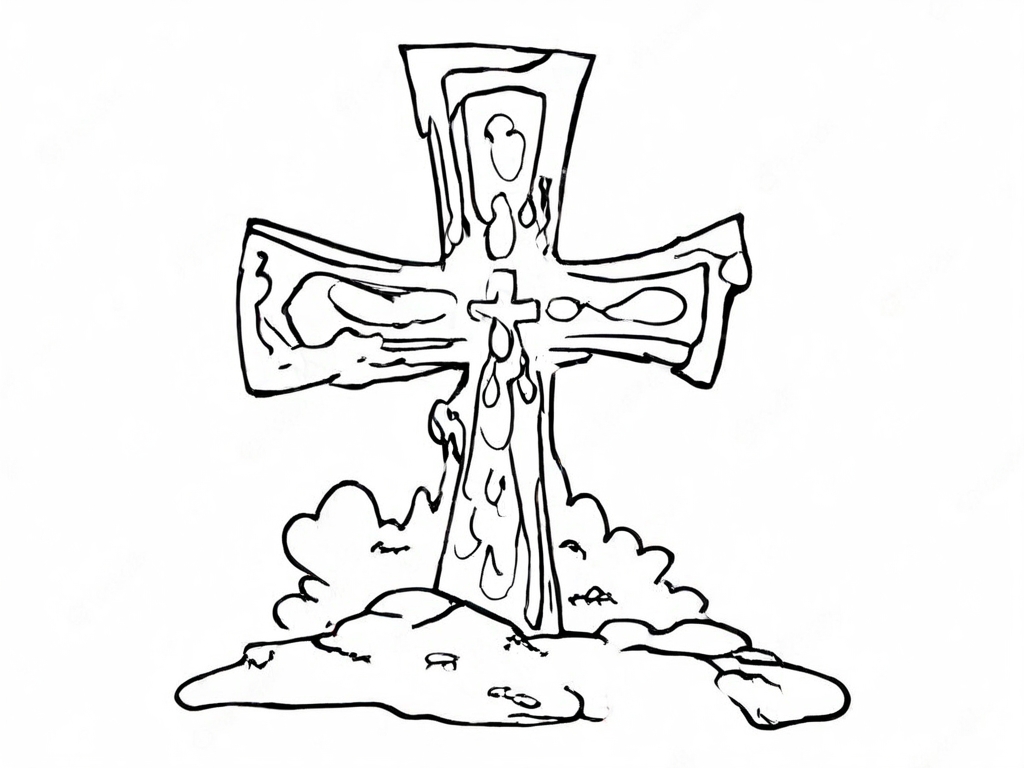
The cross is such an iconic and important symbol in various religions, and it has been portrayed in so many different ways. This holy cross drawing by our artist Freddy is really quite amazing.
He really captures the meaning and the reverence for this symbol with his drawing. Instead of keeping to simple, clean lines, he went for a more freehand design.
This gives the image a more rustic feeling, and yet it gives it a lot of character. When you make your own holy cross sketch, you could make the lines more solid if you prefer.
It’s up to you, as this example is here to inspire you. This is a great chance for you to show what the cross means to you.
If you want to add more details on and around the cross, then you definitely should do that!