There are many different kinds of Pokemon species in the various games, TV shows and movies in the series.
At the very beginning, however, the starter choices in the very first game were between the fiery Charmander, the water-themed Squirtle and plant-based Bulbasaur.
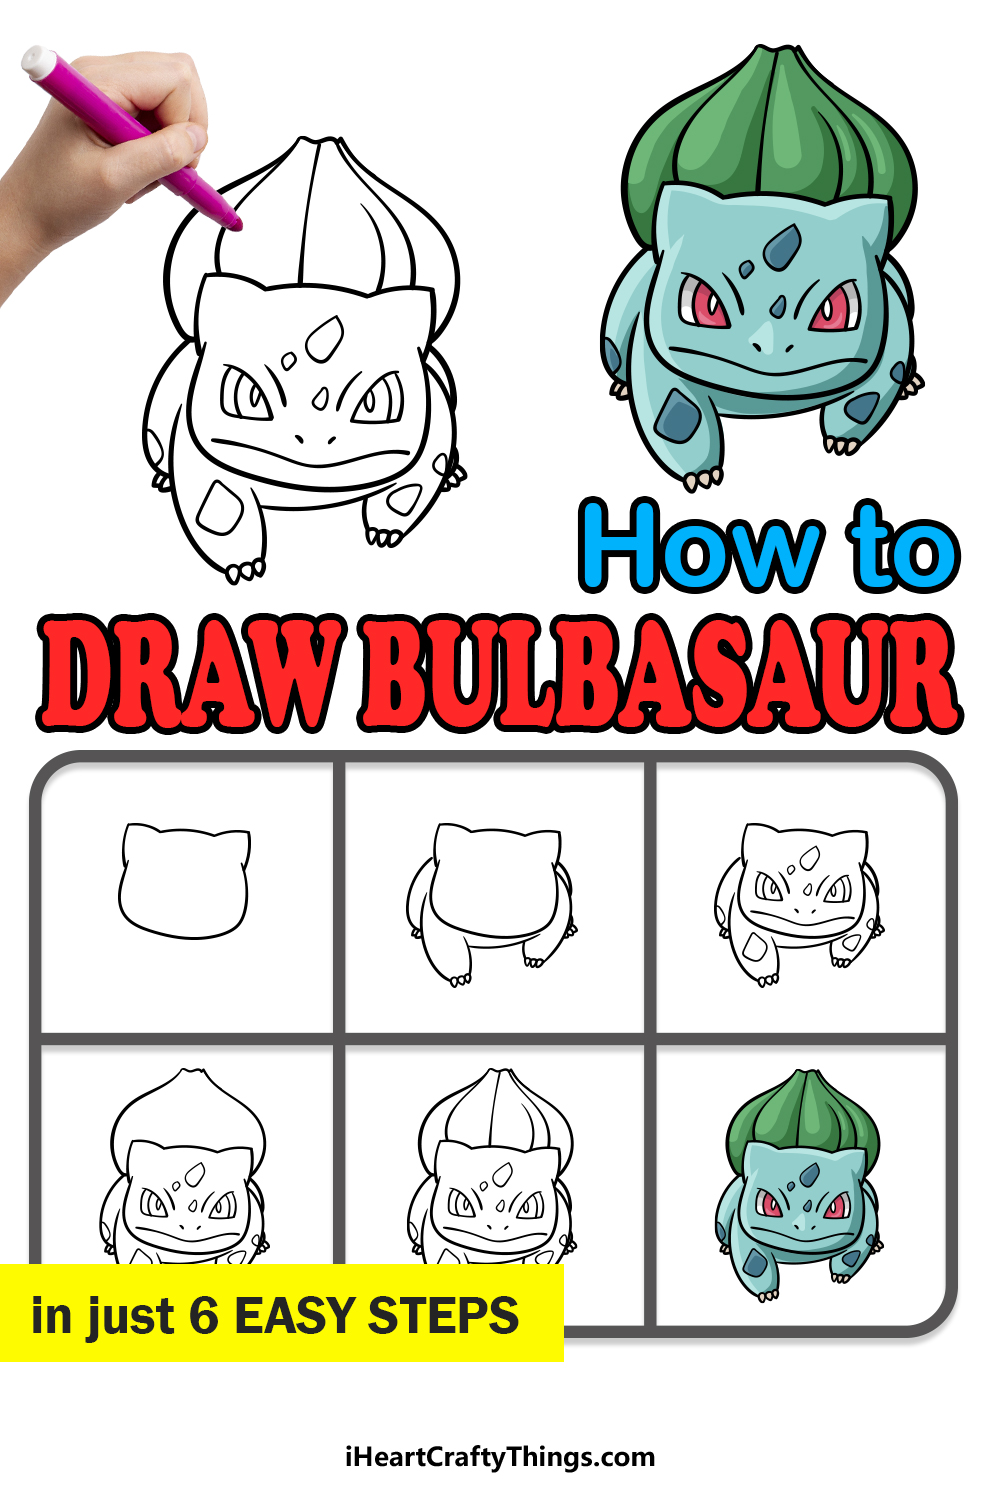
Which is the best Pokemon is hotly debated to this day, and everyone has their choice. Many people love the adorable plant Pokemon, and learning how to draw Bulbasaur is a great way to show this.
If you love this one too, then this will be the perfect tutorial for you!
Our step-by-step guide on how to draw Bulbasaur in just 6 easy steps will show you just how fun and easy it can be to do so.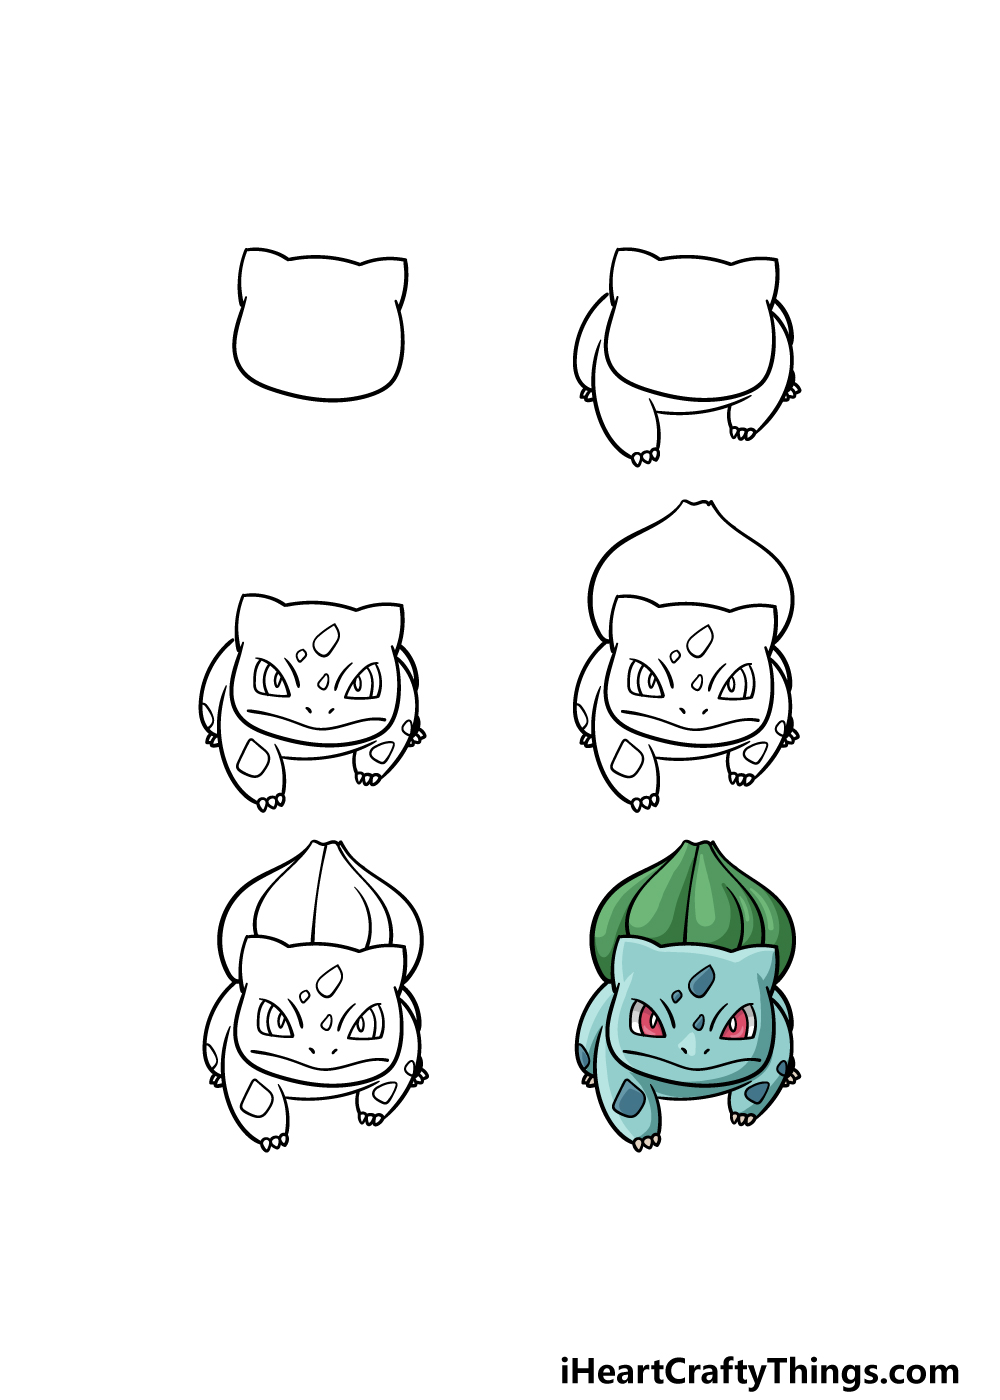
How to Draw Bulbasaur – Let’s Get Started!
Step 1
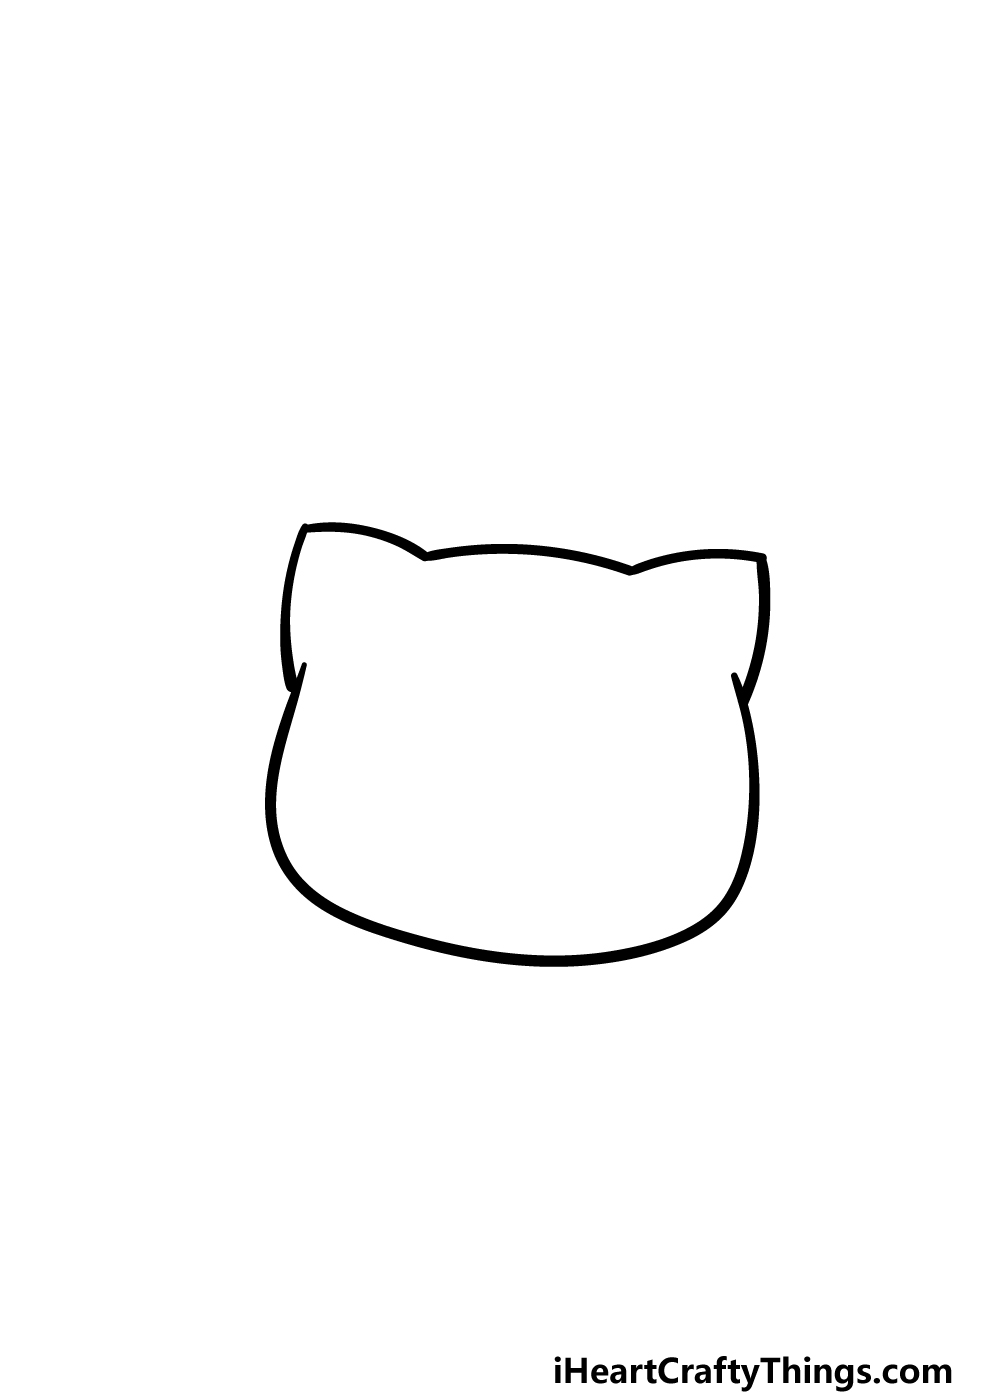
As we start this guide on how to draw Bulbasaur, we will begin by drawing the face outline for this adorable Pokemon.
As you can see in the later images of this guide, we will be drawing Bulbasaur looking at him straight on.
His facial outline almost looks like it could be the outline of a cat’s face, and you can start it by using a rounded line for the base.
Then, use some more curved lines with pointy tips at the ends of them for the ears extending from the top of the head.
You can finish off by connecting another curved line between the ears, and then we can proceed to the second part of the guide.
Step 2 – Now, draw his legs and body
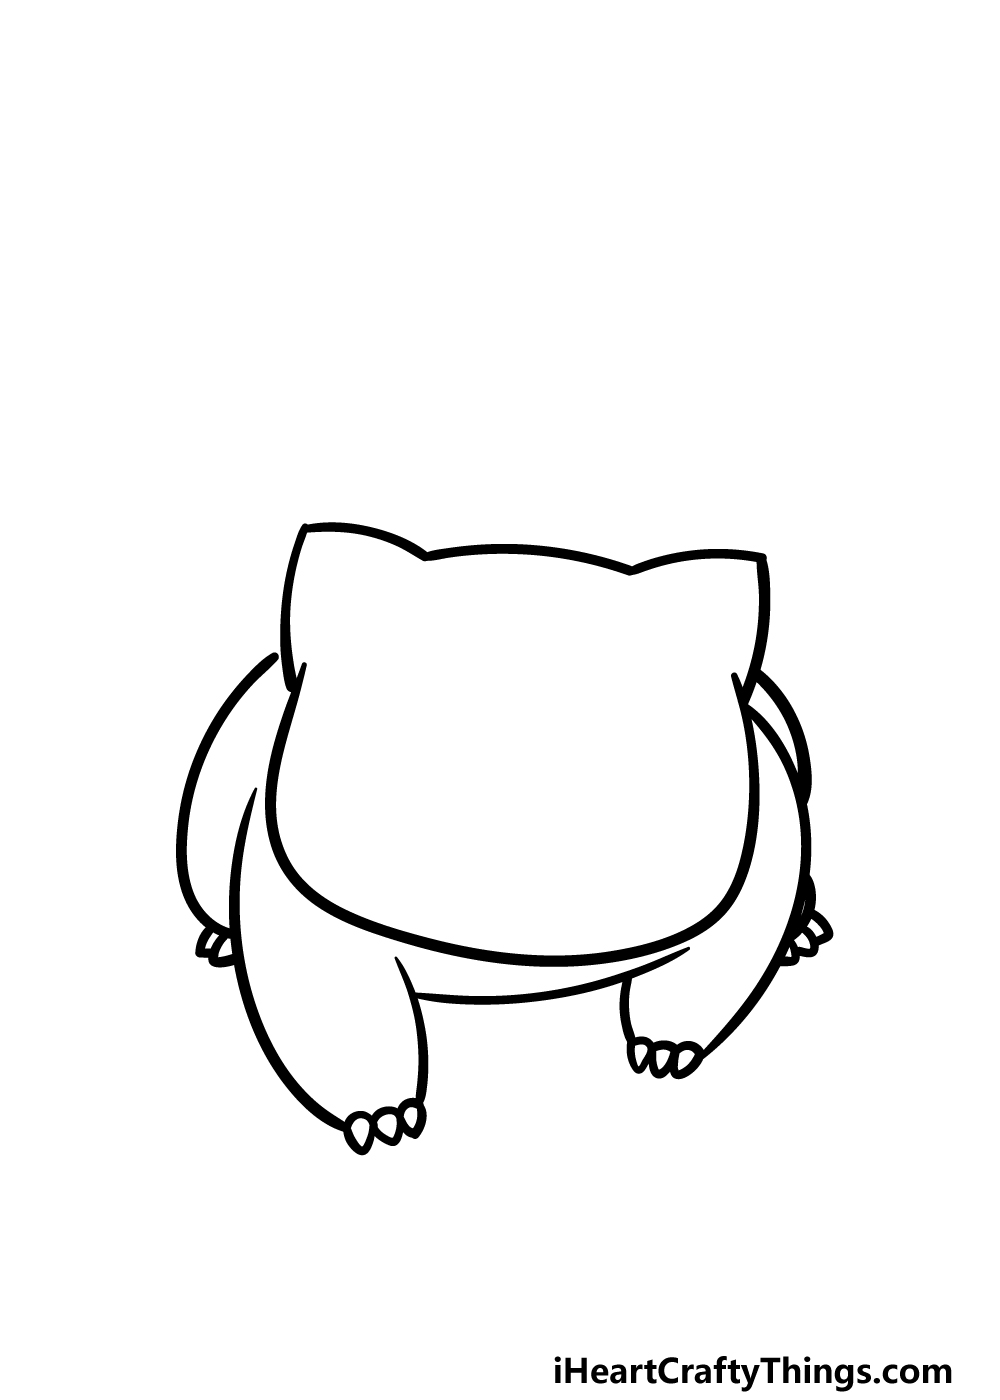
This Pokemon walks on all fours close to the ground, and it has small, squat legs that look rather reptilian in nature.
These are what we will be adding to your Bulbasaur drawing in this step.
Use some curved lines to draw the outlines for the front legs as they appear in the reference image, and then add three small, pointy claws to the end of each one.
These front legs will also be connected by a curved line beneath them that will serve as Bulbasaur’s belly.
Finally, draw the shapes of his back legs poking off the sides of his body, and also add some pointy nails to these. That’s all there is to it for now, so let’s move on to step 3.
Step 3 – Draw his facial features and body details
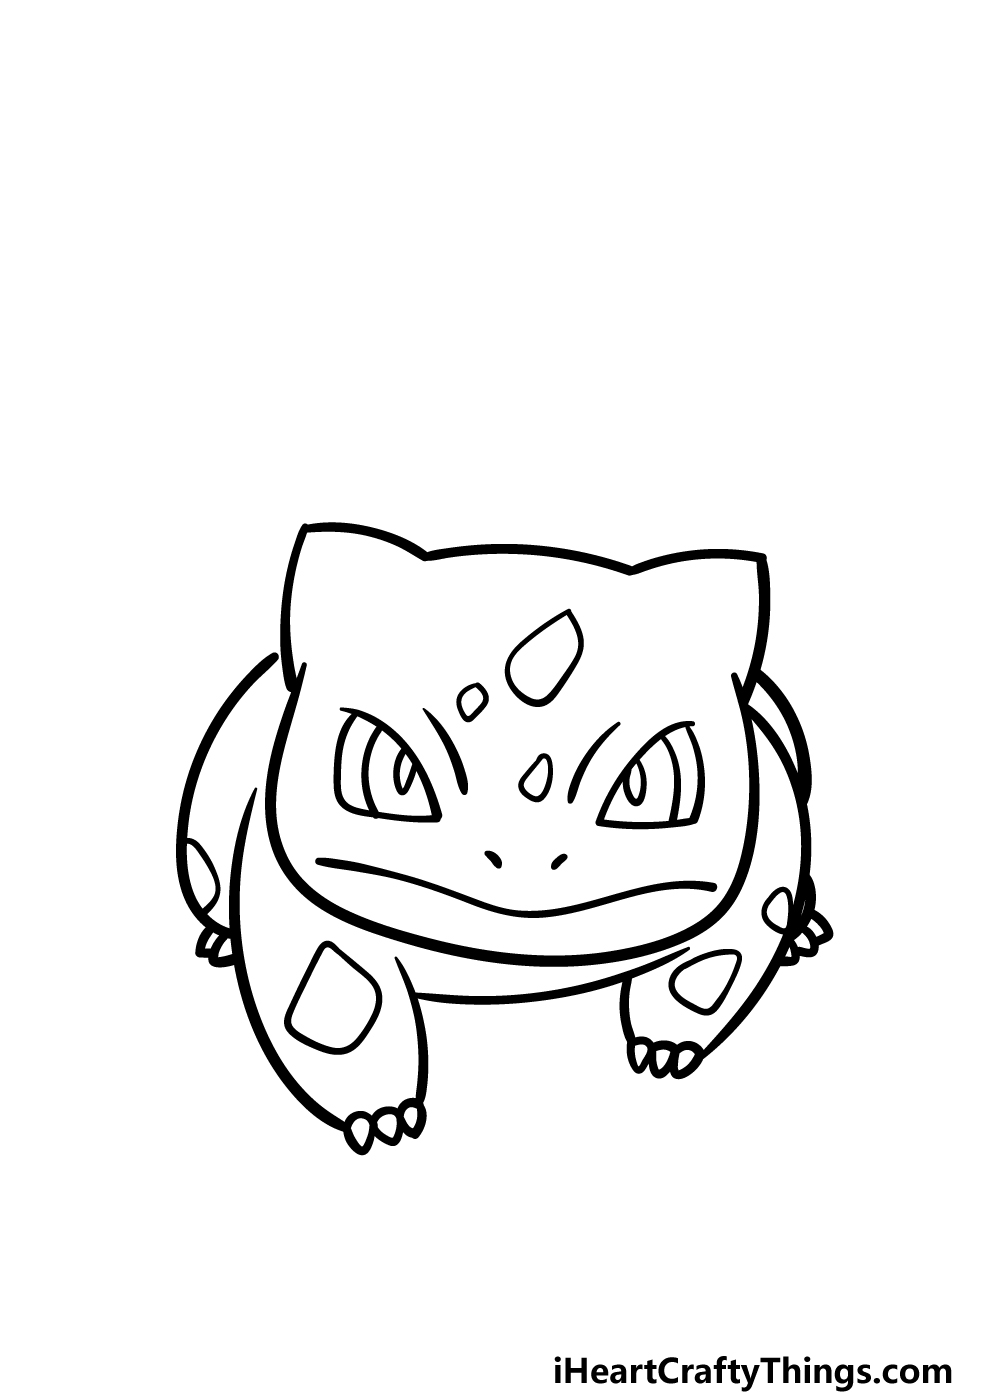
For this third step of this guide on how to draw Bulbasaur, we will be drawing his facial features along with the pattern found on his body.
His eyes are drawn as some rounded shapes, but the tops angle inward quite sharply to give him a rather intense expression.
Then, draw two dots for his nose and add a long, wavy line for his frog-like mouth. Once these elements are drawn, we will then draw the spots that adorn his face and body.
These are drawn using some irregular rounded shapes, and they will go on his face and his legs as well.
Step 4 – Next, finish the shape on his back
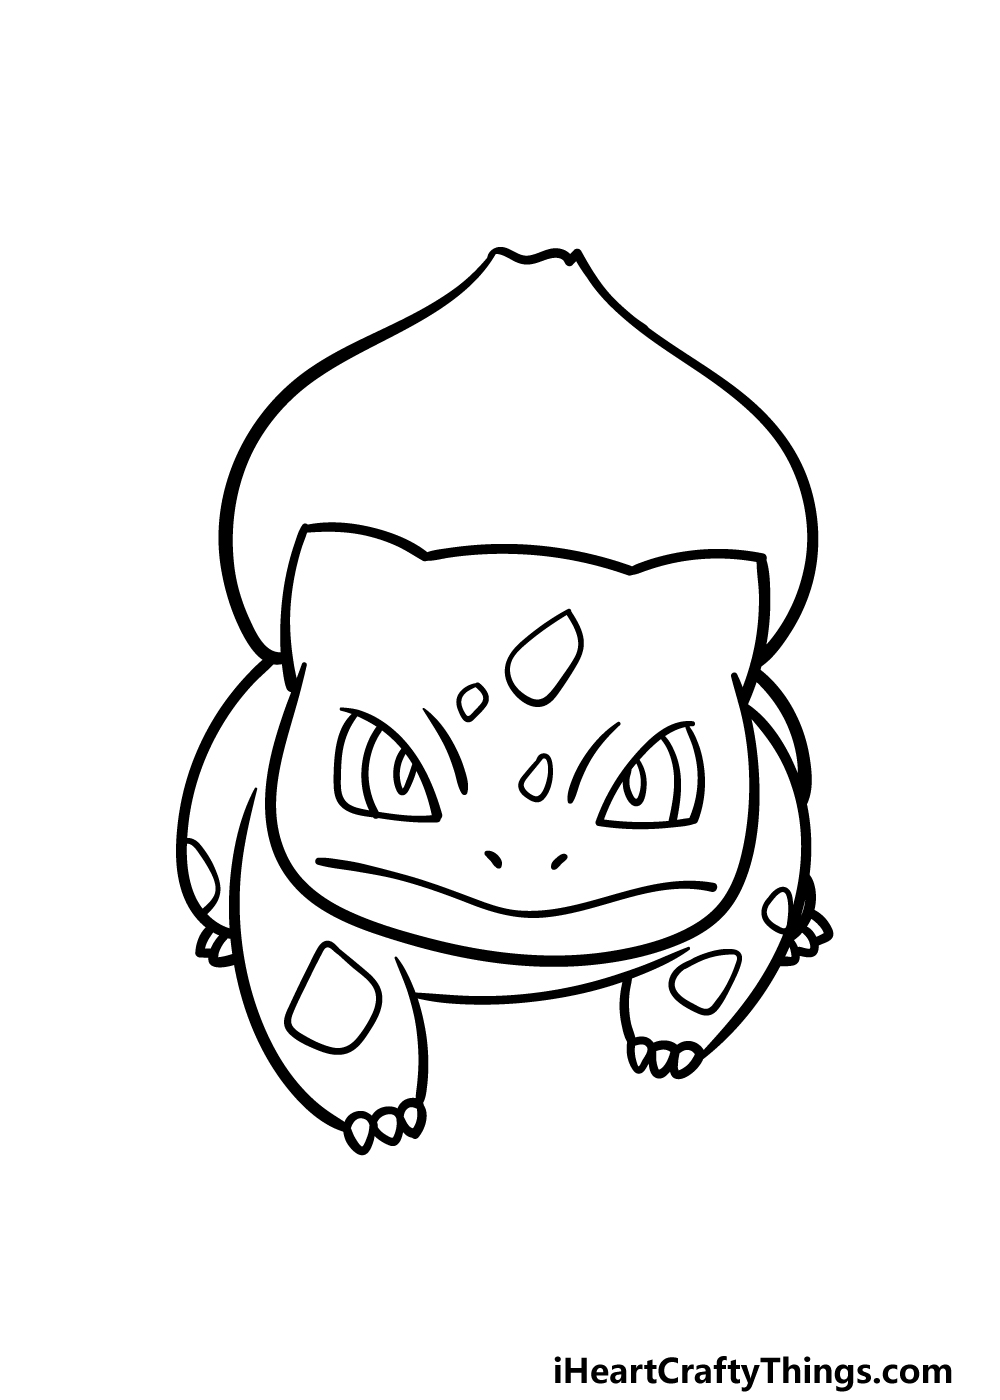
This Pokemon always has a large, onion-shaped growth on its back, and we will be adding it to your Bulbasaur drawing in this next part.
The sides of this growth are rather rounded, and it will get narrower the further you go up. The very tip of this shape will be rather narrow, and you can use a jagged line for this top edge.
When you have finished the outline for this section, we will be able to move on to the next step where we will add the final details and elements to finish it off.
Step 5 – Add the final details to your Bulbasaur drawing
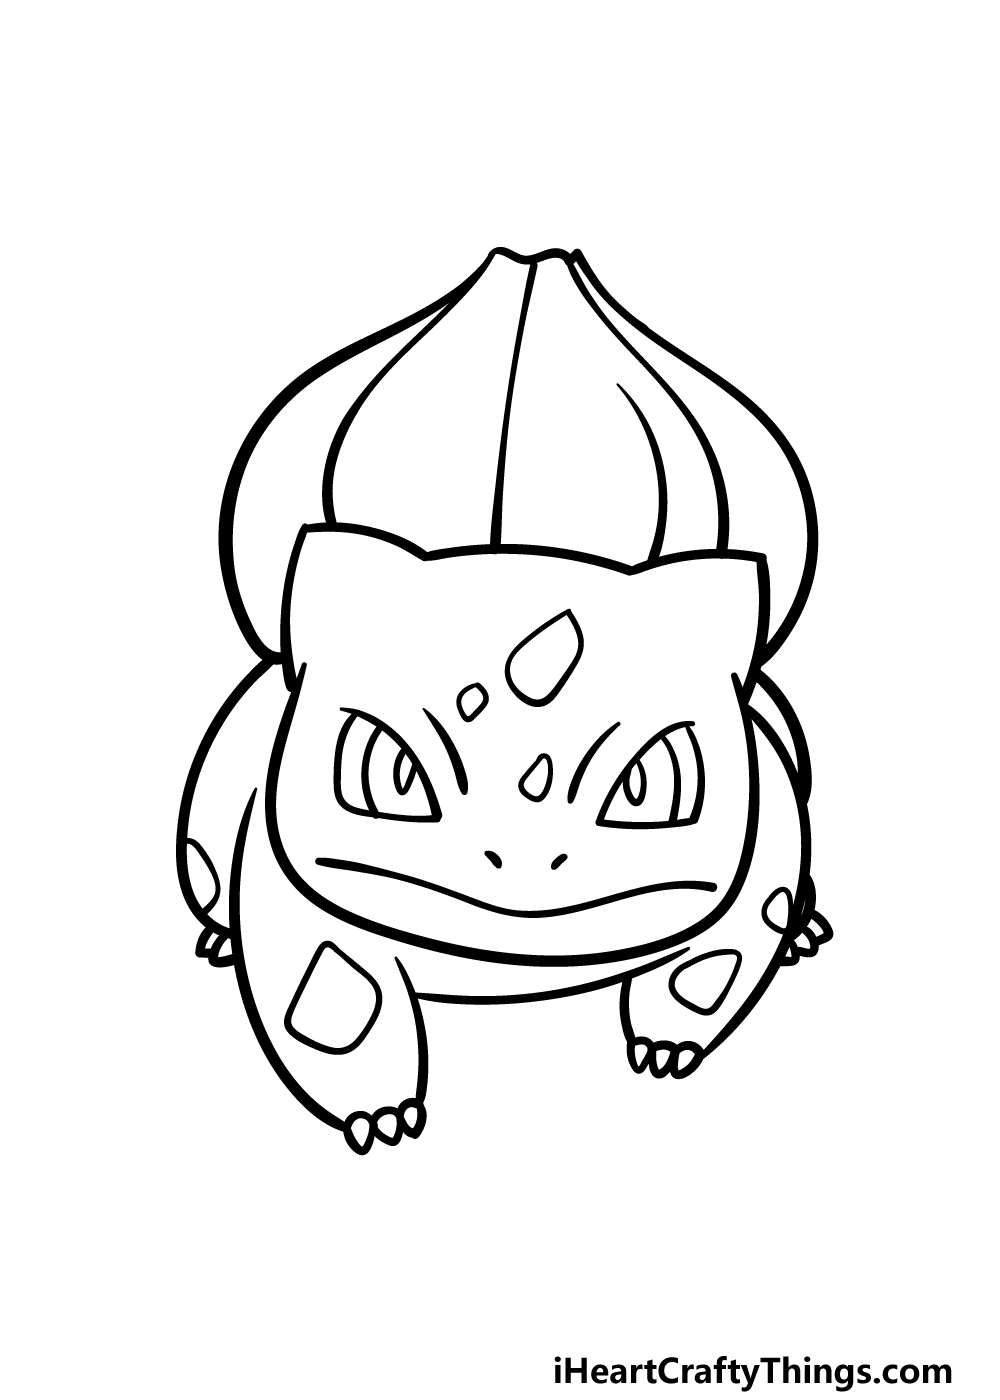
Now you’re ready to finish off the final details to have you ready for the last stage of this guide on how to draw Bulbasaur!
To finish off the drawing, all you need to do is draw some curved lines onto the onion-shaped growth on its back.
These will start at the top, will curve outward a bit and then attach to the base. Once you have added these texture details, you will be ready to add your own details and ideas!
There is a lot that you could do to personalize this image. One idea would be to draw a background, and if you did this you could recreate your favorite Bulbasaur scene or moment.
What will you do to finish off this incredible drawing?
Step 6 – Finish off your Bulbasaur drawing with color
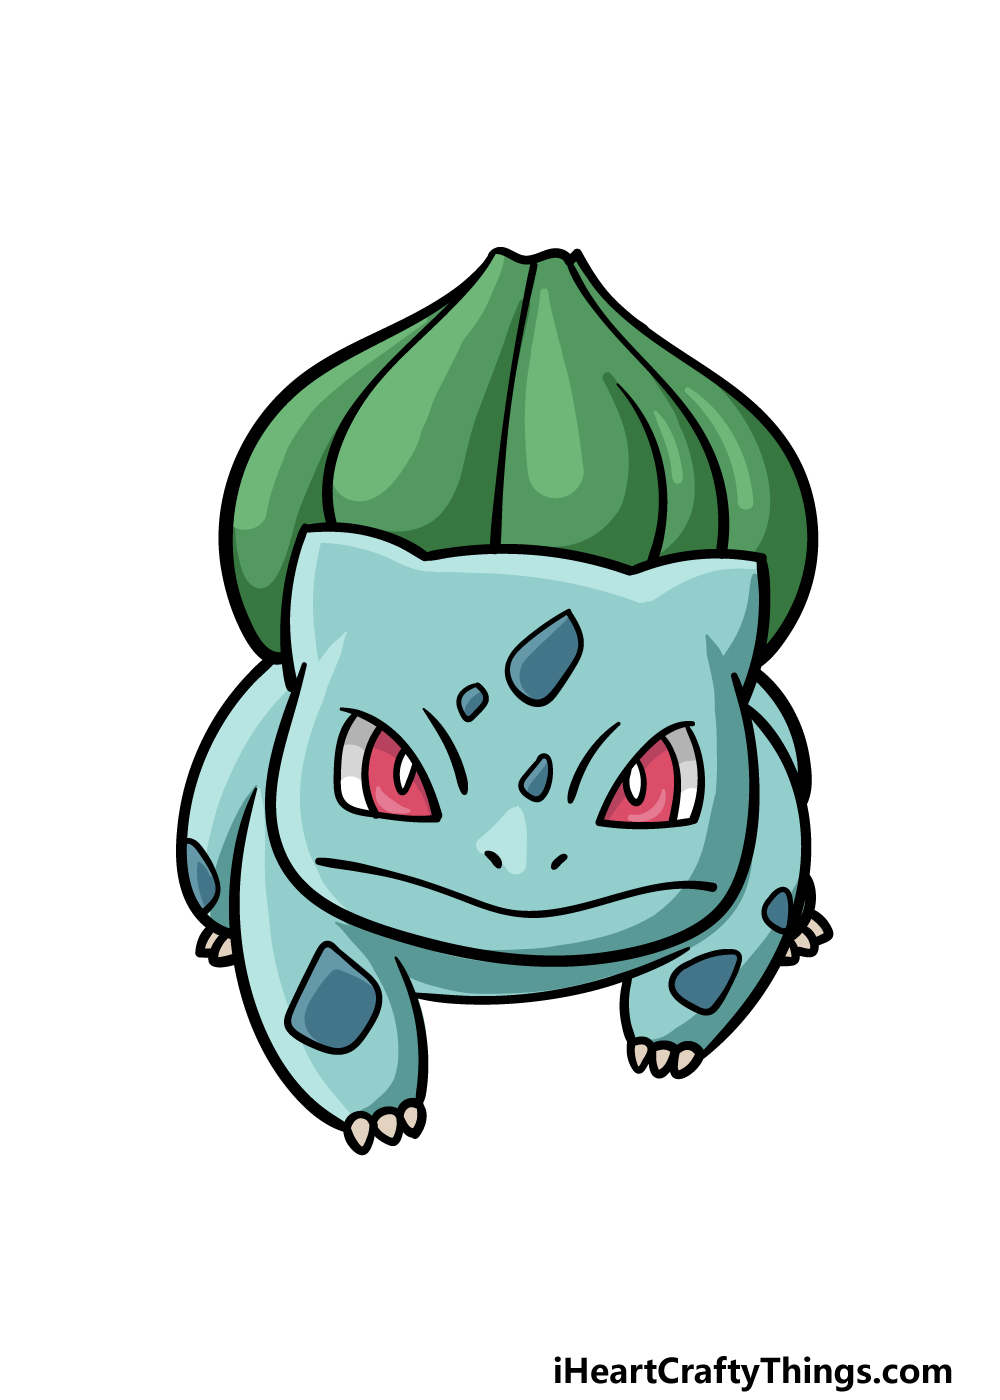
The different Pokemon species all have a unique color scheme, and the same is true of Bulbasaur.
To represent the plant-based powers of this Pokemon, it is colored in various shades of greens and blues.
These are what we went with in our example image for this Bulbasaur drawing, and you can recreate this color scheme for your own one if you want it to be accurate.
While the colors we used can be looked at in order to get the colors matching how Bulbasaur looks in the games, shows and movies, you could also use some unique shades of your own!
There’s also fun to be had with the art tools and mediums you use to achieve your color choices, so be sure to have fun experimenting and see what happens!
5 Tips To Make Your Bulbasaur Drawing Even Better!
Catch some tips for your Bulbasaur sketch to make it even better!
We kept the facial expression of this Bulbasaur drawing a bit more neutral, but you could easily change that! By making Bulbasaur’s mouth slightly open, you could make it look like he’s saying his name.
Or you could make him look surprised, perhaps at the prospect of battling a much larger Pokemon. How else could you change Bulbasaur’s expression?
Like all Pokemon, Bulbasaur has some powers that can be used in battles. You could make this drawing of Bulbasaur more dynamic by adding some of these powers.
As a plant Pokemon, he can shoot vines, leaves and other such things at his opponents. If you have a favorite Bulbasaur move, you could show it off by representing it here.
What are some moves you could show?
Many Pokemon will have a trainer that they fight for, and you could add one to this picture! You could use someone from the Pokemon series such as Ash Ketchum for one example.
Or, you may want to create your own character. Maybe they could even be based on yourself or someone you know!
What character would you like in this picture?
Bulbasaur is one of many Pokemon in the series. If you wanted to make this Bulbasaur sketch even cooler, you could add some more Pokemon!
One obvious idea would be to add some of the other classic starter Pokemon such as Squirtle or Charmander. You could add any Pokemon you like, however!
What are some of your favorite Pokemon that you could add to this drawing?
Finally, you can create a scene around this Bulbasaur drawing by adding a background. This is something you could do even if you used all of our other tips.
You would have many different locations from the series to go with if you want to recreate your favorite scenes. If you’re feeling extra creative, you could create your own unique background location!
What do you think you may use as a background to finish this off?
Your Bulbasaur Drawing is Complete!
This is one of the most well-known and beloved Pokemon throughout the franchise, so we hope that recreating it in this guide on how to draw Bulbasaur was a lot of fun!
Drawing famous characters like this can sometimes be a bit tricky to get right, but if you follow all of the steps then you should get the hang of it in no time!
Then, you can take this drawing even further as you finish it off with your own unique details, additions, ideas and color choices.
This is your chance to really stretch your creative muscles, so be sure to have fun with it and see what you can do!
When you would like to take on a new drawing challenge, you can find some more drawing guides on our website.
There are tons of great guides to enjoy with many more coming soon, so be sure to check in frequently!
It would also be great to see your finished Bulbasaur drawing, so please share your artwork on our Facebook and Pinterest pages for us to admire!