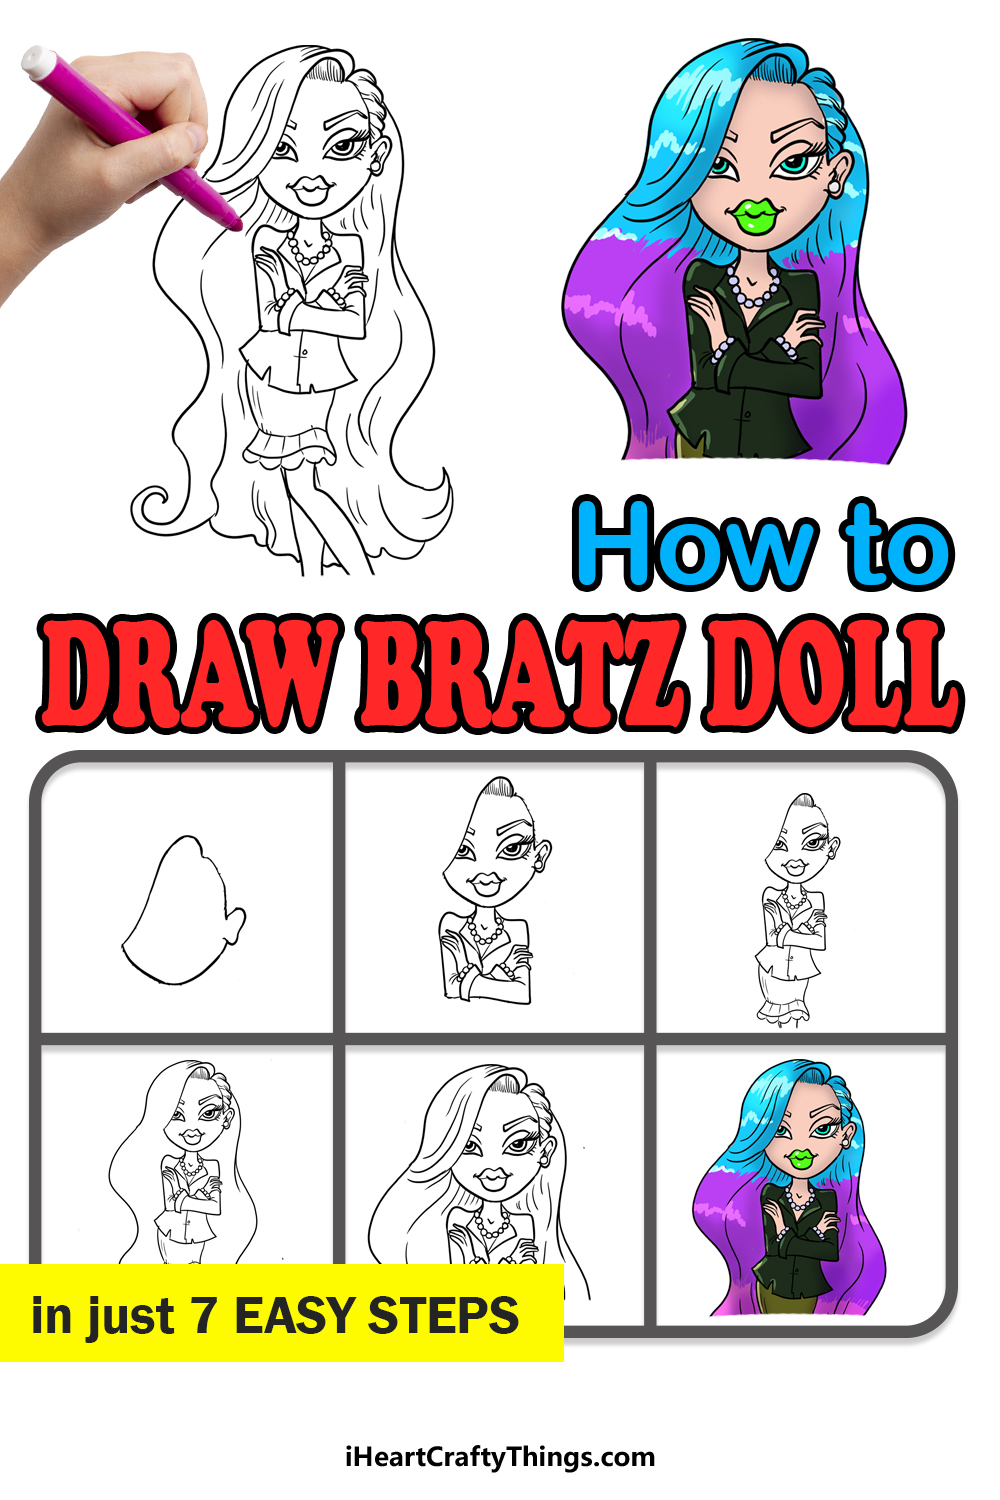
When it comes to different dolls, few are as stylish as Bratz dolls. These dolls are known for their funky fashion, unique design and variety that you can mix and match.
There are dozens of characters to choose from, and each has their personality expressed with their fashion sense, and there are many different colors, styles and clothing items.
It would be practically impossible to collect them all, and that’s why it can be fun to imagine your own Bratz dolls characters. Learning how to draw a Bratz doll can be a great way to do that, as you can design your own styles and characters.
In this guide, we will show you how to create your own Bratz doll design to get you started. We will cover one particular design, but then you can take what you’ve learned and create your own Bratz doll designs.
We have a lot to cover in these 7 steps, so get out all of your favorite drawing, coloring and craft tools and let’s see how we can create this Bratz doll drawing.
We’re sure you’ll end up with something amazing, so let’s get started!

How to Draw A Bratz Doll – Let’s Get Started!
Step 1

Before we begin this Bratz doll, we would recommend drawing out a rough plan using a light pencil. This helps you to map out the drawing, and you can keep things in proportion.
If you want to do this, you can look at the later images in the guide and then draw rough shapes to map out the head and body. These can be very rough, simple circles and ovals, and they will help you to keep the proportions in check later.
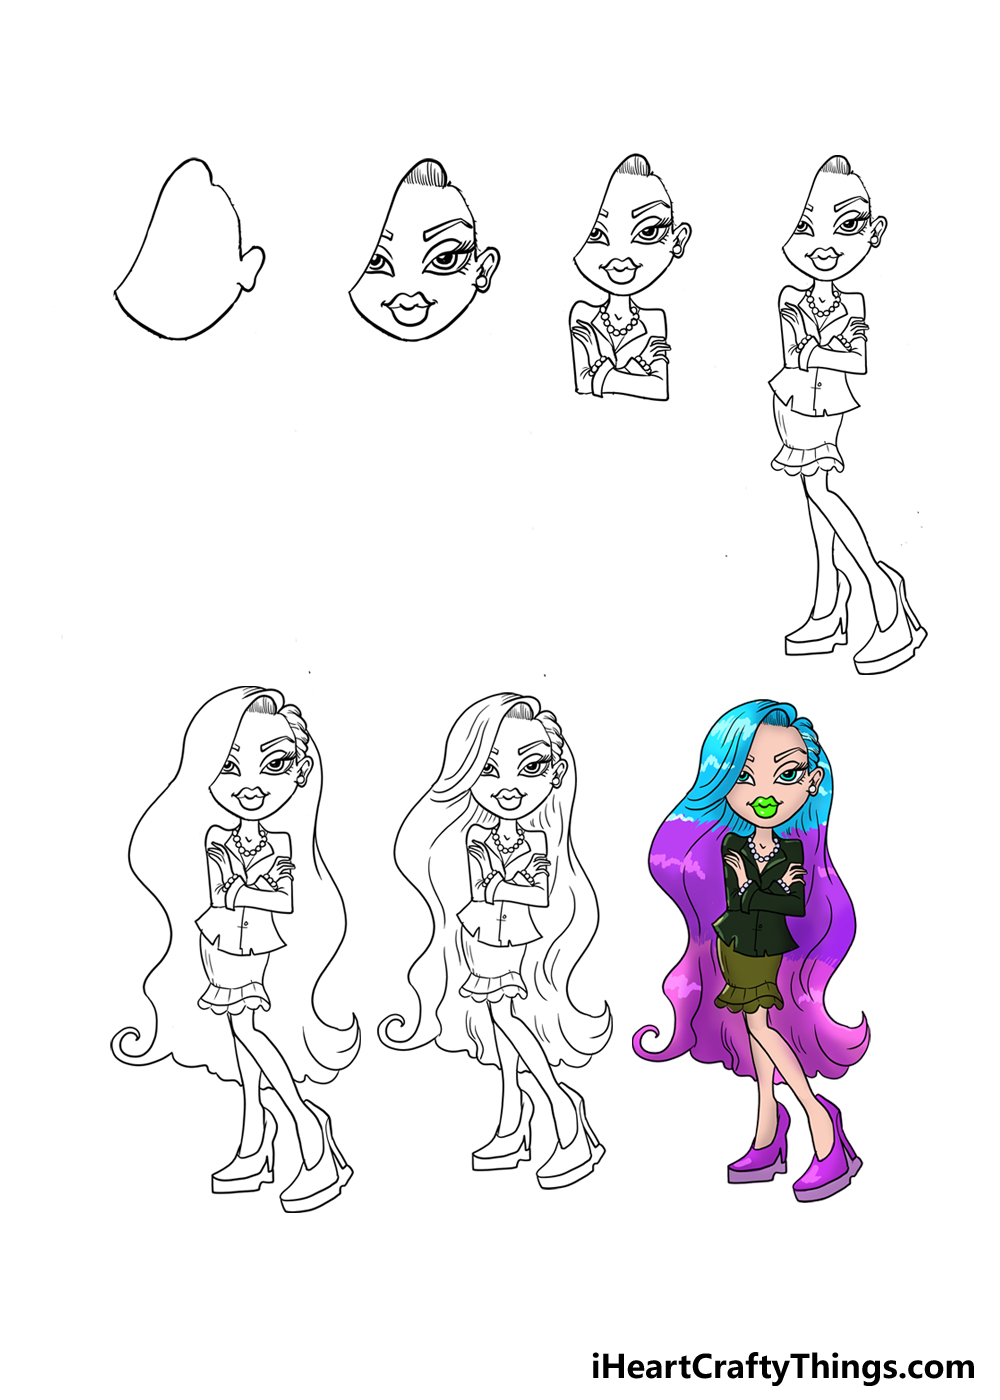
Whether or not you decide to do that planning, we can draw the face of this Bratz doll. As you will see in the reference image, we will see most of the face, but some of it will be obscured by her hair.
This is where drawing a rough version can be so helpful, as it will help you to visualize how the hair falls over her face. We would suggest starting with the base of her face and her ear on the right.
Then, you can use a wavy line to show the hair dropping down on her face. That’s all there is to it for this step, and then we can move on to step 2 where we will add some facial features.
Step 2: Draw some facial features for this Bratz doll

The Bratz doll designs have very distinctive facial features that have become iconic to this brand of dolls. We will be adding these in this step to start giving some personality to this Bratz doll.
As you will see in our example image as well as the face on a real Bratz doll, these faces are characterized by large eyes, no noses and a big pair of lips.
The eyes will probably be the trickiest part, as they are quite detailed. They are drawn as angled, flat ovals with pointy edges, and the eyelids drop down halfway over the eyes.
Some pointy eyelashes added to the eyelids will finish off the design of the eyes. The eyes will then have an eyebrow shape over it, and the one on the left will be obscured by the hair.
The final part of the face that we will need to draw in this step will be the lips. These should be big and rounded for that signature Bratz doll look.
Once you have added the lips, you’re done with step 2! Then, we can move on to step 3 where we will start adding this Bratz doll’s body and arms.
Step 3: Add the chest and arms for this Bratz doll

Next, we can start adding the body and arms of this Bratz doll drawing. As you will see in the later images in the guide, she will be wearing a fancy business suit type outfit.
Also, in keeping with the Bratz doll style, her head will be quite large compared to her body. This is another step where we would suggest taking your pencil and lightly drawing out some planning shapes.
She has a fairly short, thin neck which you can extend from the base of her face. Then, using some small circles, we will add a pearl necklace around her neck.
Then, you can extend some horizontal lines out from the neck and then sharply down for her shoulders. We will have her arms crossed over her chest for this design.
The arms will be thin and angular, and then the sleeves will have more pearls for some bracelets. Then, she will have some long, thin fingers on her hands over her arms.
There are lots of fiddly details in this step of our Bratz doll drawing, so we would recommend really taking it slowly. You could also simplify some details if you’re having a hard time.
For example, if you’re struggling to draw her arms crossed, then you could easily draw them behind her back instead. This is one way to make it simpler to draw without changing the design too much
When you’re happy with how this section of the drawing is looking, we can move on to step 4 and keep adding to this design.
Step 4: Now draw the legs for this Bratz doll

You’re mostly finished with the upper half of this drawing of a Bratz doll, and now we will focus on the lower half. Once again, there is a distinctive stylistic choice when it comes to Bratz doll designs.
Their legs are usually larger than their bodies would suggest, and it gives them a really unique look. First, we will draw the skirt of her business suit.
This will be drawn using some slightly curved lines, and then there will be a frilly hem at the base of it. Once you have this skirt drawn and detailed, it will be time to draw the legs of this Bratz doll.
As you will see in the image, her right leg is straight down whereas her left is crossed over it and to the side. Her left leg should probably be drawn first, as it will be in the foreground.
It’s drawn with a mix of straight lines and curved lines depending on the portion of the leg, and it will end in a disproportionately large shoe.
Once that is drawn, you can then draw the other leg partially obscured behind the first one. The shoe on this one will be equally large, but it will be bent over a bit to show her stance.
That’s all there is to it for this step, and then we can move on.
Step 5: Draw the hair for this Bratz doll

The hair of this Bratz doll is a prominent feature of the doll, and we will add the outline in this step of the guide. On the right side of the head, you can add some small curved lines to show her hair tied back
Then, on the right, we will keep drawing from where you stopped in the first steps when we drew the face outline. The hair will form the outline of her head and then flow down in a wavy line.
This line will be quite long and curvy and will extend all the way past her knees, and it will curl out in a pointy curl. Then, we will use a mildly curvy line across towards her legs.
Then, we will do something similar on the right-hand side of the image. You can then use a curvy line coming down from her head, and it will be a very similar line to the one on the left.
Naturally, it will be a mirror image of the other line, and it won’t have a big curl like that one did. It will wave out to the left with a pointy edge, however.
Now that you have drawn the hair, we’re ready for some final touches in the next step of the guide, so let’s proceed.
Step 6: Now, draw some texture details for the hair of this Bratz doll

This step will be all about adding some final details for this Bratz doll. Not only will we draw the final details in this design, but we will also go over some ways that you can add your own ideas and details.
To give the hair some more texture, we will add some wavy lines inside the hair outline to represent individual strands of hair. You can add these all throughout the hair outline, and they don’t have to go in the same spaces that we placed ours.
There are also some simple line details that can be added inside the outlines of the rest of the design. Once you have added these details, you can add any extras that you would like for the design!
There are so many cool design choices that you could use to customize the design, and these details will really help to personalize your drawing.
These could range from different accessories such as handbags and jewelry to background details to create more of a scene for this drawing. This is something you can really get creative with!
You could also create different outfit designs and details to create an entirely unique Bratz doll design. For now, we will be ready for the final step of the guide where we will add some color to your Bratz doll design.
Step 7: Now, finish off with some color for this Bratz doll

Color is a big part of what gives a Bratz doll its style and personality, and that’s why we will add some colors to your Bratz doll drawing in this final step.
There was some room to improvise in all of the steps, but this one is one where we would especially encourage you to get creative with it. The colors we used are just an example.
We used blue for the top portion of her hair and then purple for the rest, and then we went with some fairly dark colors for her suit. You could achieve similar color swith any art tools you would want to use for your own design.
Or, you could go for entirely new colors to bring your design to life. When you bring color to your drawing, the color choices are just a part of the creative puzzle.
You can also consider the different art tools and mediums that you use to achieve your chosen color scheme. You could go for bright colors, milder mediums or maybe a mix of both.
Using crafts like stickers, glitter and other crafts can also make the image look more dynamic. It’s up to you, so how will you color in your very own Bratz doll design?
Your Bratz Doll Drawing is Complete!
Now you have finished all 7 steps of this guide on how to draw a Bratz doll! You now have your very own Bratz doll to decorate any way that you wish.
Now that you know how it’s done, you can try out all sorts of other designs and ideas to create your very own Bratz doll variations.
It’s all up to you now! It will be awesome to see what ideas you bring to the table to finish off your drawing. When it’s done, we hope that you will show us how it turned out.
You can do this by sharing your drawing on our Facebook and Pinterest pages when it’s complete. We can’t wait to see your stylish Bratz doll!


