Do you love ladybugs as much as we do? Spring is a perfect time to make ladybug crafts and learn all about bugs since they are all starting to emerge with the temperatures getting warmer.
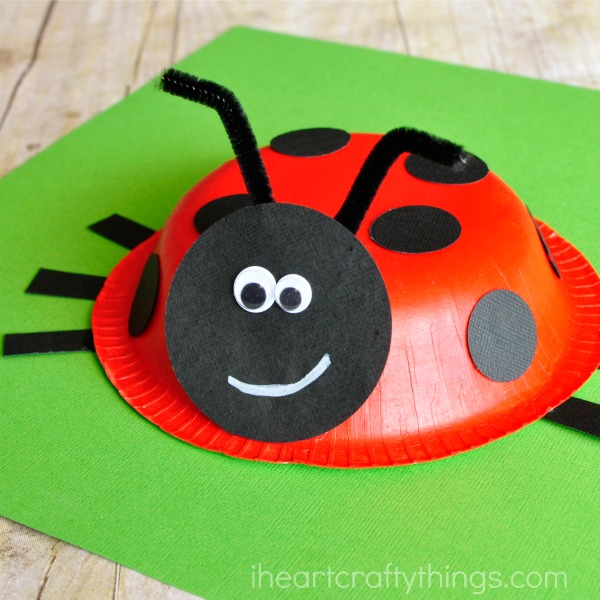
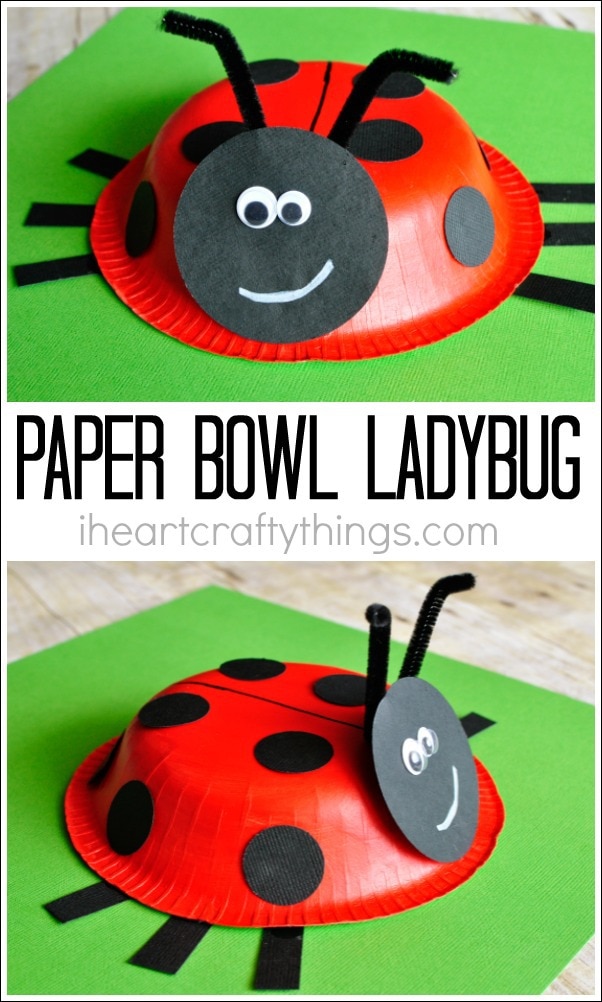
Kids are sure to love this paper bowl ladybug craft that we are sharing with you today. It is super duper cute, all 360 degrees of it, and it’s pretty simple to make!
So go grab some supplies and get ready for some fun spring ladybug crafting!

This post contains affiliate links to the products mentioned. Read our disclosure policy for more information.
Supplies Needed for this Ladybug Craft
– small paper bowl
– red acrylic paint
– paintbrush
– black cardstock paper
– 2 inch circle punch & 1-inch circle punch (optional)
– black pipe cleaner
– googly eyes
– which chalk maker (or crayon)
– black permanent marker
– scissors
– glue
Directions for this Ladybug Paper Bowl Craft
1. Paint the bottom of paper bowl
Start by painting the bottom of your paper bowl with your red acrylic paint. Set it aside to dry completely.
2. Cut out lady bug pieces
While your paper bowl dries, cut out a 2½-inch black circle for your ladybug head, several 1-inch black circles for ladybug spots, and six black ladybug legs. Also, cut your black pipe cleaner in half.

3. Separate ladybug wings, glue black spots, add antennae
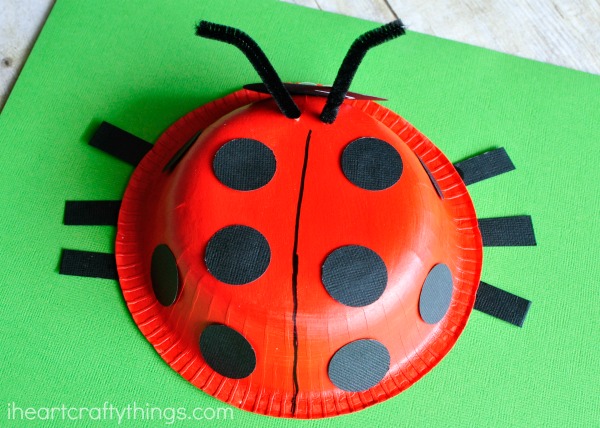
When your paint is finished drying, draw a line down the middle of your bowl to separate the ladybug wings. Glue your black spots onto your ladybug wings and around your paper bowl. Poke two small holes in the bowl (where you want to put your antennae) and thread your black pipe cleaner in one hole and out the other. Bend them together and bend the ends to make antennae.

4. Glue ladybug legs and face
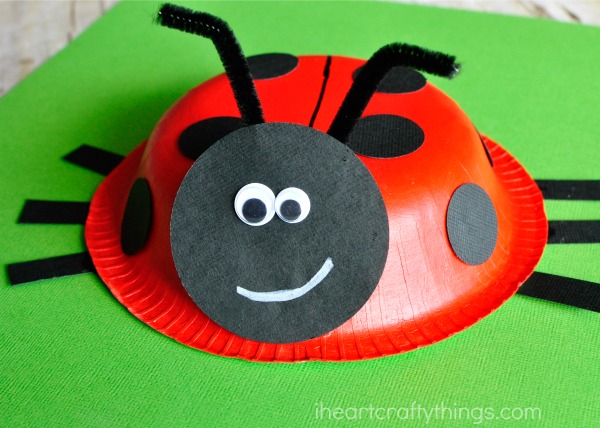
Glue your ladybug legs under the outside rim of the paper bowl. Then glue your 2 1/2-inch black circle in front of your antennae for the ladybug face.
5. Add eyes, draw a smile
Finish your paper bowl ladybug craft by gluing on your googly eyes and drawing on a smile with your white chalk marker or a white crayon.


