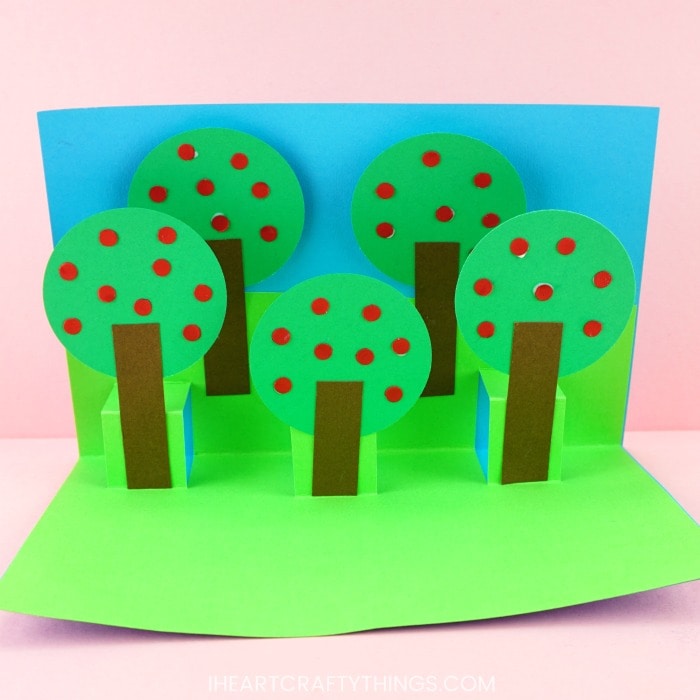
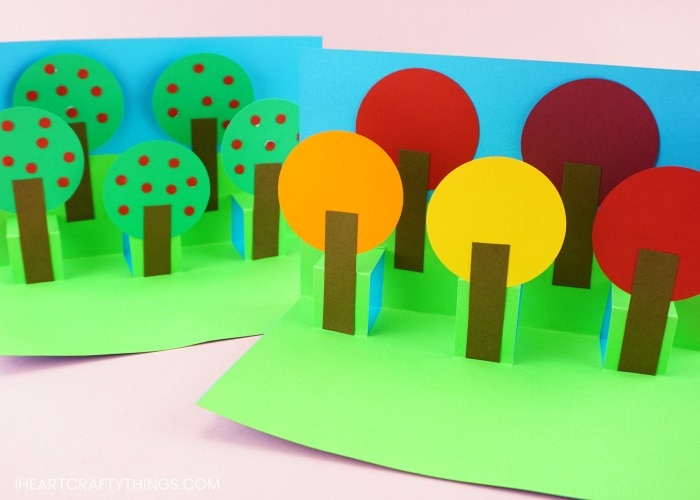
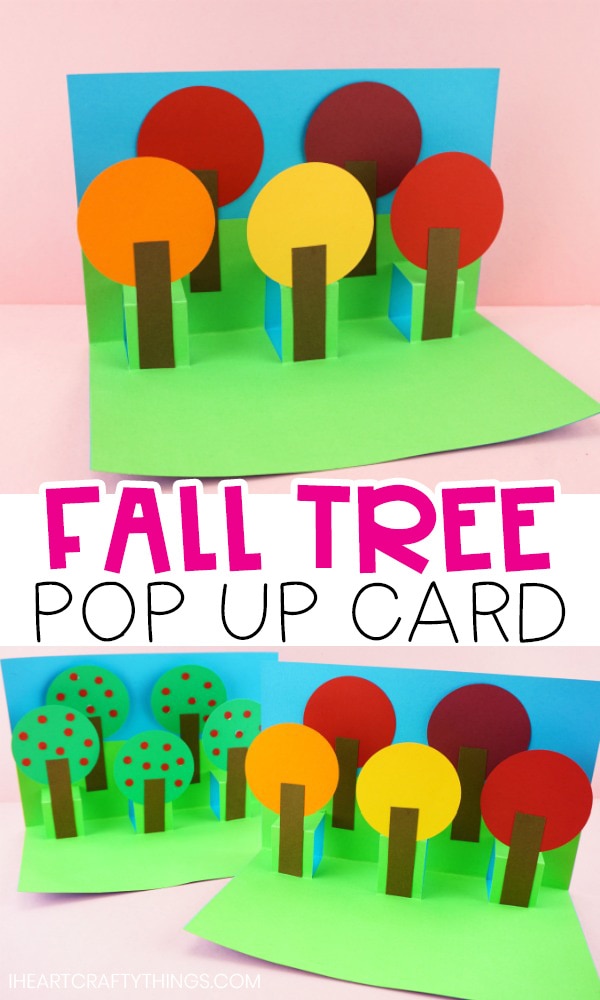
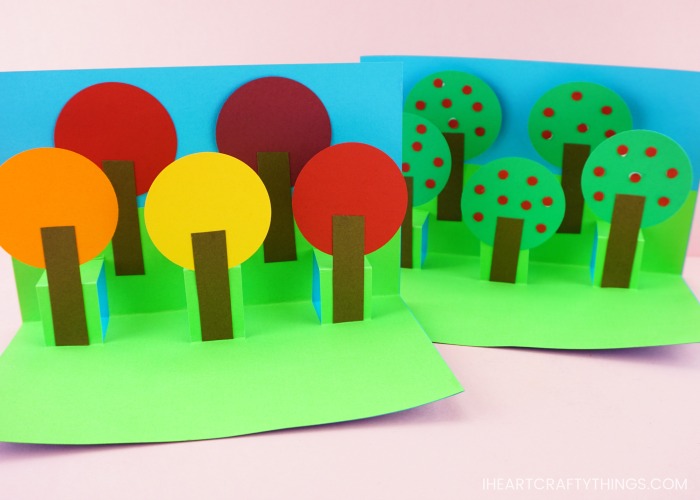
Celebrating the gorgeous colors of the fall season is a great reason to make some colorful pop up cards for someone you adore. This simple fall pop up tree card is easy for kids to make and is sure to bring a big smile to the recipient.
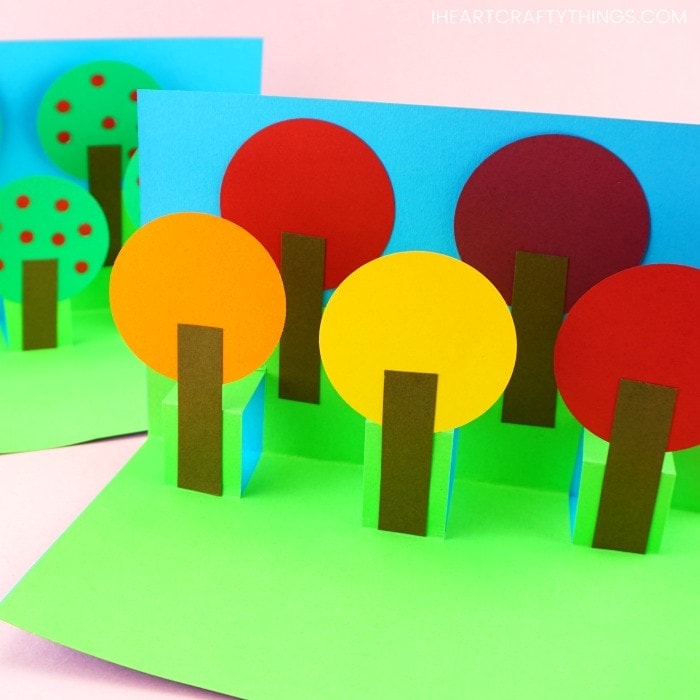
When I think of the fall season I think of apple trees full of ripe apples for picking at the beginning of the season and then bright red, orange and yellow leaves. You can make your pop up tree card with either option.
This post contains affiliate links to the products mentioned. Read our disclosure policy for more information.
Supplies needed for making Pop Up Card
- green, blue, red, orange, yellow and brown cardstock
- 3-inch circle punch (optional)
- scissors
- glue stick
Instructions for making Fall Tree Card
1. Fold green cardstock paper in half and cut slits
Begin by folding your green card stock paper in half width-wise. Use a pair of scissors to cut two slits in the middle of the folded side of the card 1-inch apart from each other. Then cut two more sets of slits on each side of the center section.
2. Fold down and crease three sections
Fold down and crease the three sections along the folded edge of the card that were created by cutting the slits.

3. Invert folded sections to make them stand upright when opening card
Carefully open up the green cardstock again. Invert the sections of paper you just folded down and close your card again along the fold lines . When you open the card, the inverted sections should stand upright in the crease of the card making the pop out for your trees.
4. Cut top section off the top half of the pop up card
Cut the top section off the top half of the pop up card, about 1-inch above the top of the pop out sections.
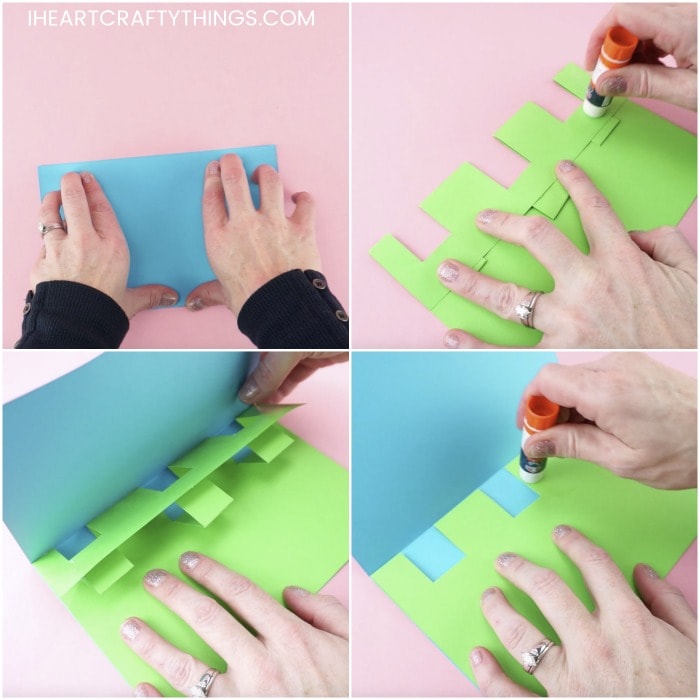
5. Fold blue cardstock paper in half, line up 2 creases of green and blue cardstock with each other and glue one side
Fold your blue cardstock paper in half to make the outside of your pop up card. With your green card section folded in half, add glue to the back of the top half. Line up the two creases of the green and blue cardstock with each other (with the blue on the outside) and press it together to adhere the green section to the blue cardstock.
6. Flip the card over and glue the other side
Flip the card over and add glue to the other half section of the green cardstock and then adhere it to the blue cardstock behind it.
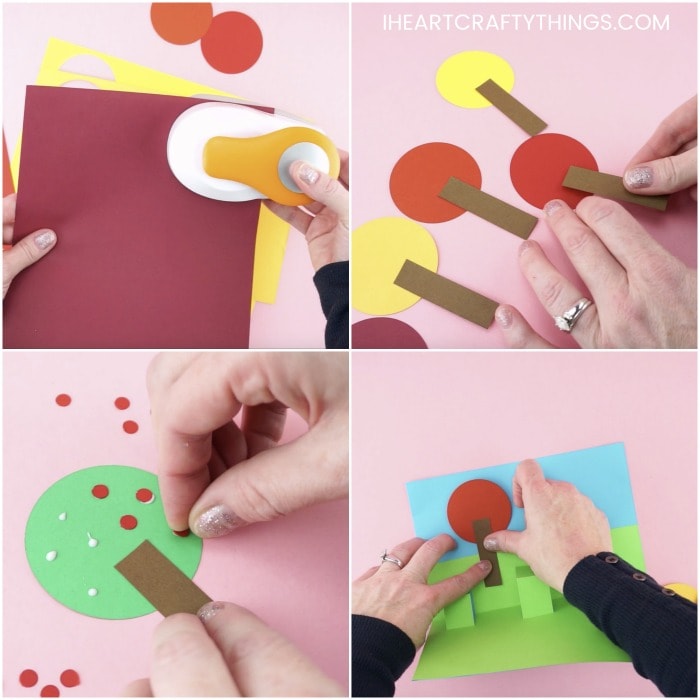
7. Cut out five circles
Use a 3-inch circle punch to cut out five circles from fall colored cardstock like reds, oranges and yellows. If you don’t have a circle punch you can simply freehand circles about 3-inches in diameter.
8. Cut out five tree trunks
Cut out five rectangle tree trunks from your brown cardstock. You can choose to make them all the same size or make them different sizes to add extra dimension to your pop up tree card.
9. Create apples and glue them onto trees(optional)
If you want to create apple trees for your pop up card, use a hole punch to punch out small circles from red cardstock. Then glue the red apples onto five green trees.
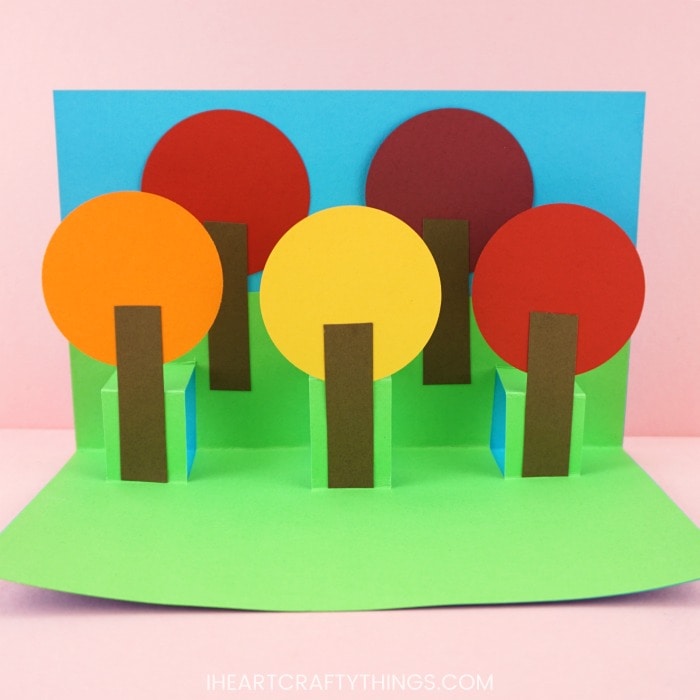
10. Glue trees on the top half of pop up card
Add glue on the tree trunk of one of your trees. Then glue it on the top half of the pop up card between two of the pop out sections. Glue a second tree on the top sides of the card.
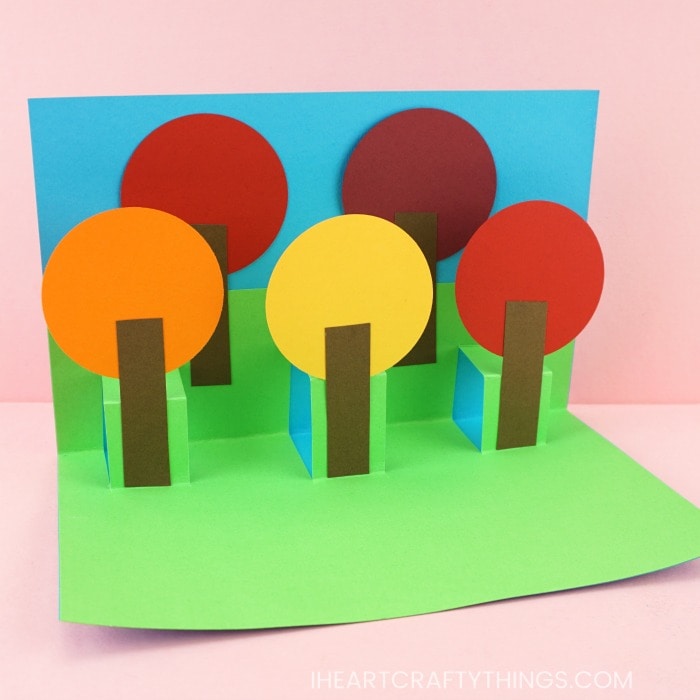
11. Glue trees on each of the pop out sections of the card
Add glue on the back of the final three trees. Glue them on each of the pop out sections of the card. Top to bottom, the colorful pop up card is gorgeous!
12. Add a message at the bottom of the card
Use markers to add a message at the bottom of the card. Something like “Happy Fall” or “Wishing you the happiest Fall Season” are cute. Then your card is ready to give to someone special. When the recipient opens the card a grove of colorful fall trees will pop out at them. It’s sure to bring a huge smile to someone’s face.
