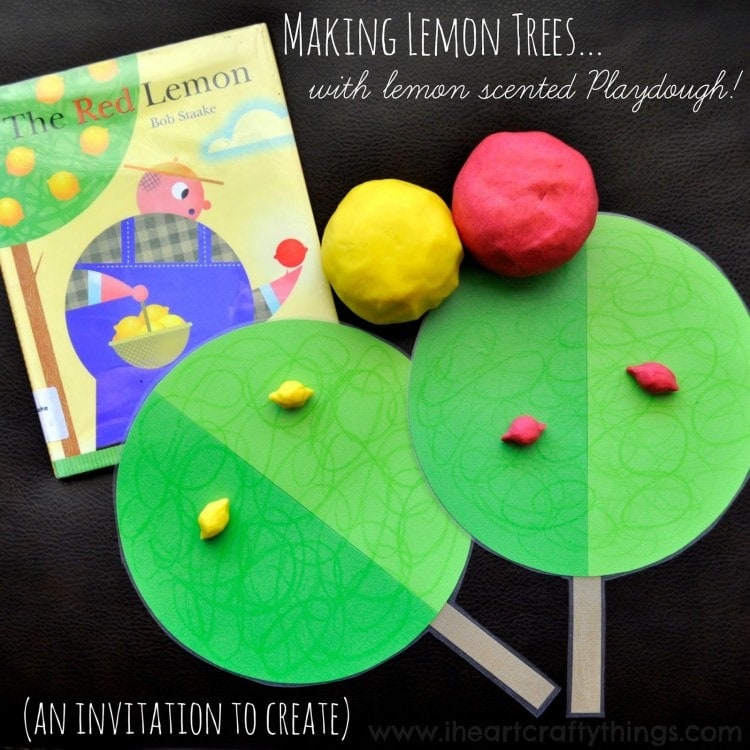
The Red Lemon by Bob Staake is a beautifully illustrated book about Farmer McPhee and his lemon orchard. “The lemons are ready!” shouts Farmer McPhee. But he isn’t ready for what he’s about to discover…among the bright yellow fruit is a RED lemon! “Who’d squeeze this red thing in their afternoon tea? Who’d buy a red lemon from Farmer McPhee?” he cries, just before he throws it out of his field across the water. Little does he know that it isn’t the end of the red lemon! I really enjoyed the “don’t judge a book (person) by it’s cover” type of lesson that this book offers.
Making Lemon Trees with Lemon Scented Playdough
To make our lemon scented playdough, we used The Imagination Tree’s Best Ever No-Cook Play Dough Recipe. It is my favorite no-cook recipe and turns out silky smooth every time! After making the playdough, I divided it in half and colored one half yellow and the other red. I also added red glitter in the red portion because the book talks about the red lemons being even more sweet than regular yellow lemons.
The secret behind our wonderful lemon scent was my doTERRA Lemon Oil. I started by adding in 10 drops and kneaded it in completely and then added more, 5 drops at a time, until I achieved a strong, yummy lemon scent. I wish you could smell it through the computer screen because it is seriously heavenly! My daughter loved smelling it!
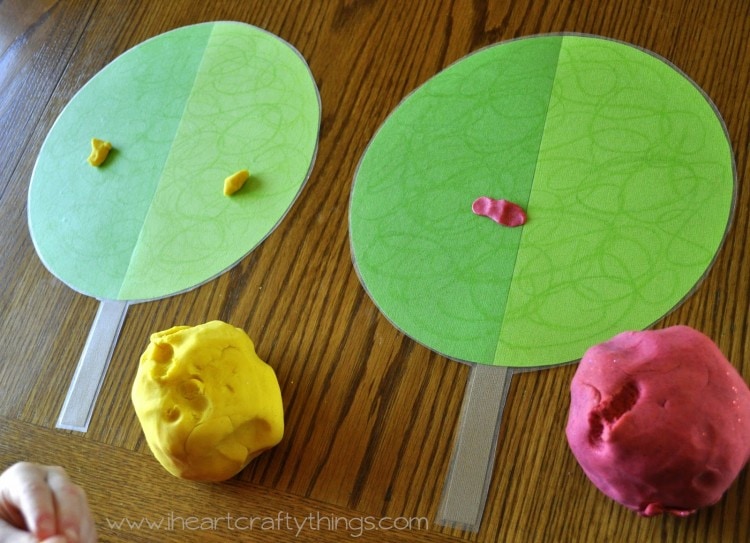
Before we started the activity I made two lemon trees that are reminiscent of the trees in the book. I taped two different shades of green cardstock together, traced a big circle bowl onto the two papers and then cut it out. I also drew squiggly lines all over the trees with a green crayon, just like the trees in the book. After taping a tree trunk on the back of the tree, I laminated them with contact paper so we could use them with the playdough.
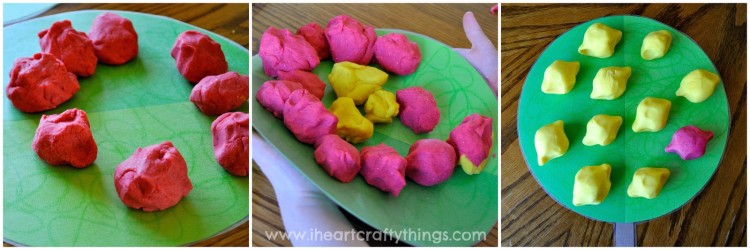
My daughter started out making little tiny lemons on her trees. She worked the playdough so delicately in her fingers trying to get a perfect lemon shape. It was so cute! Before too long she abandoned the tiny lemon idea though and decided big, huge lemons was the way to go. She decided to combine both red and yellow lemons on one tree instead of dividing them and encouraged me to use the other tree for myself. (I love that she actually wants me to play with her!)
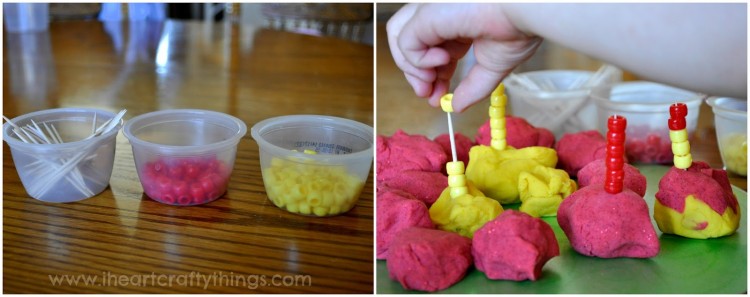
To extend the activity further I also set out some plastic cups with toothpicks, red pony beads and yellow pony beads. It was excellent fine motor practice to poke the toothpicks into the playdough and string the corresponding color of beads on the toothpick.
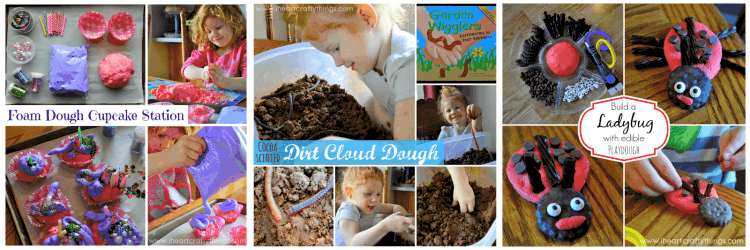
In case you missed any prior months, make sure to check out our Cupcake Foam Dough, Digging for Worms Cloud Dough and our Build a Ladybug with Edible Playdough.
I invite and encourage you to visit all of the Co-hosts as each will have a different take on the dough and you don’t want to miss out on all of the great ideas and insights!
Meet the Co-hosts:
Now it’s your turn…
Do you have a favorite Scented Play Dough recipe, activity or post you would like to share? We would love to see! Have you ever had a Scented Play Dough Fail? We would love to see those too! Please link up your posts below in the link party. You can also post a picture on Facebook, Instagram, Twitter or Google+ with the tag #ilovesensorydough.
Please read the following guidelines before linking up.
- Share family-friendly posts related to the month’s theme. Feel free to link old or new posts that highlight your favorite recipes for sensory dough. Failures and unsuccessful attempts are welcome.
- We ask that no posts are linked with copy/paste recipes from other sources. If you use a recipe from another source, please link back to the original recipe.
- By linking up, you give permission to share your post and one photograph in future posts and through social media channels.
- Visit 2-3 other posts that others have shared. Discover new ideas and meet new friends!
- If you would like to, please grab the 12 Months of Sensory Dough button for your blog.
Follow I Heart Crafty Things on Facebook, Pinterest,
Google+, Twitter, and Instagram!


