Supplies you will need:
- twigs
- hot glue gun
- green yarn
- foam star sticker (optional)
- mini poms (optional)
- tacky glue
- small ribbon
- scissors
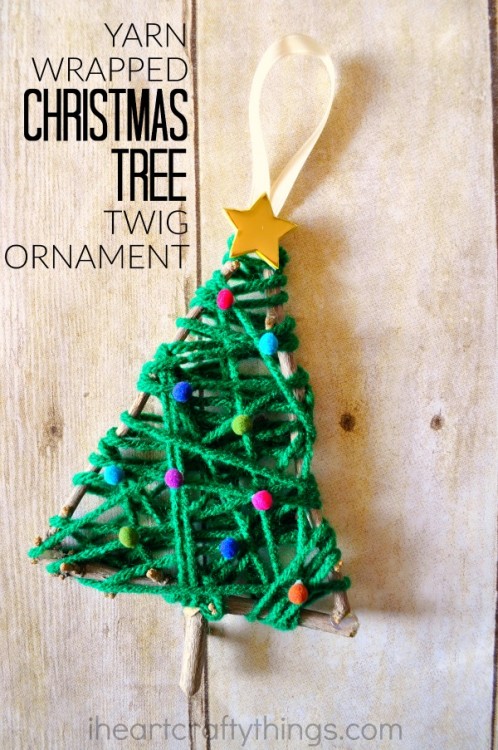
How to make a yarn wrapped Christmas Tree Twig Ornament:
1. Get some twigs
Go on a nature walk with your preschooler and invite them to gather some twigs to make your ornament. When you get home break the twigs so you have two pieces of equal length, then one piece a little smaller and one last small piece to use as a trunk.
2. Assemble triangle
Use a low heat hot glue gun to glue your three larger twig pieces into a triangle shape. We used the smaller of the pieces for the bottom of the triangle. I helped my daughter hold a twig piece while she added a dot of glue on the end of it, and then she attached another piece onto the glue. We continued with all three pieces. Adult supervision is required when using a hot glue gun with children.
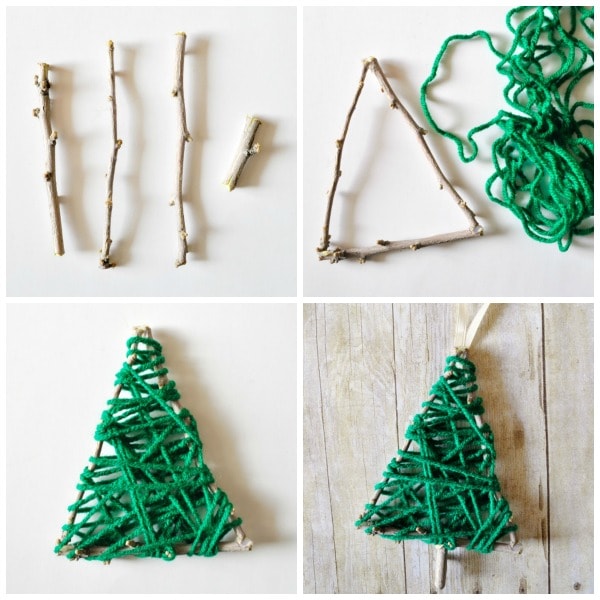
3. Wrap the yarn around the triangle
Cut off a length of green yarn that is 4-5 feet long. Attach one end of the yarn onto the twig triangle with a dot of hot glue. Then your preschooler can wrap the yarn around the triangle in all different directions until they reach the end of the yarn. When you reach the end of the yarn you can secure it to the tree with another dot of hot glue.
4. Add the trunk and ribbon
Use the hot glue gun again to glue the trunk at the bottom of the tree and also to glue a piece of ribbon to the back of the tree so you can hang it on your Christmas tree.
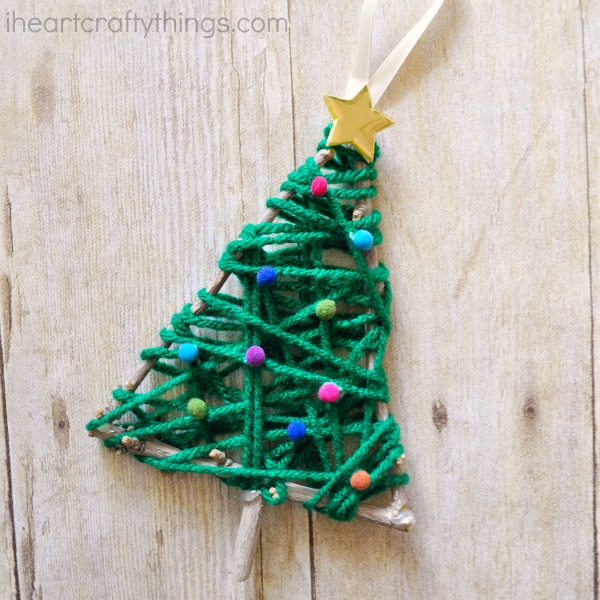
5. Decorate your ornament
At this point you can leave your ornament as is, or you can decorate it with the embellishments of your choice. My preschooler used clear drying tacky glue to glue a foam star sticker on the top of the tree and mini poms all over her tree for ornaments.

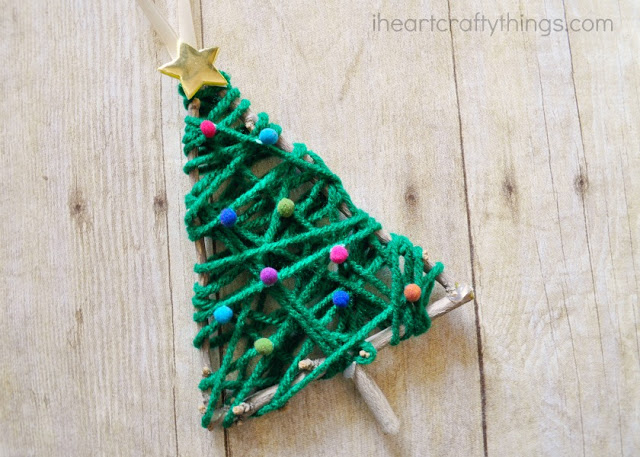
6. Hang it on your Christmas tree
Once the tacky glue is dry on your ornament you can hang it on your Christmas tree. I love how the twigs add a fun rustic element to the ornament. It would be fun to make several different variation of the ornament with different colors of yarn and display them all on your Christmas tree.