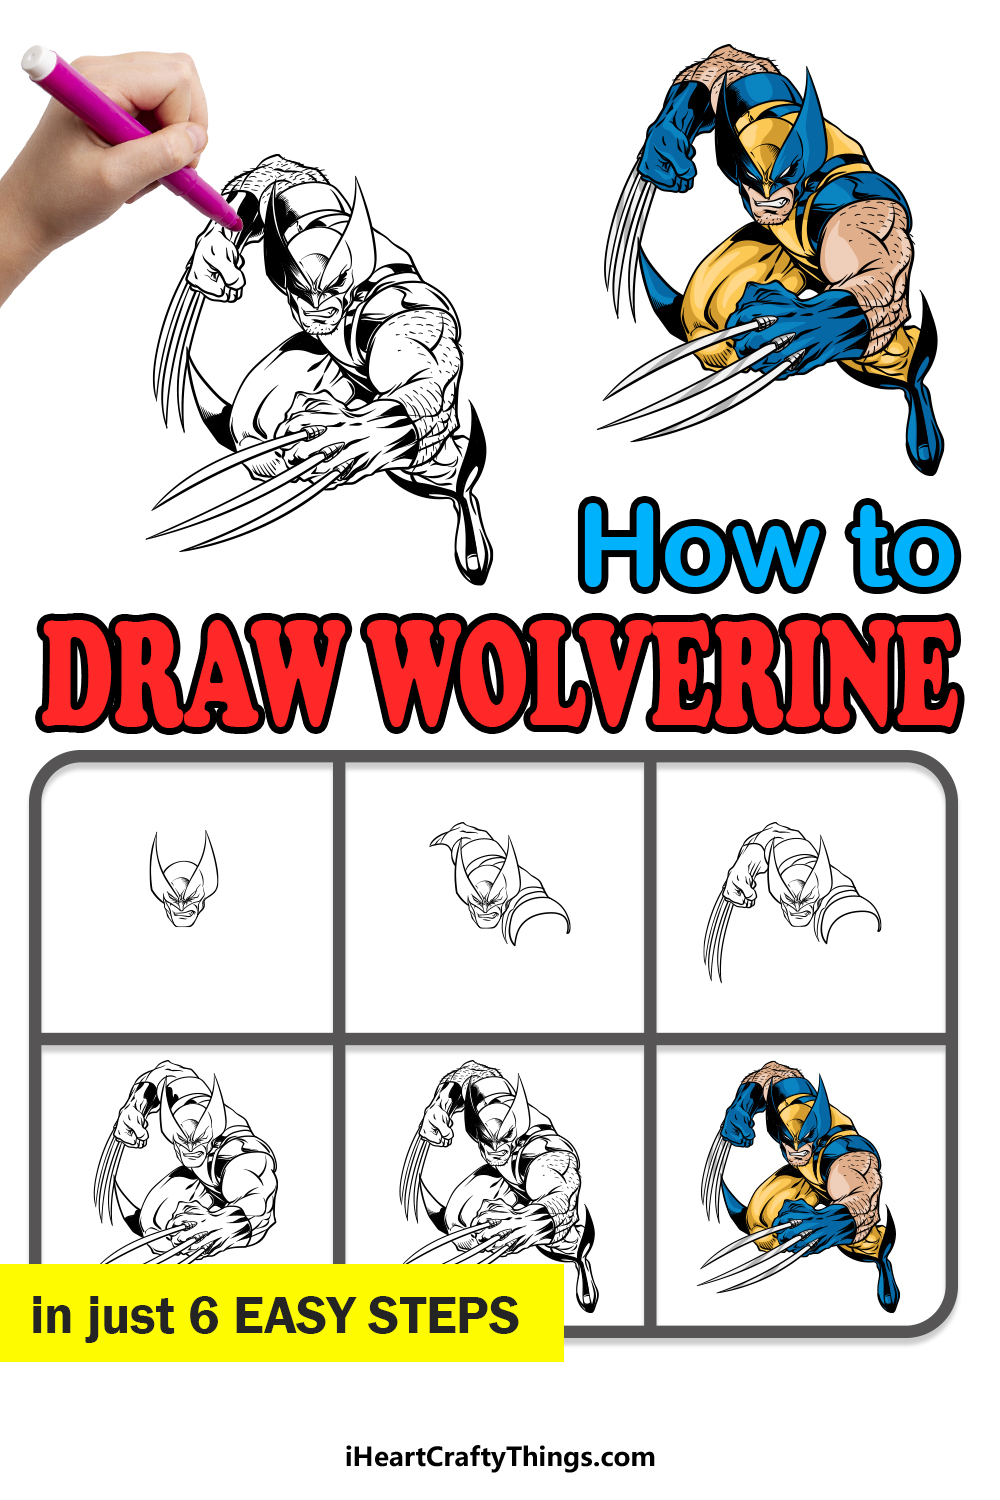
It’s time for creative action with this guide on how to draw Wolverine! Get ready to make an incredible depiction of this iconic hero.
Wolverine first appeared in 1974 as an adversary to the Hulk, but it didn’t take ling for him to become an iconic hero instead. He often works with the X-Men but also operates alone in some adventures.
He has a detailed and distinct design that can be very difficult to draw. However, this guide will break it down and show you the best and easiest way to do it.
By the end, you will have a comic-accurate version of Wolverine that you can customize with your own background details and elements. So sharpen your claws- I mean pencils- and let’s begin this drawing!
Find Out How To Make Your Wolverine Drawing
How to Draw Wolverine – Let’s Get Started!
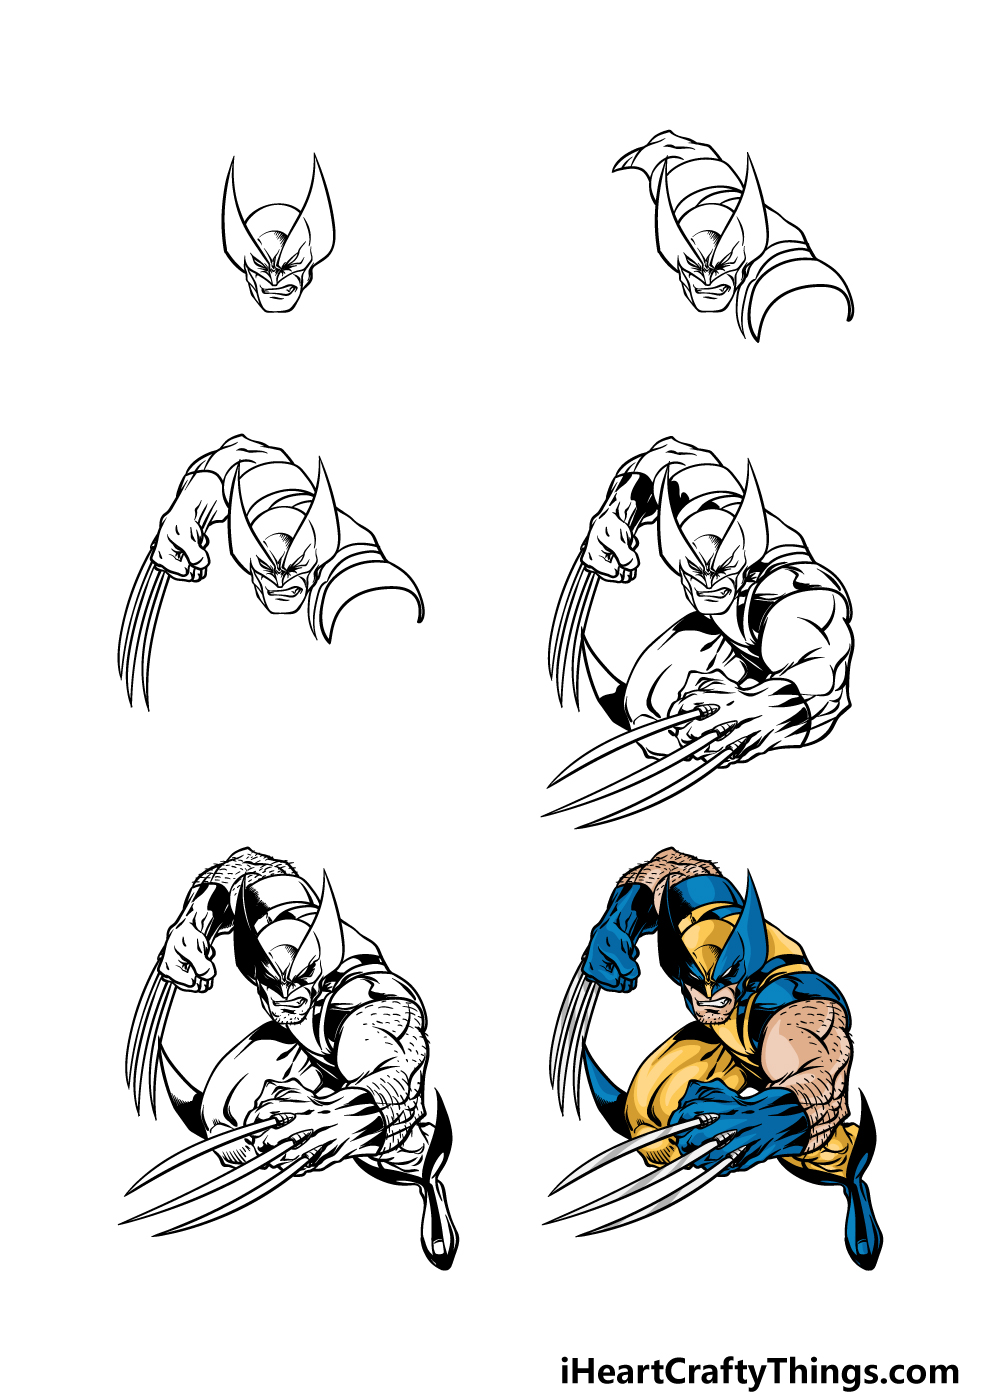
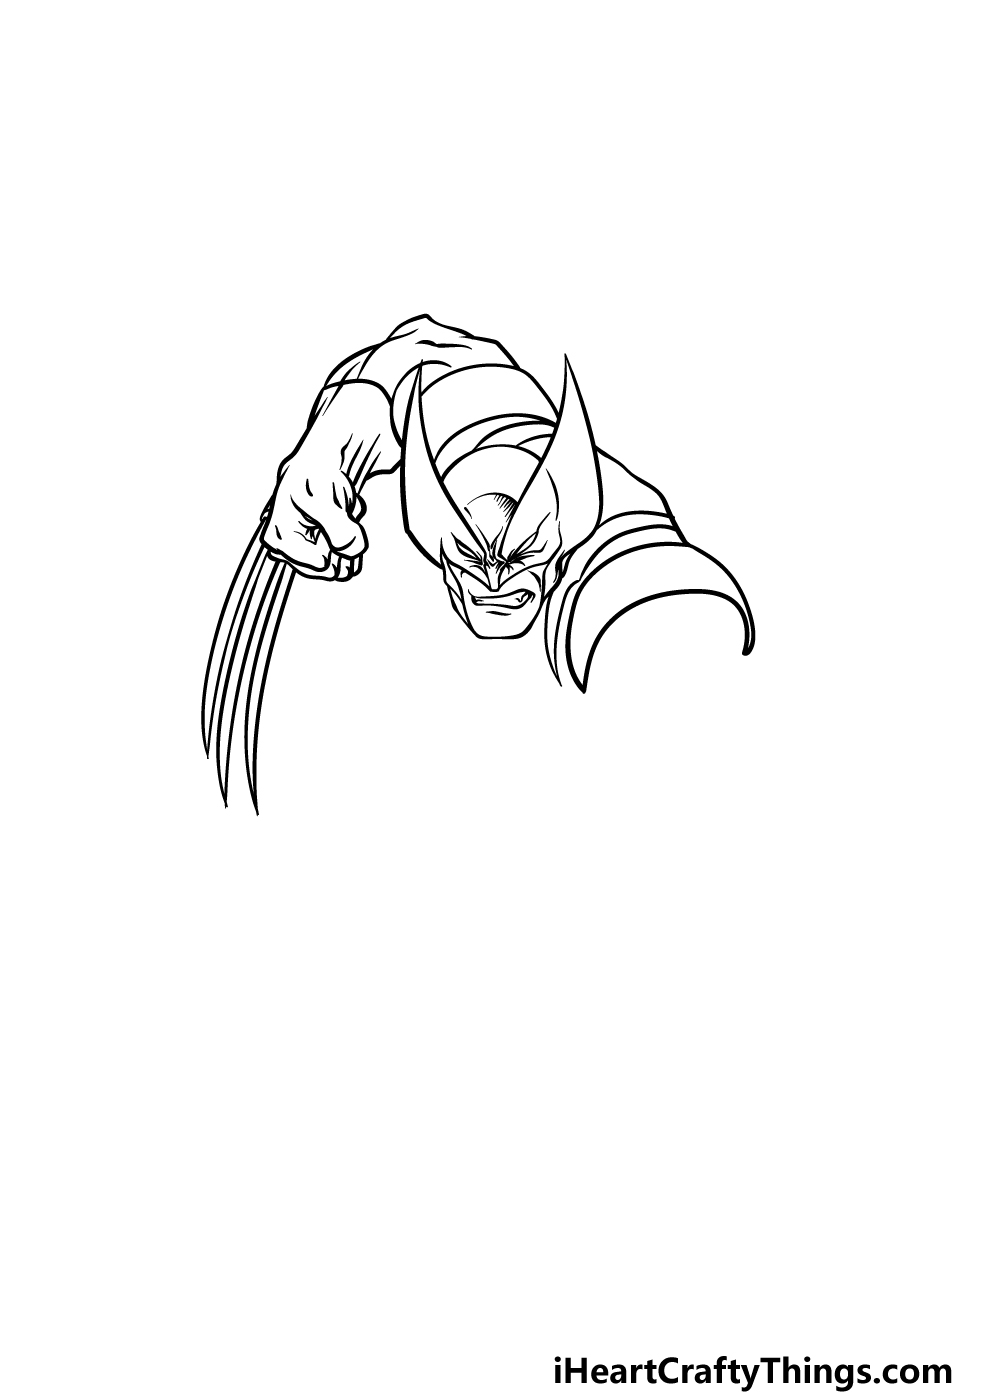
Step 1
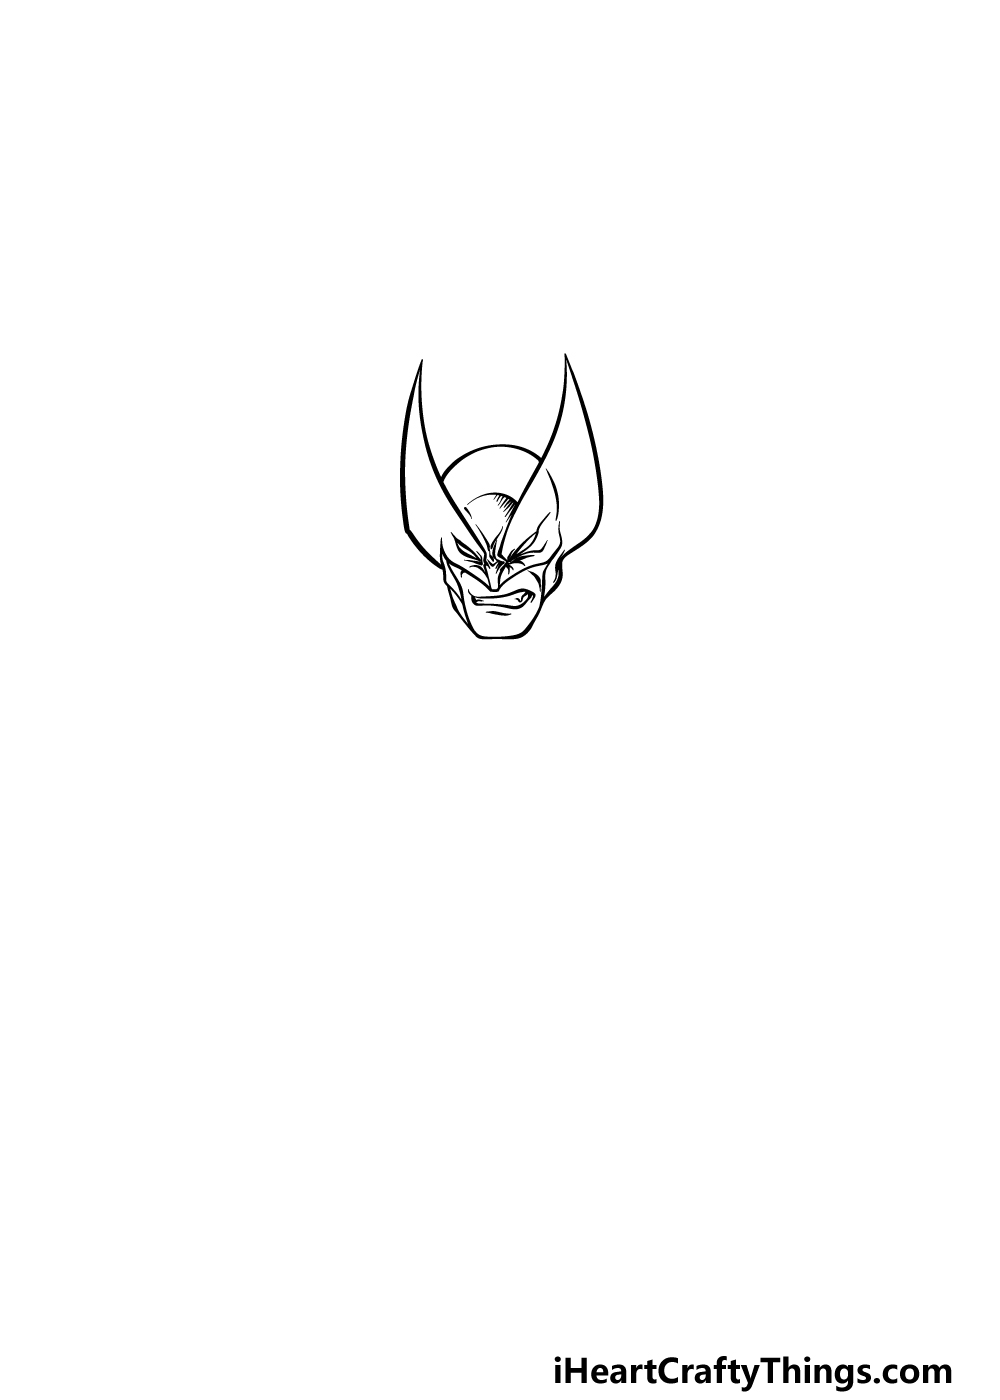
For this guide on how to draw Wolverine, we will be going for his classic comic book appearance.
Wolverine is usually pretty mad at someone, so we shall start with his angry eyes using some rounded lines.
Like many classic superheroes, Wolverine won’t have any pupils in his eyes. Then we will be drawing his clenched teeth inside of the outline for his square jaw.
Before moving on, we shall also draw his iconic mask. His mask has two tall, sharp portions coming up from the sides, and it covers all of his face except for his lower jaw.
Using the reference image as your guide, carefully draw his mask and the two pointy parts, and then add some detailing to the mask.
Step 2 – Next, draw his shoulders and the start of his arms
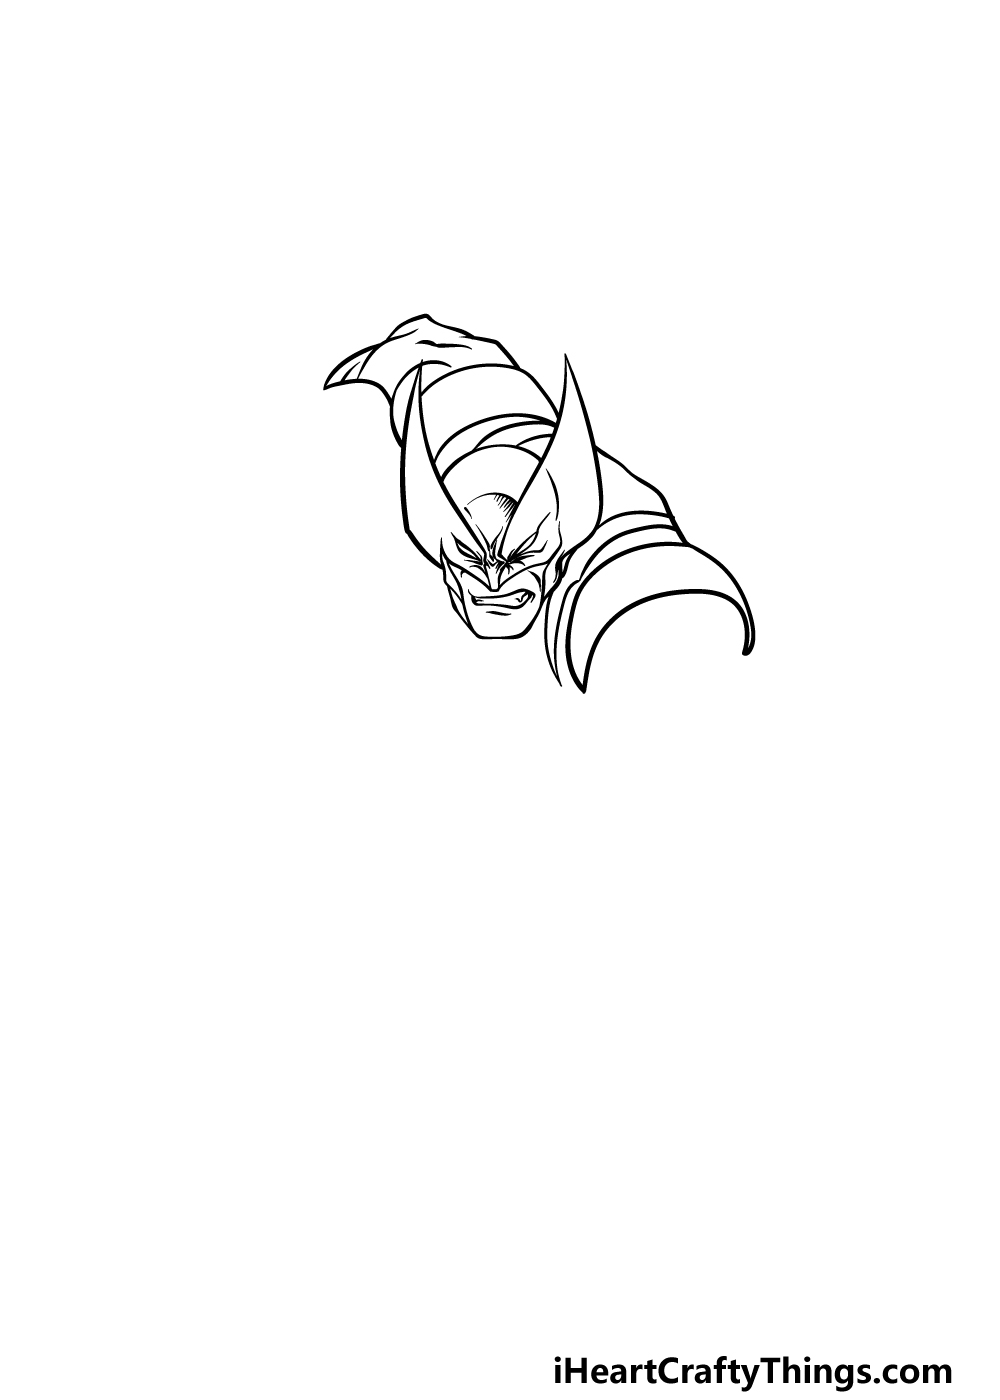
This particular superhero is short, stocky and very muscular, and we will keep that in mind as we start to draw the body for your Wolverine drawing. For now, we will be using some rounded lines for his thick shoulders.
Then, we will use some more of these lines for the start of his arms. His arms will be in quite a dynamic pose to show that Wolverine is leaping into action! Then you’ll be ready to move on to the third step of the guide.
Step 3 – Draw his forearm and claws
When you think of Wolverine, you’ll probably think of his sharp retractable claws, and these are what we will draw in this step of our guide on how to draw Wolverine. First, draw in his thick, gloved forearm that is closed in a tight fist.
Once you have drawn that, we will be adding some slightly curved lines coming from his knuckles. These will end in some sharp points to make them nice and pointy.
Step 4 – Now, draw the other arm and add some detailing
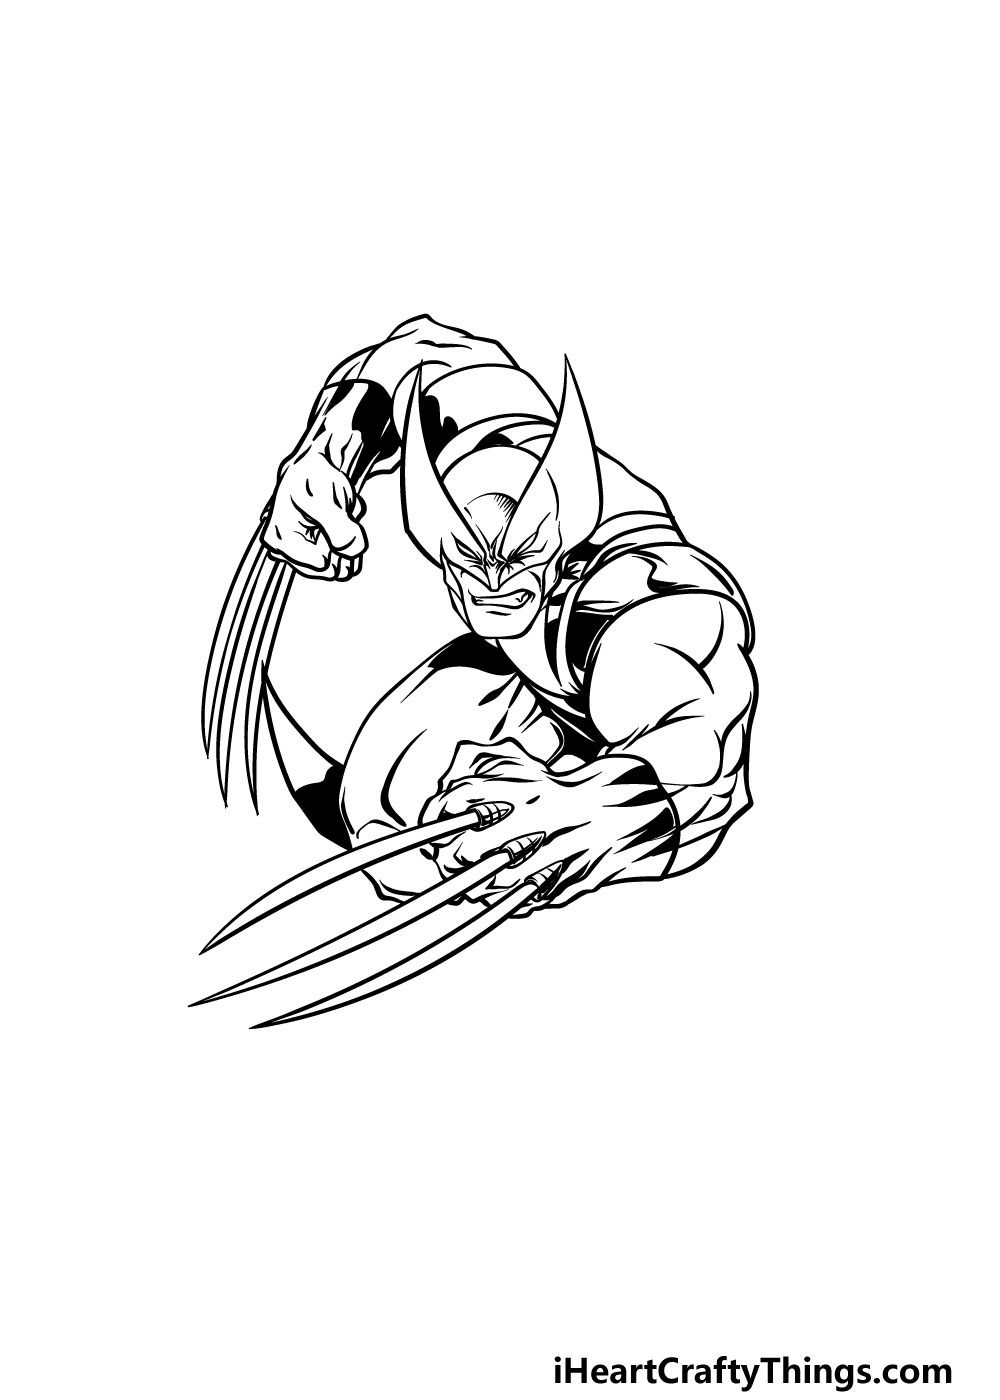
Continuing on with your Wolverine drawing, we will now add the other arm along with some more details.
This arm will be extended towards us as the viewer, and like the other one that you drew we will be using lots of curved lines to make it very muscular.
Then his claws will be extending from the knuckles again, and because of the angle we will get a much better view of them.
Before you move on, you can draw his first leg below him, and like his arms it will be thick and muscular.
Then we will finish off this step by adding some dark shading details throughout his body, and you can use the reference image to guide you as you draw these details.
Step 5 – Finish off your Wolverine drawing
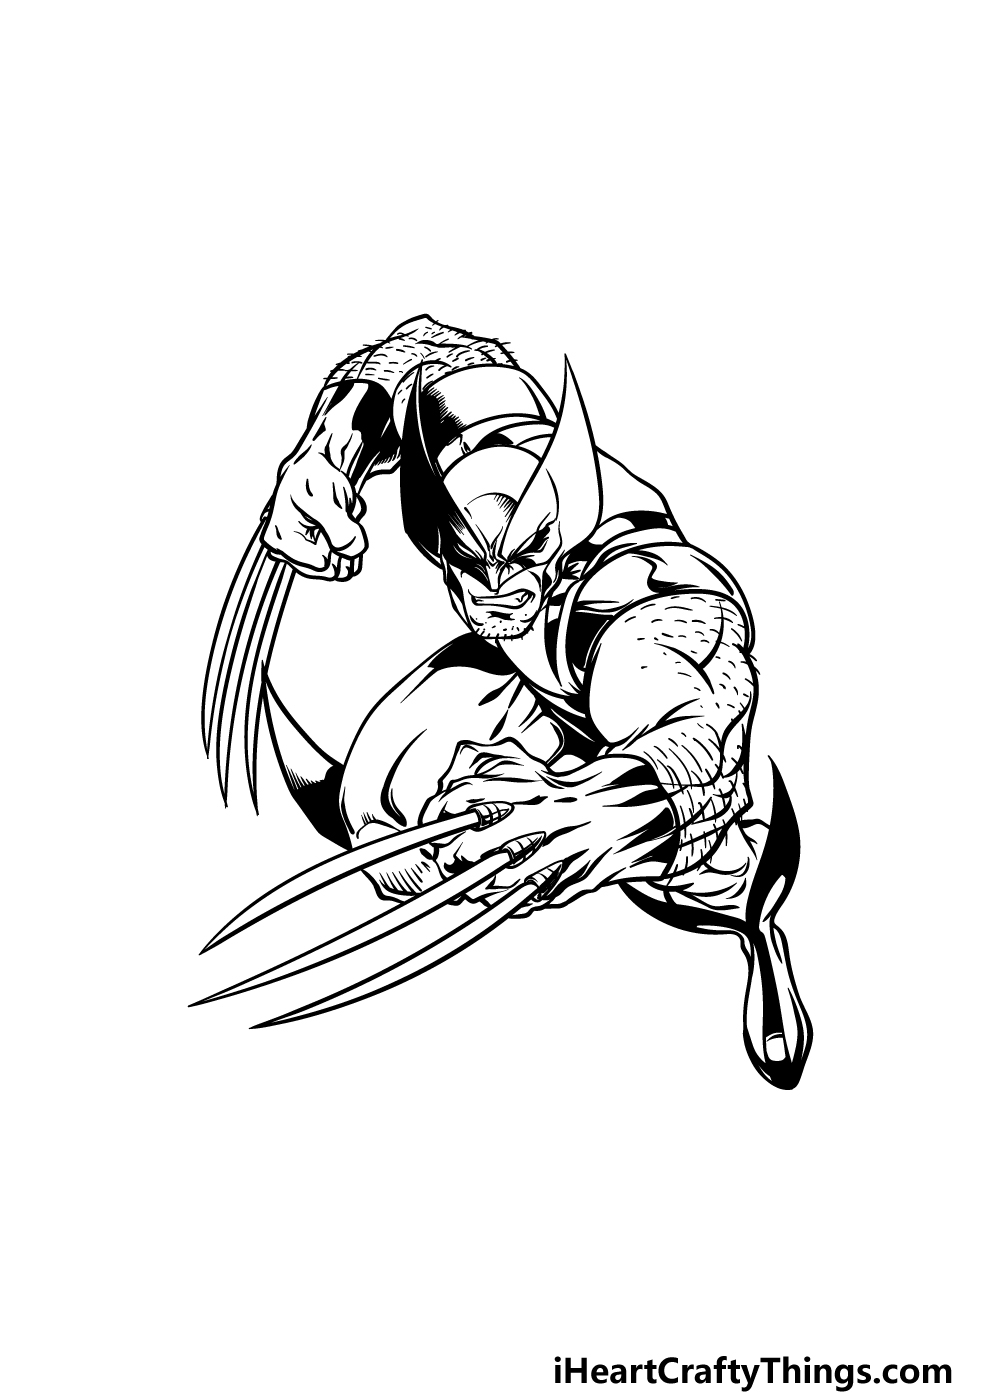
This step of our guide on how to draw Wolverine will see you finishing off the final details before you color him in for the next step.
First, you can add his other leg extending down. This leg will give us a better view of his unique boots that have two sharp protrusions similar to how his mask looks.
Then we will add even more dark shading detail throughout the drawing, and once again the reference picture will serve as a great guide on how to do this. Then you’re ready for the final step!
You could also add some elements of your own before moving on, however. You could add a background to show your favorite Wolverine moment, or perhaps you could draw some of his superhero allies charging into battle behind him.
What ideas can you think of to finish off this awesome Wolverine drawing?
Step 6 – Finish off your Wolverine drawing with some color
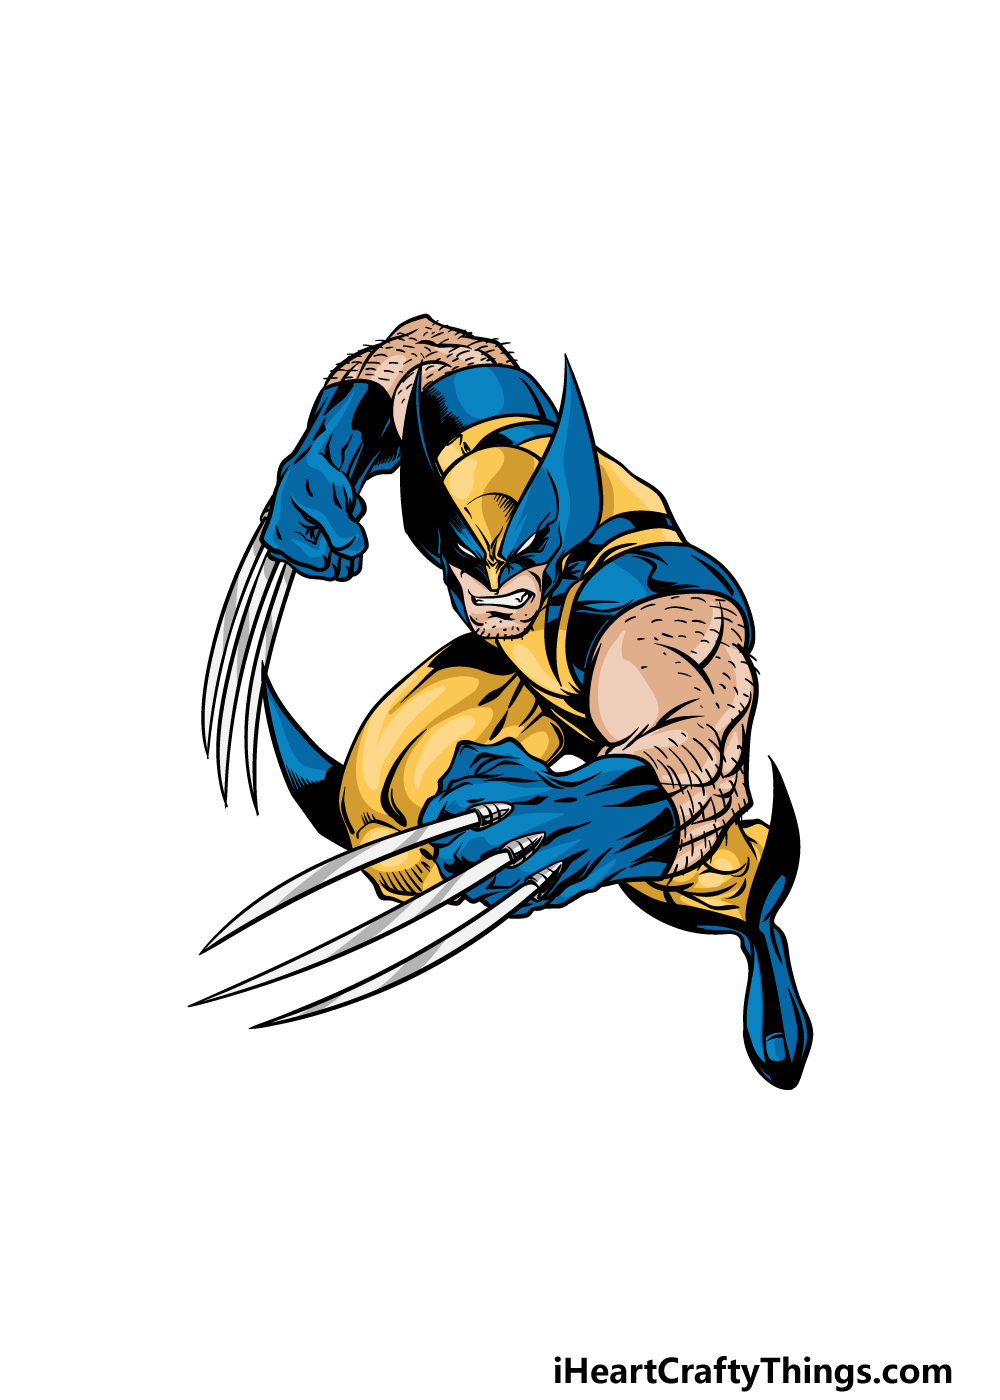
For the final step of your Wolverine drawing, you can finish off this image by adding some amazing colors!
As mentioned previously, this is a classic comic book design for Wolverine, and we have gone with that theme for the colors as well.
That means that his outfit is nice and bright with yellow and blue colors throughout.
You can follow the colors in our reference image if you would like to achieve this kind of look, but you could also change up the colors a bit.
You could create a unique Wolverine variation, but he also has many design variations throughout his history, so maybe you could go for one of those looks instead.
When coloring in, you could get a great classic feel to the image by using brighter mediums like colored markers and acrylic paints.
More subdued colors would also look great if you prefer, so what colors and art mediums will you use to finish off this incredible drawing?
Do this to take your Wolverine drawing to the next level
Leap into action as we make your Wolverine sketch even better with some fun tips.
This drawing of Wolverine shows him in his classic comic outfit. He has had many looks throughout the years, so you could change a few details to show your favorite look for Wolverine.
This could be based on another look from the comics that he has had, or you could look to the movies for inspiration.
If you want to take it even further, then you could create a brand-new outfit for him.
What sort of look would you like to use for Wolverine in this picture?
Wolverine sometimes acts alone, but he is also a part of the X-Men. For that reason, it could be fun to add some other members of the X-Men to this drawing.
There are many to choose from, so you should be sure to add any of your favorite characters. You could go for classic characters such as Cyclops or maybe Jean Grey.
Or, you could also add some of the more obscure members of the team that you like.
When it comes to adding more characters to this Wolverine drawing, you shouldn’t feel limited to the X-Men.
Marvel characters will often meet each other, so you could add any other Marvel characters you love as well.
Whether it’s Captain America, Iron Man or Black Panther, you have so many options available to you. It could also be fun to use some non-Marvel characters such as Batman or Superman!
Once Wolverine looks as you want him and you have added all the characters that you want, you could then finish off this Wolverine sketch with a background.
If you look at the comics and films that Wolverine has appeared in, you will find that there is a lot of variety in the locations he has appeared in.
You could use any of these locations as inspiration, or create your own settings.
Where do you think Wolverine is having an adventure in this picture?
Your Wolverine Drawing is Complete!
This was a really classic character to take on, and we hope you had an awesome time working with us on this guide on how to draw Wolverine!
When drawing detailed characters like this, it can sometimes be a frustrating challenge. We hope that by following this guide that you found it to be easier and even more fun than you expected!
Now you can show us how creative you can be with this drawing. We went over a few ideas like adding a background or more superhero characters, but there are infinite possibilities! Be sure to let your creativity run free as you finish off this drawing.
Our website is full of many other drawing guides for you to enjoy, and you will even find guides about some more classic superheroes among many other subjects! Be sure to keep checking in to never miss out.
We would love to see your incredible Wolverine drawing, so when it’s ready please share it on our Facebook and Pinterest pages for us to marvel at!