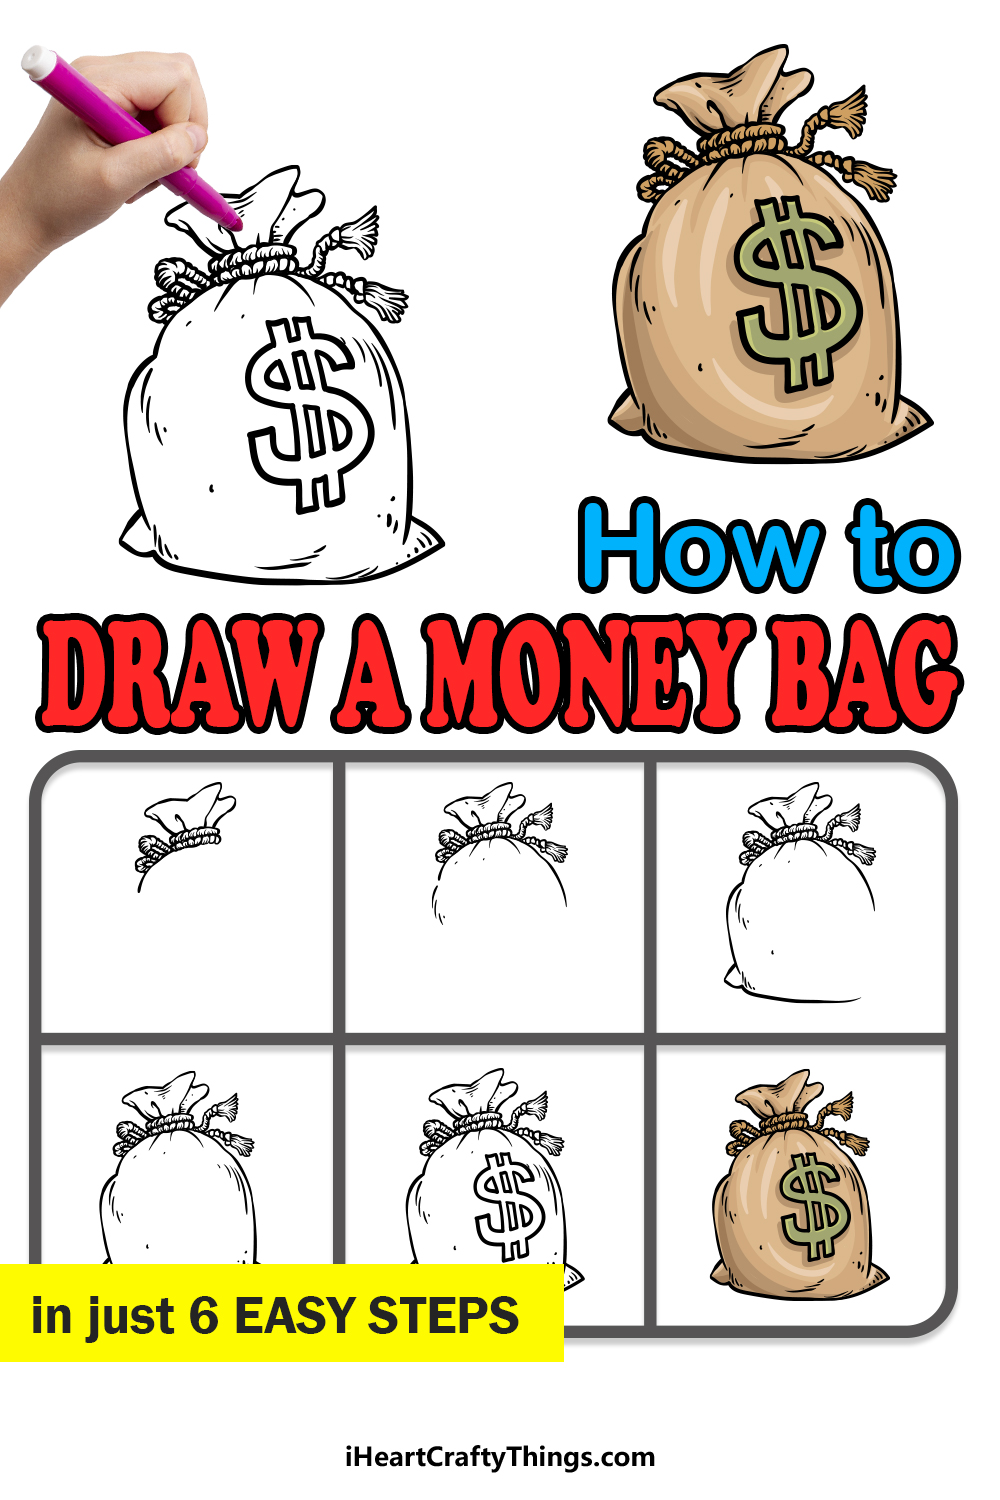
Once you have worked through this guide on how to draw a money bag, you will be able to make art that looks like a million bucks!
This creative design is easier to draw than you may think, and I’m about to show you exactly how it’s done. I’m not sure if money bags with big dollar signs printed on them were ever actually used, but they are common to see in cartoons.
If there is a heist or a robbery being performed, you will often see the perpetrators carrying off bags like the one in this design! Learning how to draw it will open you up to lots of different possibilities.
You could make all sorts of amazing scenarios and scenes from this one element, and the only limit is your imagination.
Watch How To Make Your Money Bag Drawing
How to A Money Bag – Let’s Get Started!
Step 1
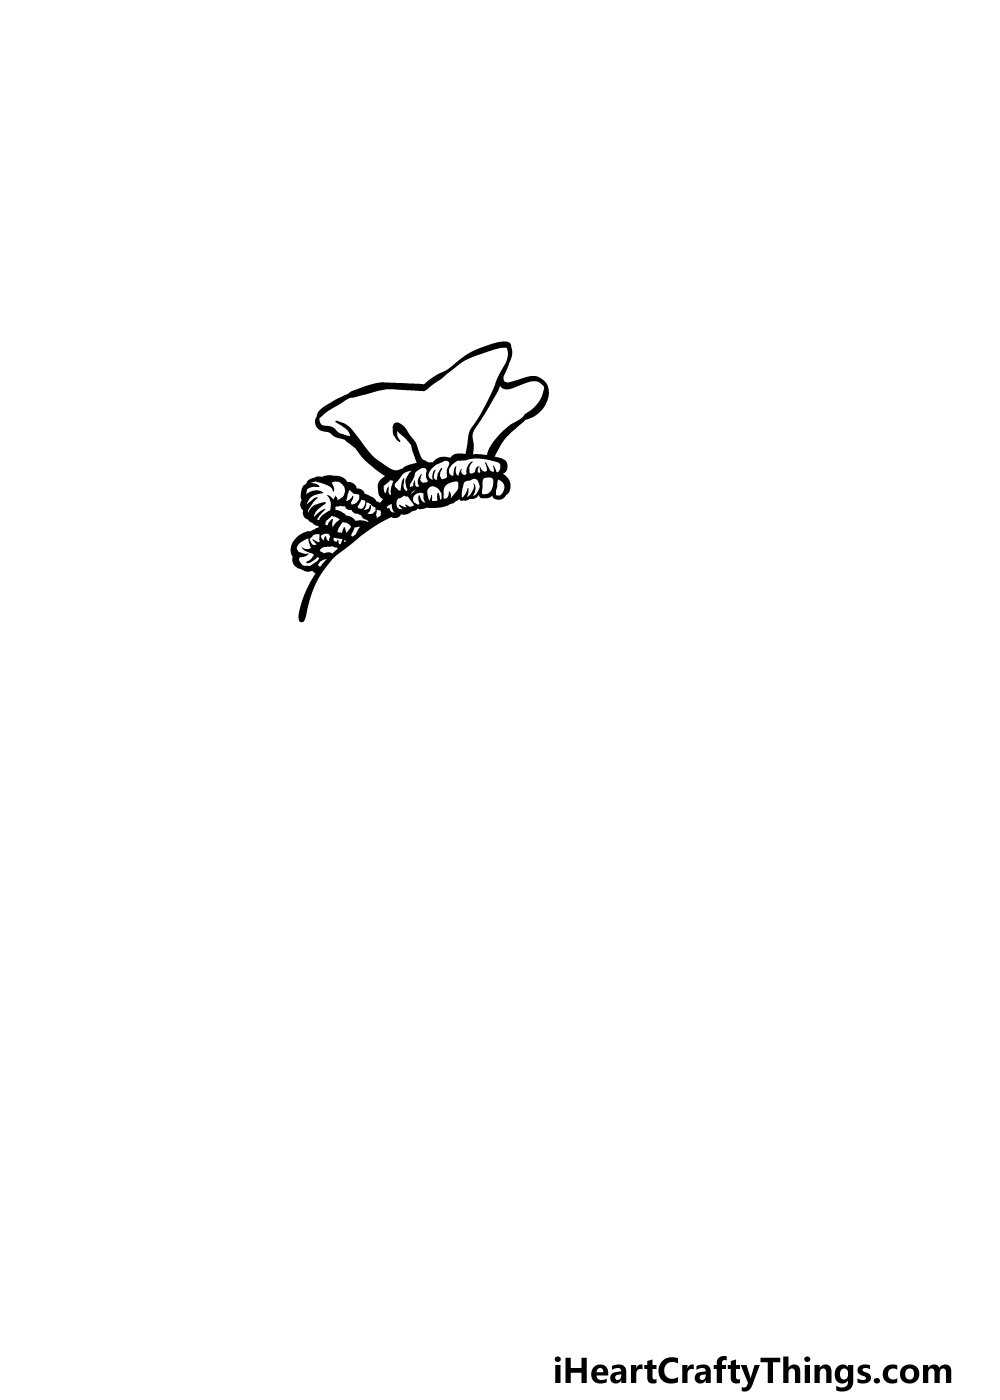
Money bags would often be tied up with string or a rope, and e will be starting with that rope in this first step of our guide.
First, draw two rows of thin connected rounded shapes for the two layers of rope. Then, use some curved lines coming off the top of it for the top of the bag that is tied up.
With that drawn, we can then draw another rounded line coming down from the end of the rope for the top left-hand corner of the bag.
Finish off this step by drawing the loop of the rope coming off the left-hand side using the same kinds of lines and shapes that you drew for the rope fastened around the bag. Then you’ll be ready for step 2!
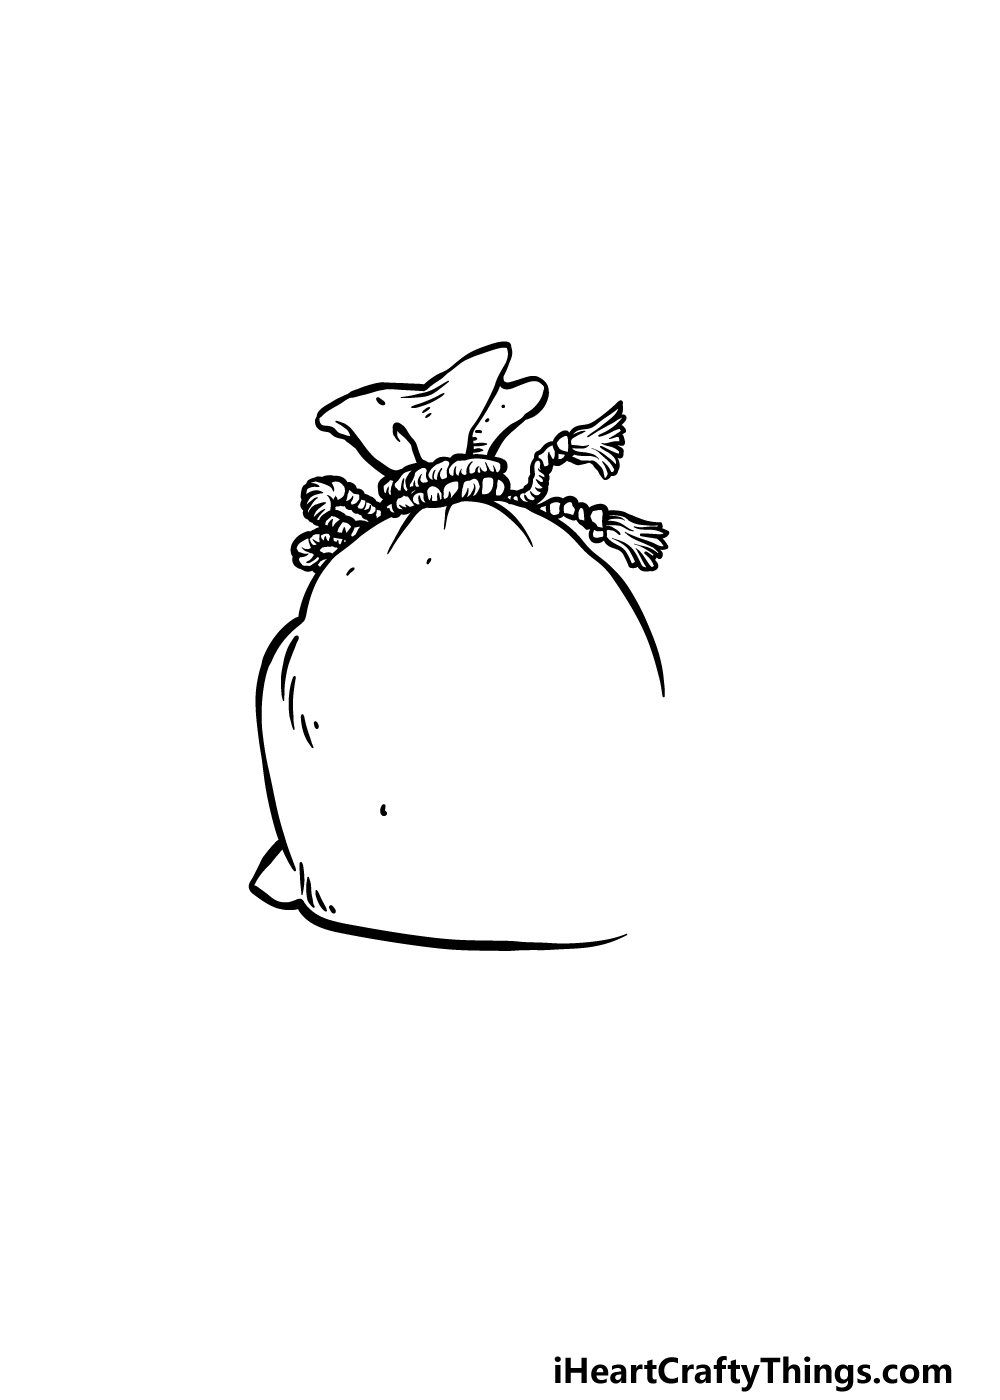
Step 2 – Next, draw some more of the money bag
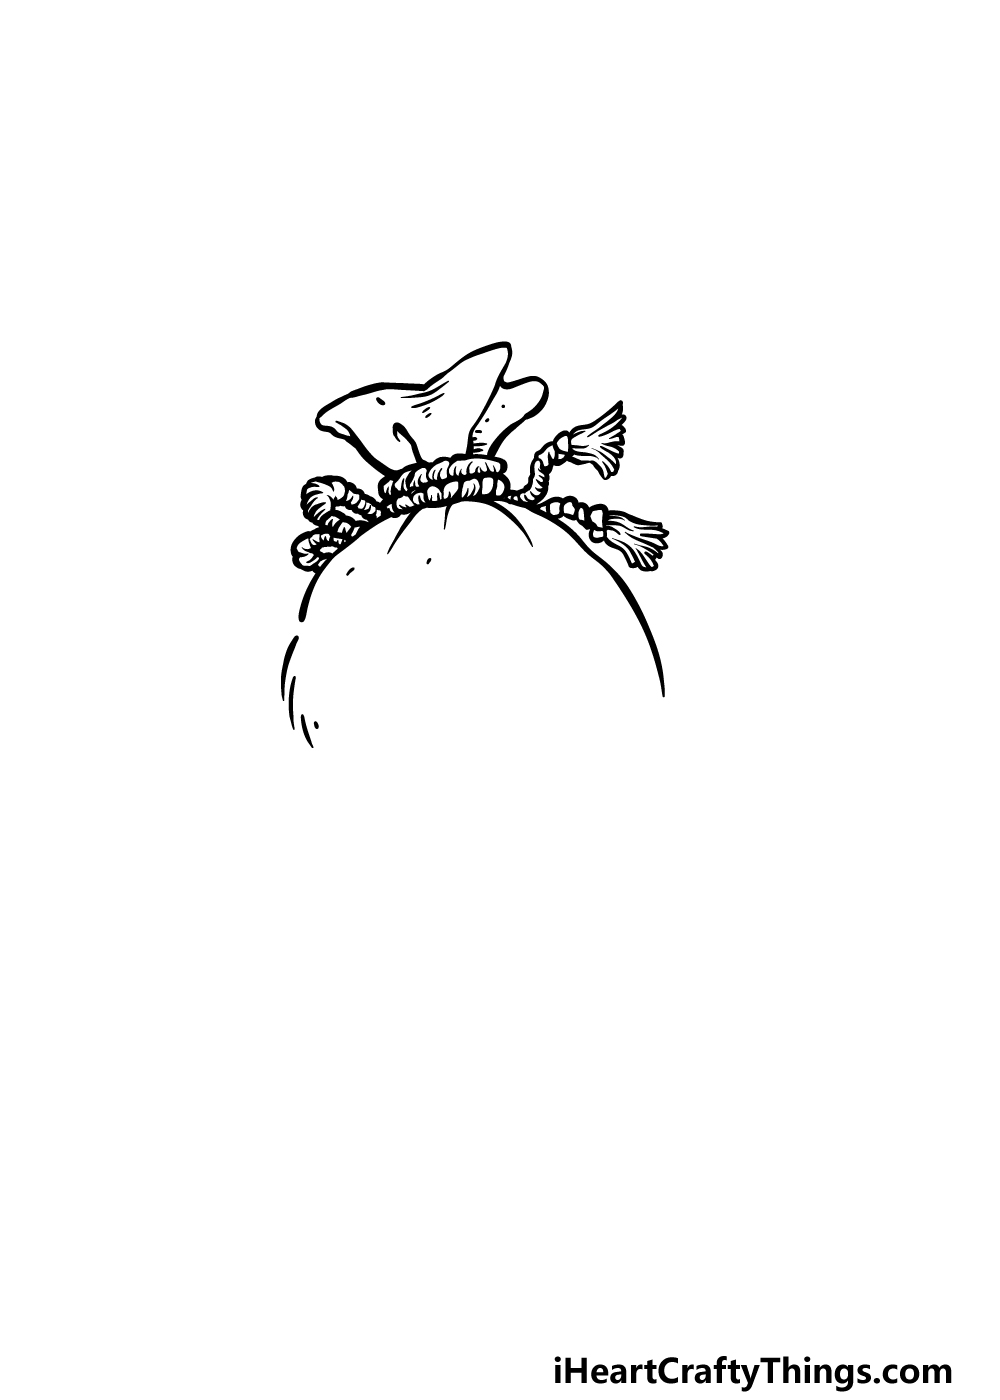
In this second step of your money bag drawing, we will be drawing more of the top of the bag and the rope tying it closed.
First, extend a very slightly bumpy line down from the right-hand side of the rope and down for the top right-hand side of the bag.
Then, you can add two loose rope strands coming off the side, and also add some tassels to the end of these strands.
Finally, add some simple line detailing to the top of the bag, and also underneath the rope.
Step 3 – Draw the bottom left-hand corner of the bag
We will be drawing the bottom left-hand corner of the bag in this third step of our guide on how to draw a money bag.
To do this, simply bring some rounded lines down from the ones at the top left, and at the bottom there will be a sharp corner.
Finally, you can also start the base of the money bag by drawing a slightly straighter line. Finish off with some simple line detail, and then you’re ready for step 4!
Step 4 – Next, draw the right-hand side of the money bag base
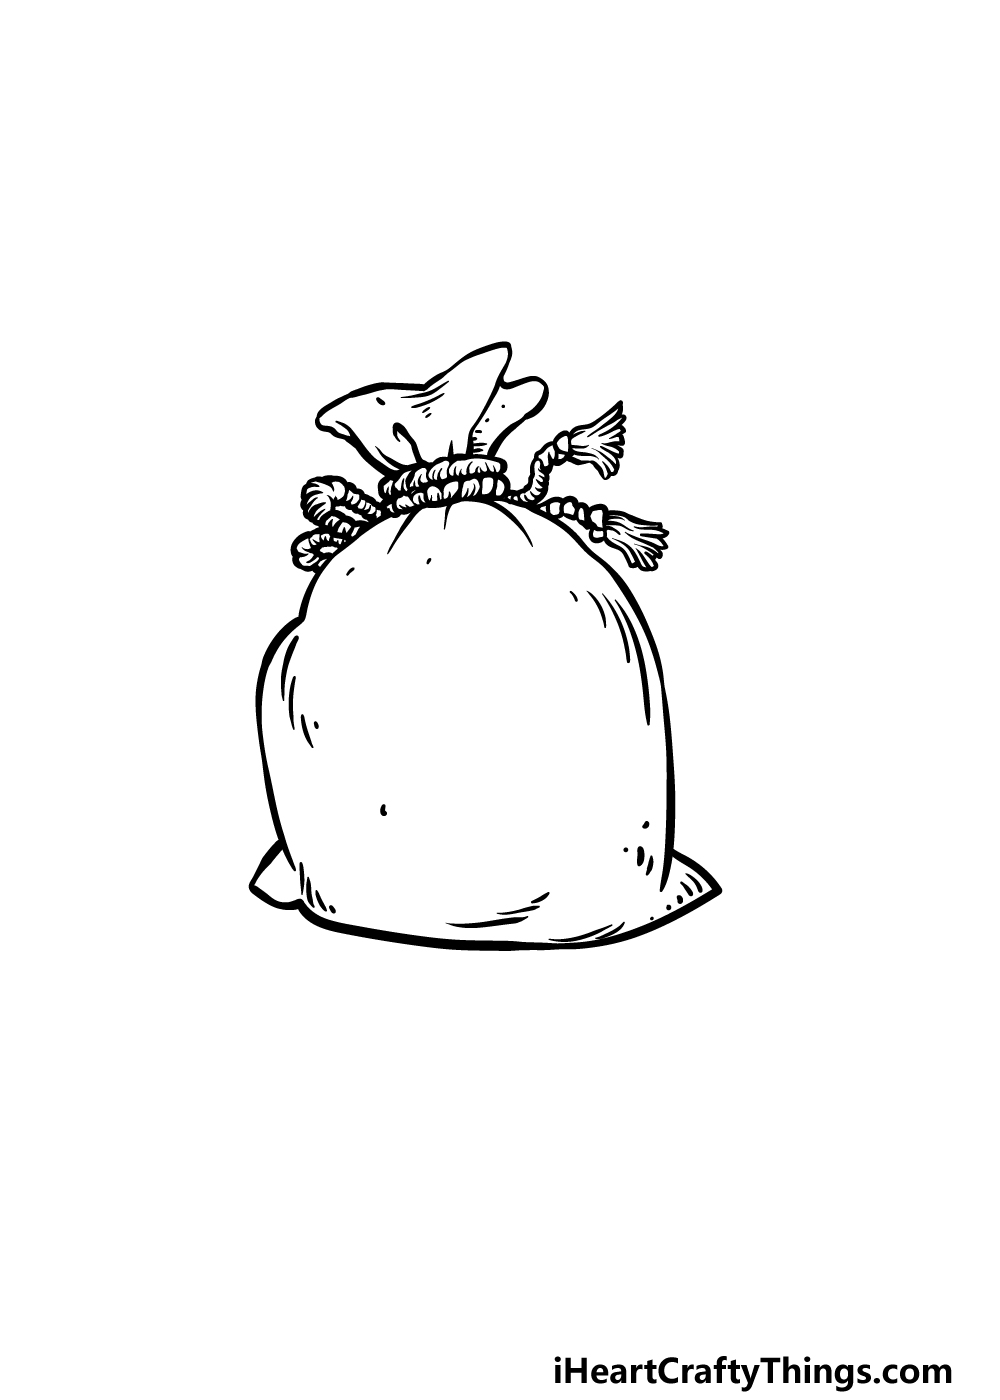
This step of your money bag drawing will be all about finishing off the outline so that you can add some details to it in the next step.
The right-hand side of the outline will be very similar to how it looked on the left-hand side of the base, which means more rounded lines and a pointy tip.
Then, finish off with some more minor line details to make it look like the bag is made of fabric, and you’re ready for the next step!
Step 5 – Finish off your money bag drawing
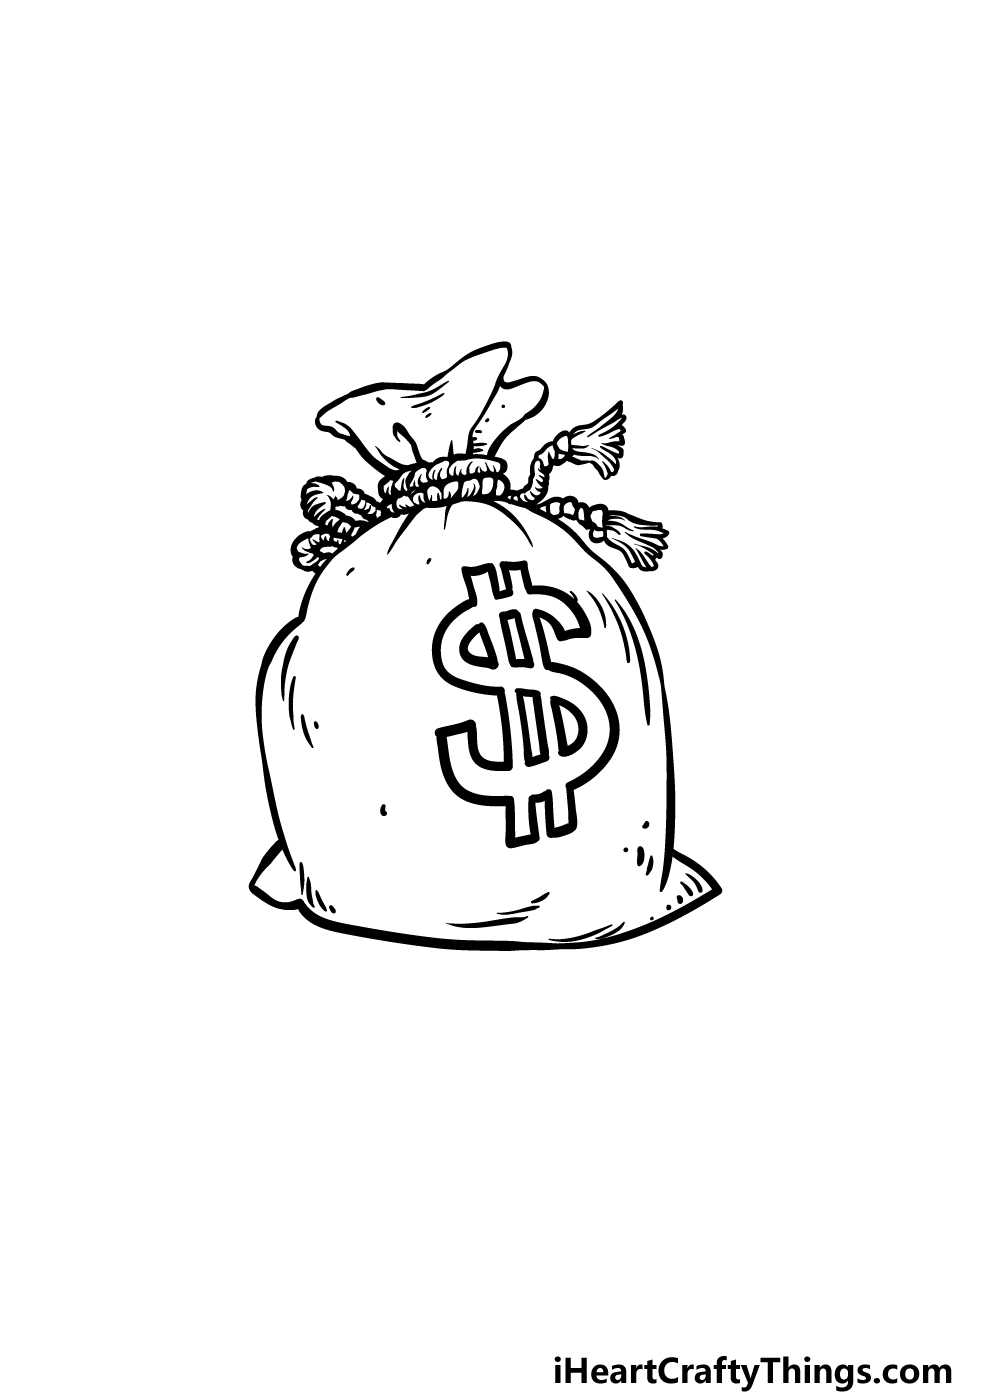
No classic money bag would be complete without the big dollar sign on it, so let’s draw one in this step of our guide on how to draw a money bag!
The dollar sign is a symbol that can be surprisingly difficult to draw, so don’t be afraid to closely refer to the reference image as you draw.
The dollar sign will be drawn as a large shape formed from the outline for the symbol, and you can put it big and proud on the bag.
Then you’re finished with all of the details! You will get to color it in soon, but first you can add some details of your own that you may like.
There are lots of fun ideas that you could go for, and we will go over a few before moving on.
One idea would be to draw some banknotes flying from the bag, or you could draw a cartoon thief swinging in to grab it!
These are just a few ideas, and this is the kind of picture that you could draw lots of fun situations around, so be sure to get creative and have fun putting your own spin on it.
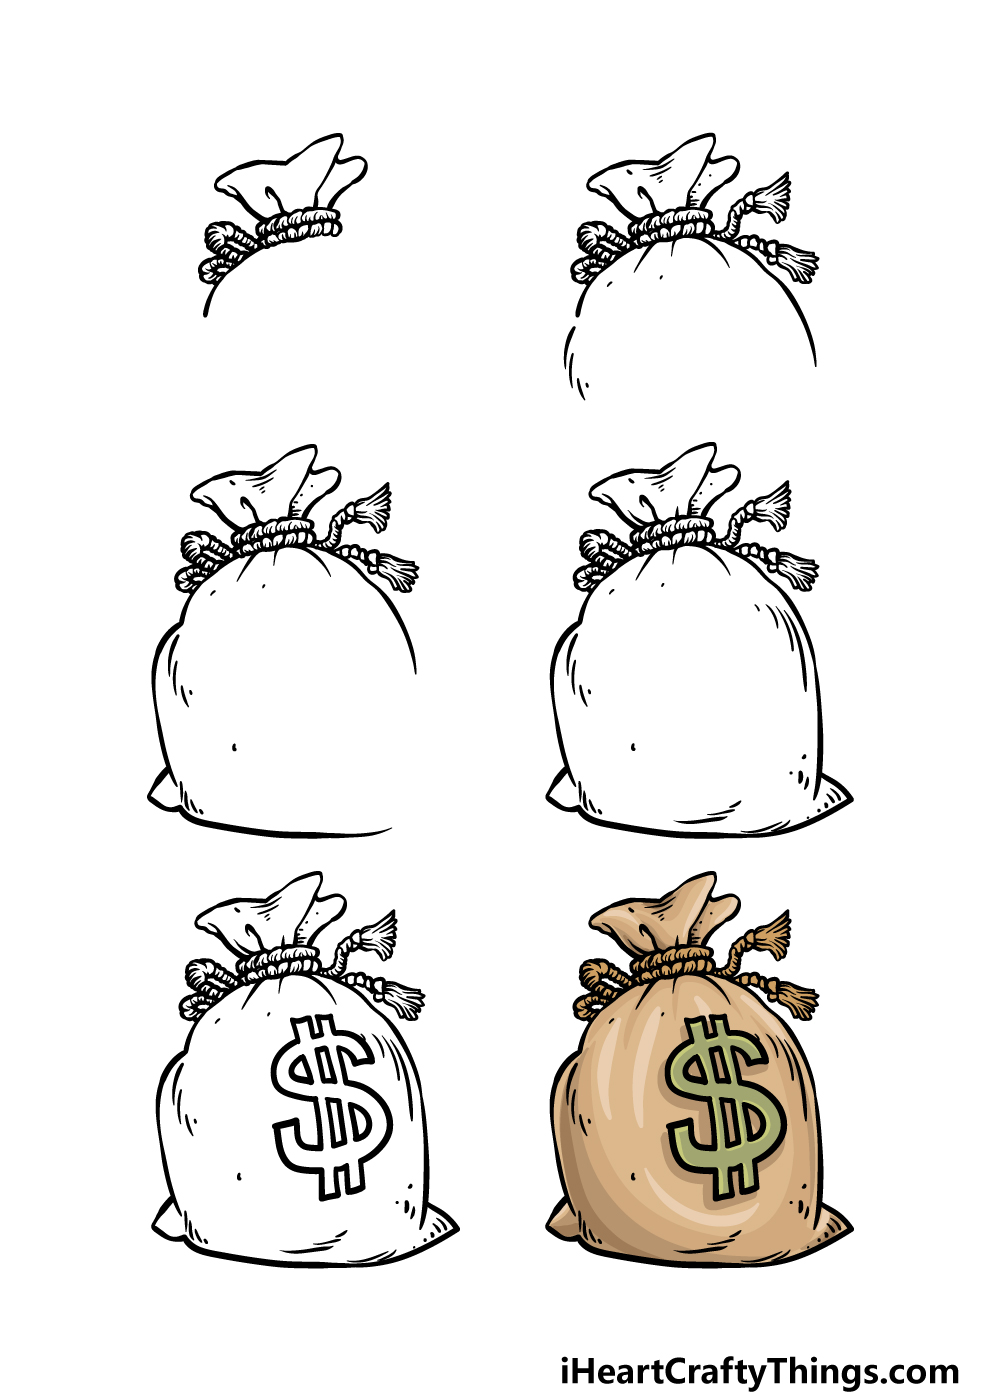
Step 6 – Finish off your money bag drawing with some color
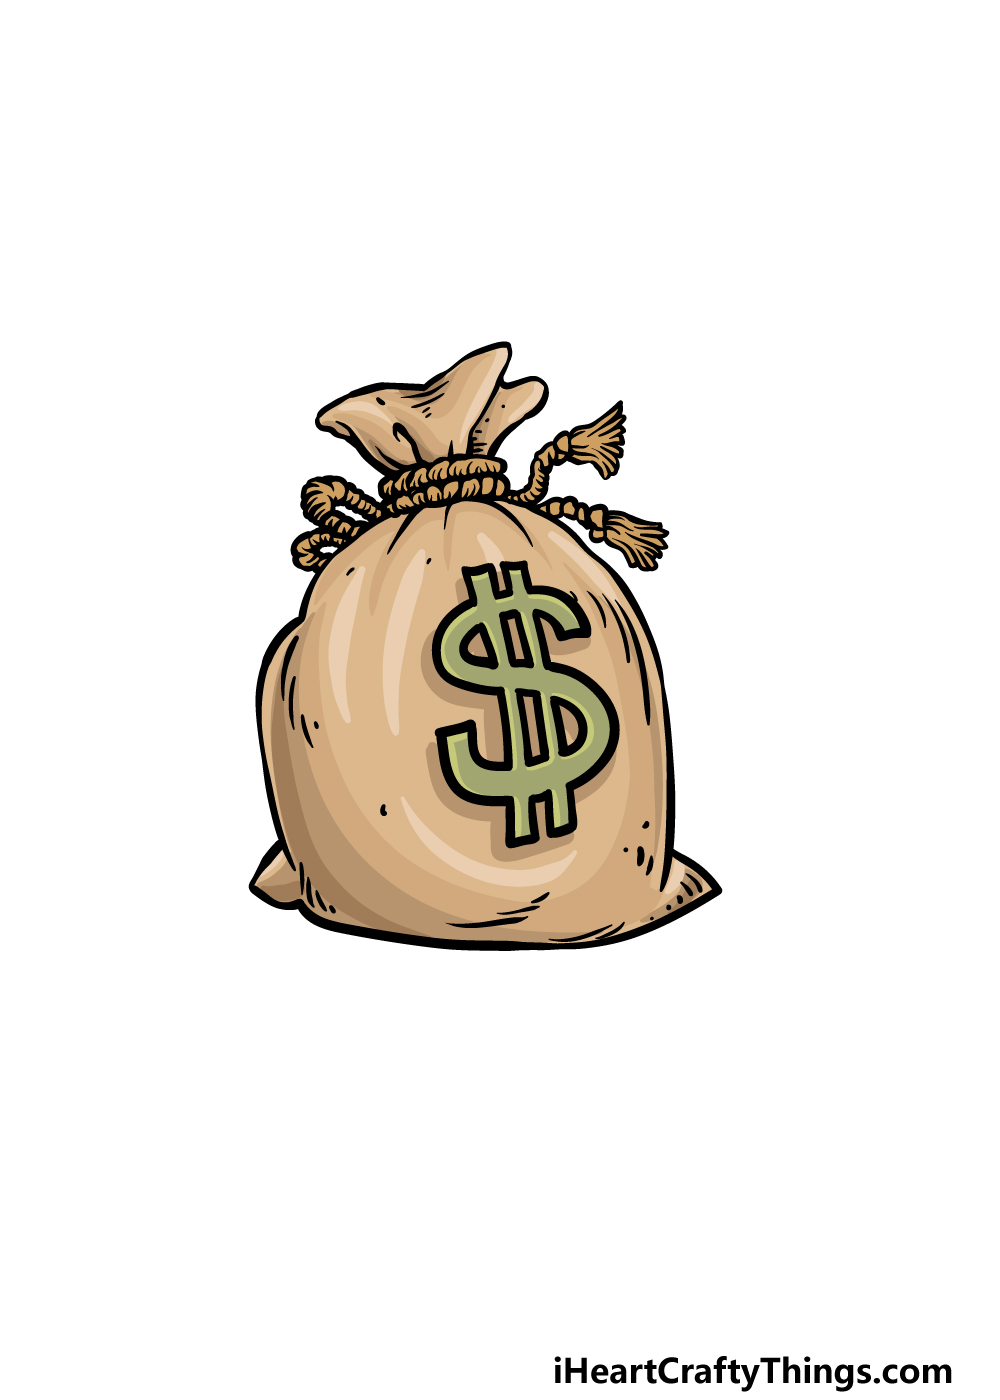
This is the sixth and final step of your money bag drawing, and in this one you can have some fun finishing it off with some amazing colors!
We kept the color scheme a bit more muted in our example image, as we went with a beige color scheme for the bag and a lighter green for the dollar sign.
This is your drawing though, and it’s up to you how you will color your own version in! You could use a similar color scheme except with brighter shades or go for different colors entirely.
Choosing your art mediums and tools can also be a great way to experiment with colors, so be sure to try out all your favorite art tools for the colors that you would like.
This is your chance to show off your creativity, so be sure to have fun with it and make those colors pop!
3 More tips to make your money bag drawing easy!
Make your money bag drawing look like a million bucks with these fun and easy tips!
For this picture, we made the design quite detailed in order to make it look more interesting. It looks great, but you can make this easy to draw money bag even easier by simplifying the details.
By removing some of the crease lines and making the bag rounder, you could find it much easier to draw. Removing and changing these kinds of details will also not necessarily make the design any worse.
It may make it look a bit more cartoony, but that could actually suit your tastes a bit more! Are there other styles you could try out as well?
There’s another way you could make your money bag drawing easier to draw that will also make it more fun! By adding a character and making a scene of the image, you can actually make it easier.
This is especially true if you enjoy drawing simple cartoon characters. For instance, maybe you could have a cartoon thief running away with the money!
This would give you an excuse to simplify the design as we said in the first tip. Plus, the character can help to obscure any parts of the money bag sketch that you may be struggling with.
What scenes could you create to make this easier!
Even if you want to keep this drawing in its more detailed style, you can still make it easier on yourself. One of the best ways to do that would be by using a pencil to make some basic shapes.
Using your pencil, you could sketch out a round shape that roughly matches the shape of the bag in the guide. Then you can progressively add more and more details with darker layers of pencil.
These layers can get more precise as you go and you can then start adding finer details. Finally, use your pen to go over the lines when you’re happy with them, and then your drawing of a money bag will be complete!
Your Money Bag Drawing is Complete!
You have reached the end of this guide on how to draw a money bag, and you have a really cool drawing to show for it!
This was all about recreating a classic screen prop, so hopefully this guide made it fun and easy for you to do.
As we mentioned earlier in the guide, there are lots of fun ways that you could personalize this picture.
These could include drawing a background or some fun additions to the scene, so let your creativity flow!
You can visit our website for many more drawing guides such as this one, so be sure to check in often to never miss out on the fun!
We would love to see how you finished this money bag drawing, so please remember to share it on our Facebook and Pinterest pages when it’s complete!