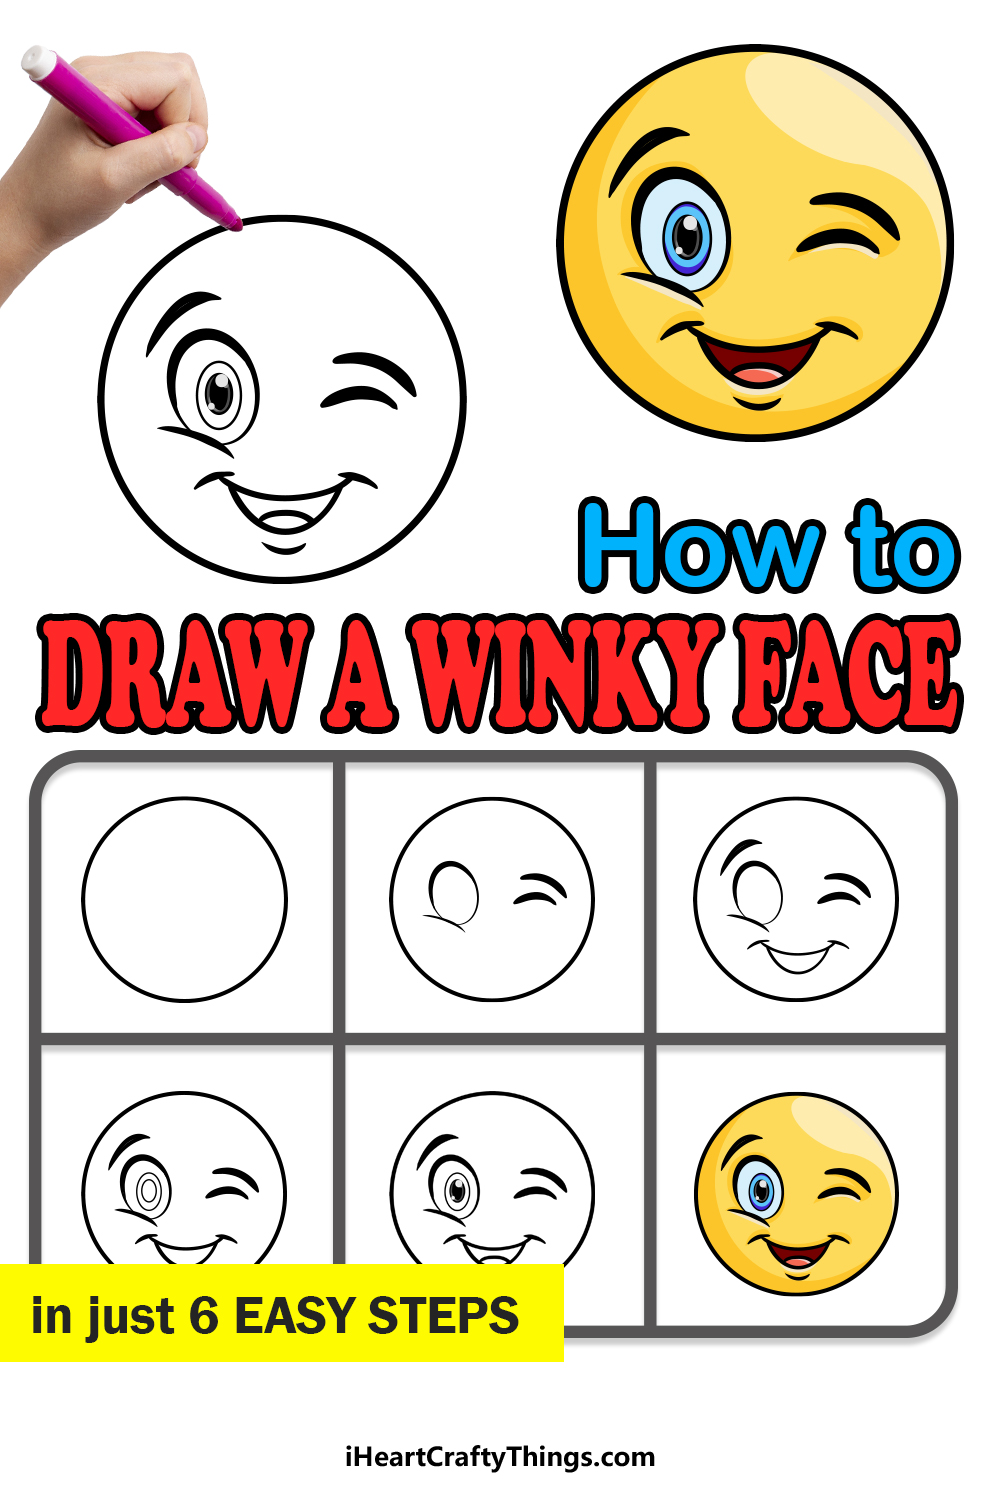
There’s a lot that you can convey with a facial expression. Whether it’s with your own face, a cartoon representation or the perfect emoji for the moment, you can say a lot with a face!
A winky face is one of the most versatile of all the expressions, as it can convey feelings that range from agreement to a method of flirtation! Because it’s so useful, it can be great to learn how to draw a winky face.
By the end of this guide you should be able to do just that!
We hope that you enjoy this step-by-step guide on how to draw a winky face.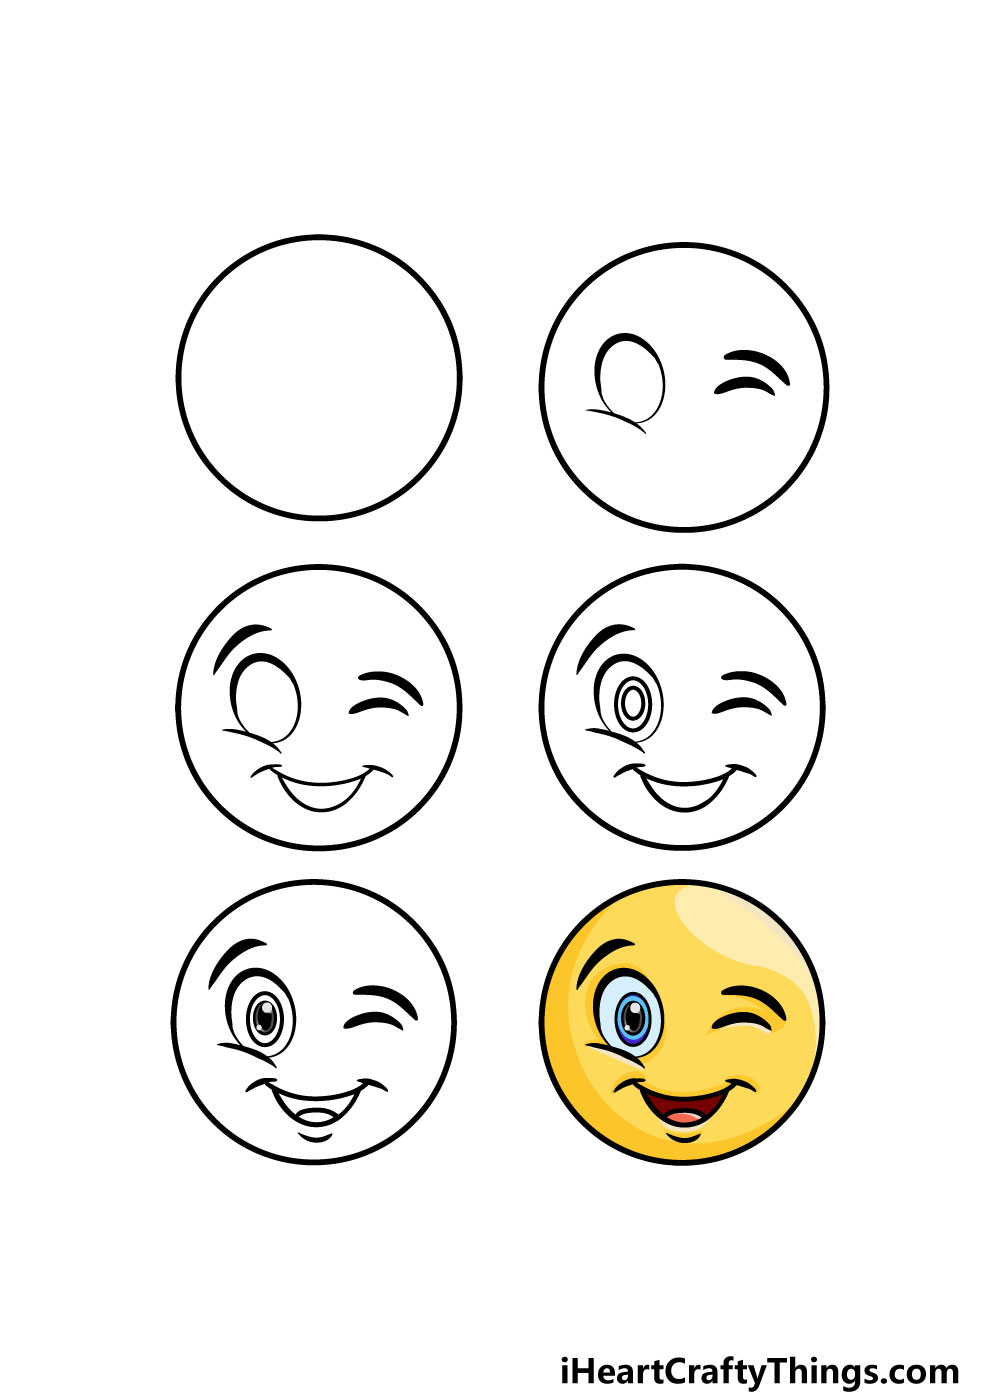
How to Draw A Winky Face – Let’s Get Started!
Step 1
This first step of our guide on how to draw a winky face should be pretty easy for you! We will be starting with the outline of the face, and it will simply comprise a perfect circle.
Drawing a perfect circle freehand is close to being impossible, but there are a few tools you could use to make it easier.
If you want to carefully try and draw the circle free-hand, you can get very close to making a perfect one!
Otherwise, your best bet is to use a drawing compass. This simple yet effective tool allows you to easily draw a perfect circle in seconds. If you don’t have a drawing compass, then you could also trace around any round, flat object you may have handy.
If all else fails, you could print out this page of the guide and either use it to draw over or trace over it by placing your page over it.
However you end up going about this step, you’re ready for the next one!
Step 2 – Draw the eyes for your winky face

It wouldn’t be much of a winky face without some eyes, so we will be drawing those in this step of your winky face drawing. For the eye on the left, simply draw an oval at a bit of an angle.
Then, draw a short, curved line at the base of it. The eye on the right will be the titular winking eye, and it will be even simpler to draw than the first one!
Simply draw a thick curved line for the eye itself, and then add another one above it for the eyebrow.
Step 3 – Next, add the mouth and the other eyebrow
We have another step that should be quite simple for you in this step of our guide on how to draw a winky face! The main part of this step will be to draw the open mouth.
This will be made up of a pretty simple shape, and all you need to do is draw a curved line with more lines vertically at the corners. Then draw another curved line beneath it to show that the mouth is open.
Finally, use another thick line over the eye on the left for the other eyebrow.
Step 4 – Now, draw the pupil of the eye
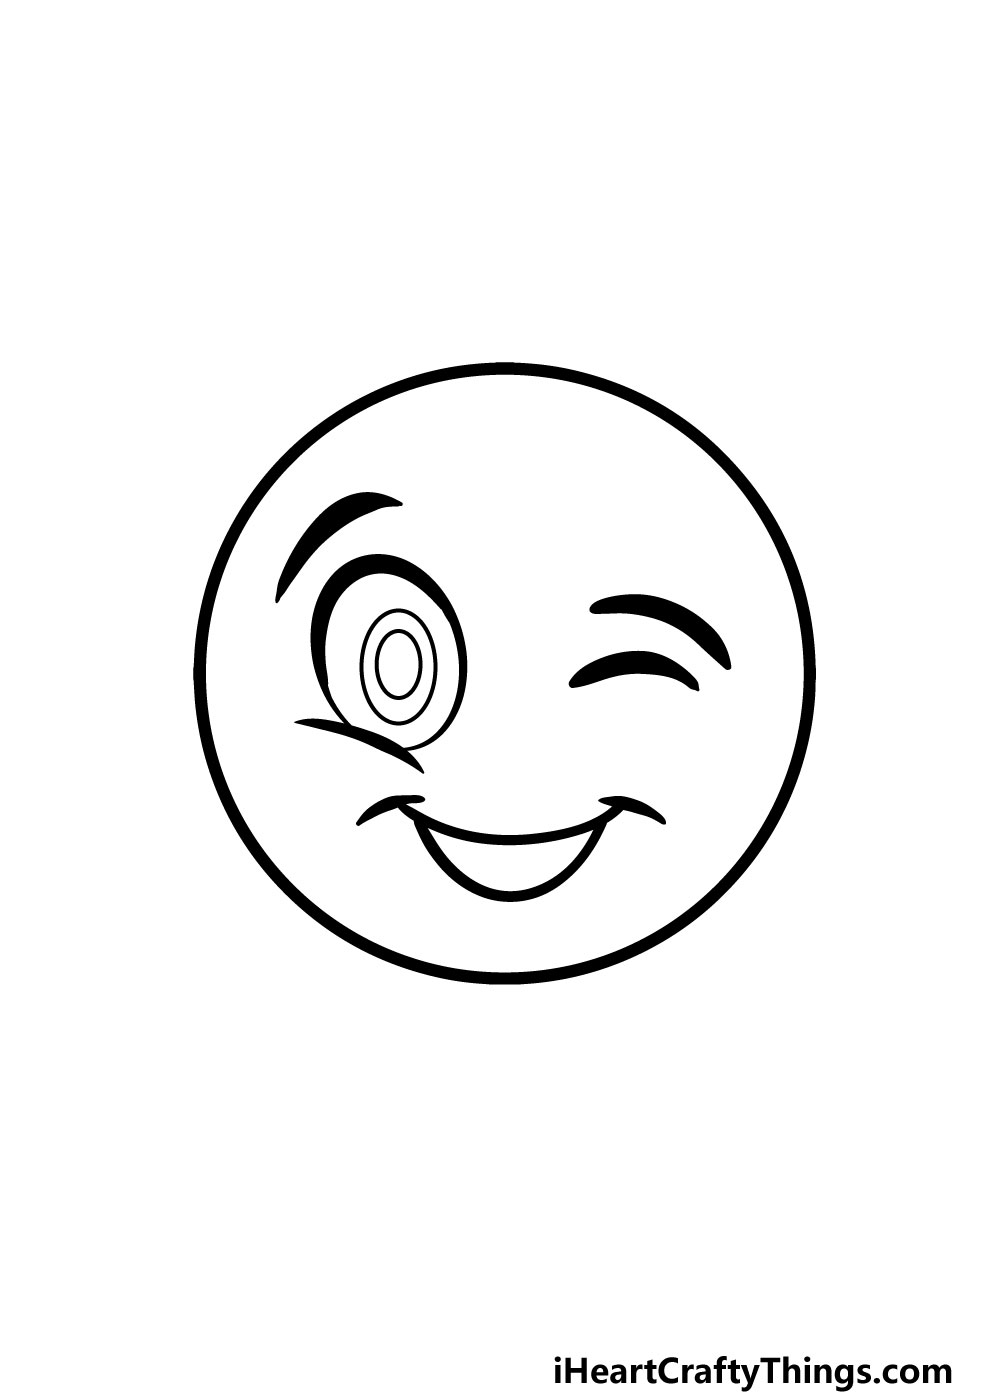
This winky face drawing is looking pretty great already! In this fourth part we will be adding some pupil details to the eye on the left. To do this, simply draw an oval inside of the eye.
Then, add another oval within that one. It may look a bit bare now, but we will be adding some detail to it in the next step.
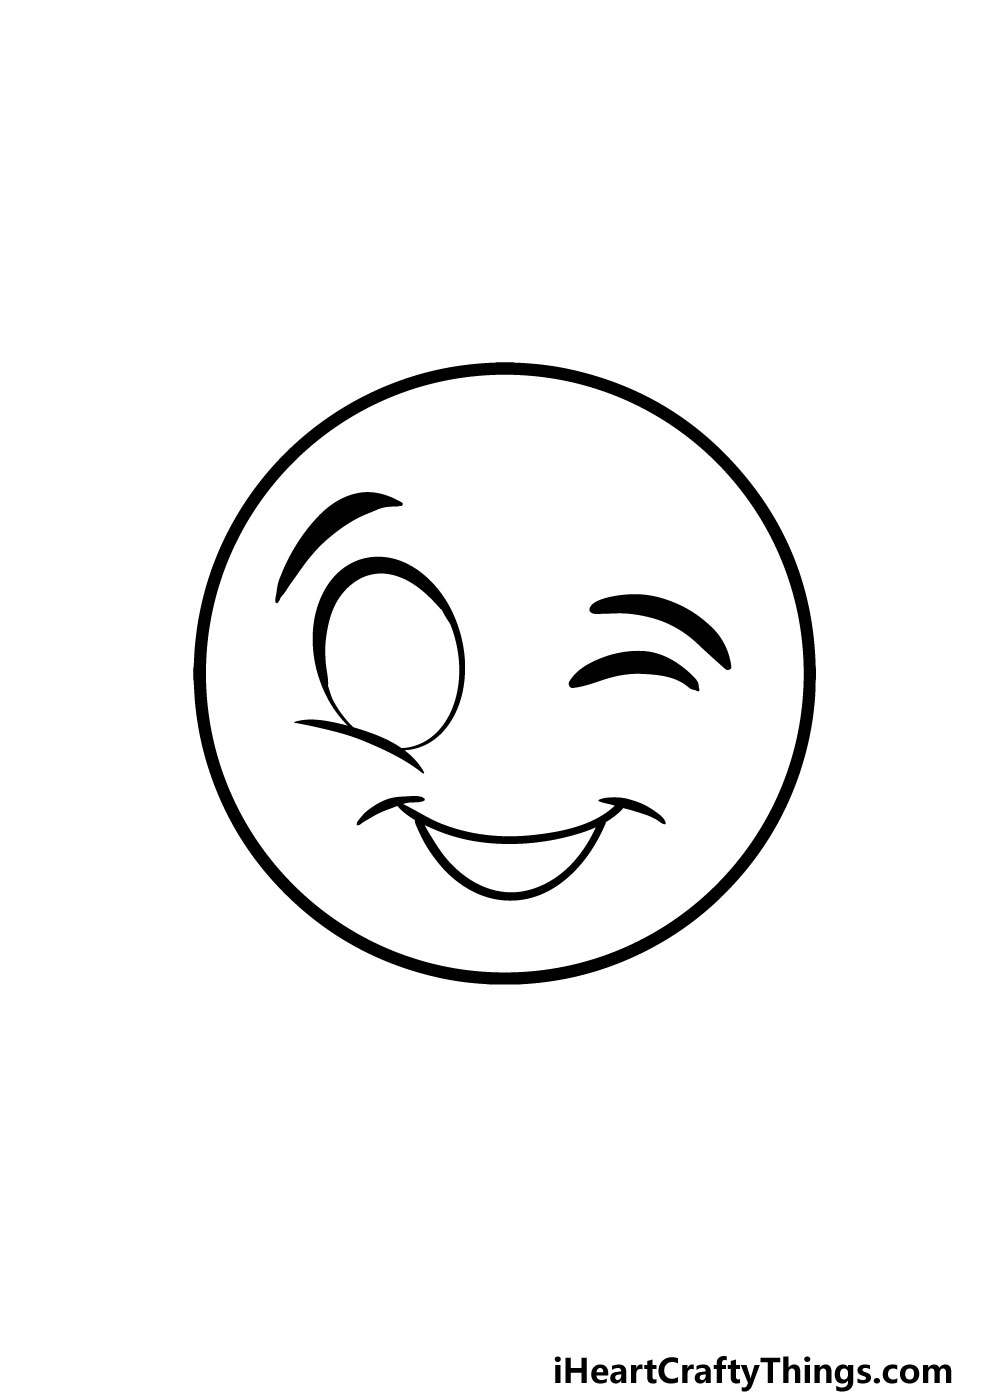
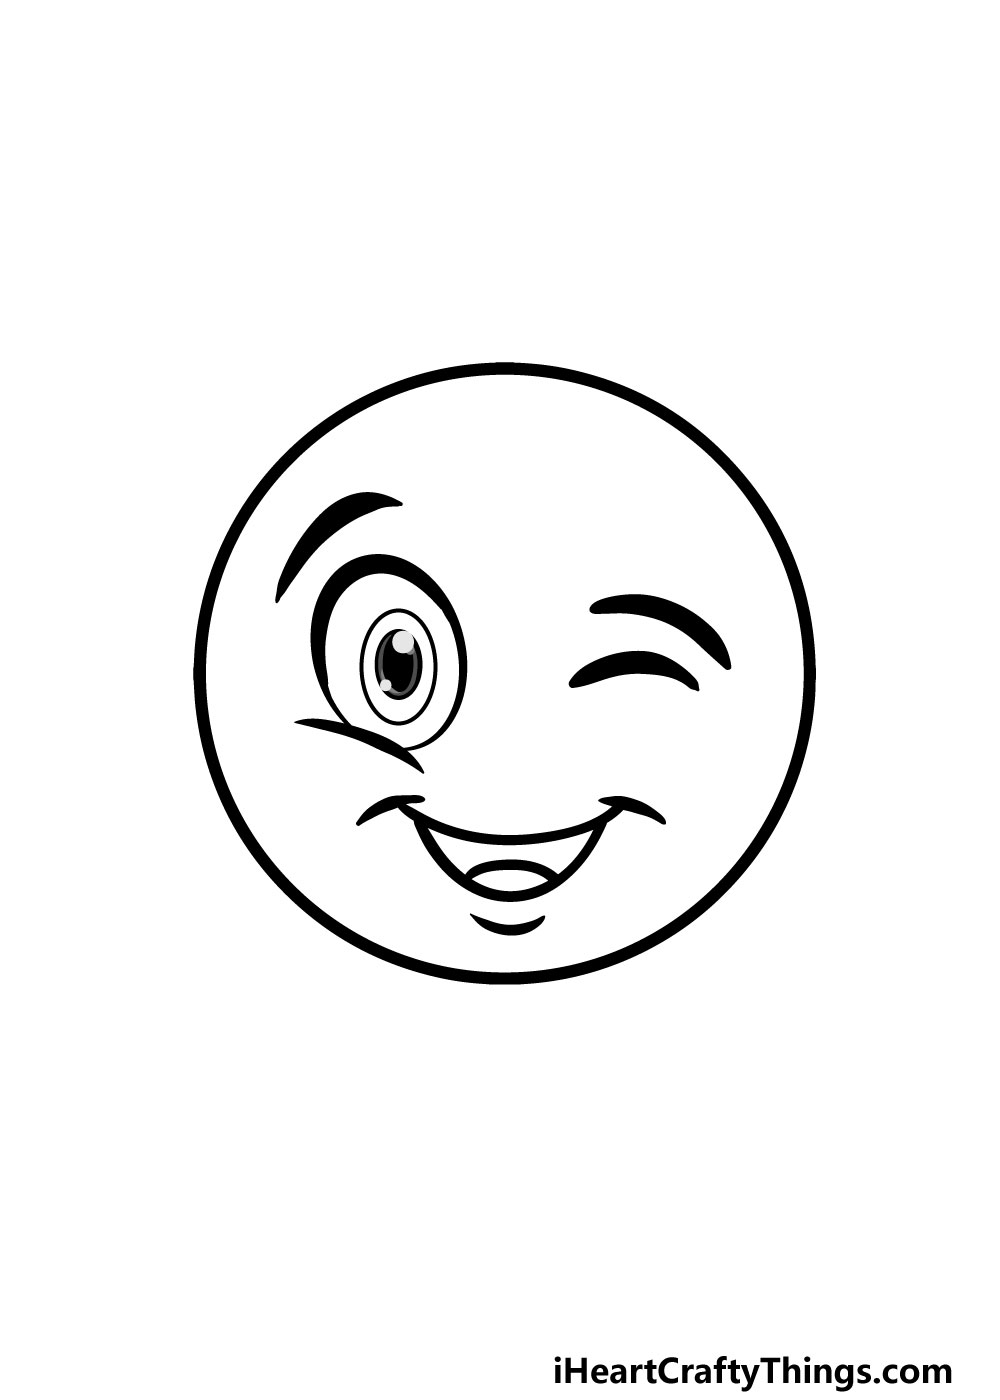
Step 5 – Add the final details for your winky face drawing
We will be adding some color soon in this guide on how to draw a winky face, but first we have a few final details to add in this step.
As we mentioned in the previous step, we will be filling in some details for the pupil of the eye on the left.
Then, we will be using two simple lines to finish off the mouth of the winky face. The first will go inside of the mouth to show the tongue in the mouth. Another curved line can go beneath the mouth for some chin detail.
That will do it for the details in this guide, but this is also your chance to add your own details and elements before moving on!
You could draw a creative background or draw a cartoon body for the face for a few ideas. You could even surround this winky face with some of your other favorite emoji faces.
What ideas can you think of to finish off this winky face drawing?
Step 6 – Finish off your winky face drawing with some color

That brings you to the final step of your winky face drawing! In this part, you can have some fun adding some amazing colors to your image!
We went with yellow as the main color scheme of this drawing, but you could use any colors that you love to finish off this image.
If you would like the color scheme to be nice and bright, you could use some colored pens and markers to really achieve that look.
Any art mediums and tools that you use will look amazing, however, so be sure to have fun being creative as you finish off this awesome drawing!
4 More Ways To Make Your Winky Face Drawing Unique
Put a smile on your face as we show you how to make your winky face sketch even better!
You could make your winky face drawing even more unique by turning into a full-fledged cartoon character!
You could do this by adding it onto a detailed body, but you could also go for something even simpler.
Another way of doing it could be to draw cartoon limbs coming off the outline of the face. This would be a simple way to make this drawing even more personalized as you create some fun poses!
This drawing of a winky face shows us one of many emojis that people use every day. There are many more to choose from, and you could add them here to make it stand out even more!
This would be easy to do, as you can follow the steps of the guide and change the facial expressions.
If you have a mobile phone, then you could use it to see the different emojis on offer to get some inspiration.
What other favorite emoji faces would you like to use?
This winky face sketch has been colored in yellow, which is probably the most common emoji color, but they also come in many others. You could have lots of fun customizing the colors of this winky face!
You could use colors that emojis come in on various devices, or you could use completely unique colors instead. Then, be sure to play around with your favorite art tools and mediums as well!
Finally, you could make this drawing even better by adding a background. This could be a proper background setting, and that would open up all kinds of possibilities.
If you turned the winky face into a character, then drawing this kind of background would be especially good! Otherwise, you could go with a more stylized background.
This could be simple solid colors or you could incorporate different patterns and shapes behind the face. These are just a few ideas, but you can get really creative as you finish off the final touches.
Your Winky Face Drawing is Complete!
With those final details and colors added, that means that you have reached the end of this guide on how to draw a winky face!
Even though this drawing seems simple, there are still a few tricky elements to it, so we hope that this guide made it easy and fun for you to do.
Breaking a drawing down into smaller, easier steps is the best way to make a new drawing challenge much easier.
Now that you have finished this guide, you can also make this drawing even more personalized by adding your own details and elements.
We mentioned a few ideas such as drawing a background or adding more faces, but this is your chance to get creative and have fun with it!
Once you have completed this guide, we have plenty more for you on our website! Be sure to check in there often, as we upload new guides for you to enjoy all the time.
We would love to see your winky face drawing, so once it’s done we hope that you will share it on our Facebook and Pinterest pages.