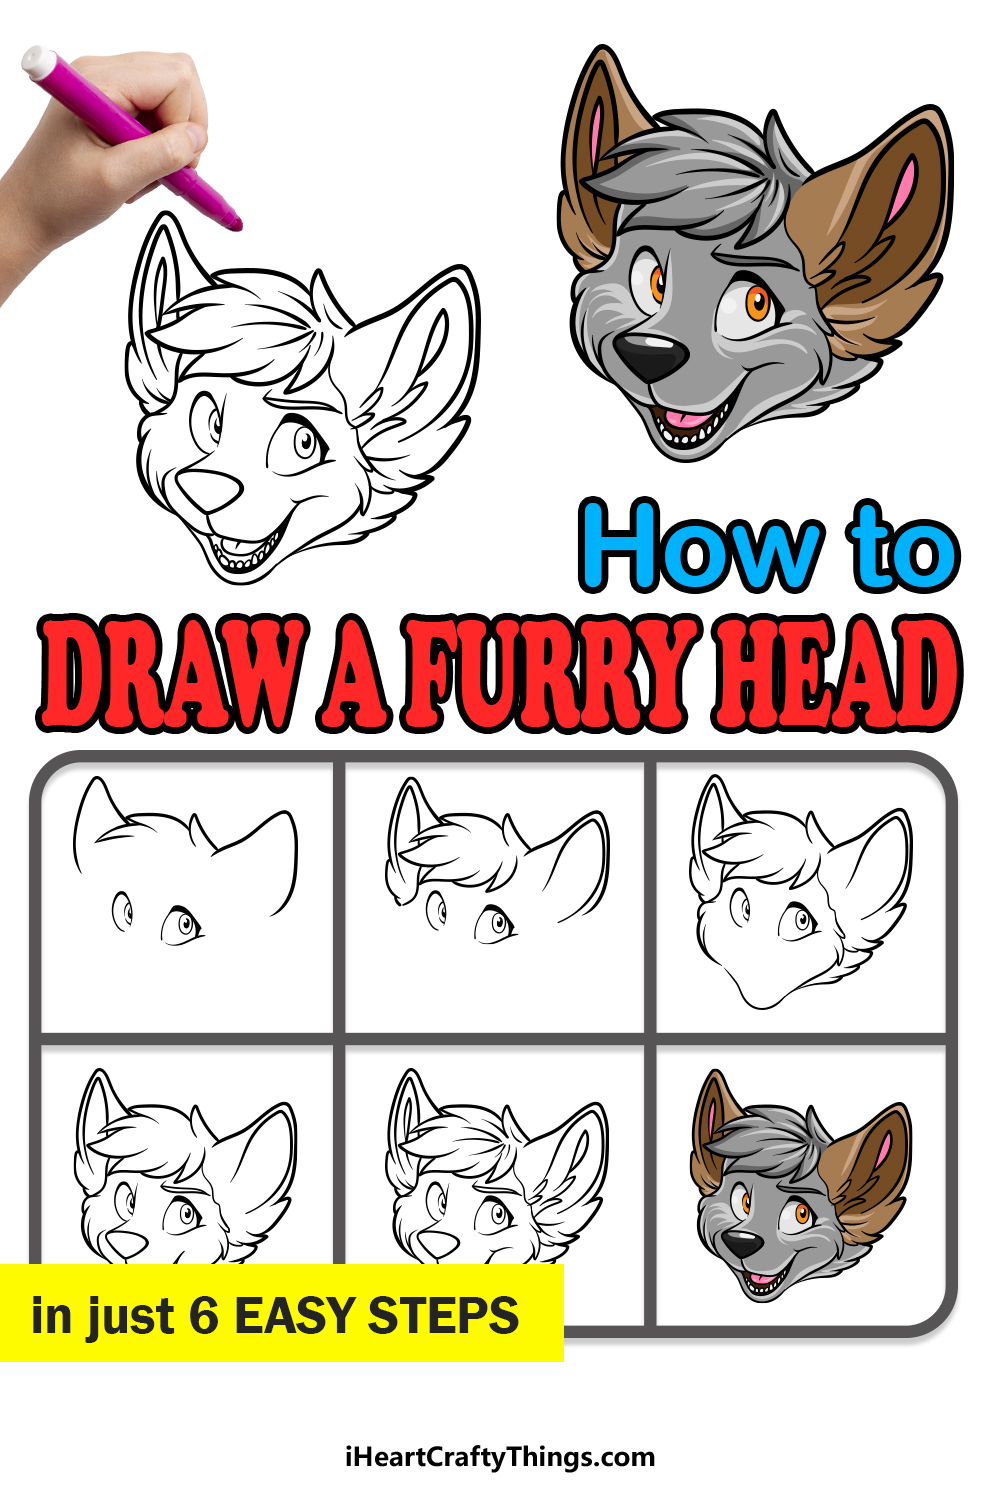
The furry community is one that is popular around the world. Fans of the practice can design and live out an animal persona, and these personas are often inspired by classic animal-based cartoon characters.
For fans of this community, it can be a lot of fun designing one of these personas, and a good first step is to learn how to draw a furry head.
Luckily, this guide will show you how you can learn to do just that!
This step-by-step guide on how to draw a furry head will get you started on designing your very own furry character!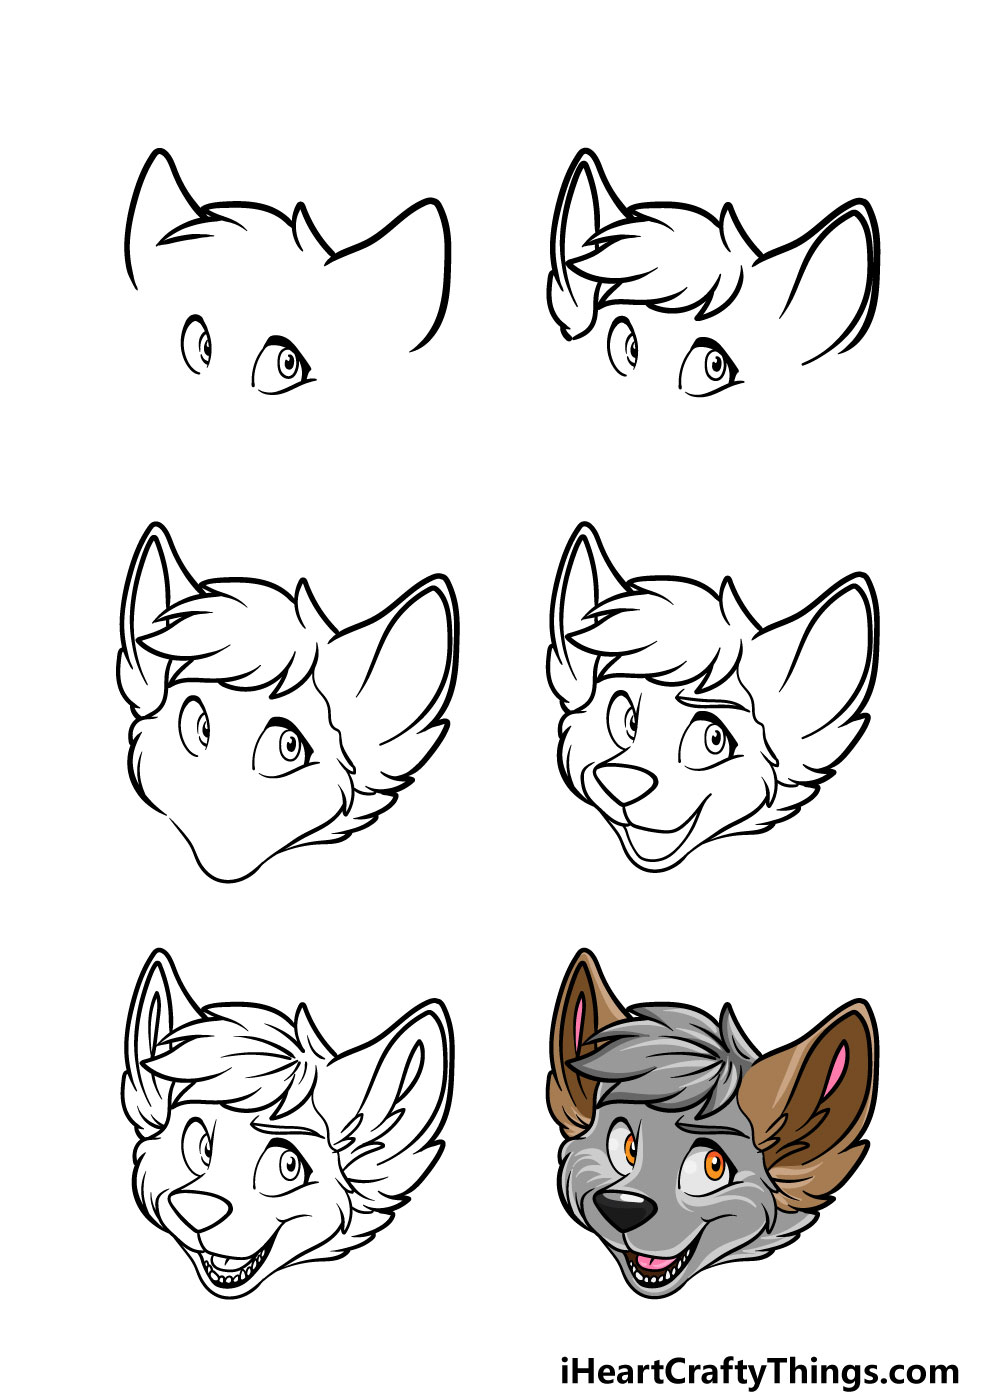
How to Draw A Furry Head – Let’s Get Started!
Step 1
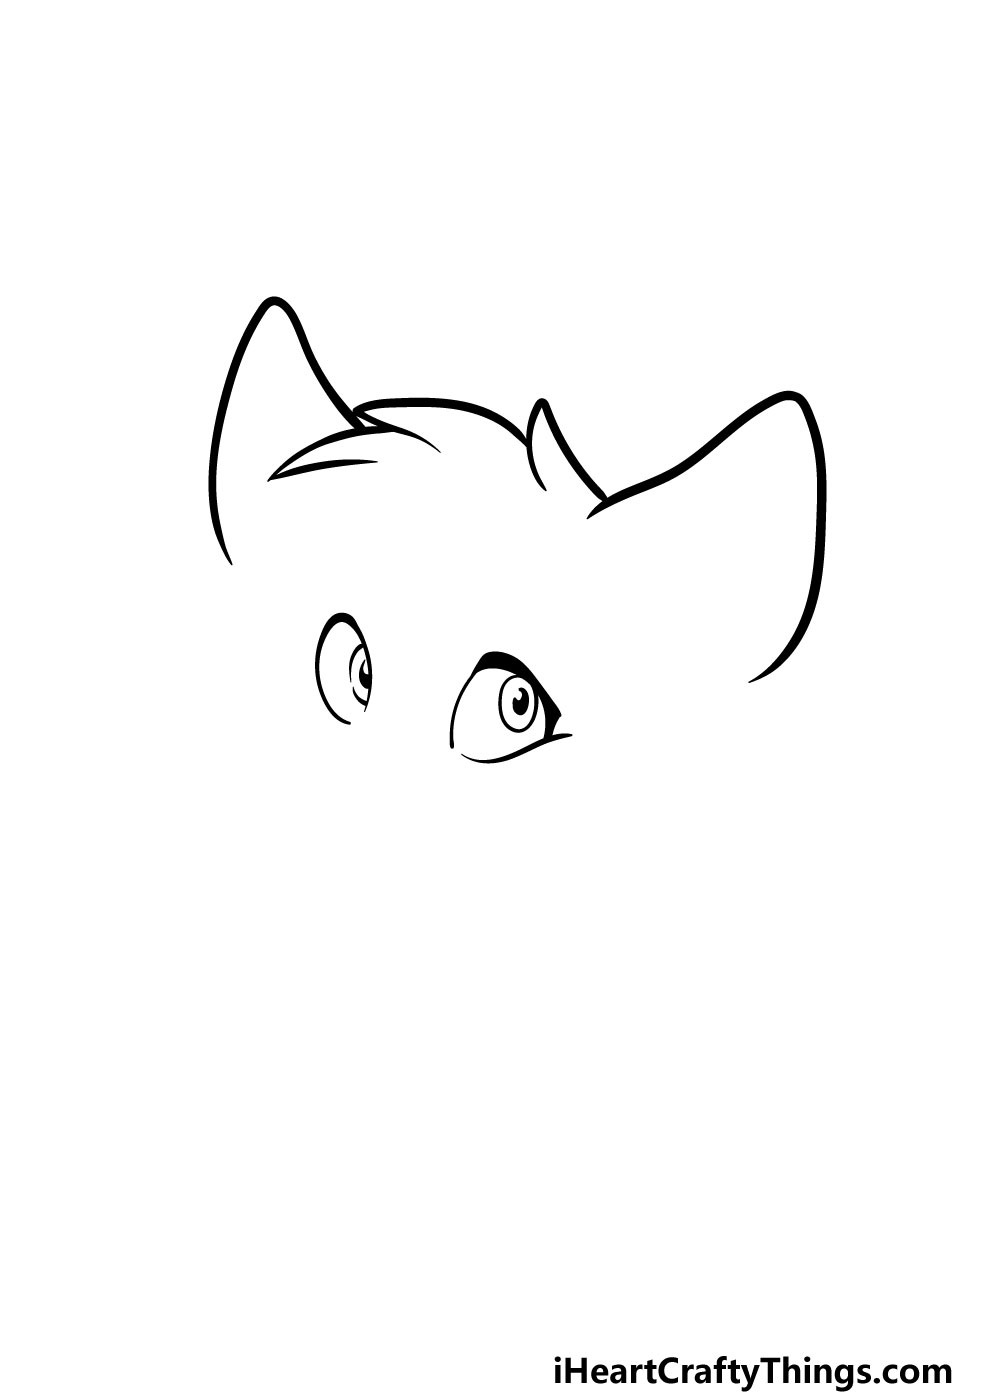
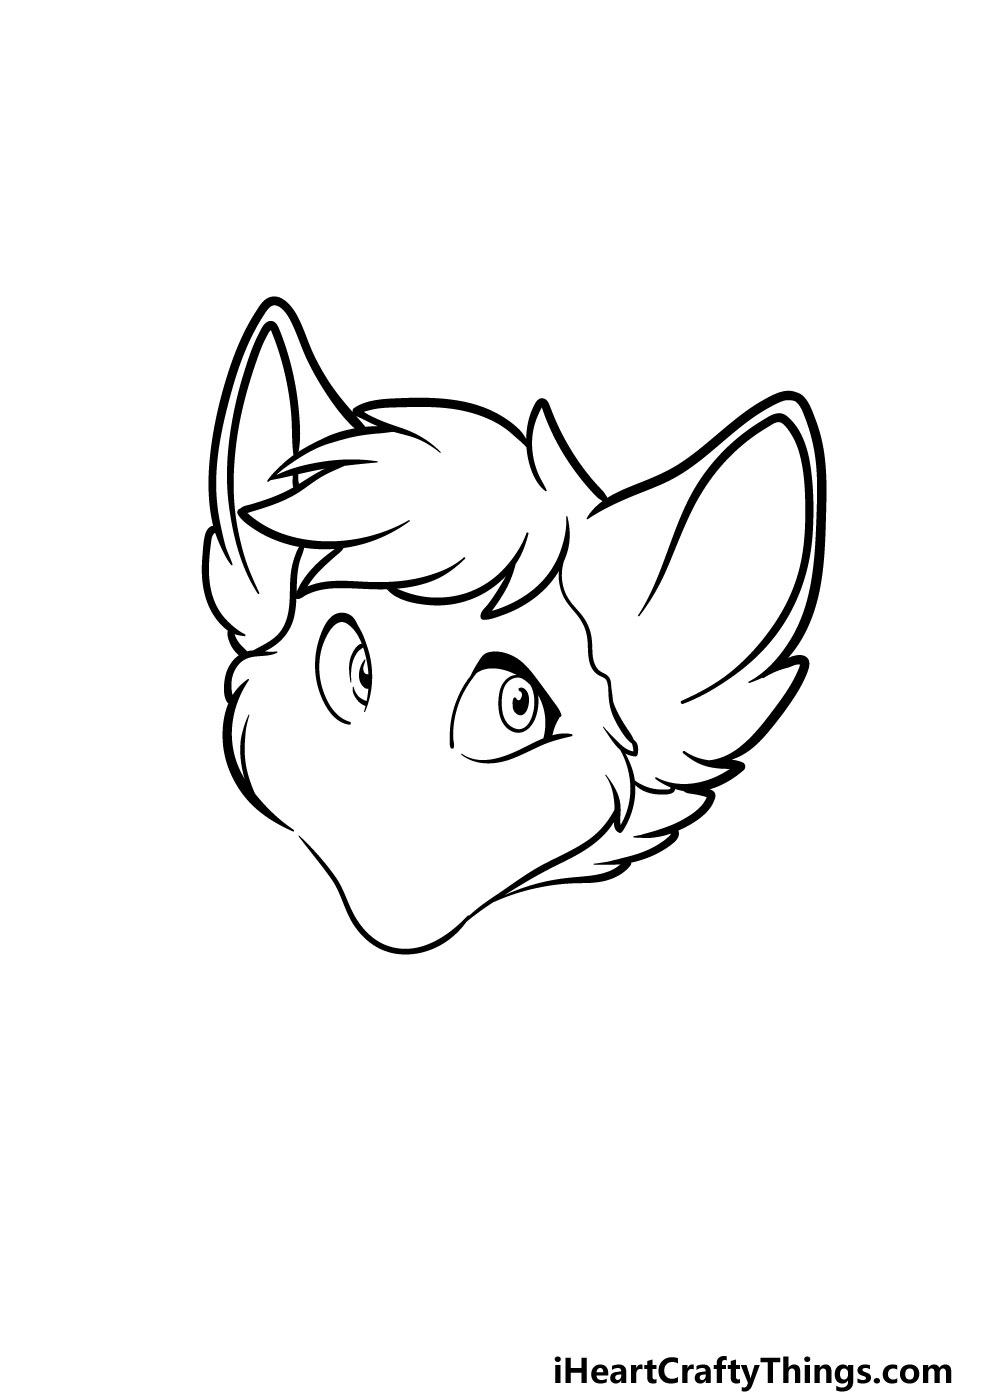
For this first step of our guide on how to draw a furry head, we will be starting with the eyes, ears and top of the head.
For the eyes, you can start with some ovals that have black dots inside of them. Then, you can use some rounded lines for the outline of the eyes.
Once you have the eyes looking as they do in our reference image then you can start on the top of the head.
Some more rounded lines will be used to create the ears. Finally for this step, you can use some sharper lines to create the hair between the two ears.
Step 2 – Draw some more details for the ears and hair
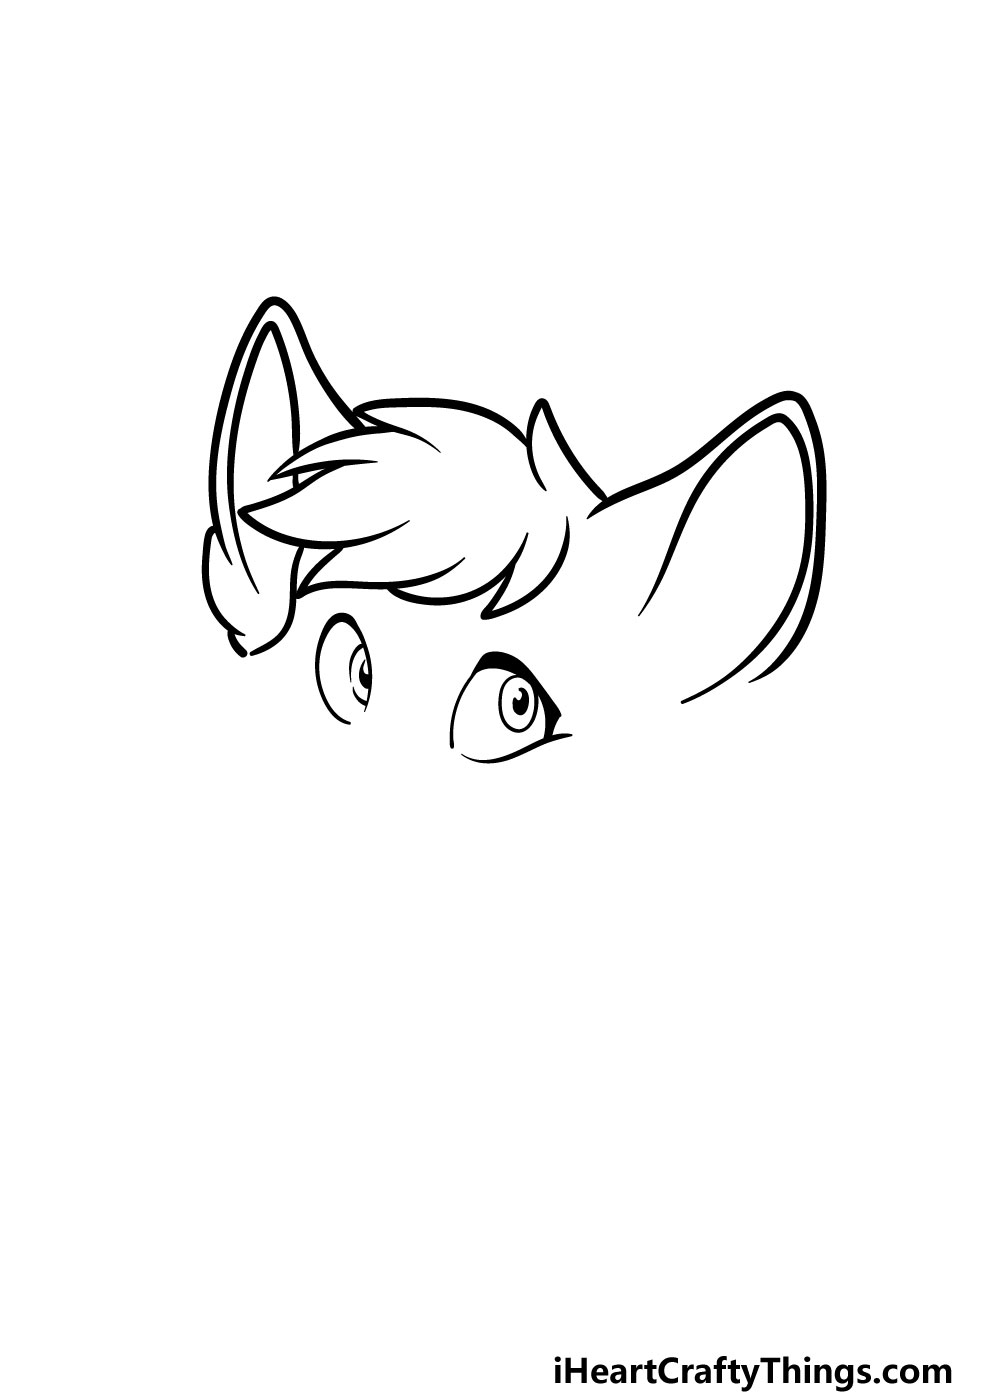
Now, we will be adding some more details for the ears and hair for this step of your furry head drawing!
First, you can start with some more curved lines inside of the ears for some more inner detailing for them.
Once you have done that, then you can add some more sharp and pointed lines to finish off the tuft of hair that is between the ears of the head.
Step 3 – Now, draw the outline of the head
Your picture is really starting to take shape now! To keep that momentum going for this guide on how to draw a furry head, we will work on the head outline for this part.
To do this, you will be using a curved line for the chin of the head. On the other hand, you will use some sharper lines for the sides of the head.
This will make the sides of the head look furrier, much like how you drew the hair earlier.
Step 4 – Next, draw some facial details
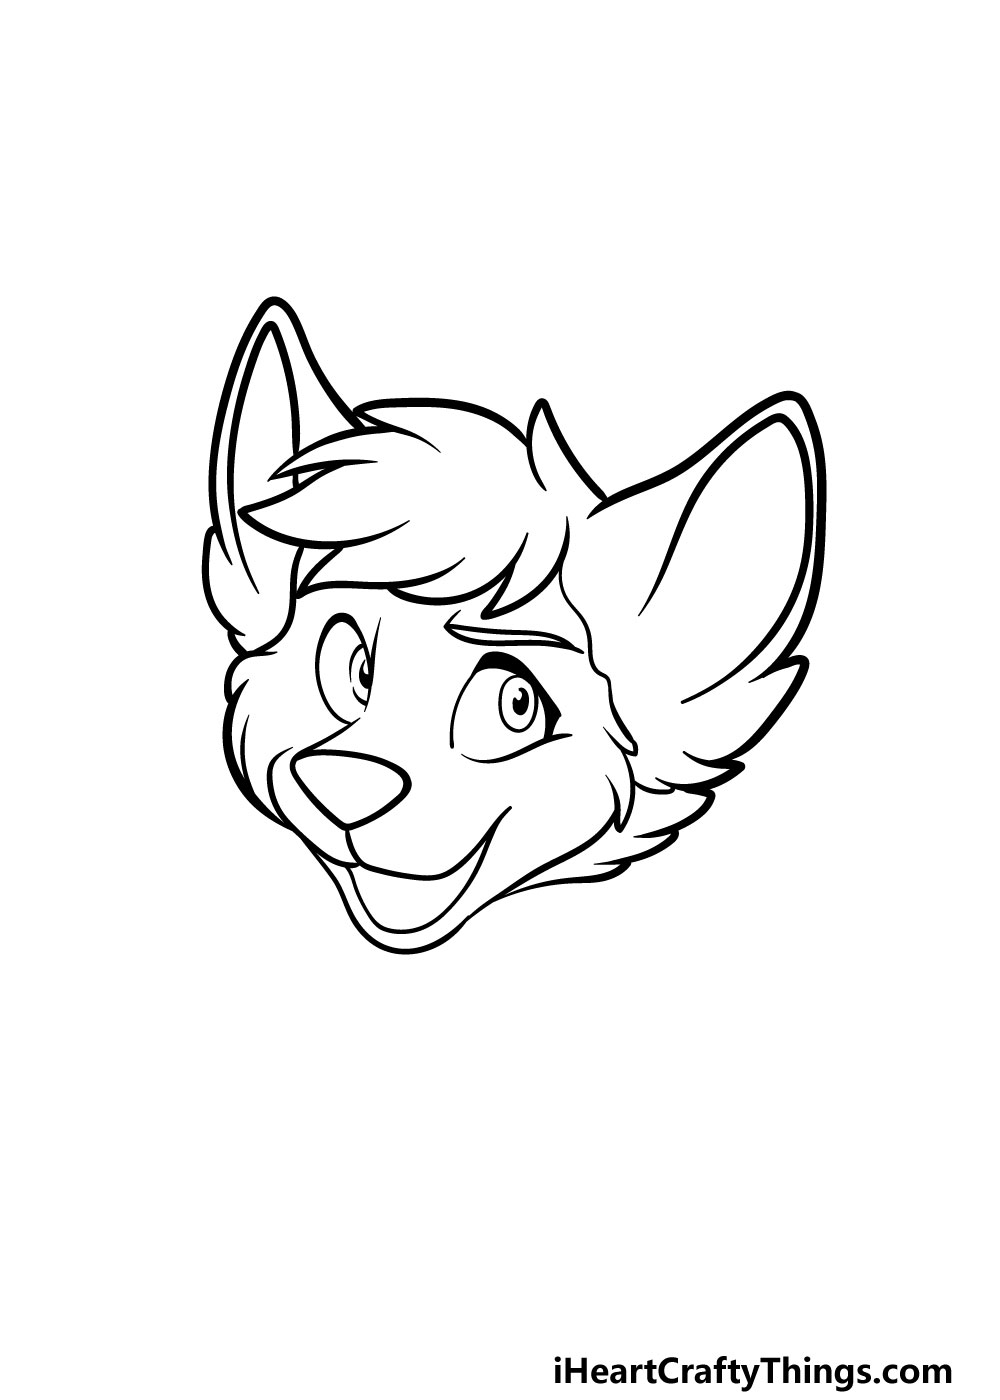
In this step of your furry head drawing we will be adding some details and elements to the face.
First, you can use a rounded triangular shape for the nose, and then the muzzle will be connected to that in two parts.
Finally, a rounded line will go beneath this muzzle for the mouth. Finally for this step, you can draw an eyebrow over the eye on the right. That will help to give this face even more expressiveness!
Step 5 – Now, you can finish off the final details of your furry head drawing
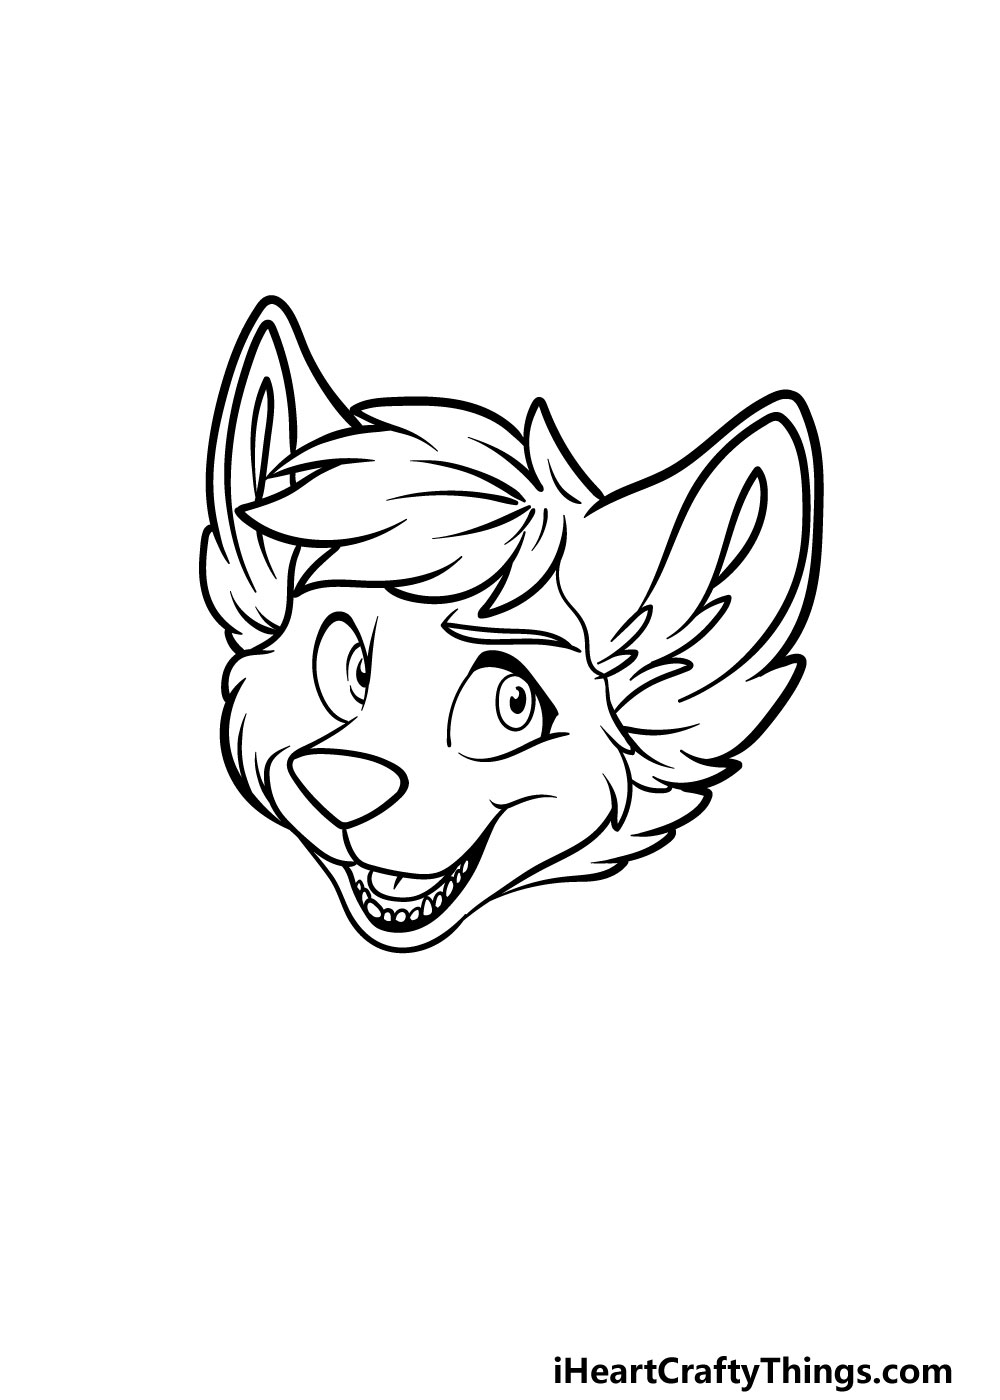
You’re almost ready to start adding some amazing colors in this guide on how to draw a furry head!
Before this, however, we have just a few final details to add. You’ll also be able to add some details of your own in this step if you would like to!
First, you can add a row of sharp teeth into the mouth, as shown in the reference image. Then, you can use a rounded line for the tongue behind these teeth.
The rest of the detailing will be primarily to make the head look even furrier.
You can achieve this effect by adding some more curved and sharp lines throughout the head and ears.
You can follow the way we have done it in the guide, but you can also change it up a bit if you would like!
Once you have finished these details, you are ready to move on to the next steps! Before you do, you can add your own details and elements first.
These could include drawing a body for the furry head or creating a background. These are just two of many ideas that you could try, so what else can you think of to finish off this image?
Step 6 – Finish off your furry head drawing with some color
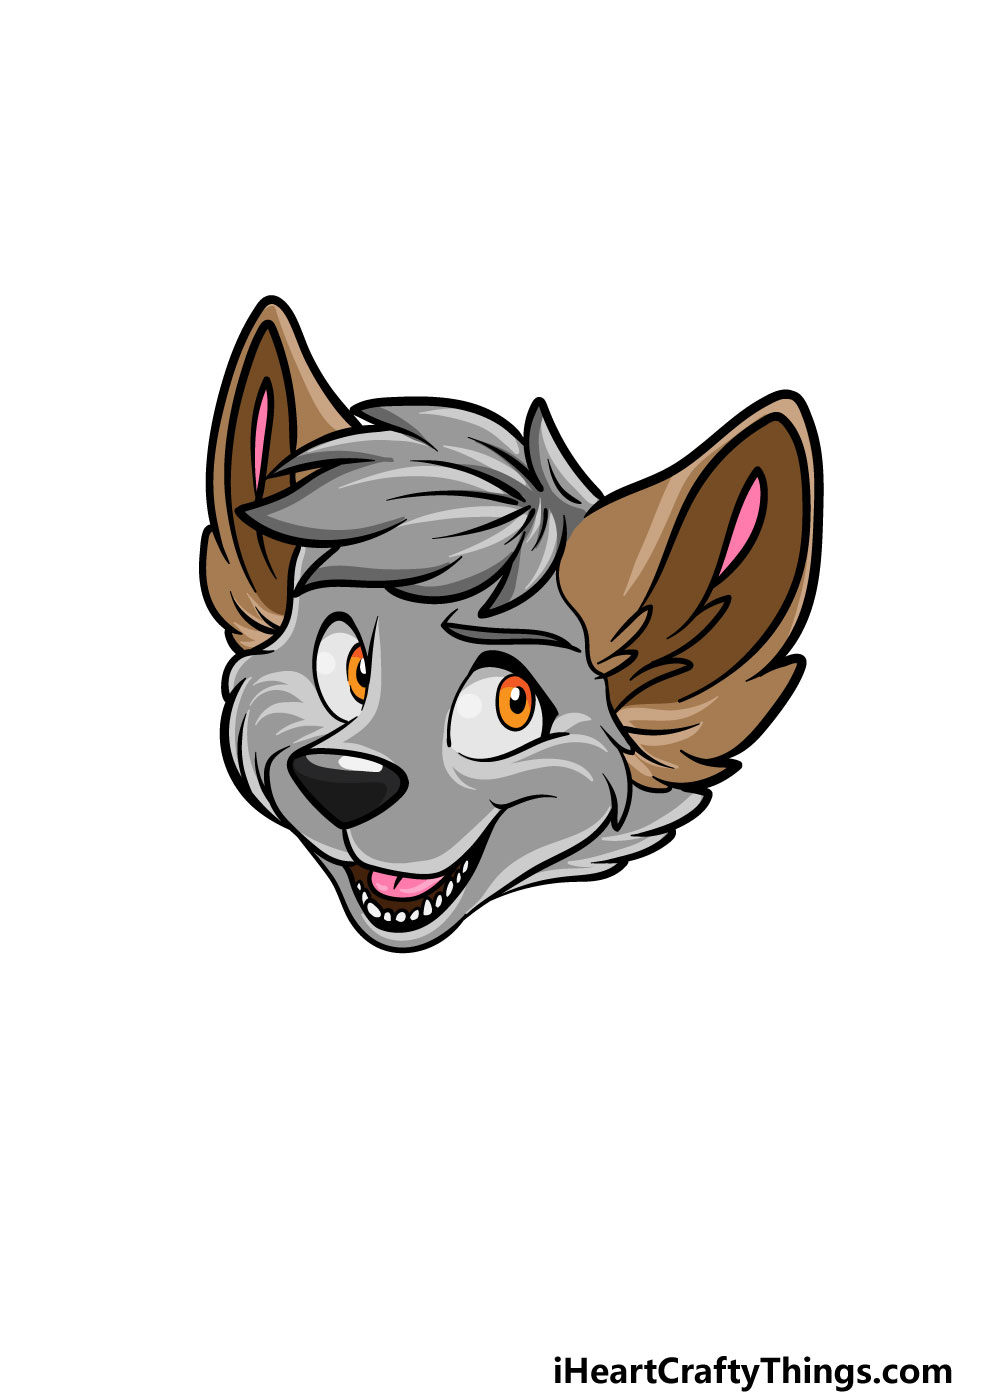
We have reached the final step of your furry head drawing, and now you get to take over and have some fun bringing some amazing colors to your drawing!
In our reference image, we used some grey, brown, pink and a few other colors to color it in. This is just one way that you could go about it, however, and you should feel to use any colors that you love!
Furry characters can come in all manner of different colors and designs, so that gives you a lot of freedom for how you can color it in.
Once you know which colors you would like, there’s also the matter of choosing which art mediums you will use to bring them to life! We can’t wait to see what you choose to finish off your drawing.
4 More Ways To Make Your Furry Head Drawing Unique
Finish off this furry head sketch in style with these 4 fun and easy tips!
When it comes to the furry subculture, creating your persona is a big aspect of it. For that reason, you could customize this drawing of a furry head to better suit your own personality and tastes.
These changes could be subtle, and they might even be limited to colors. Or, you could change larger aspects and even alter the facial expression.
What are some aspects you would like to customize to make this your ideal furry head?
Continuing on from the previous tip, you could also go even further and design a completely new animal furry head. If you have a favorite animal, that would be a great place to start.
For extra fun, you could maybe make a page filled with various different furry head species. That would be a great way to try out all of the different furry personas you can think of!
What are some animals that you could use to design some new furry heads?
Once you have settled on the design of your furry head drawing, you could then go the extra mile and draw the rest of the body.
If you did this, you would not only be able to finish off the design, but also create some fun poses. The body doesn’t have to be super detailed, and you could use a simple cartoon style if you aren’t as used to drawing bodies.
Whether you add the body to your furry head sketch or not, it would be fun to draw a background. This could be done in a variety of different ways!
One would be to draw an actual location in the background. This could be a convention or maybe just a simple house setting.
Or, you could fill the background with colors and shapes for a vibrant and eye-catching background. What are some background ideas that you think would best suit this awesome drawing you have created?
Your Furry Head Drawing is Complete!
With those final details added and the colors filled in that means that you have reached the end of this guide on how to draw a furry head!
We hope that this guide made it easier than you expected to create this drawing. We also hope that it was even more fun than expected!
Now that you have finished this guide, you have many ways in which you can take this drawing even further! You could even take what you have learned in this guide to change up the details and make a unique character.
You could also personalize it by drawing a body, background or other elements. You can also really experiment with your colors and art mediums to take it even further.
Once you are ready for more drawing fun, you can find it on our website! We have plenty of guides for you to enjoy and we upload new ones constantly for you to enjoy!
We would love to see your completed furry head drawing, so once it’s done we hope that you will share them on our Facebook and Pinterest pages! We can’t wait to see your incredible artwork.