There are certain characters that we become acquainted with in our early years that will retain a special place in our hearts for life.
Of all these characters, one of the most well-known and beloved is the cheerful Elmo! This bright red character has been delighting audiences for generations, and his popularity thrives to this day.
Many of Elmo’s fans love to feature him in artwork, and it can be helpful to learn how to draw Elmo.
This guide will show you how you can learn to do just that!
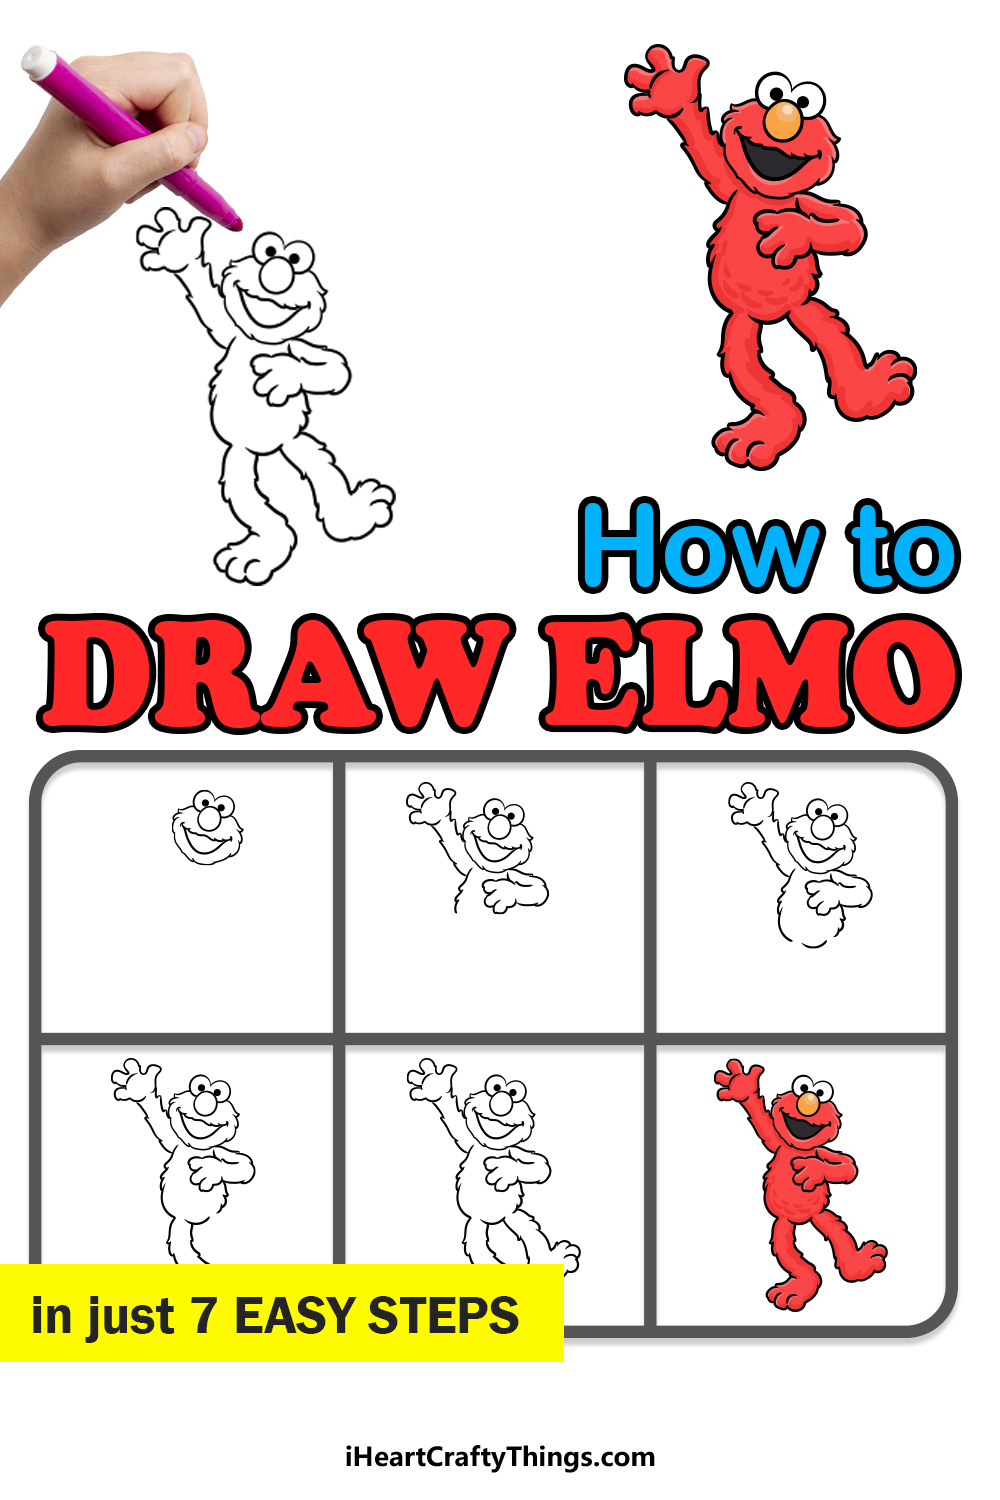
Our step-by-step guide on how to draw Elmo will show you how to show your love for this iconic character!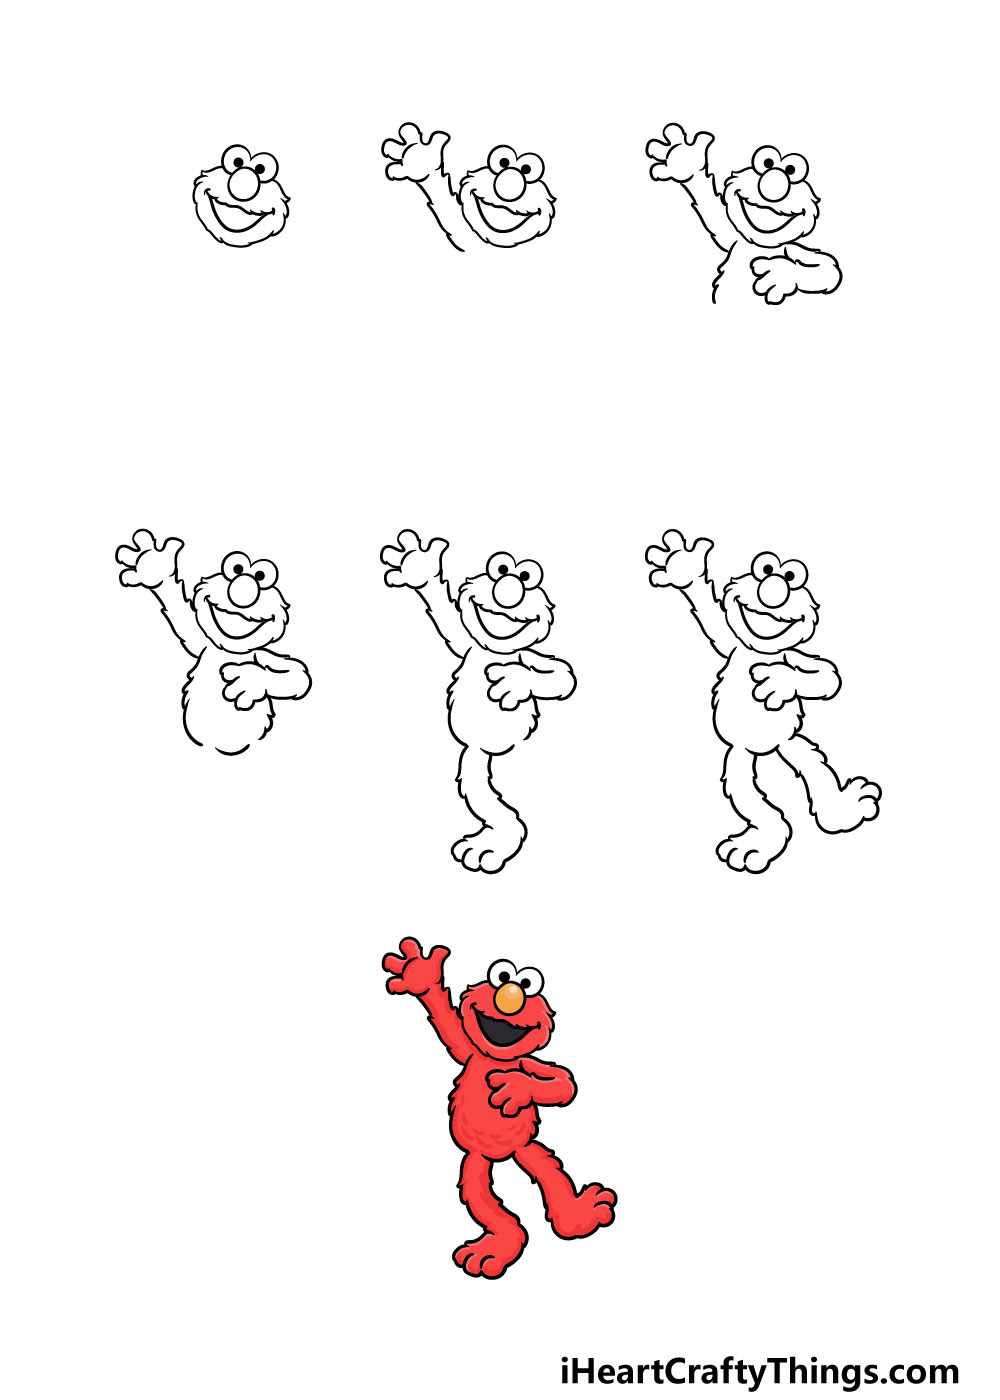
How to Draw Elmo – Let’s get Started!
Step 1
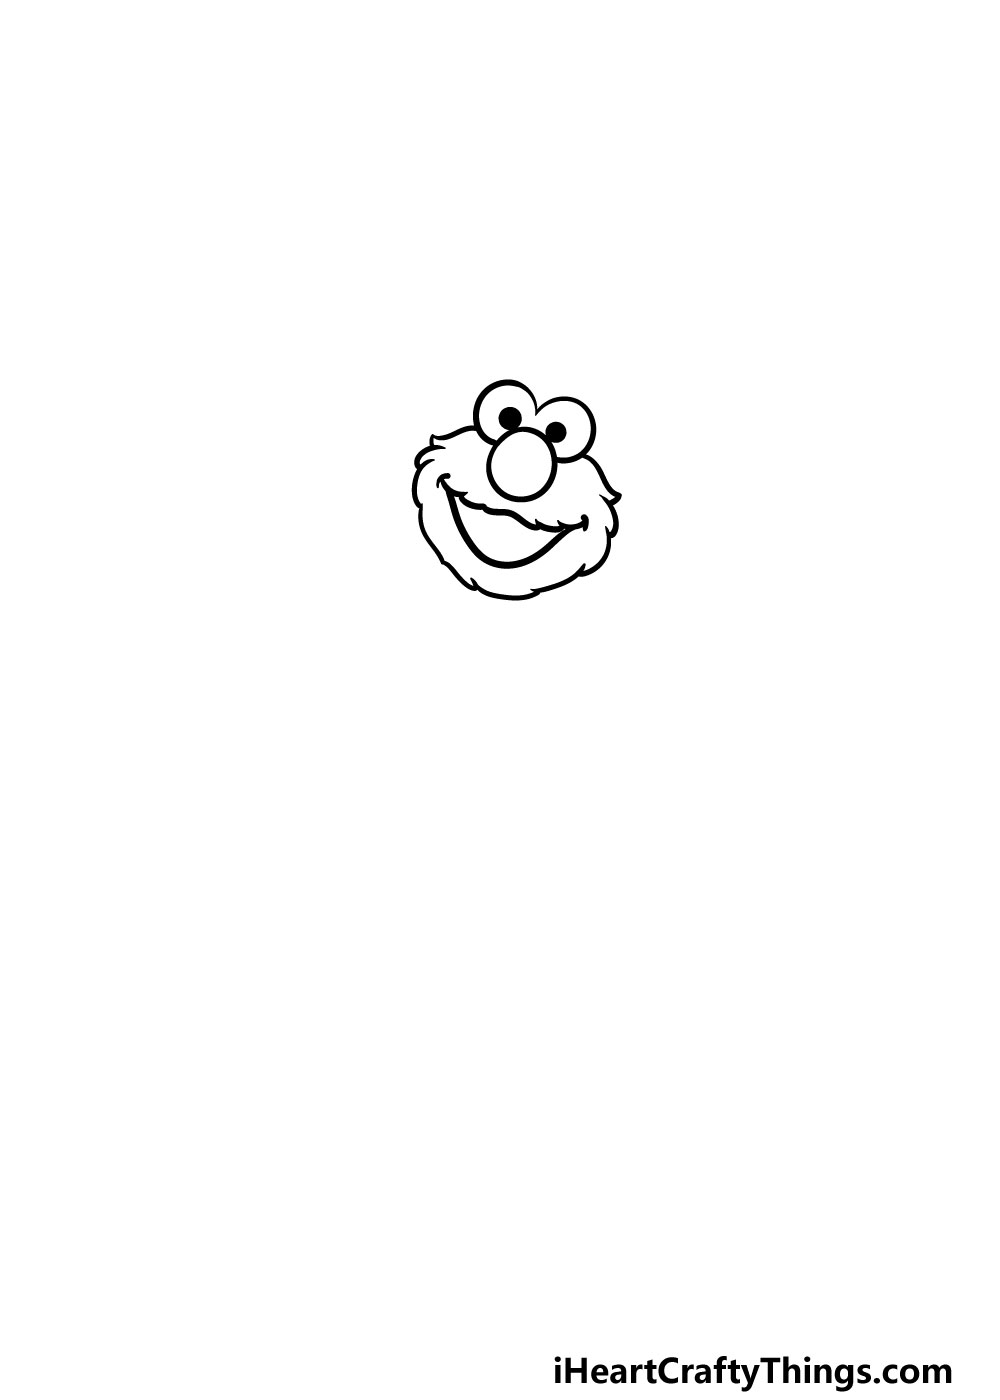
In this first step of our guide on how to draw Elmo we will begin with his head. Starting from the top, you can use a small oval for his nose, and then add two rounded shapes on top of it for his eyes.
You can then add some big dots inside of the eyes for his pupils. Then, you can draw a jagged line coming from his eyes for the outline of his head.
Finally for this step, you can use some rounded lines for the mouth to give him a big smile!
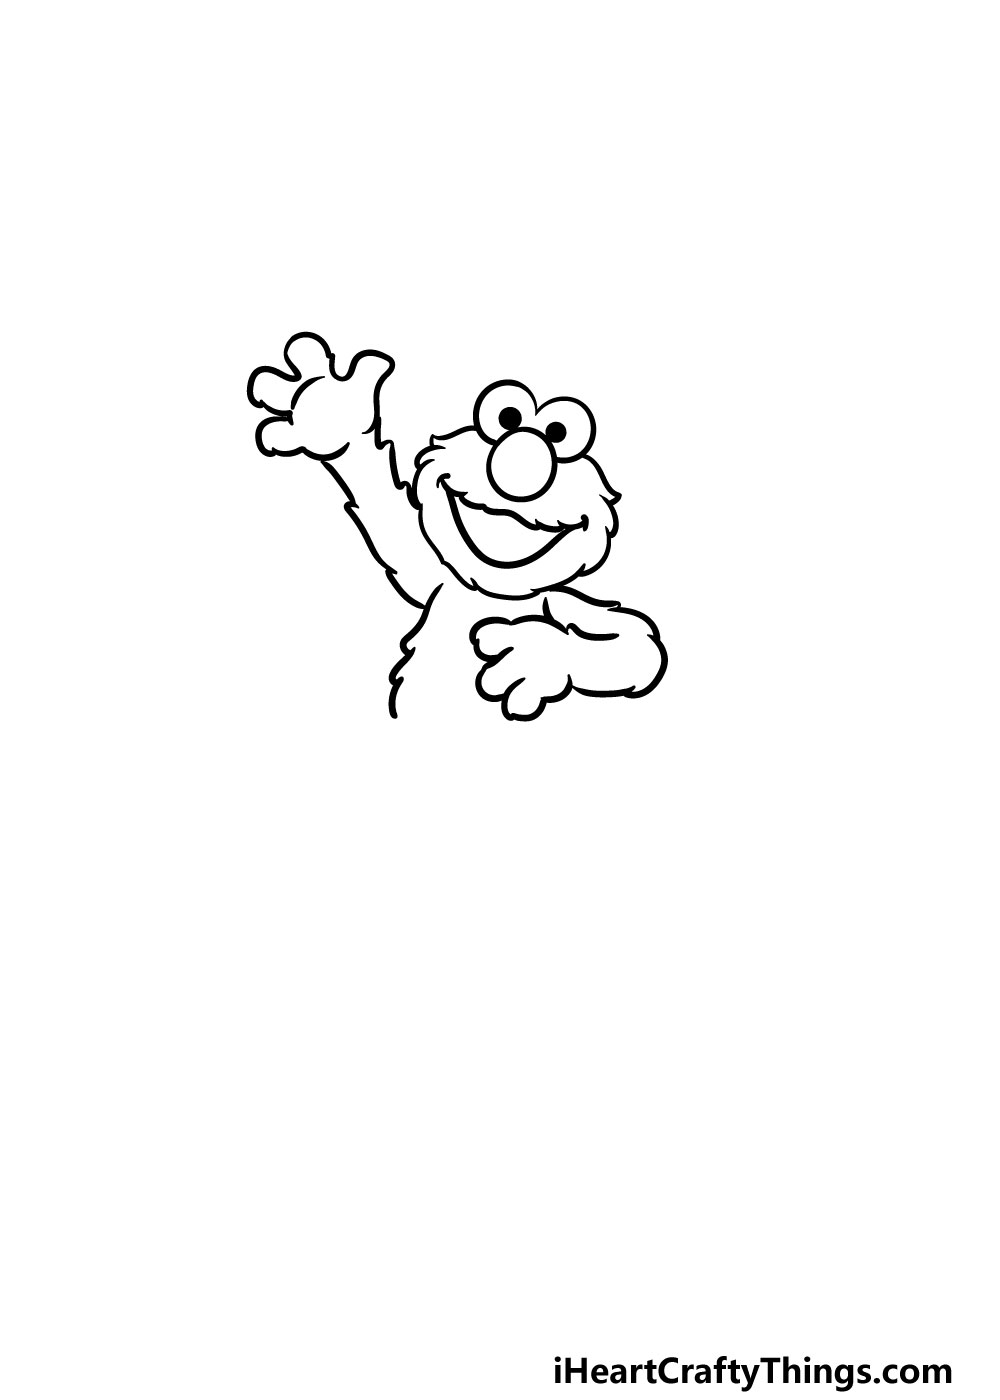
Step 2 – Draw the first arm for Elmo
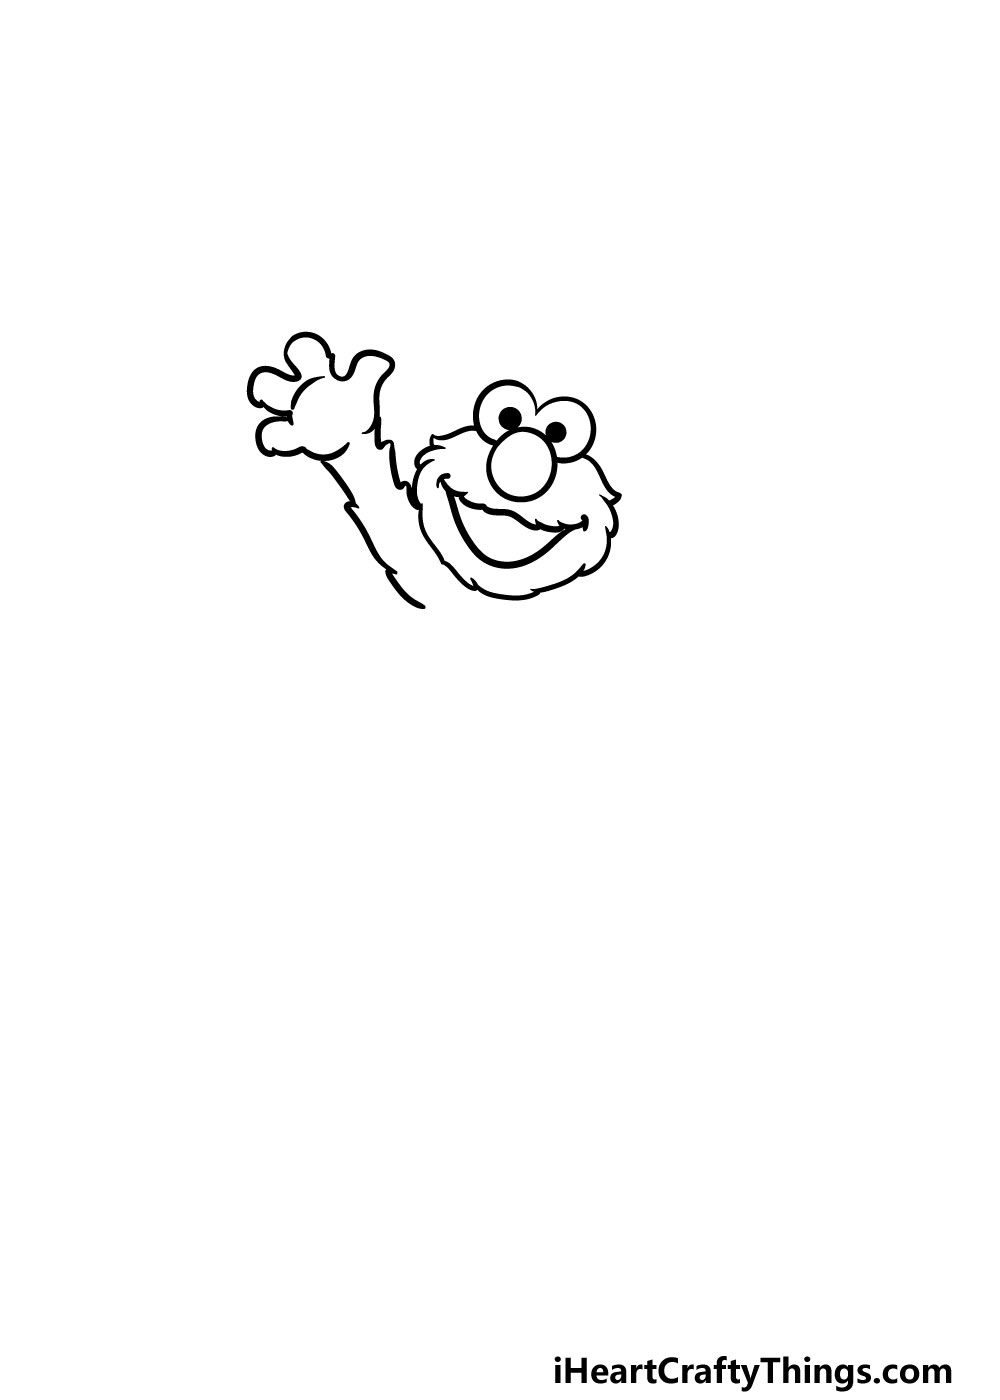
We will be using some more jagged lines for this step of your Elmo drawing. This jagged line will help to make Elmo look nice and furry.
In this step, we will be drawing his first arm raised high and waving. He will also have three thick fingers with a thumb as shown in the reference image.
Step 3 – Now, draw the other arm and chest for Elmo
In this third step of our guide on how to draw Elmo we will be drawing his other arm and chest. This arm will be against his chest as shown in the reference image.
Then, you can draw a line for his chest as well. You will be using more jagged lines for these and the next steps to continue the furry look for Elmo.
Step 4 – Next, draw Elmo’s lower body
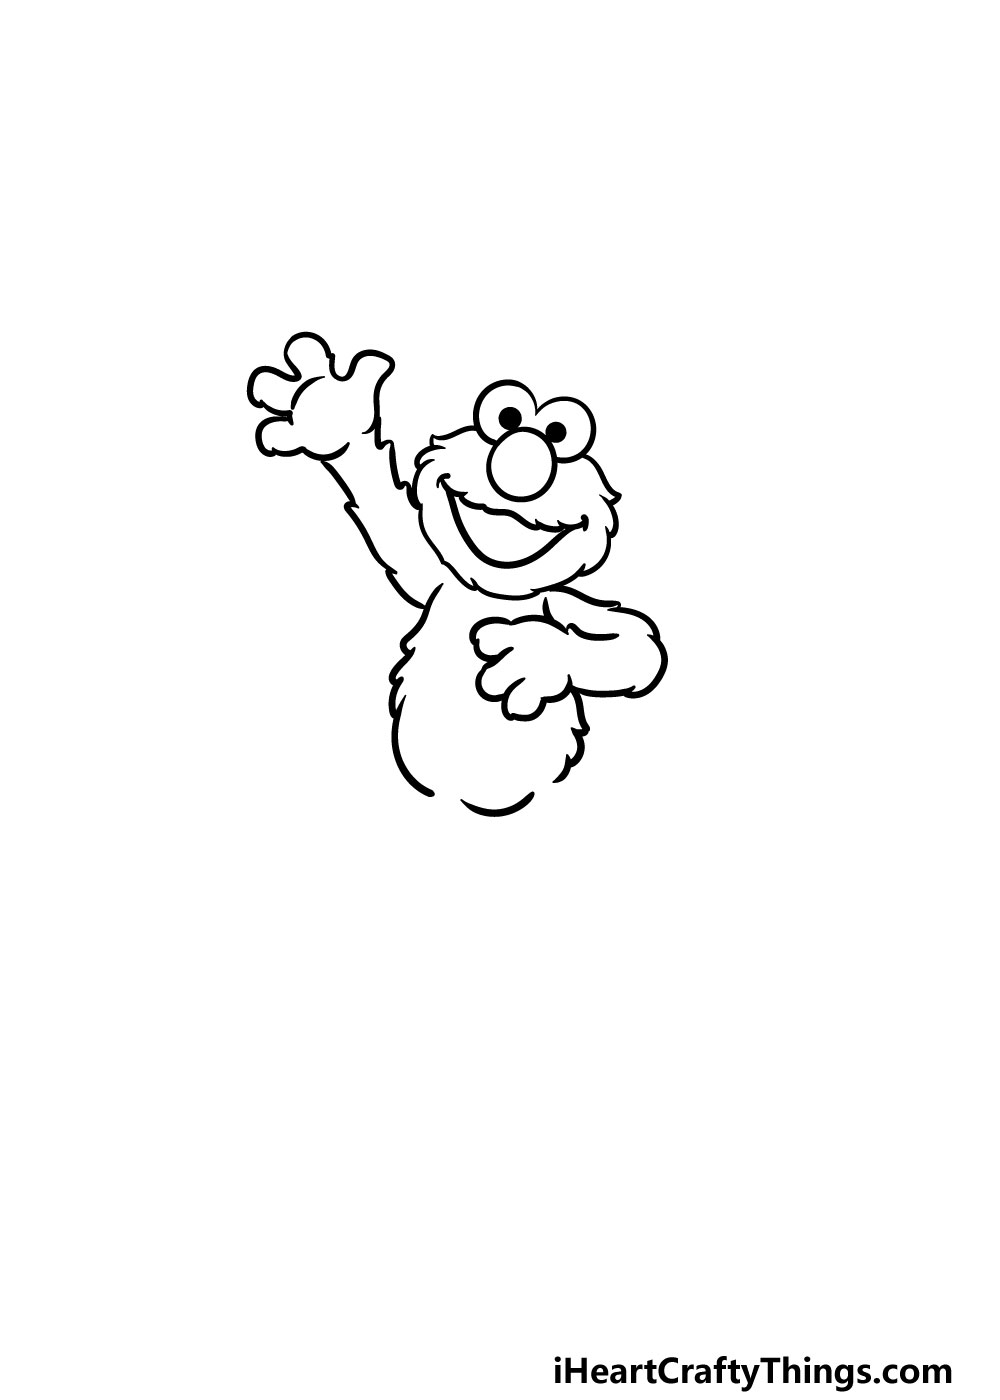
Now that you have the head and arms of your Elmo drawing done, we will start on the body in this step. To do this, you will be using some more of those jagged lines to form his rounded belly.
There will be two small gaps at the bottom of his body that will be filled by his legs in later steps. Once you have this element drawn you’re ready to proceed!
Step 5 – Now, you can draw the first leg for Elmo

In step five of our guide on how to draw Elmo, we will be adding the first leg for him. The leg will be drawn with a curved, jagged line that will make it look furry as well.
This leg will be bent with the foot on the floor, as shown in the reference image. Once you have drawn this leg, you’re ready to add the other leg and create some final details in the next step!
Step 6 – Draw the last leg and add some final details
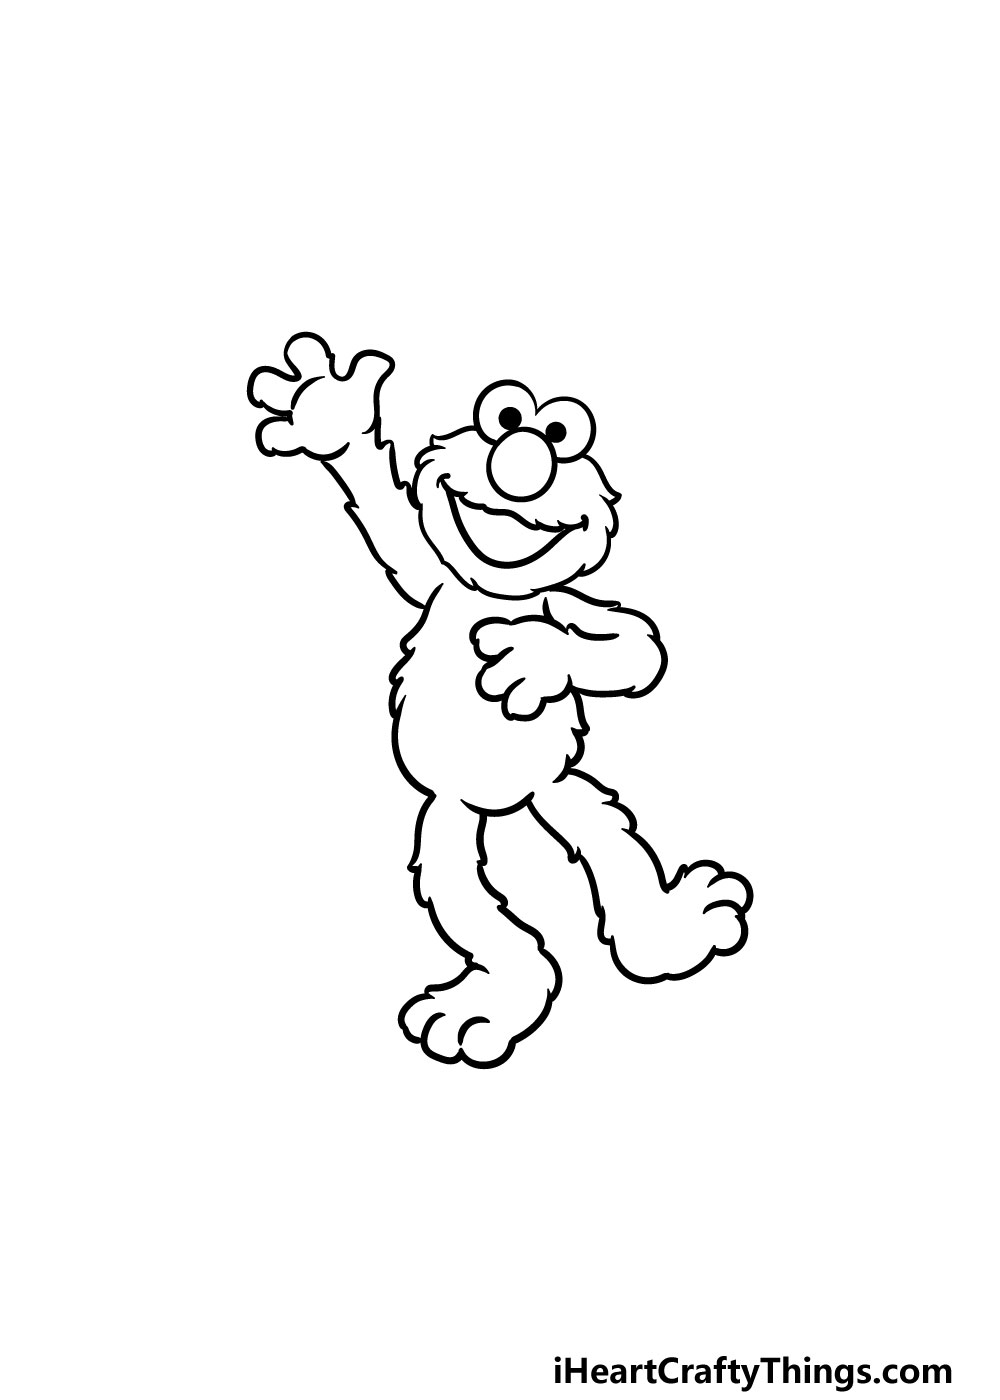
This part of your Elmo drawing will be all about adding the final details and elements before you move on to the final coloring step.
First, you will be drawing the second leg for Elmos. This one will look very similar to the first one that you did, except it will be a bit raised in the air to make it look like he’s dancing.
That will finish off the details in this guide, but before you move on you should be sure to add any details of your own!
One idea that you could do would be to add a background for your picture. Perhaps you could recreate your favorite Sesame Street scene for the background!
You could also look up some pictures of some of your favorite characters from the show to draw alongside Elmo.
What extra fun details and additions can you think of before the final step?
Step 7 – Finish off your Elmo drawing with some color
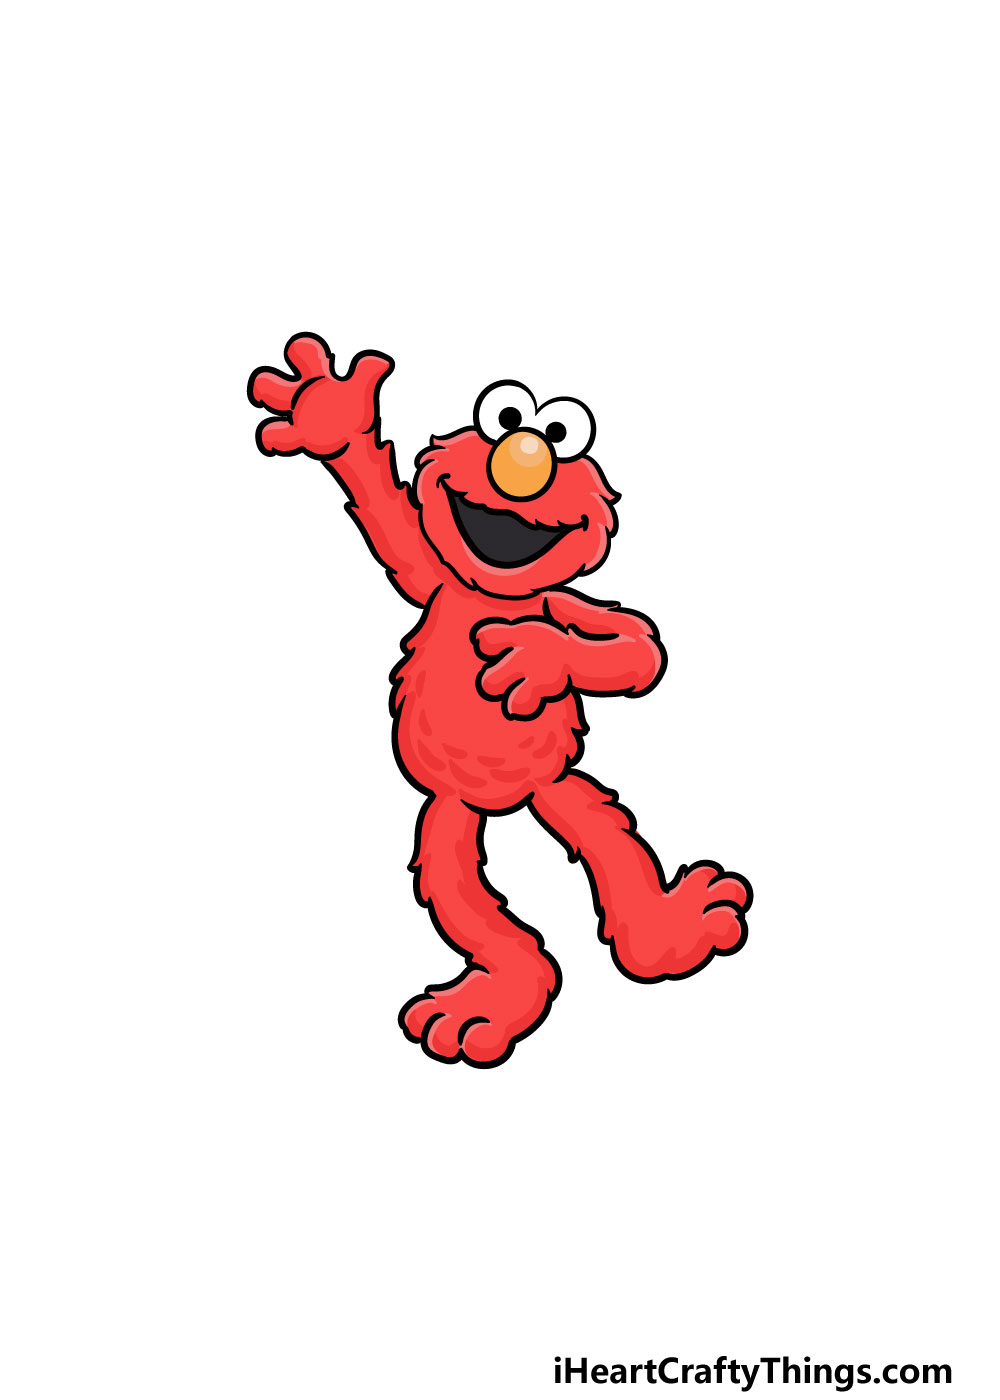
Now that you have finished this drawing, you can finish off with some amazing colors in this step of our guide on how to draw Elmo!
Elmo is well known for his bright coloring, and this is what we went for in our reference image.
Additionally, his nose is colored with a lighter orange color. This guide will give you a reference to use if you wish to keep his colors accurate to how he looks in the show, but there are lots of ways that you can put your own color touches onto the image!
If you drew a background, then you could work some of your favorite colors into that aspect for some variation.
Even if you didn’t draw a background you could still color in some patterns and shapes with your colors for even more beautiful colors.
Once you know how you would like to color in your Elmo drawing you can also use some of your favorite art mediums and tools to finish it off.
You could use some paints or colored pens and markers if you would like the colors to be nice and bright. On the other hm watercolors and colored pencils would be perfect for more muted colors.
4 More Ways To Make Your Elmo Drawing Unique
Have fun with Elmo as we make this Elmo sketch even greater with some fun ideas!
This drawing of Elmo shows him as he most usually appears, but he has also been known to wear different outfits and uniforms. You could add one of these outfits to add a fun touch to the drawing!
When doing this, you could use an outfit he has worn in the series or you could create one of your own.
Maybe he could be in a fancy suit or maybe a chef’s outfit. These are two of thousands of ideas you could use, so how would you like to dress up Elmo?
Elmo loves to hang out with his friends, so you could add some of them to this drawing. Sesame Street is filled with many recognizable and iconic characters that could be hanging out with Elmo.
Maybe you could even use some Muppets characters to make the roster even fuller! Which of your favorite characters could you use to populate this artwork you have created?
In the series, Elmo will interact with many different props and objects. It could also be fun to add some props to this Elmo drawing!
Once again, you would have many to choose from, and they could be themed to the outfit he’s in if you decided to go with that tip.
Maybe he could be playing with a beach ball or some kind of musical instrument. These are just a few ideas, but what are some other objects he could interact with?
Finally, you could finish off the scene shown in this Elmo sketch by adding a background scene for him to be a part of. This would also be a great way to finish off any theme you may have been working towards in these tips.
For example, maybe you drew him in some swim trunks in the first step and then added a beach ball. If that is the case, then you could draw a beach background.
That is just one idea, but what background would suit your ideas best?
Your Elmo Drawing is Complete!
With that, you have reached the end of this step-by-step guide on how to draw Elmo! We really hope that you had a lot of fun working alongside us on this guide, and we also hope that the guide made it easier than you were expecting.
If you follow the steps and take it slowly then you’ll be drawing Elmo in no time!
Finishing this guide is just part of the fun, however, as you can continue by adding your own details, elements and color choices. We will really be looking forward to seeing what you do!
Our website is full of amazing guides for you to enjoy, so we hope to see you there! We upload new ones frequently as well, so be sure to check in often to never miss out.
Once your Elmo drawing is complete we would love to see your amazing artwork. You can let us take a look by sharing it on our Facebook and Pinterest pages, and we can’t wait to see it!