Wine glasses are found in many different situations and events. They are often associated with elegant events such as weddings, but they can also be used at night in front of a cozy fire or by tuxedo-clad secret agents!
There is a classic and elegant design to these glasses, but even though they have a simple design it can still be a challenge to learn how to draw a wine glass.
It doesn’t have to be a challenge if you know what to do though, and that’s what we are here for!
Why not grab your own favorite wine glass and settle in to enjoy our step-by-step guide on how to draw a wine glass!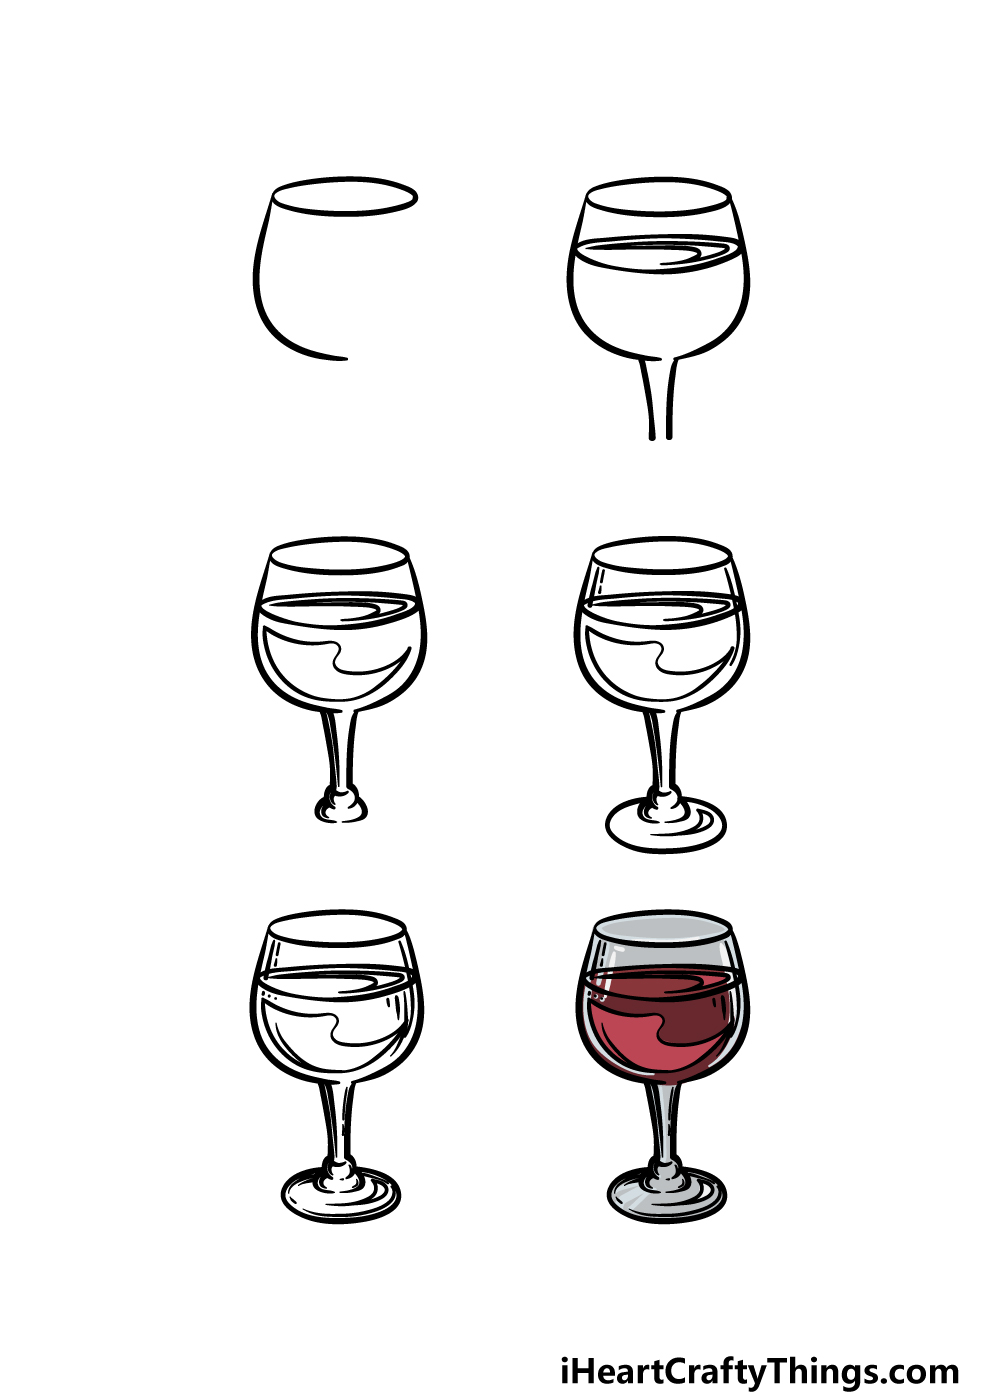
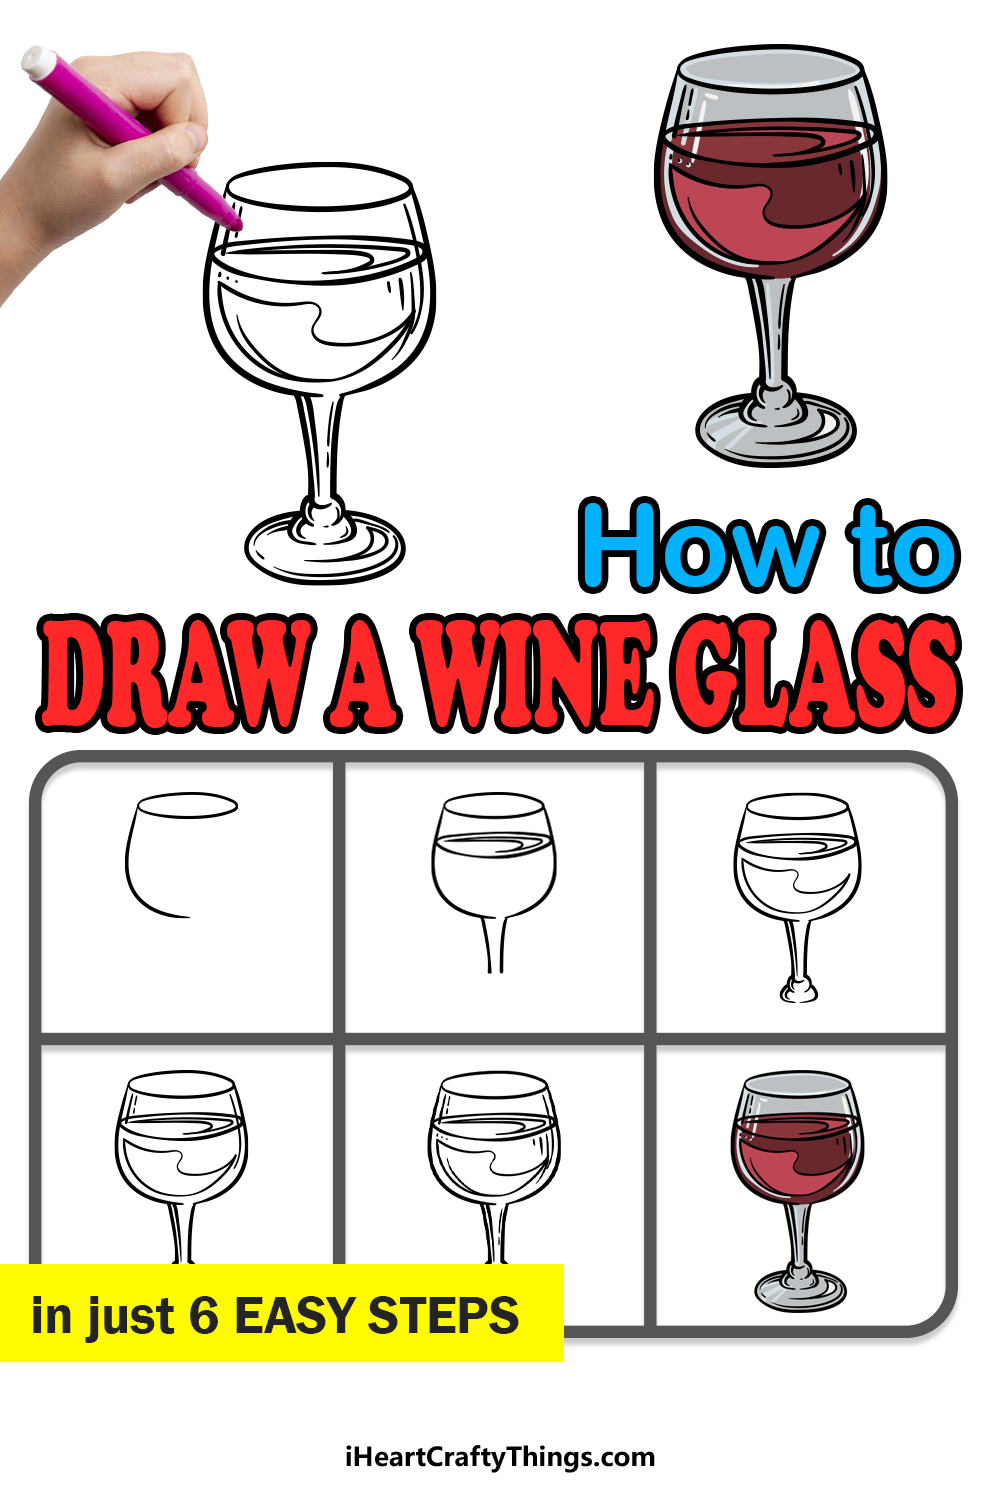
How to Draw A Wine Glass – Let’s Get Started!
Step 1
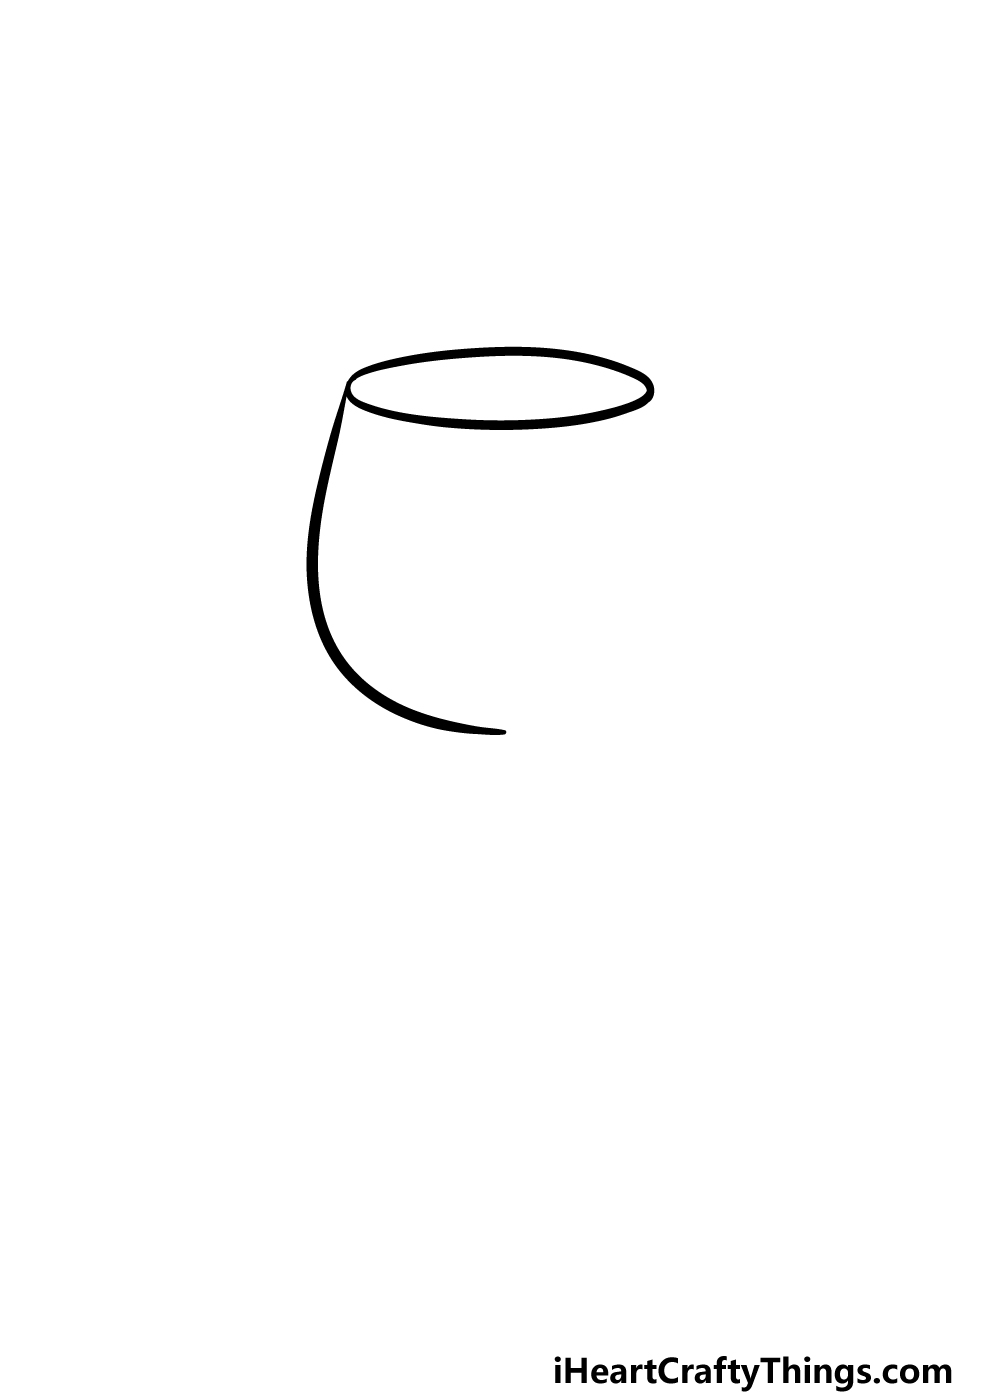
We will start simply by focusing on the outline in this first step of our guide on how to draw a wine glass. This step shouldn’t be too difficult, but it may require a bit of a steady hand.
Start off by drawing the left-hand side of the class by using a smooth, curved line. Once you have that side of the glass, we will then draw a flat oval on top of it for the mouth of the wine glass.
Once you are happy with how it looks, we shall move on to step 2!
Step 2 – Next, draw some more of the outline
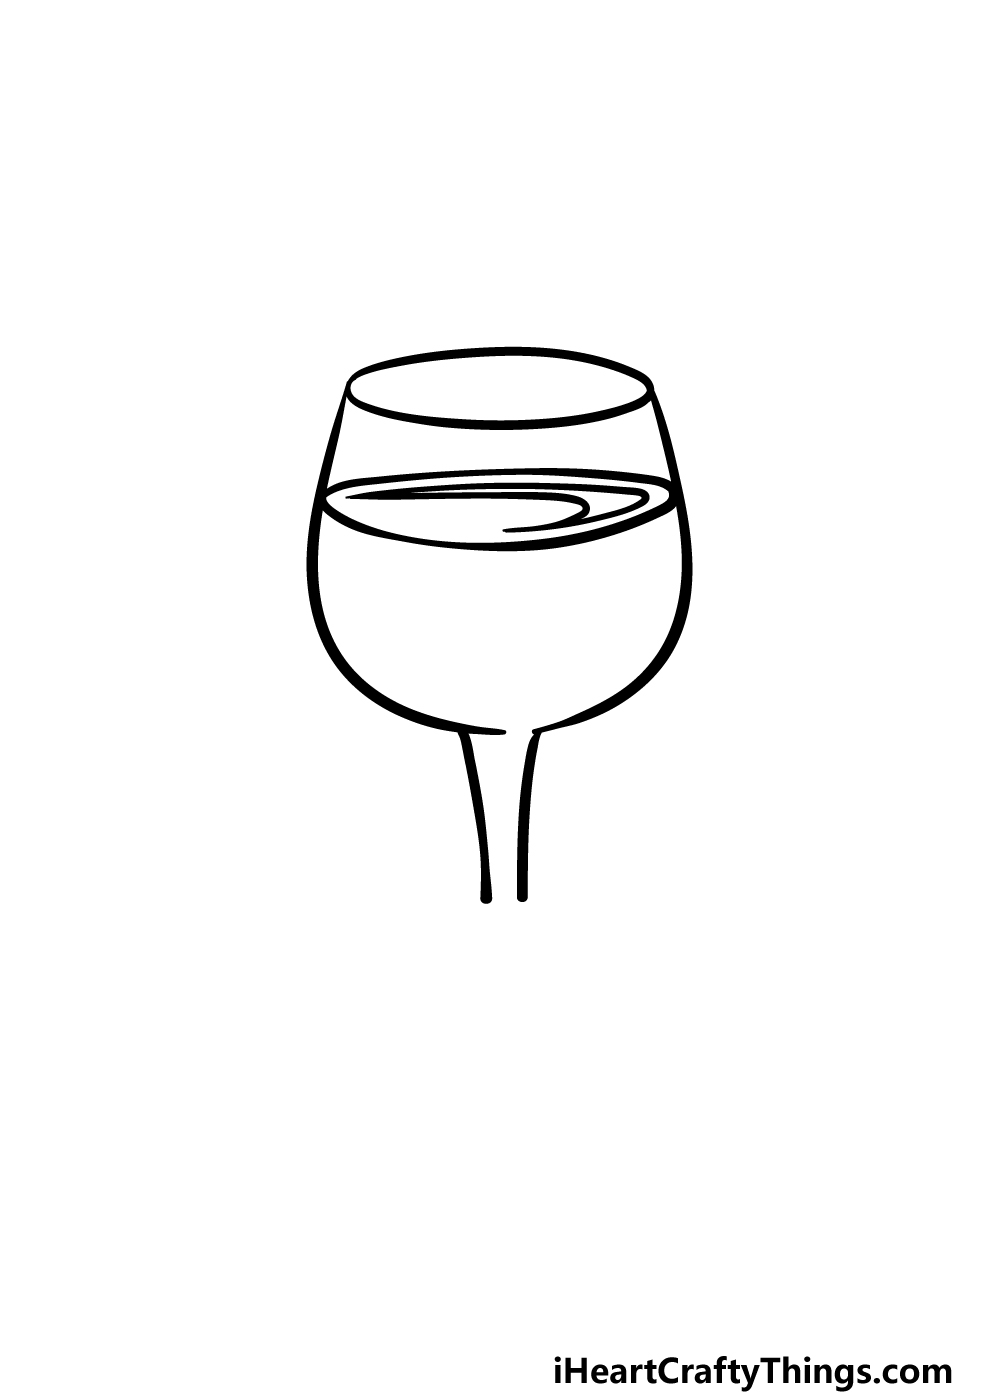
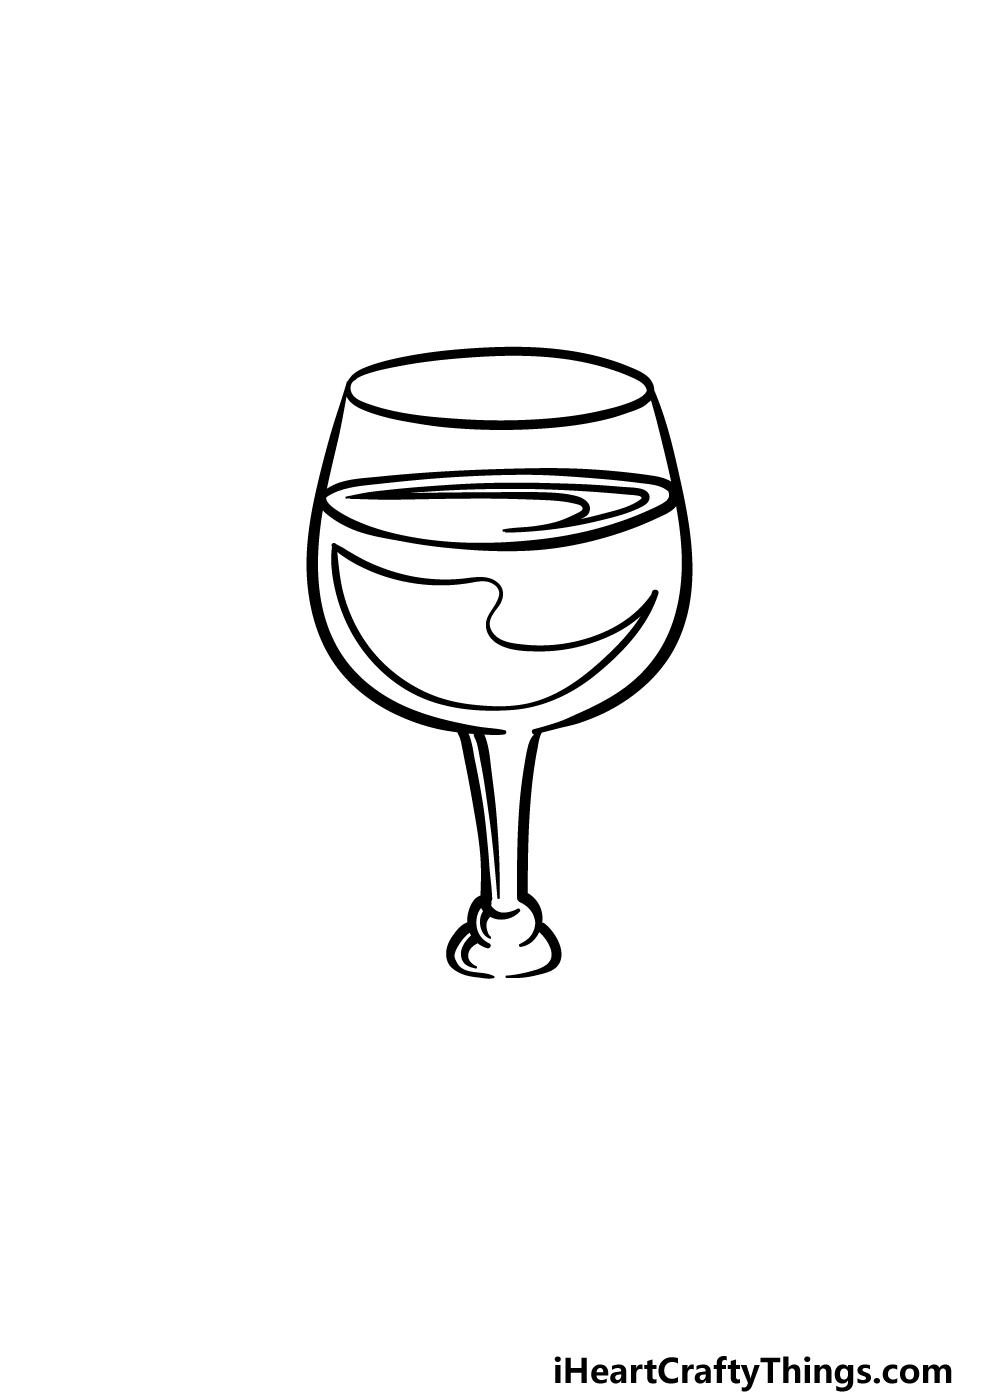
For the next part of your wine glass drawing, we will be drawing more of the outline as well as the beverage contained within.
First, draw a curved line on the right-hand side to mirror the left-hand side that you drew in the previous step.
Then, we will start drawing the stem of the wine glass by adding two slightly curved lines extending down from the base inverted to one another.
You can then finish off this step by drawing the drink inside of the glass, which we can presume is probably wine.
To do this, draw another oval inside of the glass, touching both sides. Unlike the mouth of the glass, try to make this oval a bit less perfect and a bit wavier.
We will then add a sharp, almost crescent shape inside of the surface of the liquid for some more detail.
Step 3 – Draw the base of the glass and some shining detail
The focus of this third step of our guide on how to draw a wine glass will be the start of the base along with some reflective detailing on the side.
First, use some curved lines at the bottom of the stem to create two bumpy layers.
You can then draw a line inside of the stem extending down from the bottom of the glass until it is almost touching the base.
Then, we will finish off this step by drawing the reflective details on the body of the glass. You can draw this under the surface of the liquid, and it will be drawn with some curved and wavy shapes.
Once this is drawn, we will be ready to finish off this picture in the remaining steps!
Step 4 – Now, draw the base of the glass
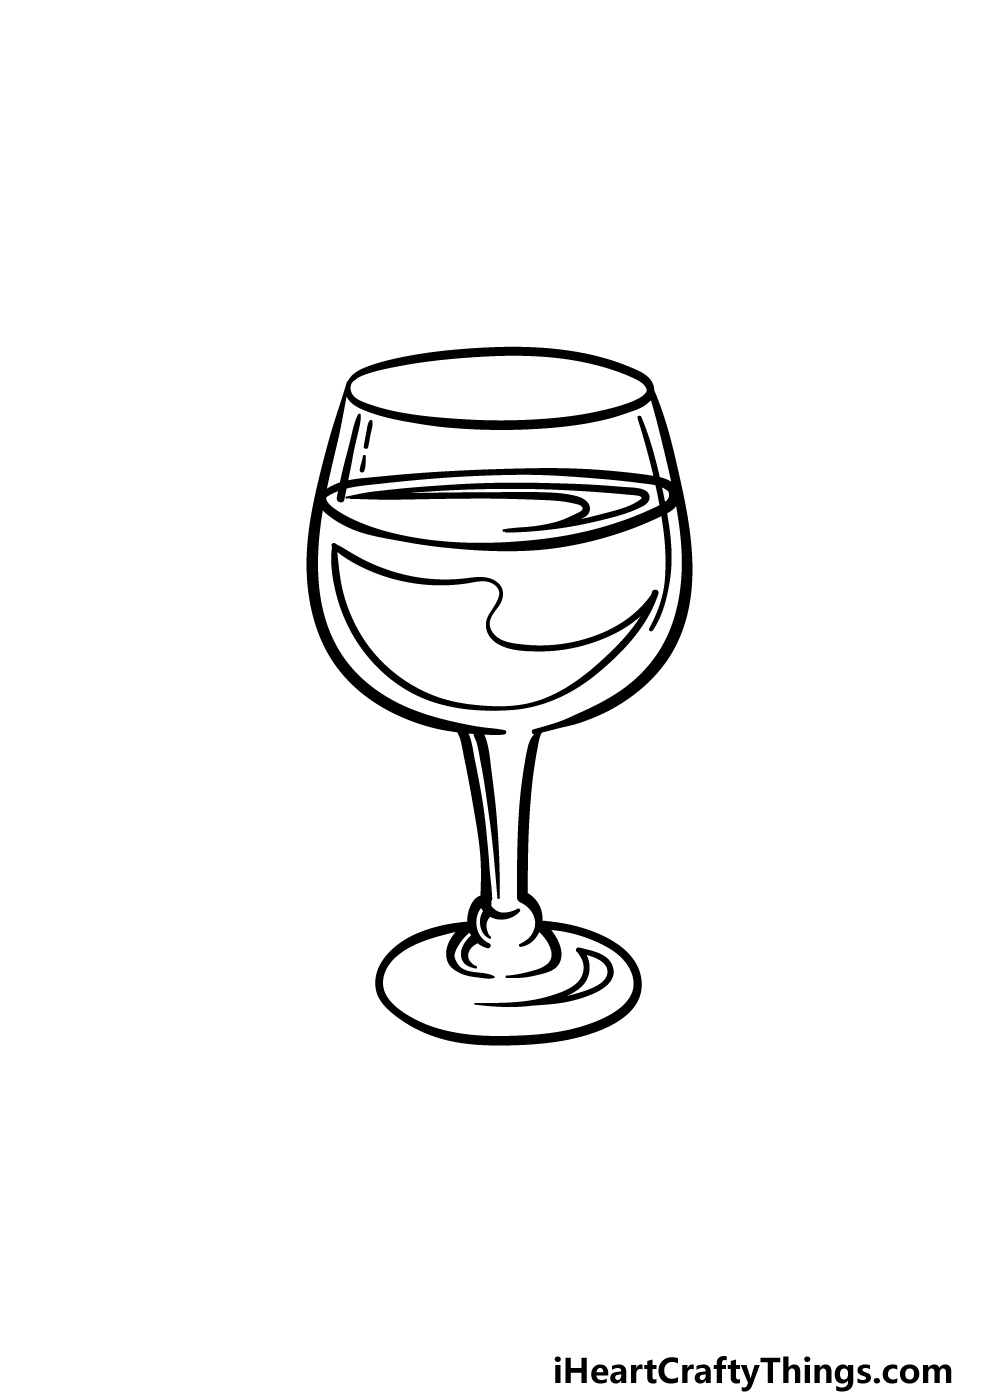
We will be finishing off the structure and outline for this wine glass drawing in this part. To do this, simply draw an oval shape around the shapes at the base of the stem.
You can add another of those crescent shapes to this base for some more reflective detail as well.
Then, we will add some simple line details to the body of the glass to finish off this step before we work on the final touches in part 5.
Step 5 – Finish off your wine glass drawing
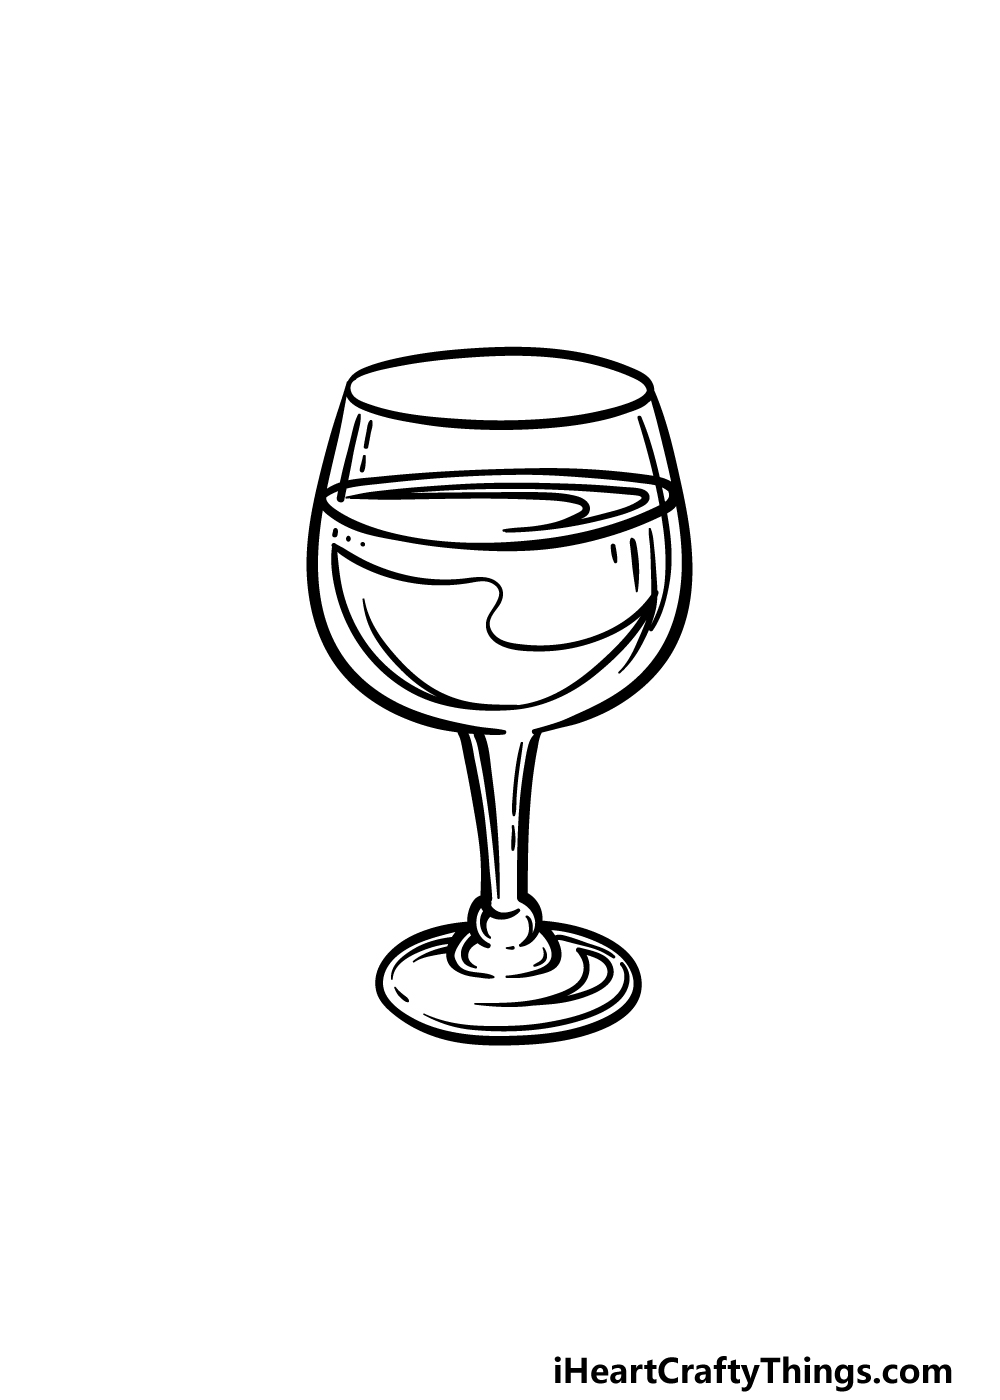
Before you add some color to your picture, we have just a few final touches to add in this step of our guide on how to draw a wine glass.
These details will be pretty simple yet effective. We added some more vertical lines to the various parts of the glass, and this helps to make it look even more reflective.
Once these line details are added, you can finish off with some details of your own! You could draw a background and add some objects to sit beside the glass.
Wine is often enjoyed with fine cheeses, so maybe you could draw some to accompany it. This is your chance to have fun being creative, so go ahead and show us how you would like to finish off this drawing!
Step 6 – Finish off your wine glass drawing with some color
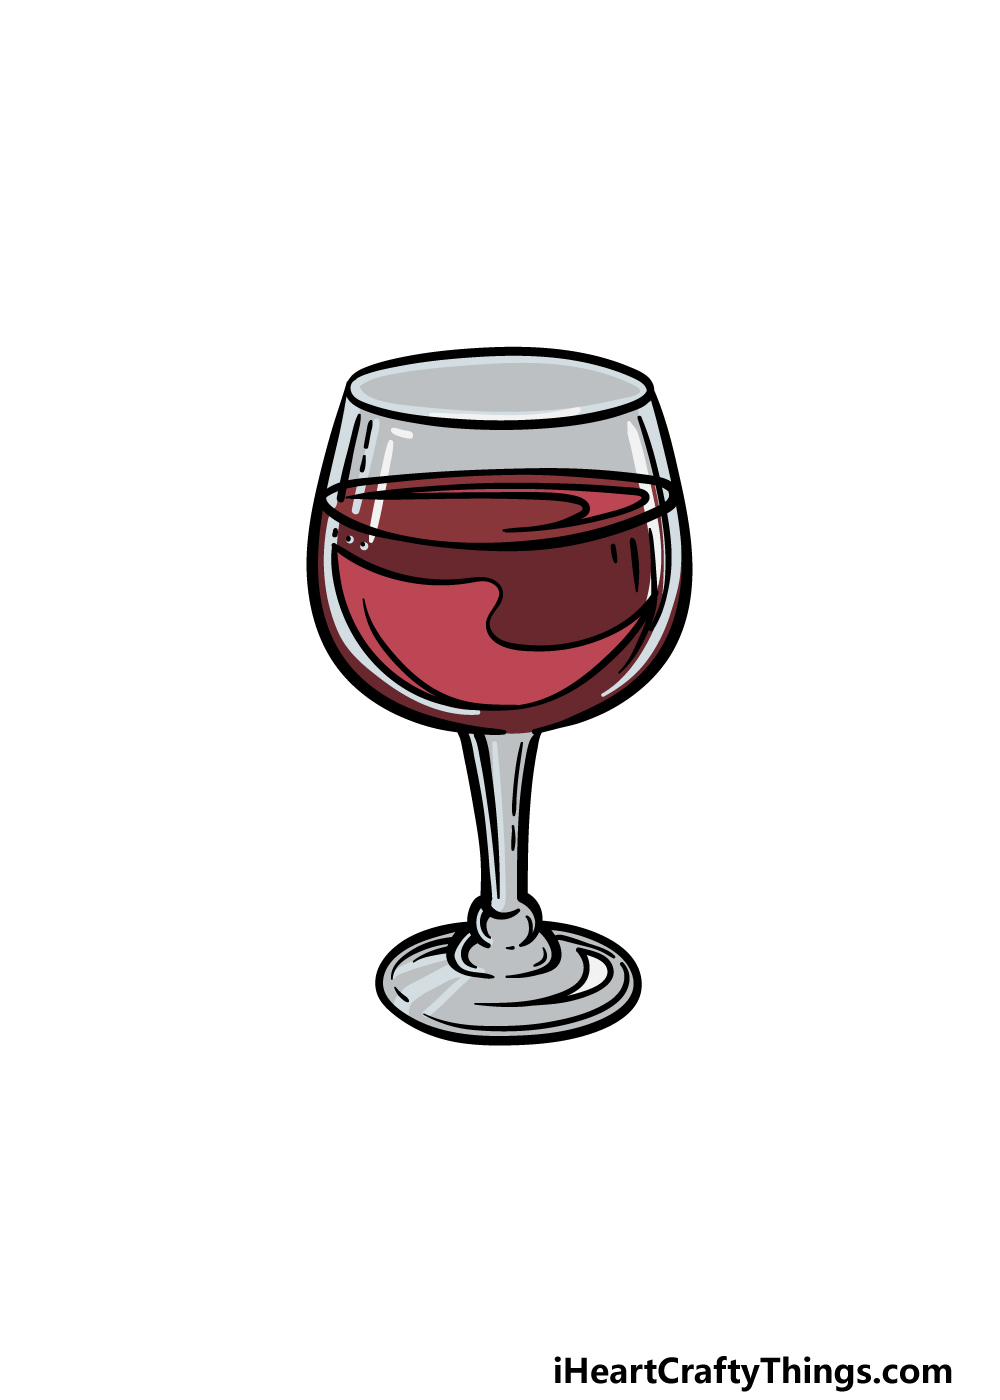
This final step of your wine glass drawing will be all about finishing it off with some amazing colors!
For the glass itself, we used some lighter shades of grey as a subtle color addition to give off a glassy feel. For the wine in the glass, we used varying shades of light and dark reds to present a more dynamic look for the image.
For the glass and the wine, these elements would go really well with some more subtle art mediums like watercolors and colored pencils for a softer look.
Bolder mediums would work as well, however, so it’s up to you! You can have a lot of fun changing up the colors and mediums that you end up using, and we can’t wait to see what you end up going for.
4 More Ways To Make Your Wine Glass Drawing Unique
Be sure to savor these tips we have to make your wine glass sketch even better!
This drawing of a wine glass shows one that is filled with some red wine. There are many forms of wine, and you could change the color if you would prefer to show some white wine.
You could also use pink to make it look like there is some pink champagne in the glass. Or, you could leave out the liquid entirely and have just an empty glass!
Will you change the drink in the glass or keep it as is?
The wine in this wine glass had to come from somewhere, and you could show where it was by adding a bottle.
Drawing a wine bottle can be surprisingly tricky, so you may want to use a real one or look up some pictures.
You could even create a dynamic pose such as having the wine bottle pouring wine into the glass. Or, it could also be sitting on the table beside the wine glass.
Do you have a specific type of wine bottle that you could use?
Once you have the wine and the bottle taken care of, you could then add some snacks to your wine glass drawing. There are a few that are common to have with wine, and these would be perfect.
Some examples would include cheese and crackers or maybe you could draw an entire meal that this wine is being enjoyed with. What food would you choose to have with it?
Finally, you can show where the perfect place for this wine glass would be by adding a background. There are no limits to the places you could set this drawing!
It could be a place that you go to often such as a room in your house or one of your favorite restaurants.
Or, you could take it to an exotic location from somewhere in the world you would love to visit.
Where would be the perfect location for a background?
Your Wine Glass Drawing is Complete!
You have reached the end of our guide on how to draw a wine glass, and you have a wonderfully elegant and classy drawing at the end of it!
As we mentioned earlier, drawing an object such as this can actually be surprisingly tricky. That’s why we broke it down into several smaller steps so that you could focus on the fun of being creative with no frustration.
Now you can take charge as you add some of your own personal touches such as a background or some tasty delicacies you would like to enjoy with this beverage.
Our website features many more guides like this one for you to enjoy, and we upload new ones all the time! We look forward to seeing you there often as you find your next drawing challenge.
Please be sure to let us have a look at your finished wine glass drawing, which you can do by sharing it on our Facebook and Pinterest pages.