For many people, there are few things as relaxing as enjoying a nice glass of wine after a long day.
Wine comes in many different variations, vintages and even flavors, so for fans of this beverage there is plenty to choose from.
Often, the bottle that the wine comes in can be almost as important and appealing as the wine it contains, and there is a huge amount of variation to the designs of the bottles as well.
This can make it a challenge to learn how to draw a wine bottle, but it is a challenge that can be fun as well!
That’s what we’re here to cover in this tutorial you have in front of you!
So why not grab a glass of your favorite beverage and settle in to enjoy our step-by-step guide on how to draw a wine bottle in 6 steps?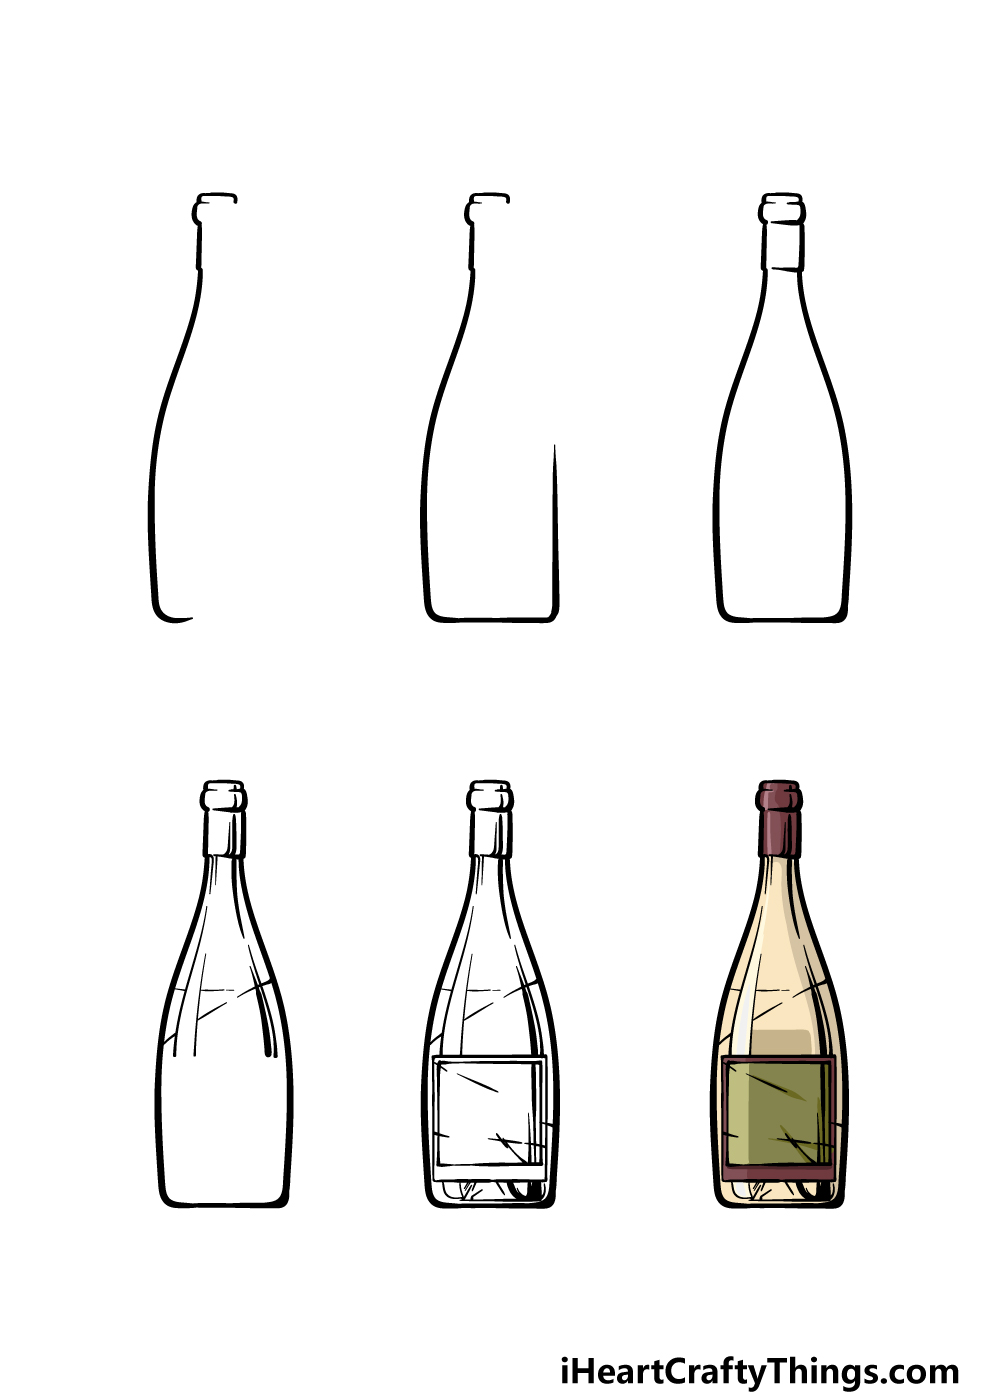
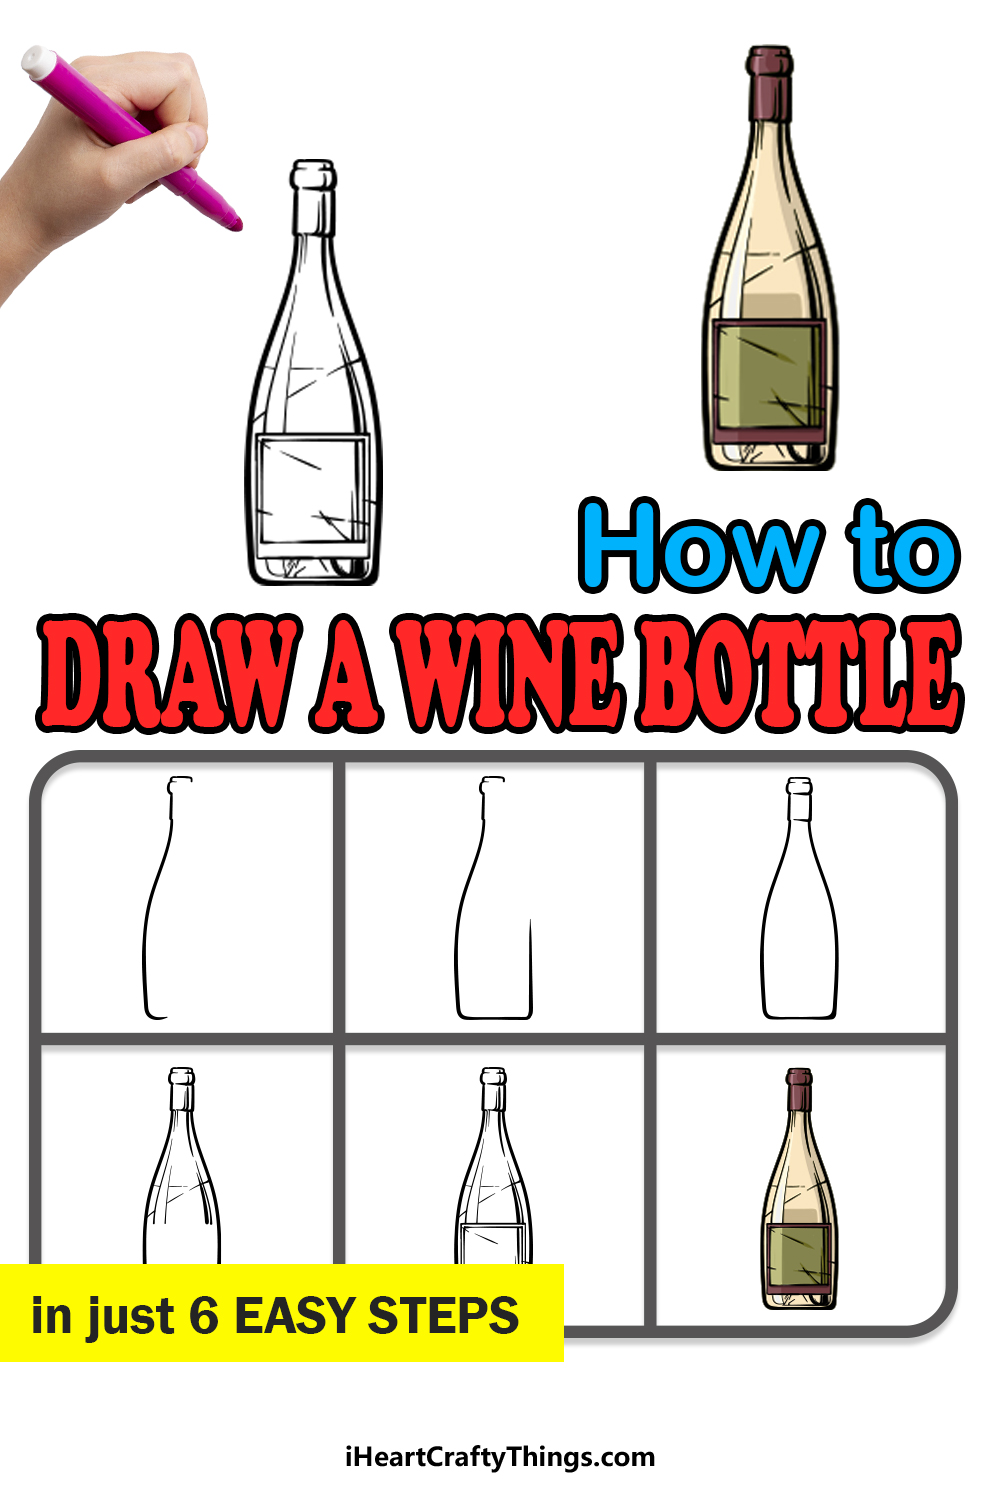
How to Draw A Wine Bottle – Let’s Get Started!
Step 1
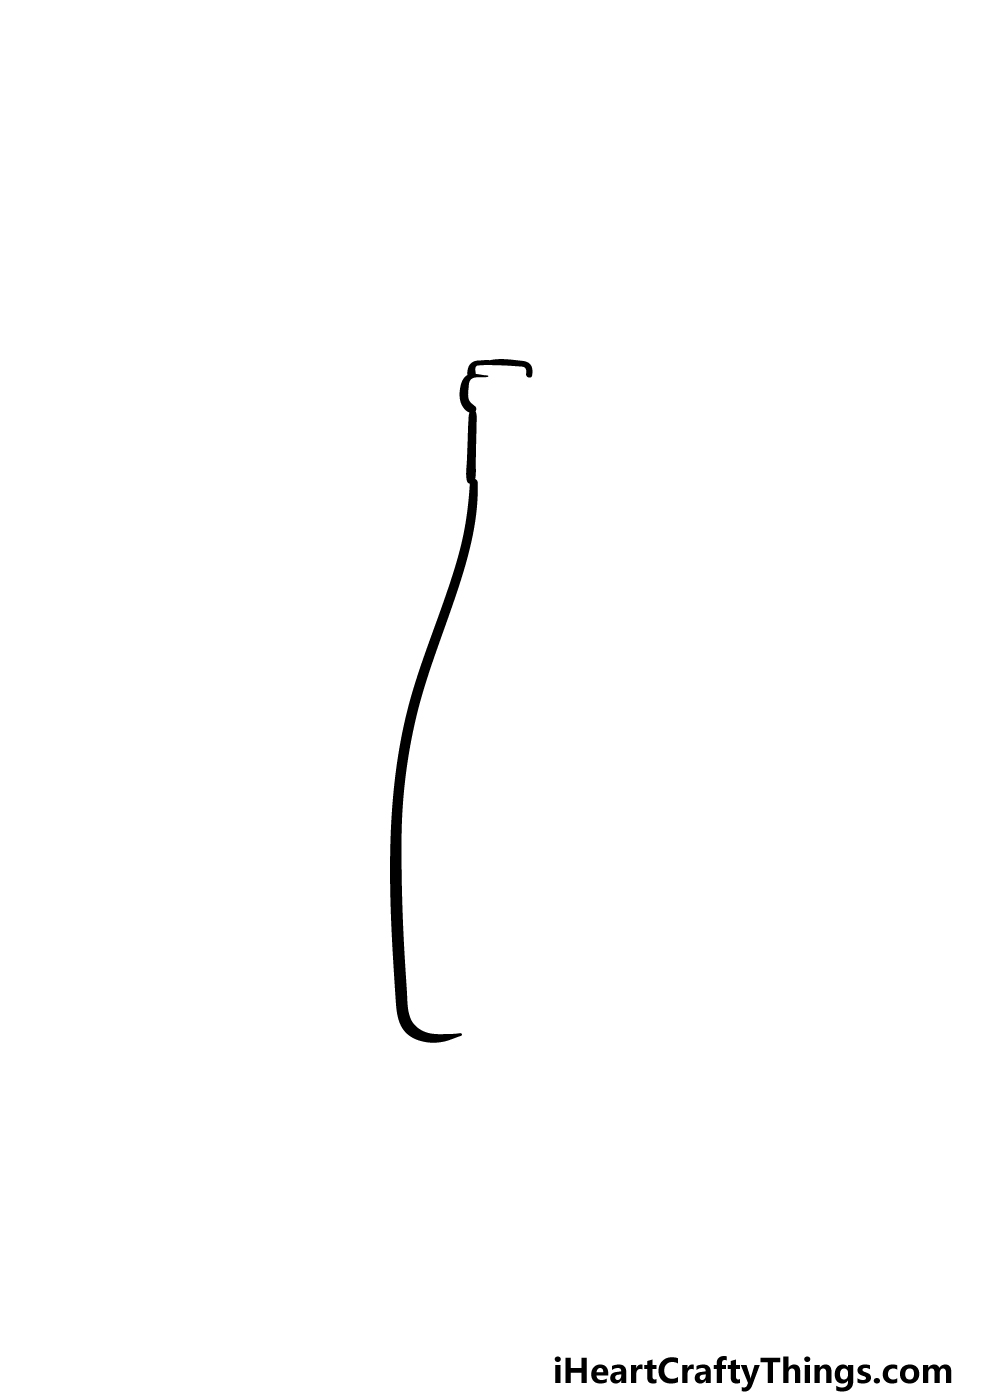
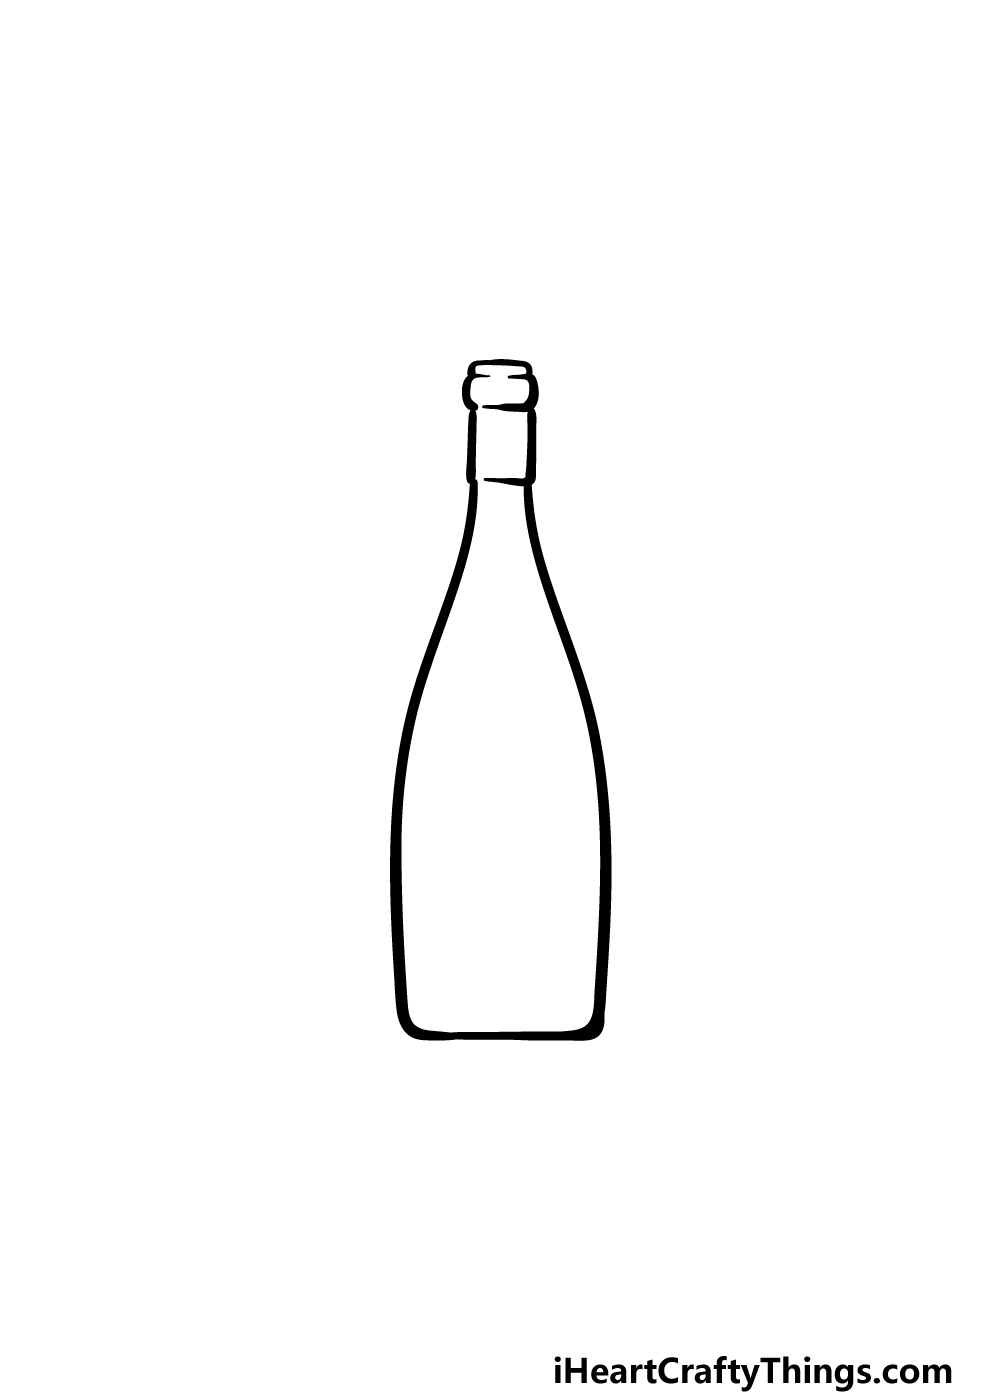
To get this guide on how to draw a wine bottle started, we will begin with the outline of the bottle. More specifically, we will be drawing the left half of the bottle.
First, we will draw the opening of the bottle on the very top. This will have a flat top with some thin ridges, and then it will extend down to the neck.
As you draw this opening, try your best to replicate the look exactly as it appears in the reference image.
Then, extend a slightly curved line down from it for the side of the bottle. Once again, you should try your best to get it looking exactly as it does in the reference image.
This may be a part that you also want to take slowly, as the smoother it looks the better.
Once you have drawn these parts, we can move on to step 2!
Step 2 – Now, draw the base and a bit of the left-hand side
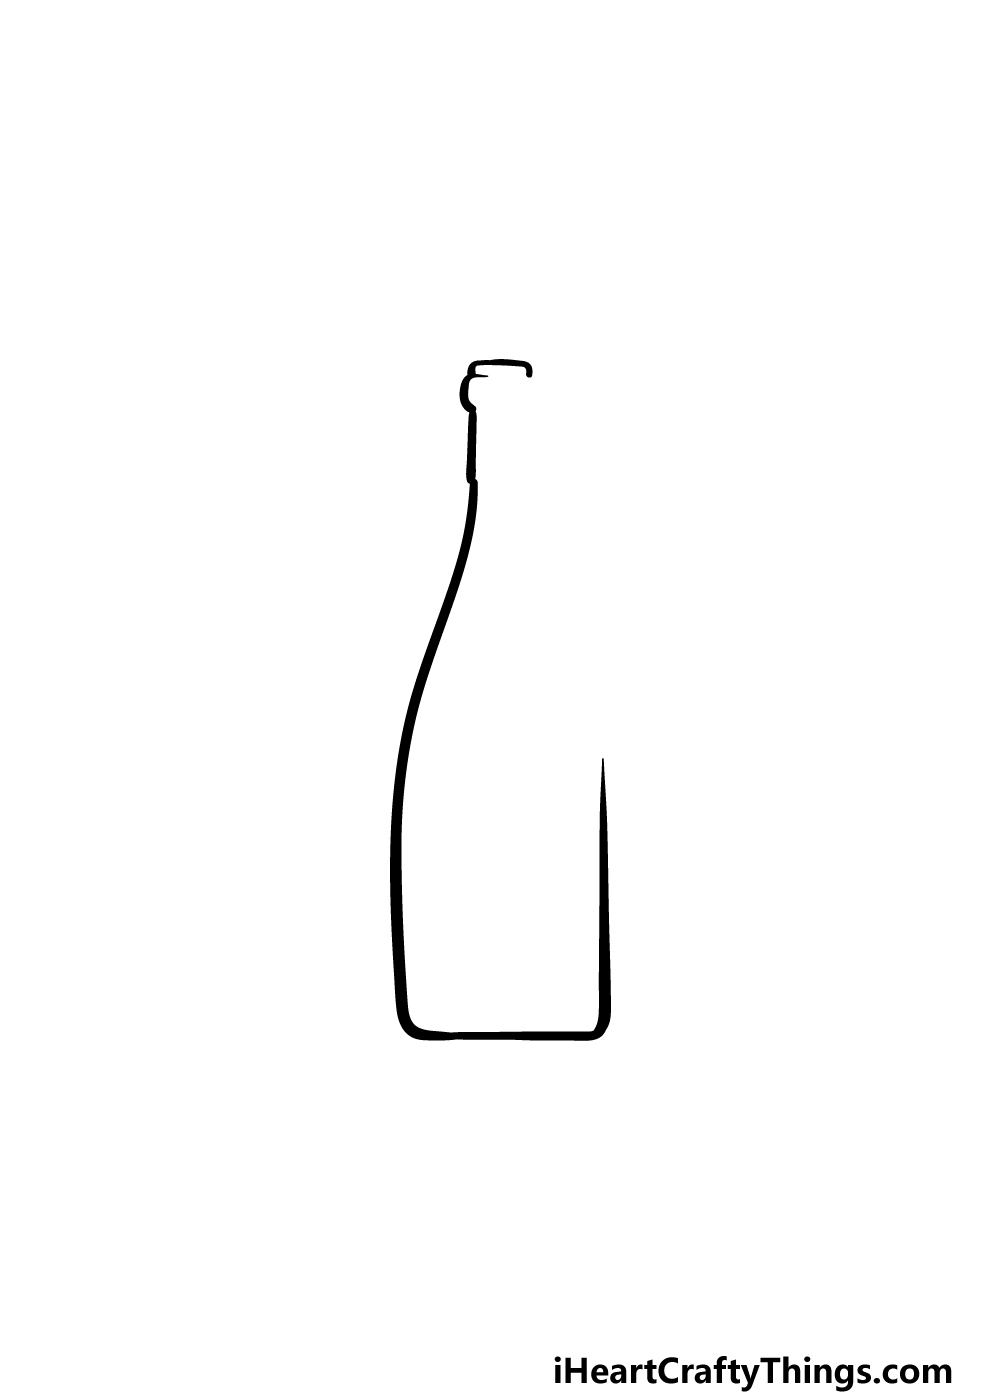
Continuing on with your wine bottle drawing, we shall now be drawing the base. To do this, draw a straight line for the bottom of the bottle that connects to the side of the bottle that you drew in the previous step.
Then, draw a line up from the other side to start the next edge of the bottle. The line will look straight for now, and it will end just before the point where it will curve inwards.
We will take care of that curve in the next step, so when you’re ready then we can proceed!
Step 3 – Draw the rest of the outline for the wine bottle
This third step of our guide on how to draw a wine bottle will see you finishing off the final outline for the entire bottle. This will have you ready to add some details in the next few steps.
First, continue the line that you started on the right-hand side of the bottle and curve it inward and then up to the top. We will draw the rim for this side of the bottle’s opening now as well.
That will finish off the outline of the wine bottle! If you struggle to get it looking correct, you could draw with a pencil first and then go over with your pen when you’re satisfied with how it looks.
When you’re ready, we can then add some details in the next few steps.
Step 4 – Next, draw the first inner details for the drawing
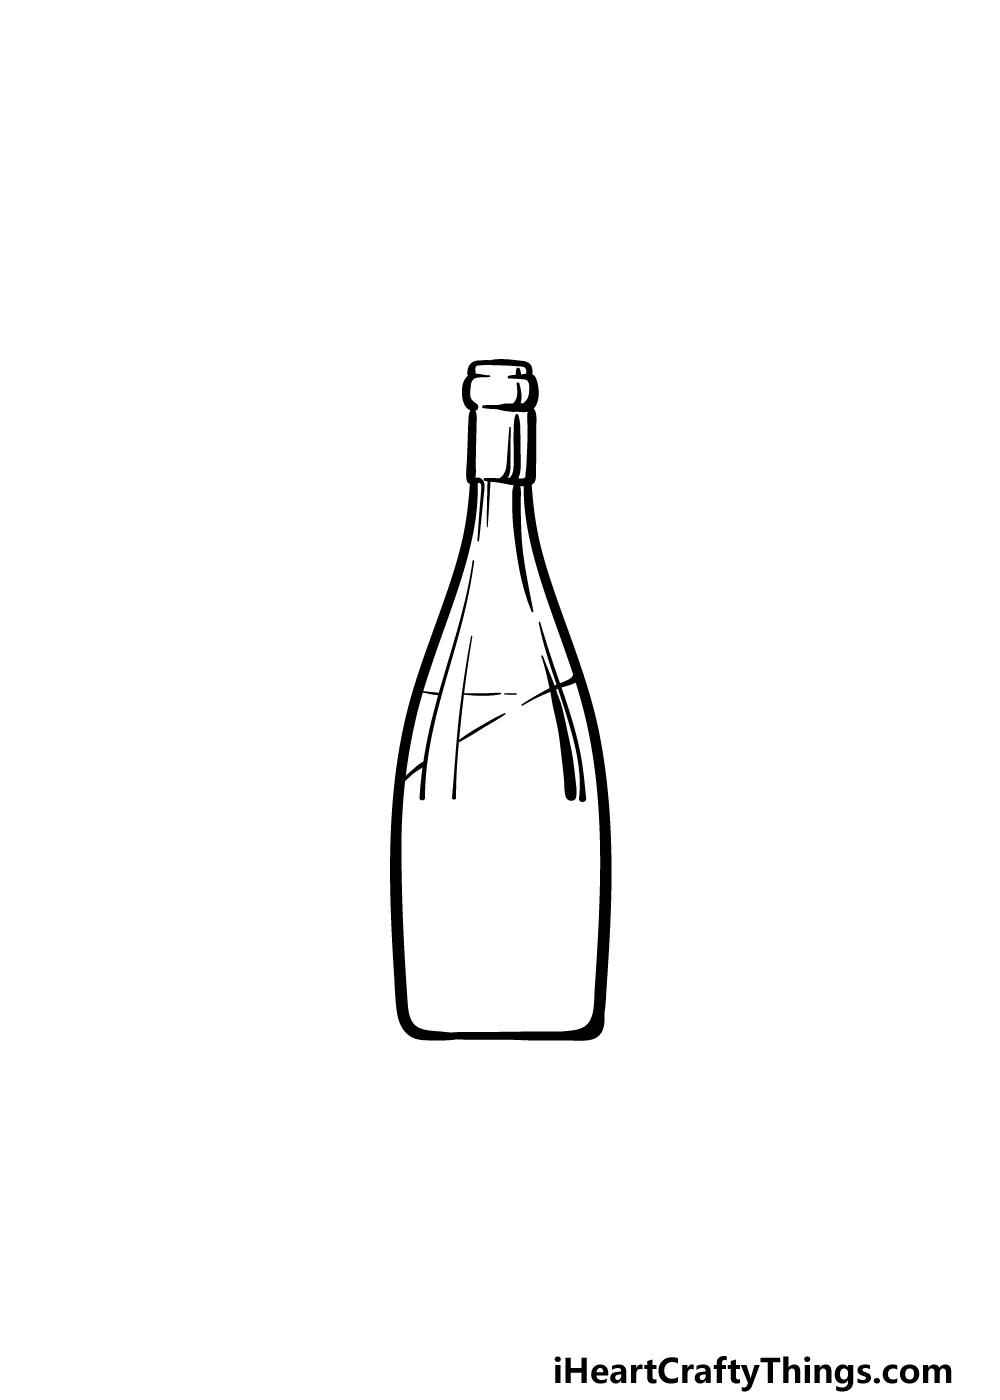
Now you’re ready to start adding some details to your wine bottle drawing. First, we will focus on the glass top half of the bottle.
As you’ll probably have seen in real life, glass usually has a reflective sheen to it.
We will attempt to recreate this look in this step, and we will draw some thick lines coming down that follow the curvature of the bottle.
As shown in the reference image, most will be vertical, but there will be a few horizontal and diagonal ones as well.
Step 5 – Add the final details to your wine bottle drawing
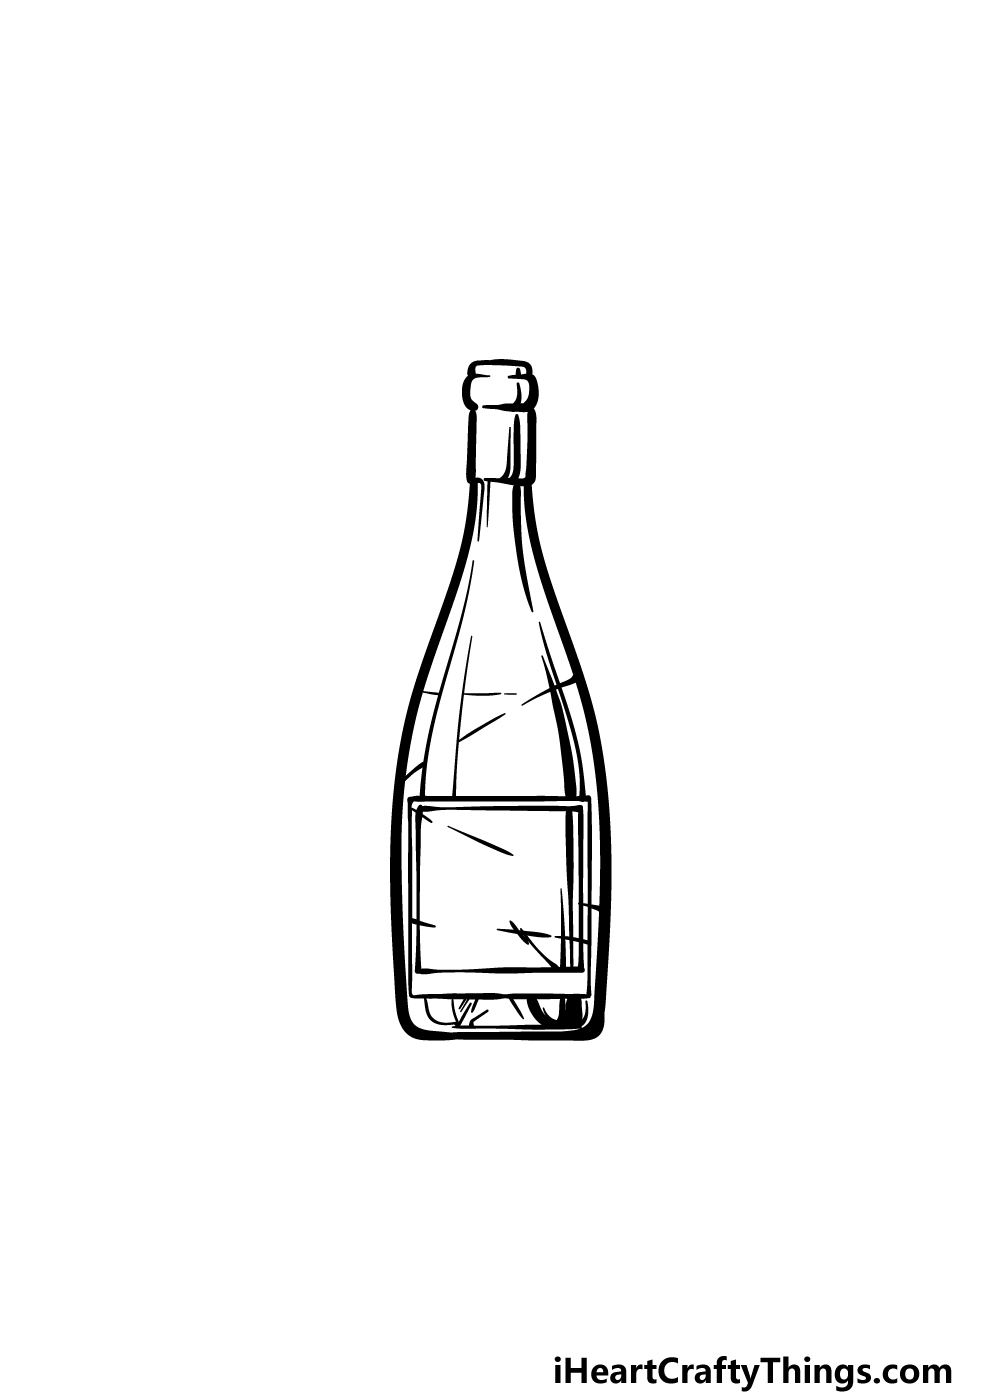
Every great wine bottle has a label to show more information about it and the makers of the drink, so we shall draw one in this step of our guide on how to draw a wine bottle!
To draw the outline of this label, simply draw a square shape with a smaller square shape within it. This will also have some weathering lines on it that you can add.
Be sure to also draw some glassy texture for the base of the wine bottle beneath the label!
We left the label blank in this guide, and that means that you could draw your own label design! What name and logo would you choose for your very own wine brand?
Step 6 – Finish off your wine bottle drawing with color
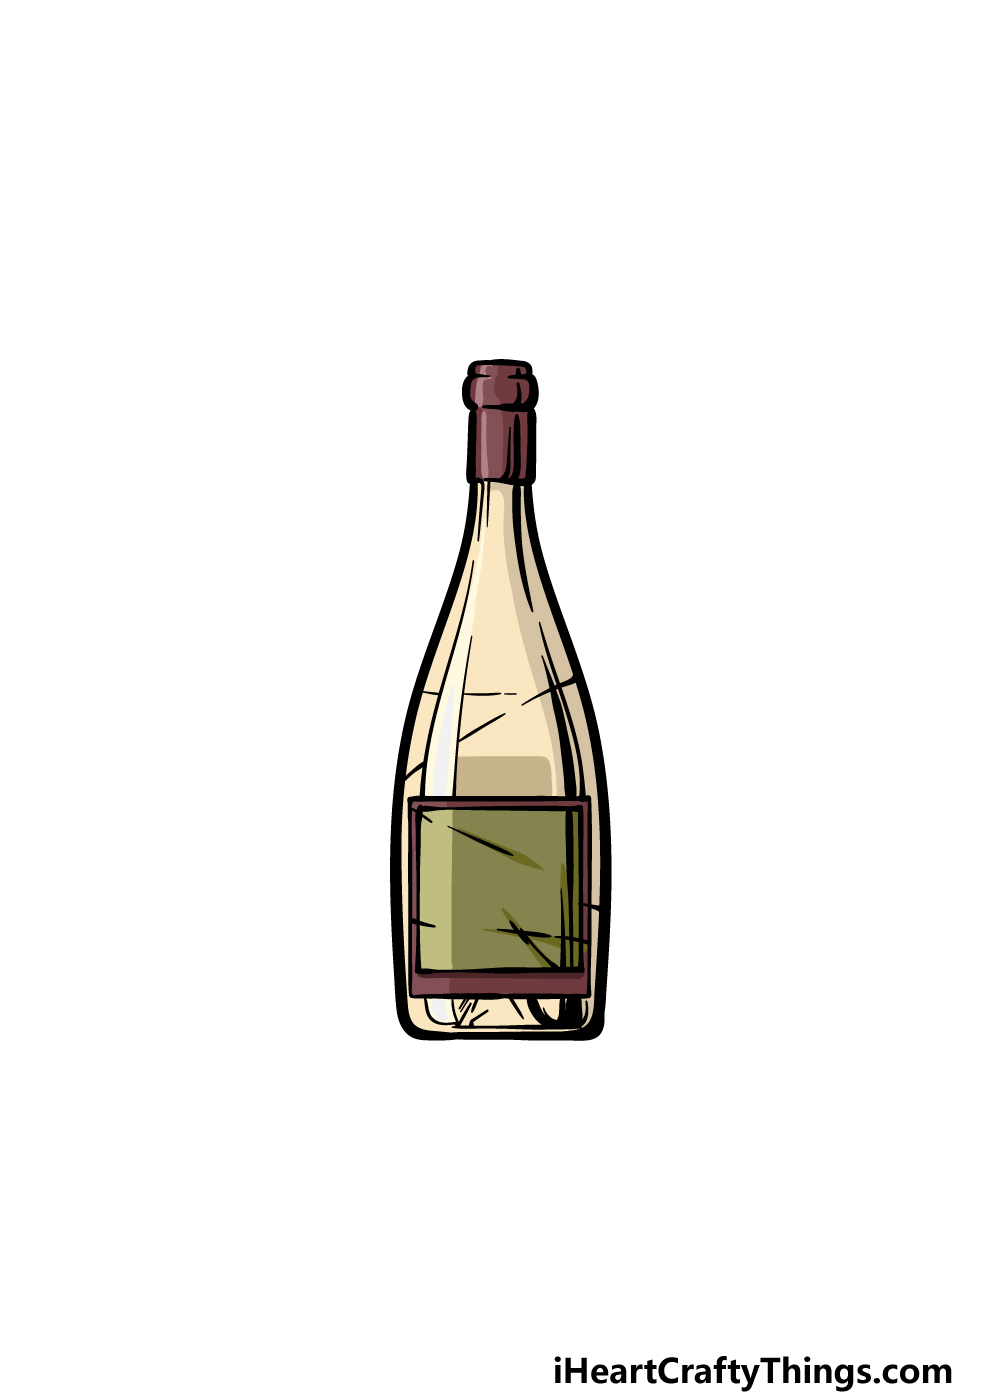
This is the final step of this guide, and now you can color your wine bottle drawing in. you have a few options for how you could do this!
In our example image, we colored the glass a beige color to make it look like the bottle is already empty.
You could do a similar look for your own drawing, but you could also color with some red or gold to make it look like the bottle has still got some wine inside of it.
Which approach will you take, and what kind of wine do you think this bottle would contain?
Here’s how you can make your wine bottle drawing even better…
Pour out and savor these tips we have for making your wine bottle sketch even better!
This drawing of a wine bottle shows one that seems to be empty, which most wine enthusiasts would say is the worst state to find a wine bottle in.
You could fix this problem by drawing this wine bottle so that it is filled with wine. This could be red or white wine, depending on which you prefer to depict.
You could draw one of each if you can’t decide which to show.
The label on this wine bottle was left blank, and this opens up some opportunities. This is the perfect place to add a logo, and there are a few options for how you could do this.
One would be to draw the logo of a real life famous wine brand. Or, you could have some fun designing your very own logo to add to the label!
If you were to design your own logo, what elements do you think it would contain?
When enjoying wine, many people like to pair it with certain snacks and food. These could be added as accompaniments to your wine bottle drawing!
Some classic examples would be some fancy cheeses with some crackers.
Wine can also often be paired with certain meals, so you could also show what kind of meal you would enjoy with this wine bottle.
Maybe a tasty steak dinner would be a good meal to use for this drawing! What other food could you add to the drawing?
Finally, you could finish off this wine bottle sketch with a background setting to bring it all together. This would be a great way to show off the perfect location for this wine to be appreciated!
You could go for a real location you have been to such as your own home or a favorite restaurant. Or you could maybe go for a classically romantic location such as dinner in front of the Eiffel Tower.
Where else would make a great backdrop?
Your Wine Bottle Drawing is Complete!
That brings you to the end of this guide on how to draw a wine bottle!
Drawing objects like this can be deceptively tricky, so we hope that the guide made it easy and fun for you to tackle this challenge.
When you have learned how to do it, you can keep it going by adding your own details, design choices or even a background.
If you drew a background, you could show what you think would be best enjoyed with this wine! How will you finish it off?
We have many more drawing guides just waiting to be discovered by you on our website! Be sure to visit us there regularly, as we have more coming out soon.
When your wine bottle drawing is complete, we hope that you will share your creation on our Facebook and Pinterest pages. We look forward to seeing how it turned out!