There’s nothing quite like having a cool breeze brush against you on a warm day.
The wind is something we’ve all experienced at some point or another, but not everyone may know what causes the wind to act the way it does.
We probably won’t be going into those explanations here, but if you would like to know how to draw the wind then you’re in the right place!
The wind may be mysterious at times, but knowing how to draw it doesn’t have to be.
We hope that this step-by-step guide on how to draw the wind will help you to recreate this natural force.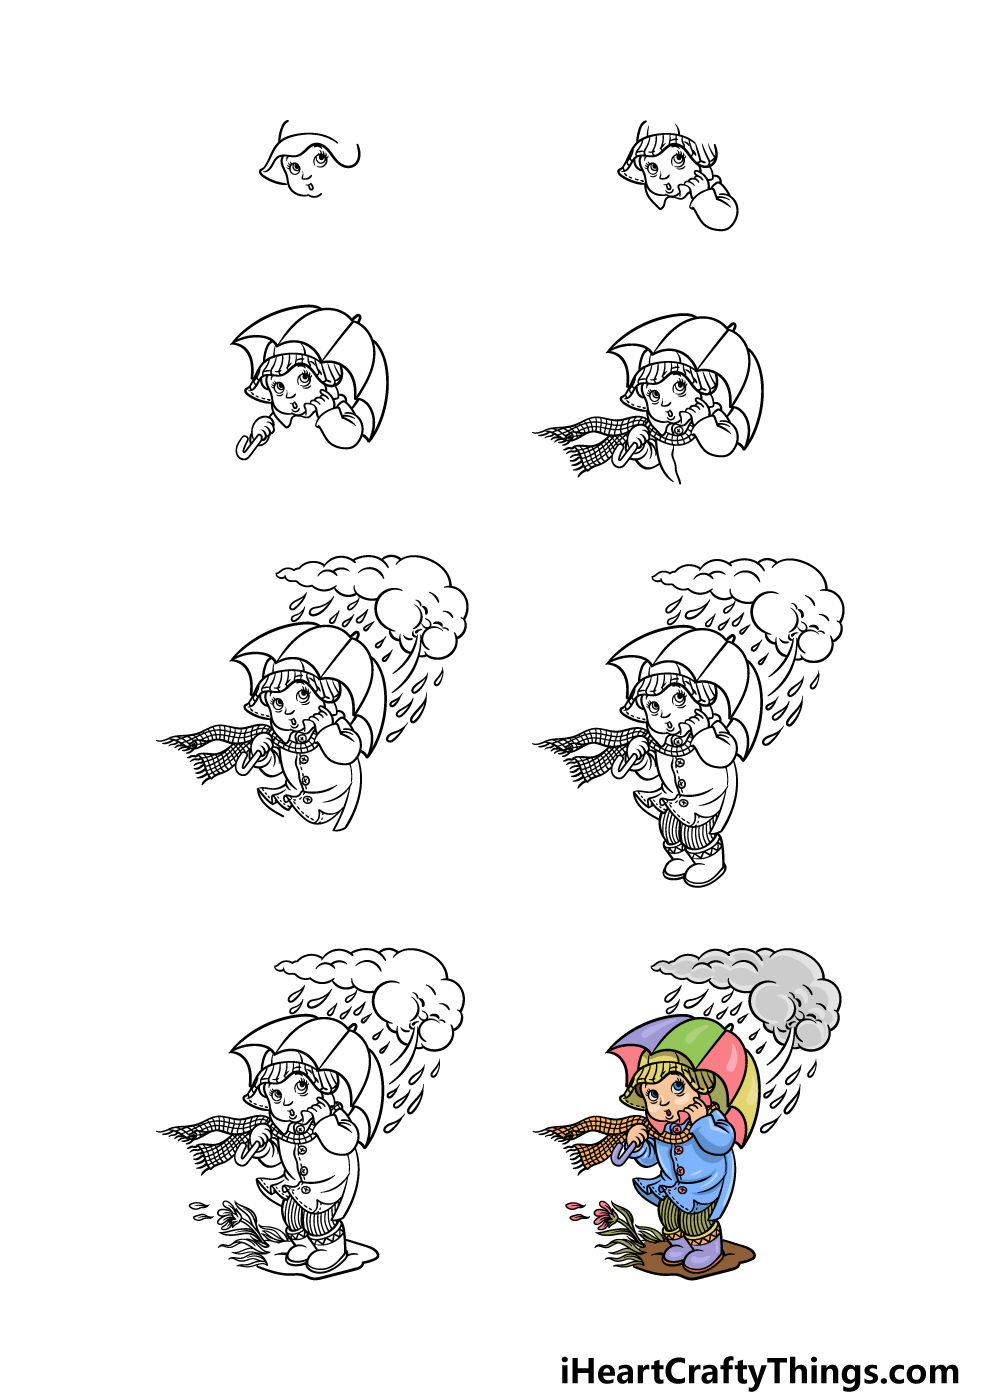
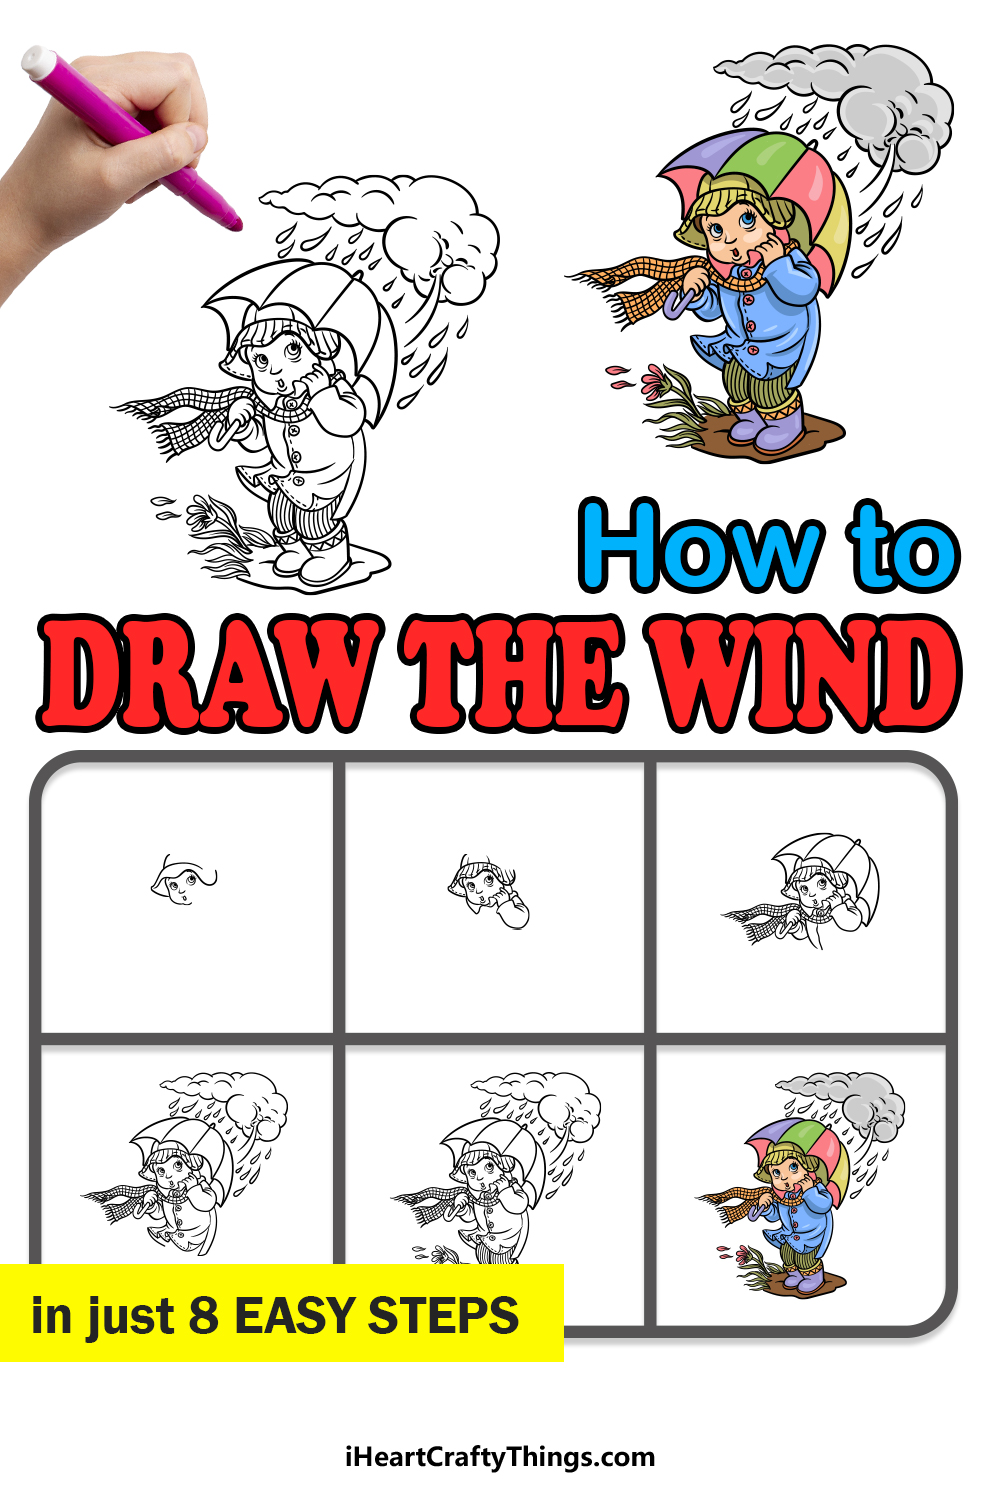
How to Draw The Wind – Let’s Get Started!
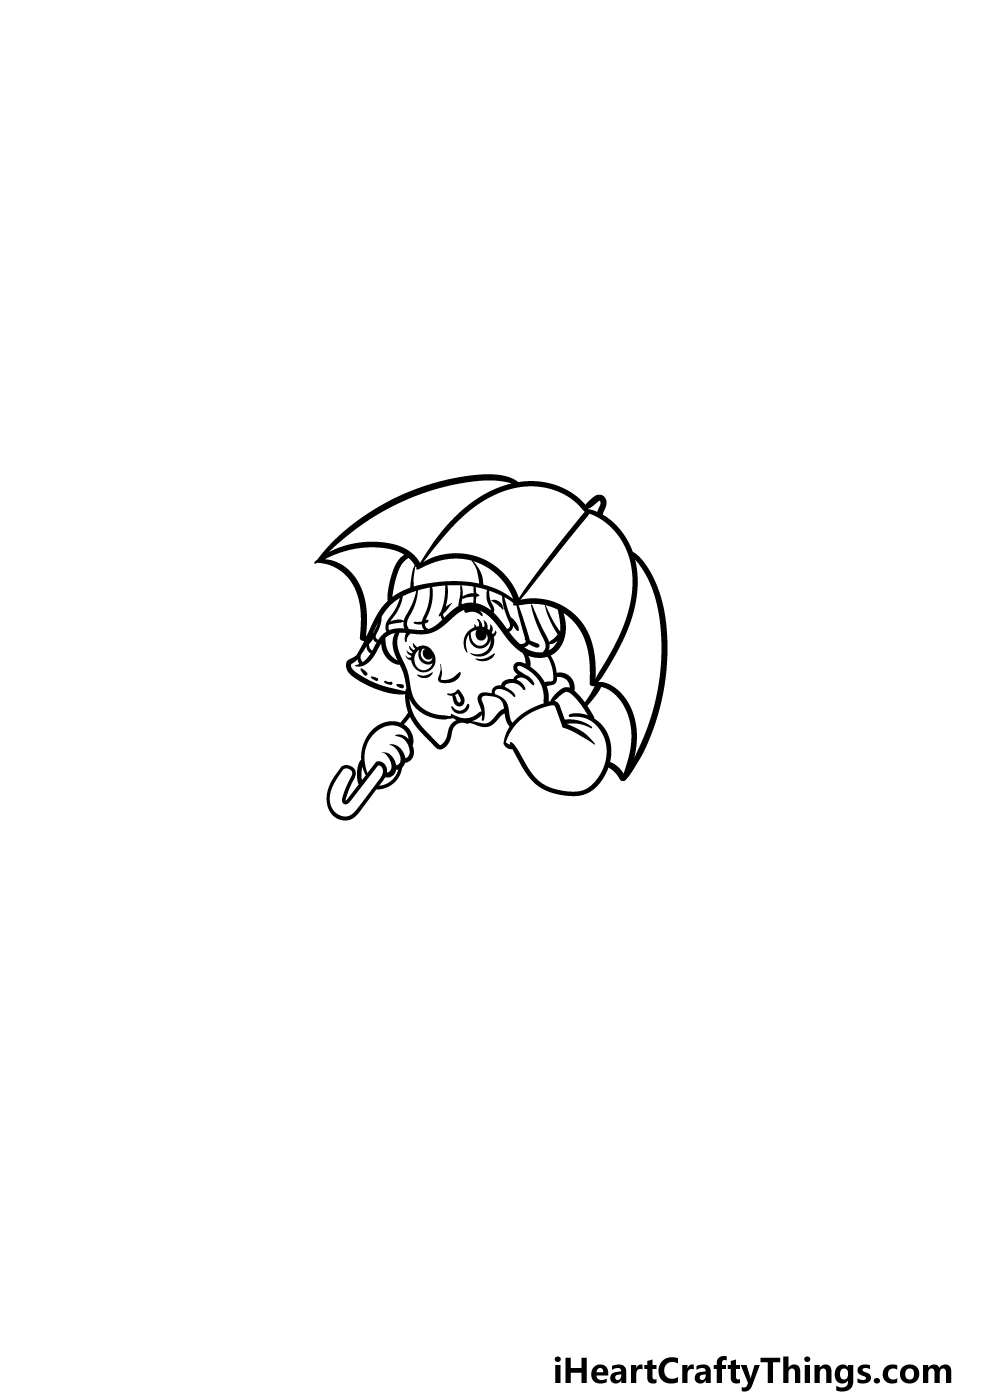
Step 1
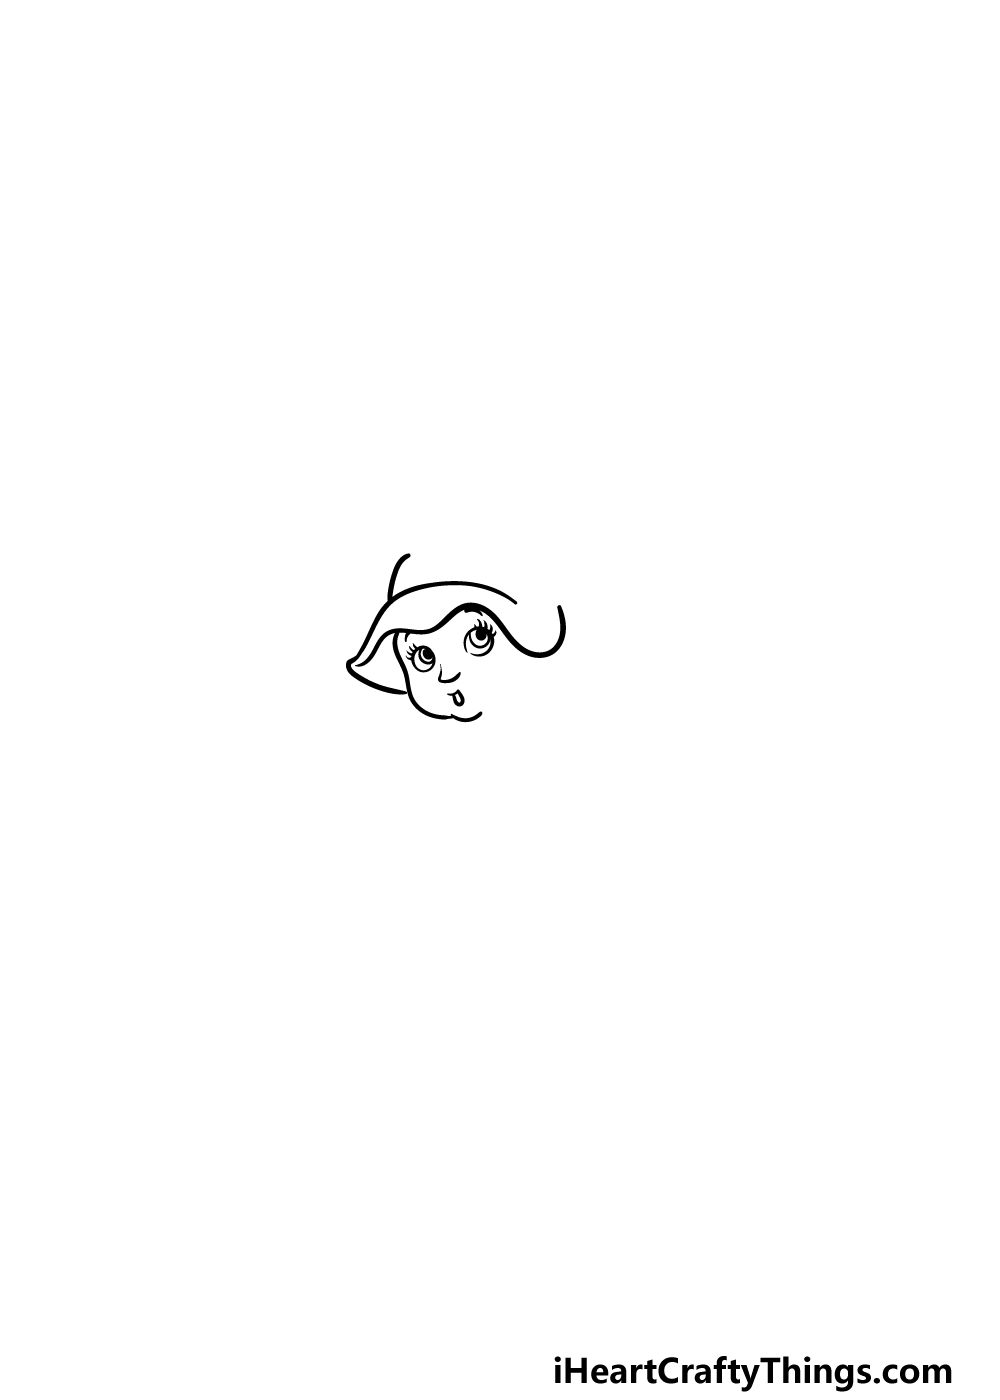
We have a really cute scene that we will be drawing in this guide on how to draw the wind!
In this guide, we will be drawing a kid in a raincoat being pushed by a big gust of wind, and we will start with the face of the kid.
Start off with two circles for the eyes, and then add some pupils and eyelashes.
You can then use some simple lines for the nose and mouth, and then you can finish up with the face outline and the rim of the hat they’re wearing.
Step 2 – Next, add an arm and some hat detail
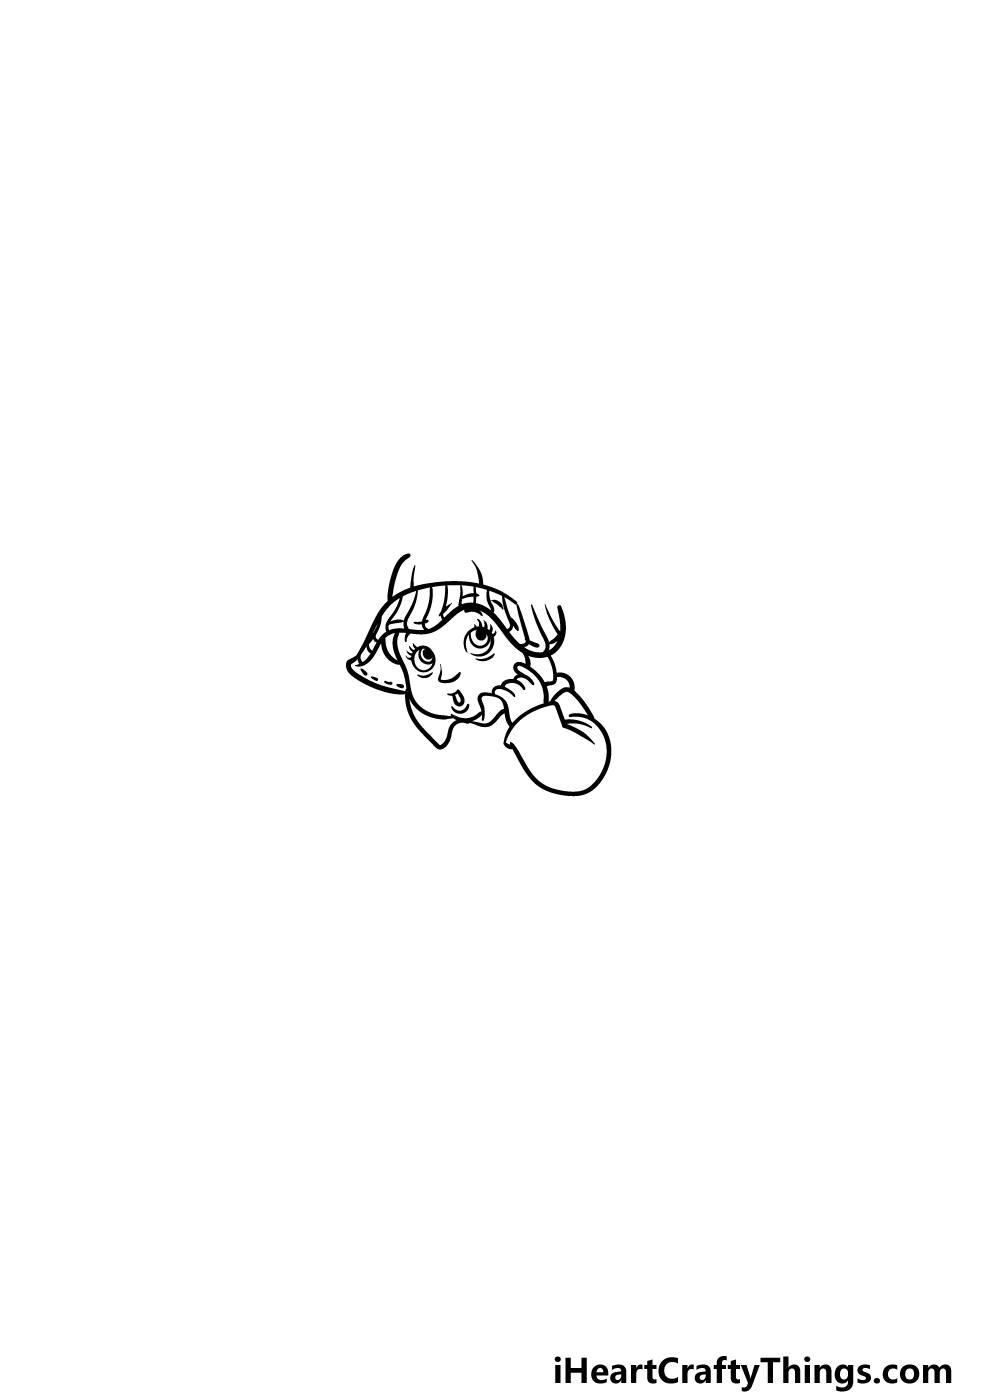
This part of your wind drawing will have you adding some more to the kid that the wind is blowing on.
Use some curved lines for the arm of the coat they’re wearing, and then draw their hand holding the neck of the coat.
Finally for this step, draw some line details on the hat that they’re wearing. There will be a gap at the top of the hat, as we will be drawing an umbrella covering that area shortly.
Step 3 – Draw the umbrella and another arm
We shall continue to add some details to the kid in this step of our guide on how to draw the wind.
Use some curved lines extending down from the tip of the umbrella to draw the various segments of the umbrella.
Then draw the shape of the hand on the other arm that is holding the handle of the umbrella. Finally, you can draw that handle with some more curved lines.
Step 4 – Next, draw the scarf and more arm details
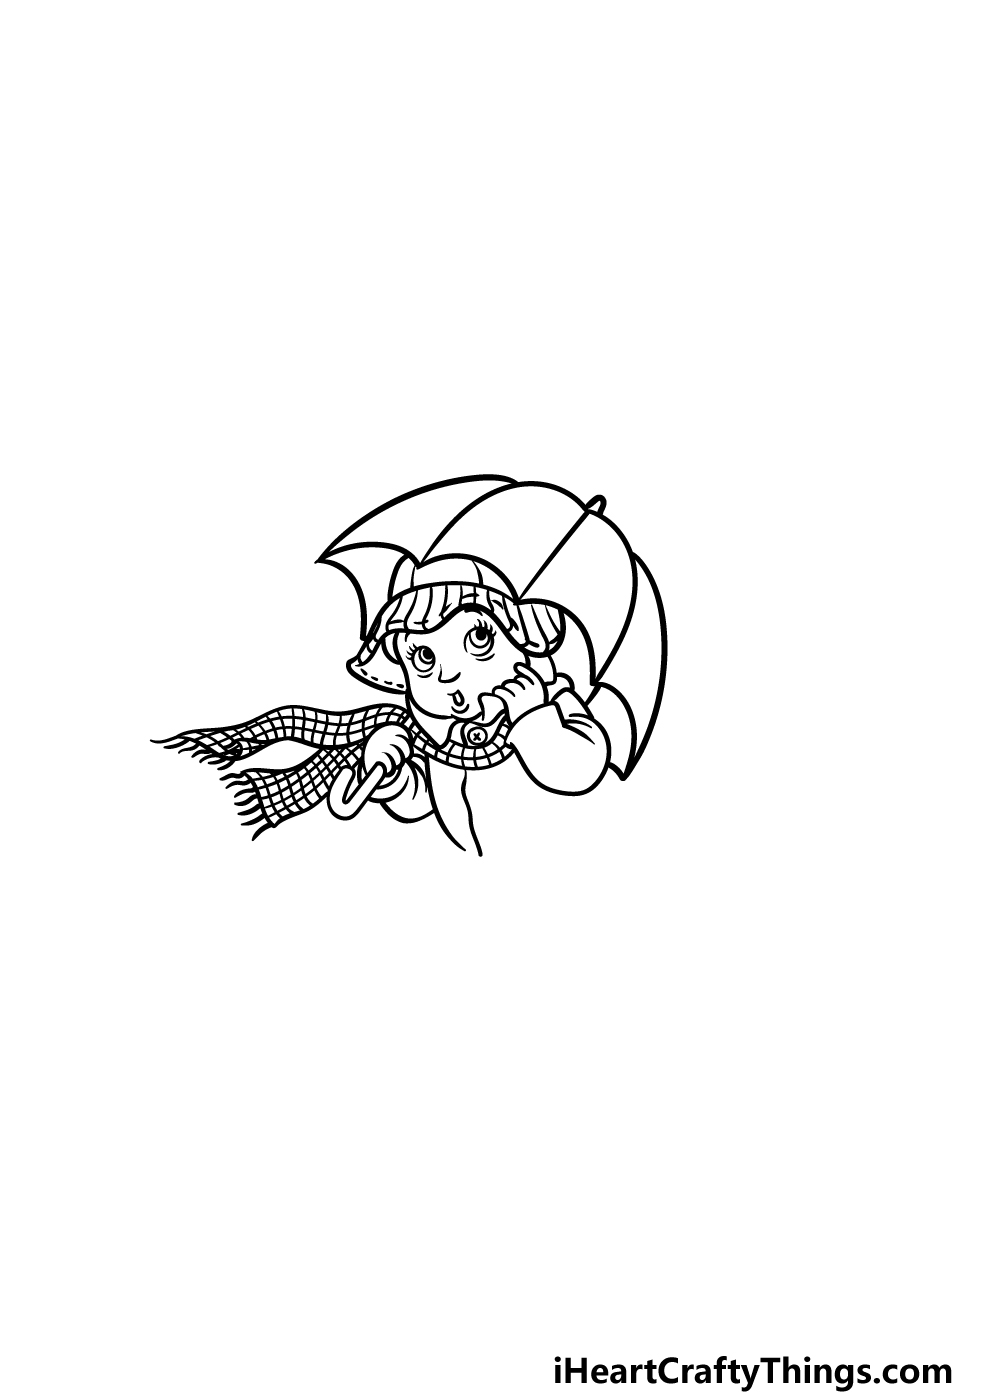
In this part of your wind drawing, all you need to do is draw some wavy lines to form the shapes of the scarf blowing off the neck of the child.
Then you can use a grid pattern to create a plaid look for the scarf. Finally, finish off by drawing the sleeve for the second arm and then draw a line for the chest of the child.
Step 5 – Draw the coat and the cloud
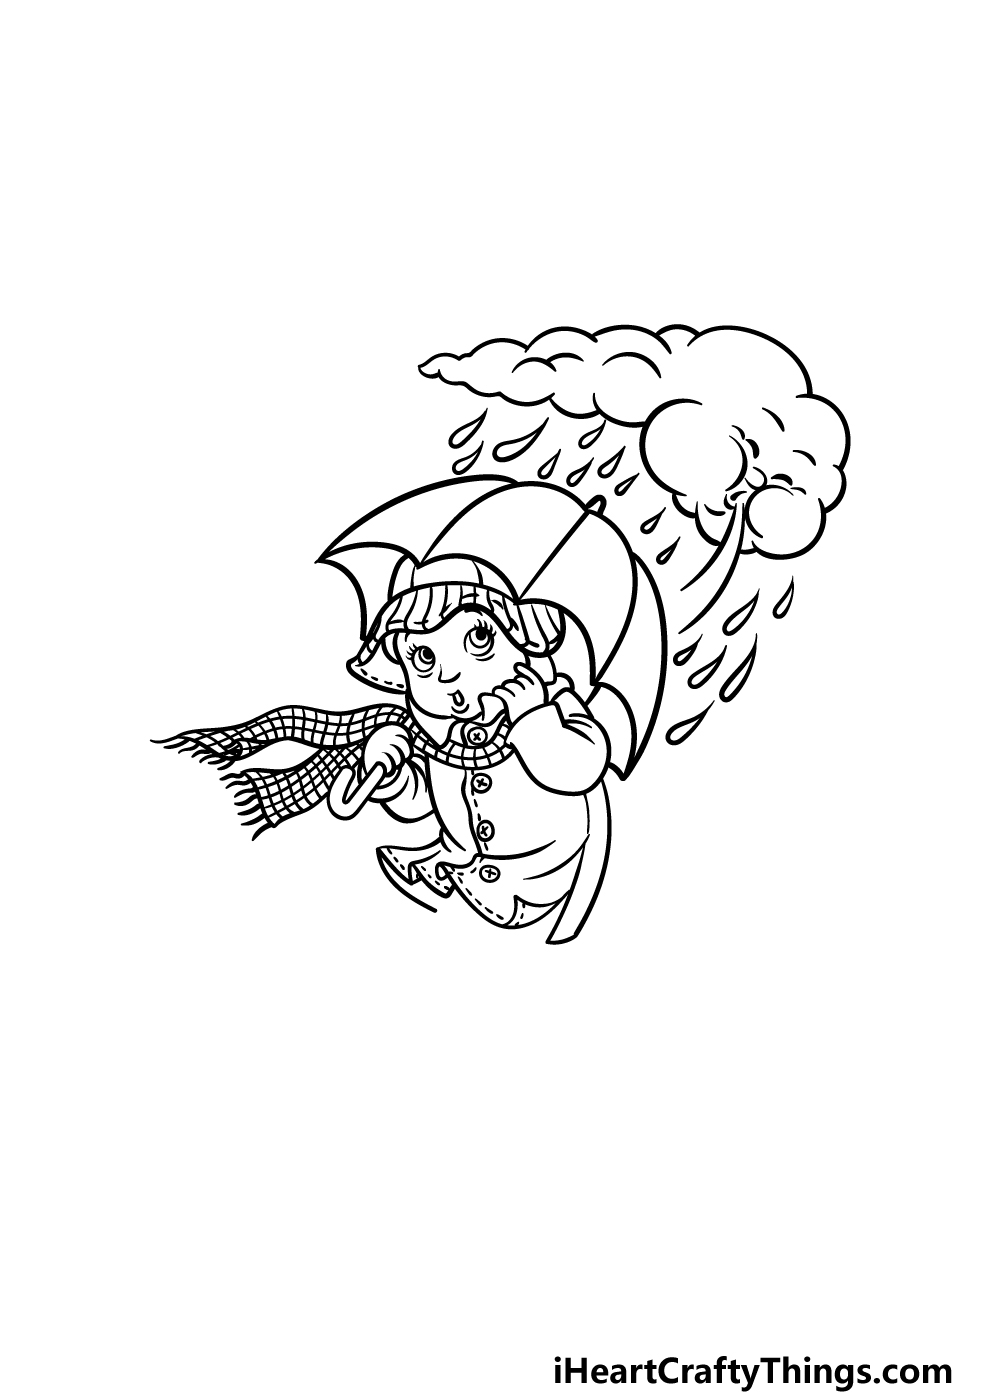
This step of our guide on how to draw the wind will see you drawing the raincloud causing the gust of wind.
Before you do that, you can first draw the lower half of the raincoat that the child is wearing. It will be blowing in the wind and will have some round button details along with lots of lines for the stitches.
Then it will be time to draw the cloud. Use lots of bumpy lines connecting to one another to create the outline of this cloud, and then you can draw a face onto the cloud for a fun touch.
Finish off this step by drawing lots of raindrops coming from the cloud towards the child. Don’t forget to also draw a gust of wind coming from the cloud!
Step 6 – Next, draw some legs and boots for the child
The kid in your wind drawing is decked out in full rain gear, and we will finish this off by drawing them wearing some rainboots.
Use some curved lines for the outlines of the legs and then add some stripy details to the interior. Finally, draw the boots beneath the pants and add some triangular details to the rim of it.
Then you’ll be ready to add some final details in the next step, so let’s proceed!
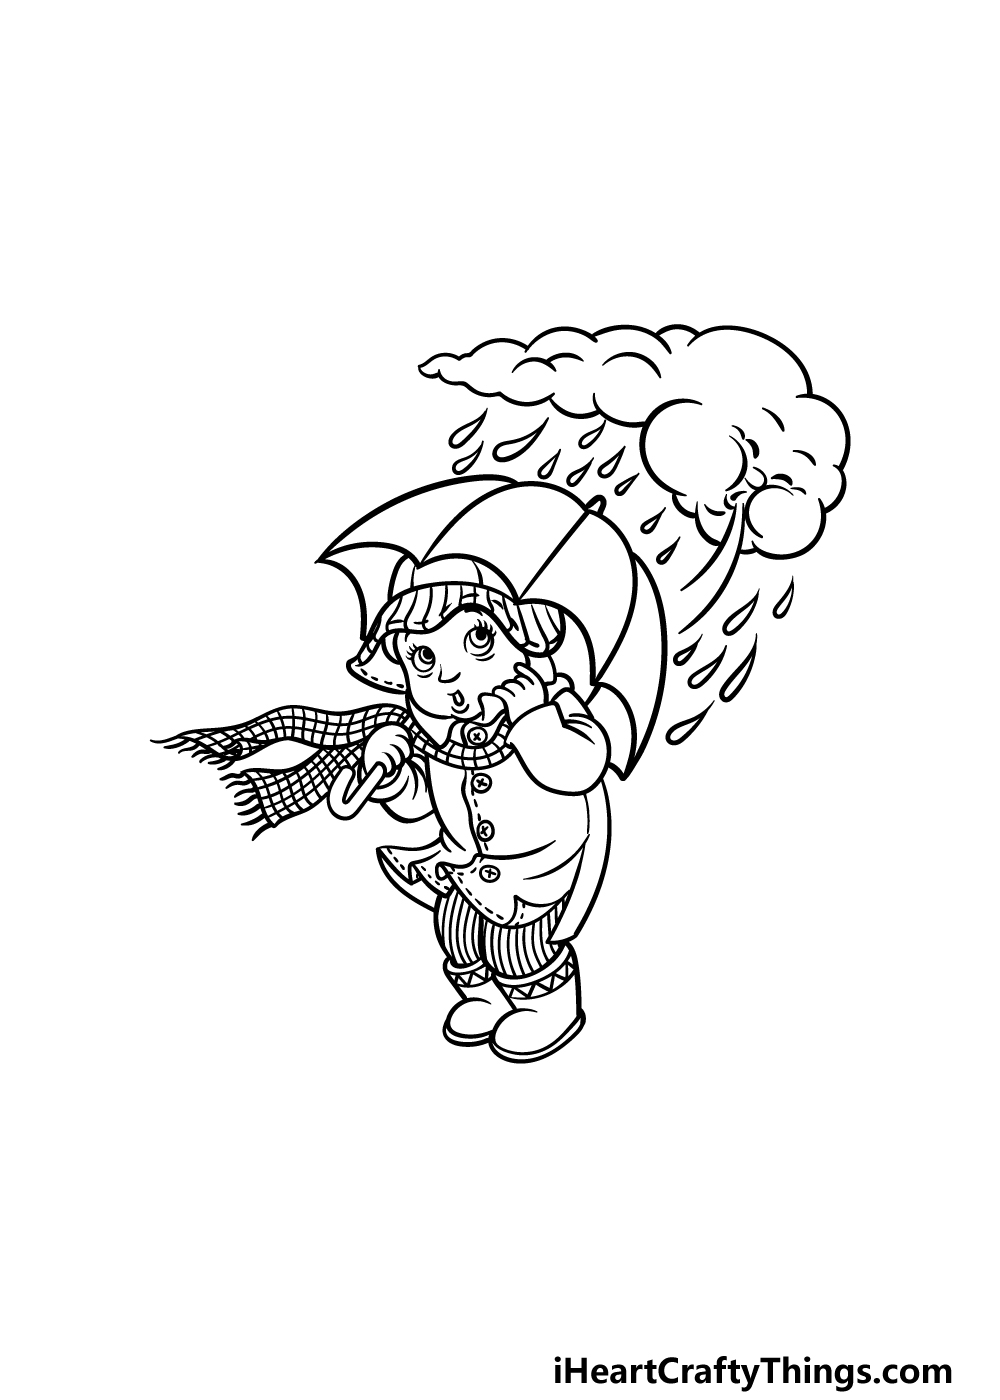
Step 7 – Next, draw a base for your wind drawing
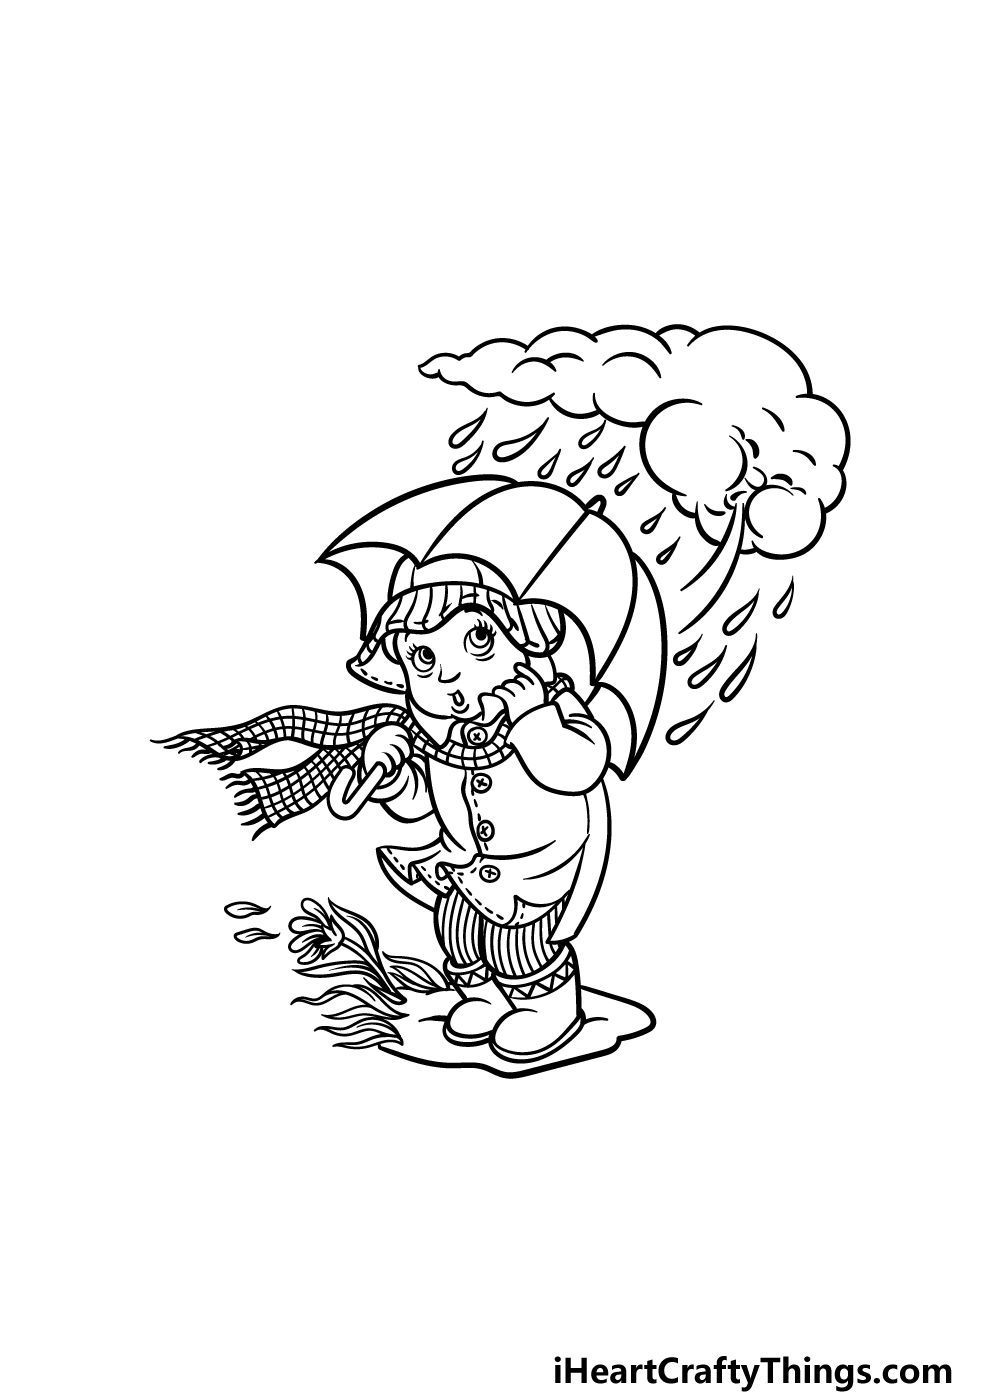
Before you color in this picture, we will be adding some final details in this step of our guide on how to draw the wind.
Use some rounded lines to create a muddy base for the kid, and then draw a flower blowing in the wind to finish it off.
Be sure to also add any extra fun details that you may like for the picture before you move on to the final step!
Step 8 – Finish off your wind drawing with some color
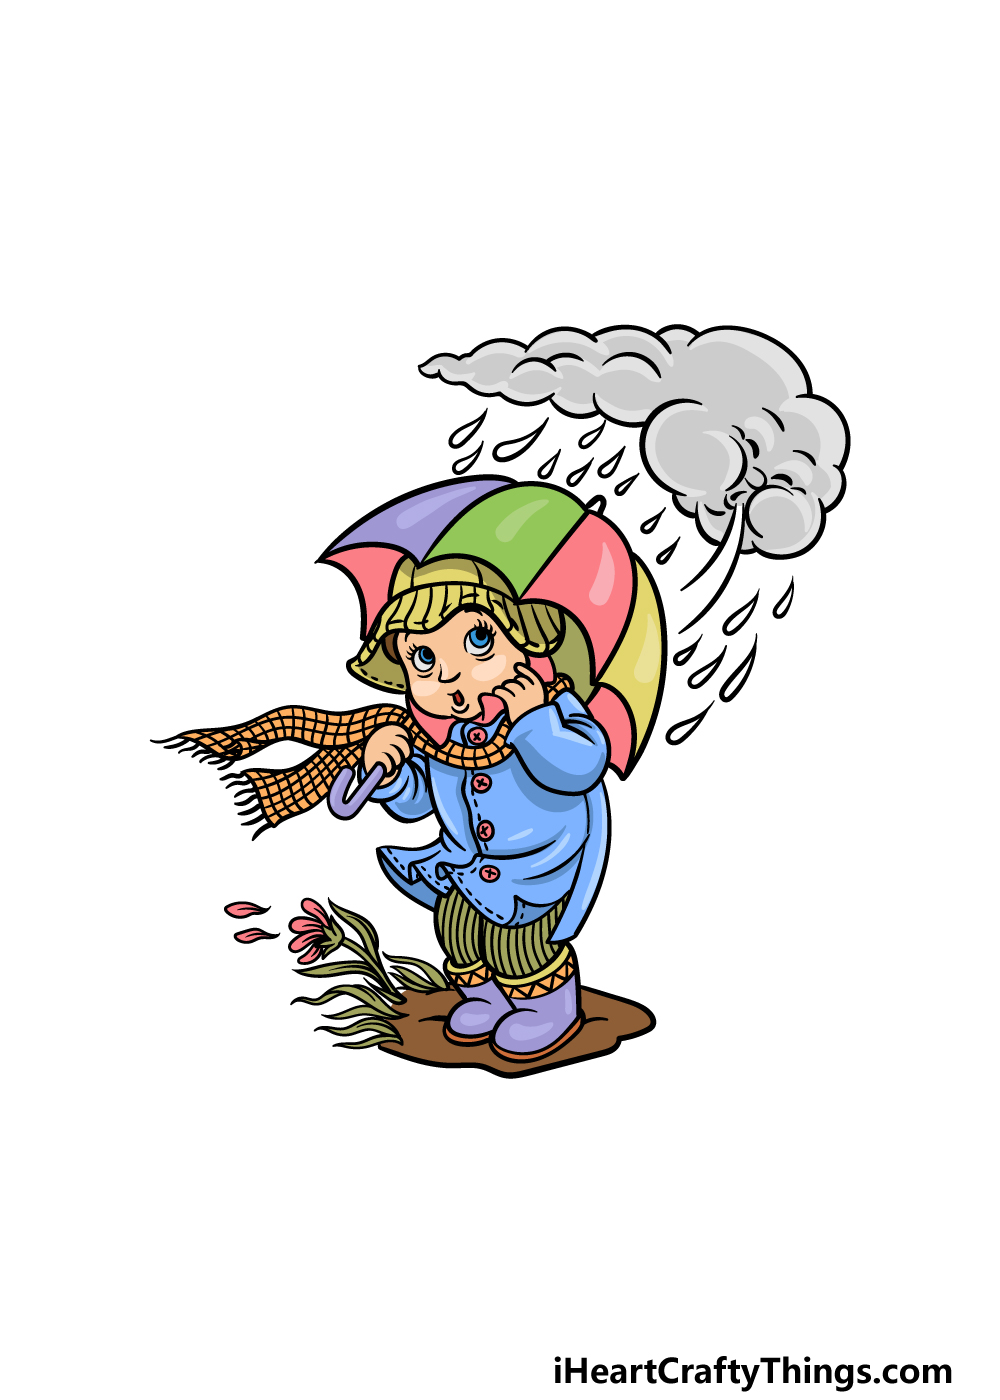
This is the final step of your wind drawing, and in this one, you can bring it to life with some amazing colors.
In our reference image, we tried to use as many bright colors as we could for the picture.
We did this by adding some lovely bright colors to the segments of the umbrella along with the clothing that the child is wearing.
You could use this reference as you guide if you like these colors too, but you should also feel free to use any colors you love for it.
Once you have decided on the colors you want, you should also experiment and have fun with the art mediums you use to bring the colors to life!
5 Tips To Make Your Wind Drawing Even Better!
Make a stunning artwork as we show you 5 tips for making your wind sketch even better!
The design we created for this wind drawing is really fun, but you could make it more personalized if you wanted. A good place to start would be with the character.
For example, you may want to make them look more like yourself or someone you know! You could do this even if you stick to the same style we used.
What other details could you customize?
Speaking of styles, you may want to try out a different one for this drawing of wind. One idea would be to make the drawing simpler and more cartoony.
You might even prefer to make it even more detailed and realistic! It all depends on your preferences, so what styles would you potentially like to use?
If you wanted to give your drawing a whole new element, you could incorporate some crafts. One example of this would be to use some cotton wool and then stick it over the cloud.
You could apply some grey paint to the cotton wool to make it look even stormier! That’s one idea, but don’t be afraid to play around with fun tools and crafts.
Adding a background would be another great way to enhance your wind sketch. We drew the beginnings of a background in this guide, but you could add a lot more to it.
By adding a backdrop and more details, you would be able to turn this into even more of a scene! What are some cool background details you could add?
Once you have decided on the styles and extras you would like for this wind drawing, you could then finish off with some creative colors.
We created a nice, classic look for our example. This could be recreated by using softer mediums like watercolors and colored pencils.
For brighter colors, colored pens and markers would be the way to go. Once again, it all depends on your preference!
What colors and mediums would you like?
Your Wind Drawing is Complete!
We hope that you enjoyed drawing this adorable image alongside us in this guide on how to draw the wind!
We aimed to break it down into smaller parts so that recreating this adorable scene would be not only easier but also lots of fun for you to do. Hopefully we achieved both these goals for you!
Now it’s up to you to finish off this picture with any extra details, color choices and fun mediums that you love, so have fun with it and see what happens!
When you would like to take on a new drawing challenge, you can check out our website for more awesome guides. Be sure to keep checking in, as we upload new guides often.
Please be sure to share your amazing wind drawing on our Facebook and Pinterest pages when it’s done as well!