Vikings were some of the most industrious and feared warrior cultures in all of history. Known for pillaging and plundering, they also had a rich culture with vibrant mythologies, innovative architecture and agricultural innovations.
They have seen a resurgence in popularity in recent years, and they feature in many films, video games, TV series and more.
With how popular the Vikings are, it has also led to many people wanting to find out how they can learn how to draw a Viking.
If you’re a fan of these fearsome warriors, then this is the guide for you!
Our step-by-step guide on how to draw a Viking will show you how to create an awesome artwork featuring one of these warriors.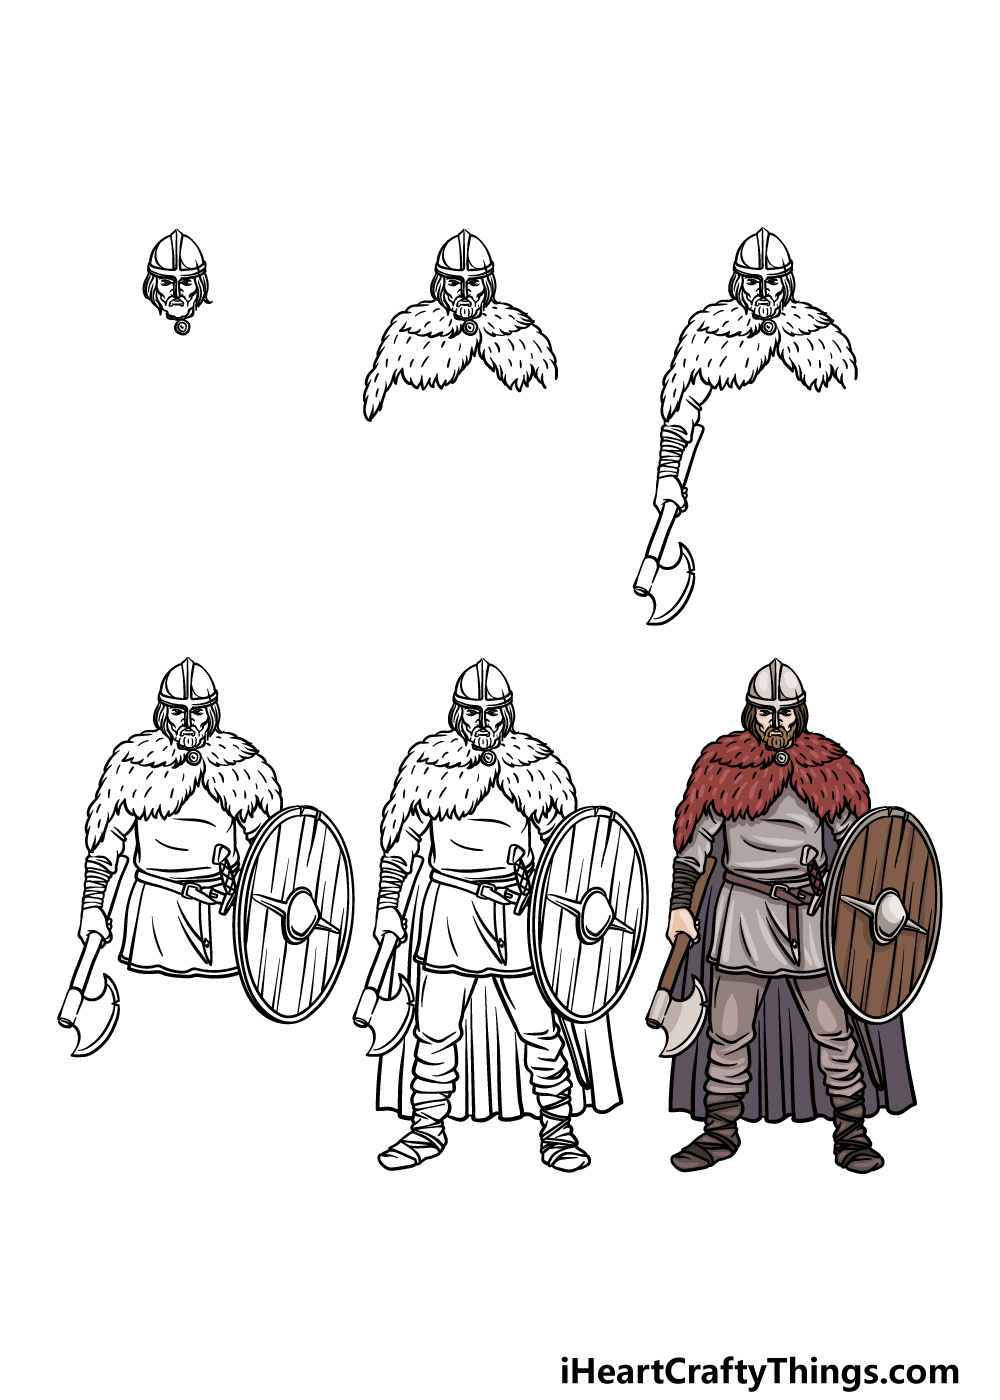
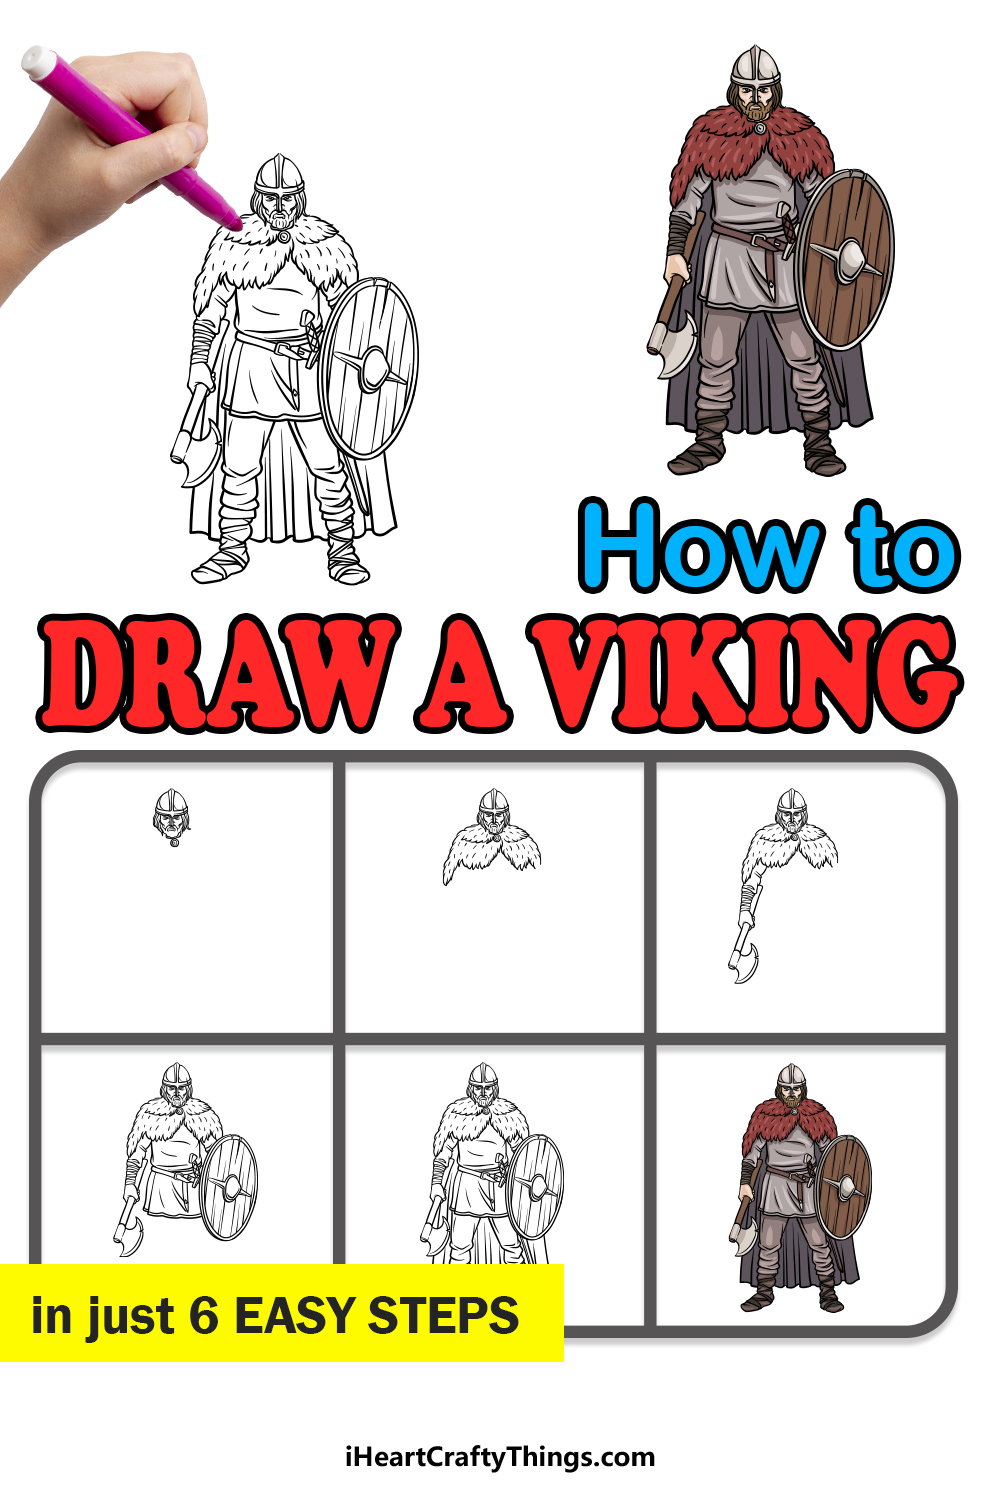
How to Draw A Viking – Let’s Get Started!
Step 1
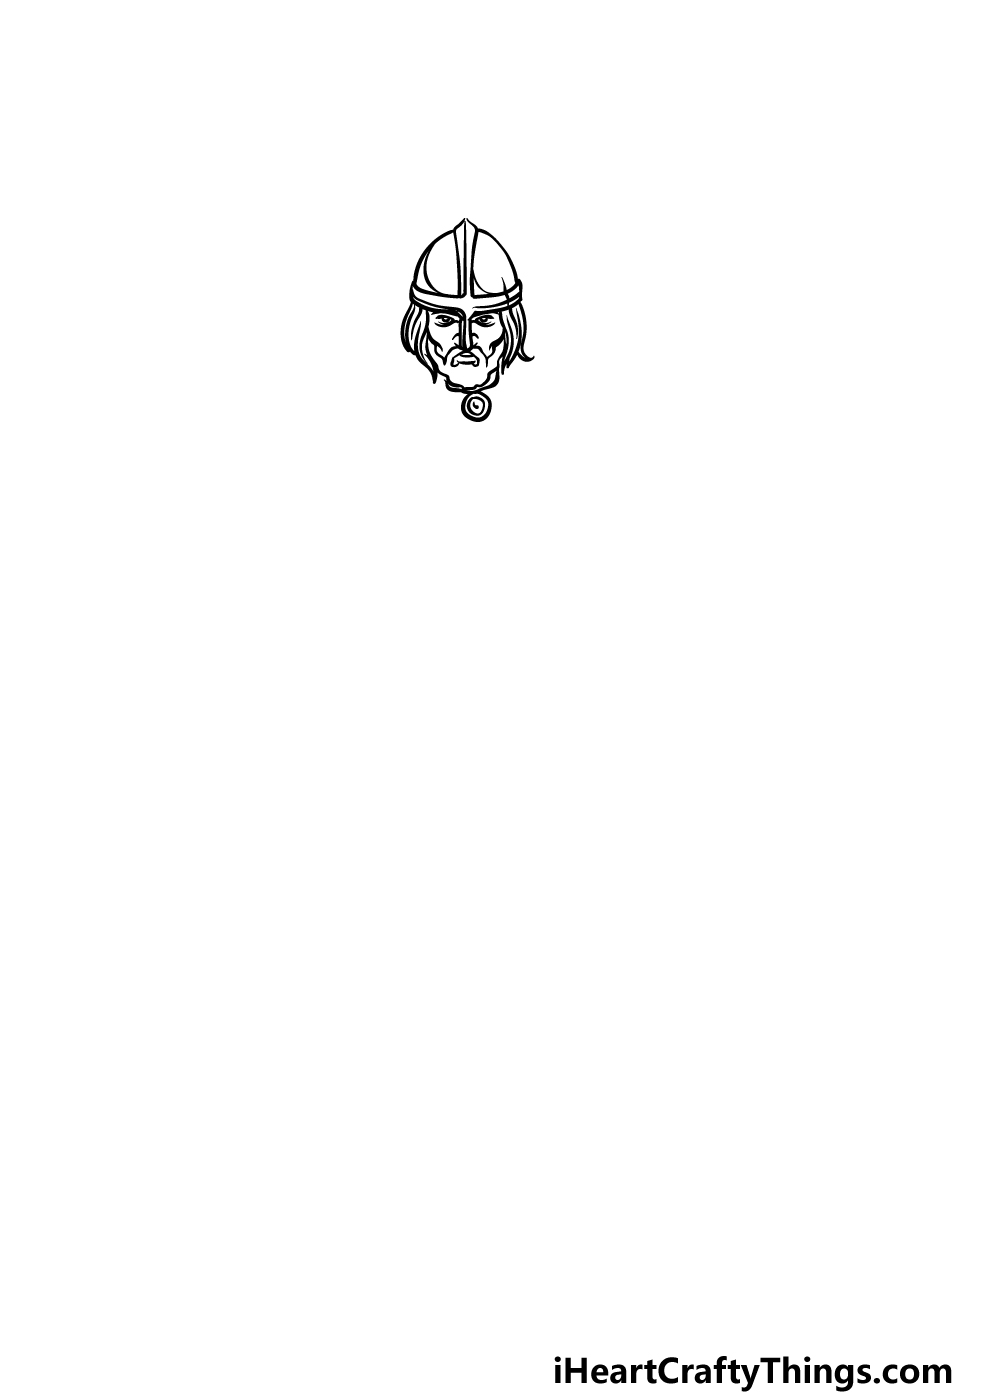
When you think of a Viking, you may think of a horned helmet sitting atop a bearded face.
While this is a common conception of a Viking, it is actually historically inaccurate, as real Vikings did not actually wear horned helmets. In this guide on how to draw a Viking, we will be starting with a more accurate helmet along with the face.
We will be using some curved lines for the domed sides of the helmet, and then there will be a thin section at the front and base of the helmet.
This section will also extend over his nose. Then you can draw his eyes, mouth and beard before finishing off with his facial outline.
Step 2 – Next, draw his cloak

Vikings had to survive in some of the harshest climates and environments in the world, so they would often wear thick fur cloaks.
That is what we will be adding in this part of your Viking drawing. The outline for this cloak will be drawn with lots of smaller wavy lines connecting to one another.
This helps to give the cloak the look of being made of fur. It will go over his shoulders and the top of his chest, and then you can add some line details throughout it for even more fur detail.
Then you’re ready for step 3!
Step 3 – Draw his first arm and axe
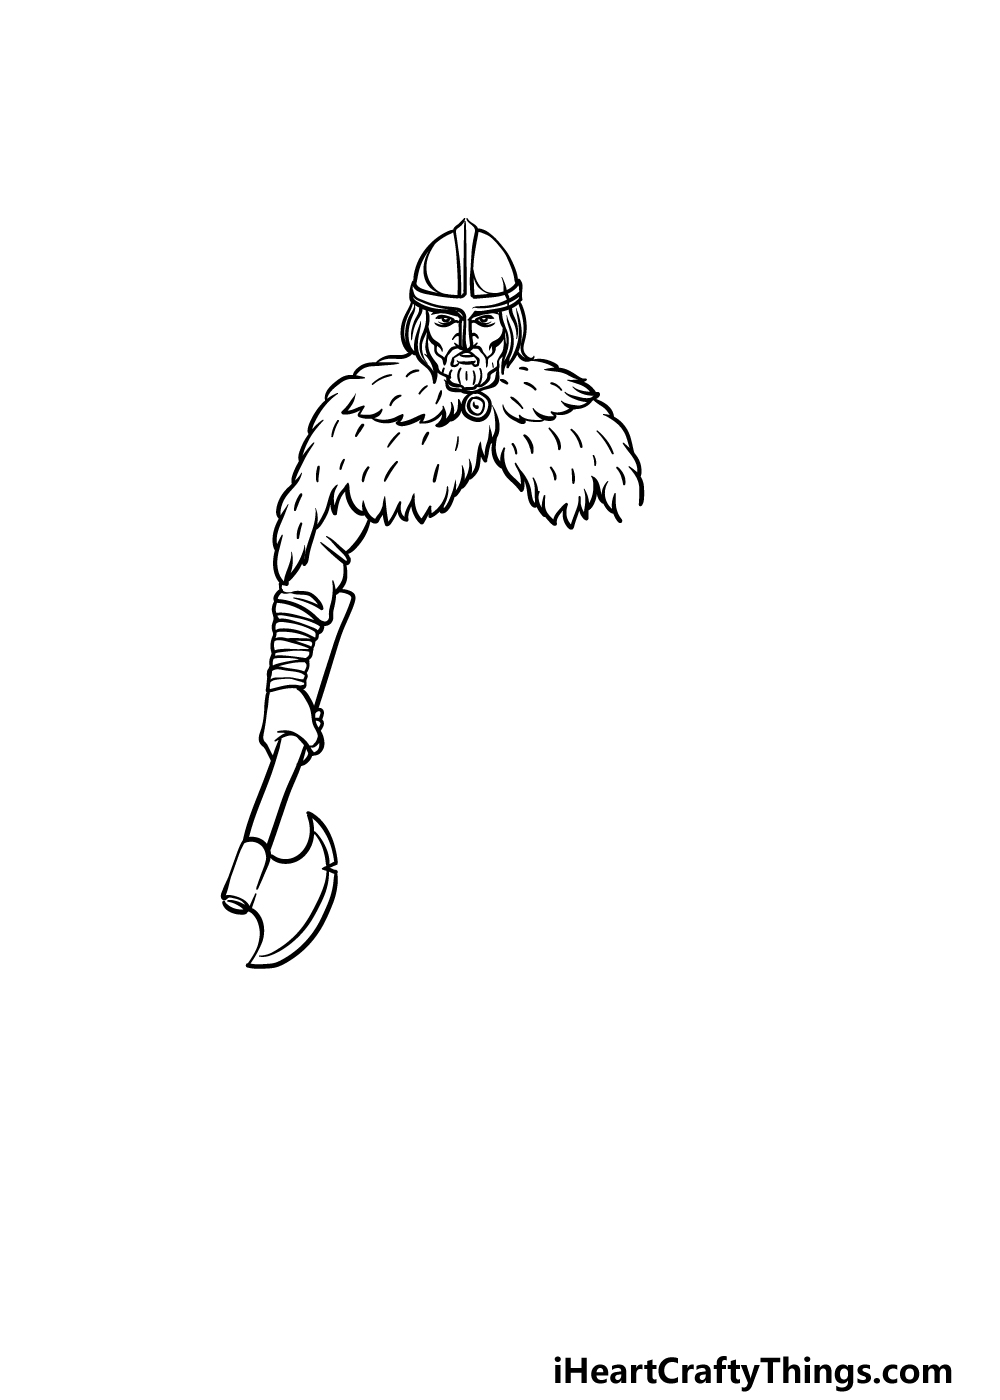
The Vikings were known as fierce and proficient warriors, and so we will be adding an axe for him in this step of our guide on how to draw a Viking.
Extend some curved lines coming down from the left-hand side of his cloak for the arm of his top. Then, we will be drawing his hand clutching the straight-lined handle of his axe.
You can then finish off this step by drawing the sharp and rounded blade for the axe at the end of this handle.
Step 4 – Now, draw his chest, waist and shield
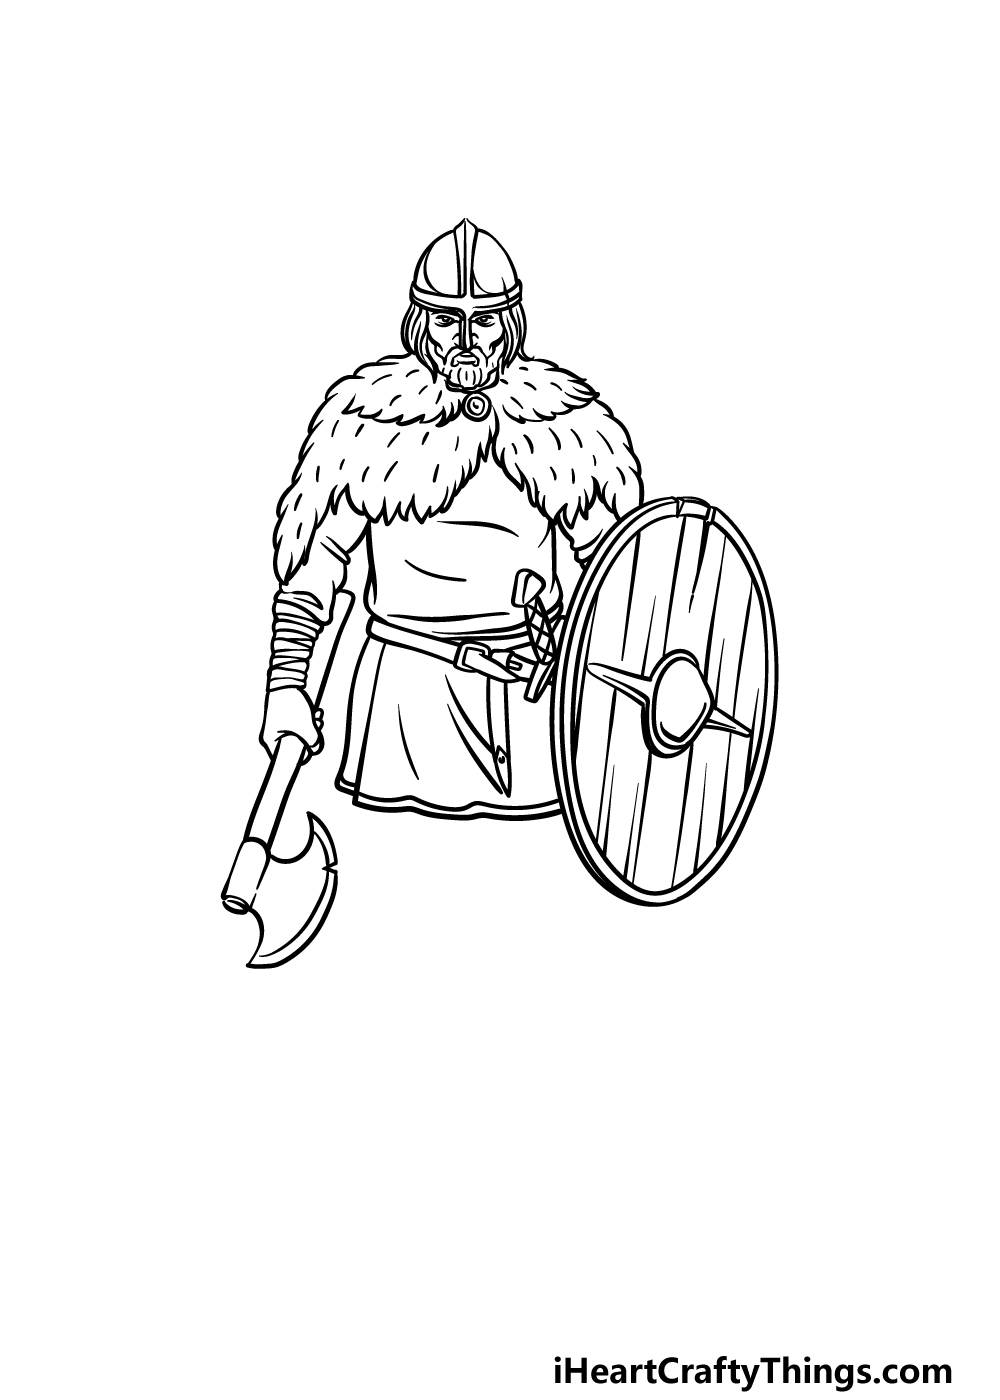
There will be a lot that we will be adding to your Viking drawing in this next step, so let’s take it slowly! We will be starting with his shield in this step.
The shield will be drawn with two ovals within each other for the outer frame. Then, add a circular shape to the center of it, and then draw some line details throughout the interior for a wooden look to the image.
Once that shield is drawn, simply use some straighter lines for his top coming down, and then we will draw a belt with a sword poking out from behind the shield.
You can also draw the skirt of his tunic poking out below before moving on.
Step 5 – Finish off your Viking drawing
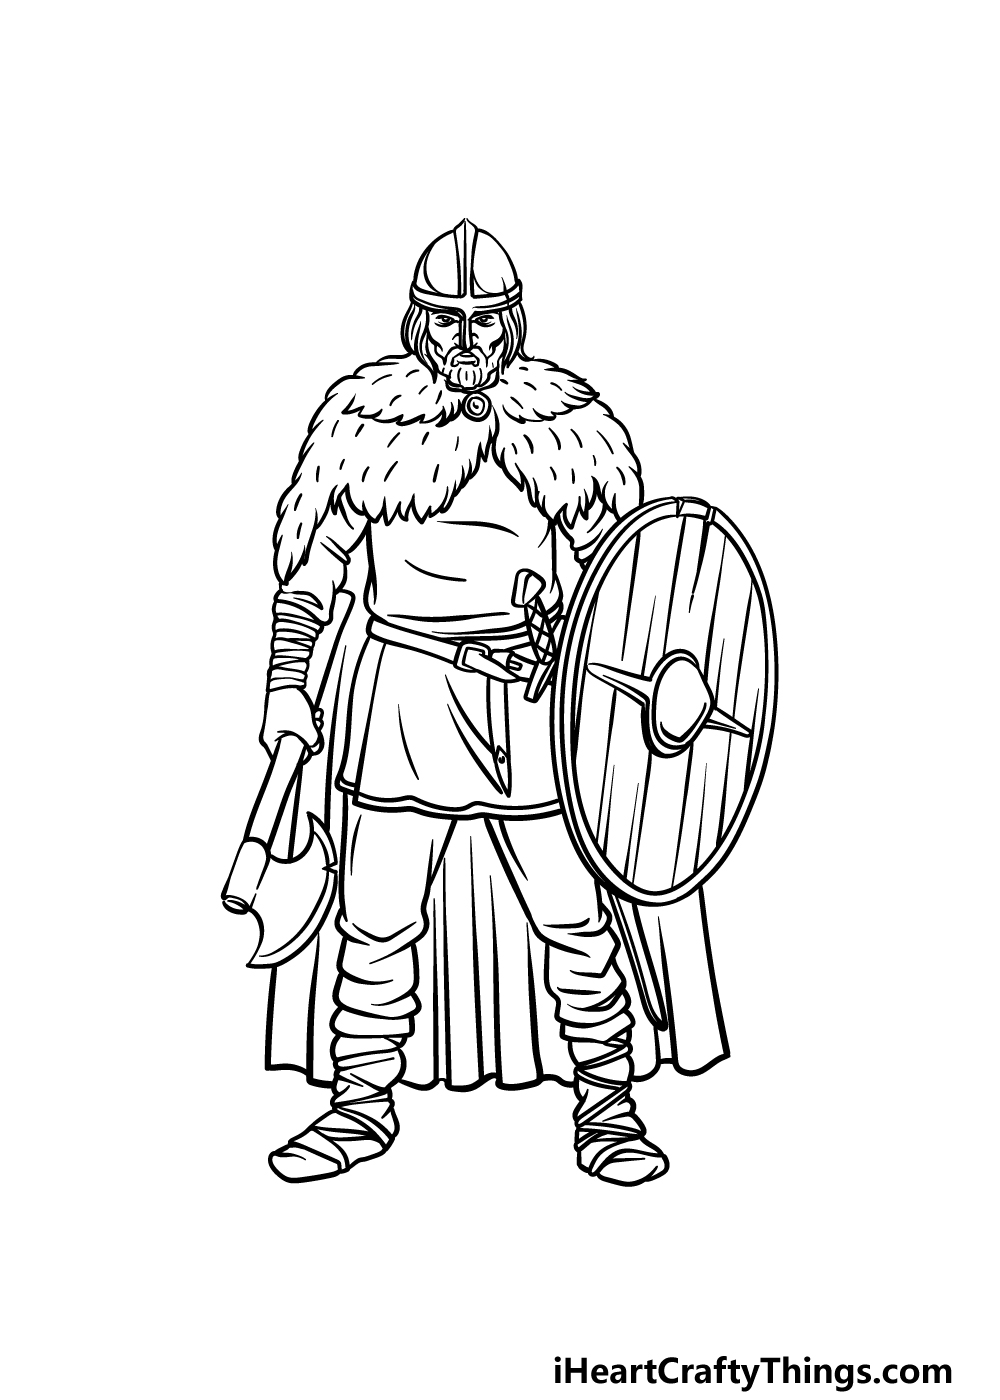
We will be finishing off the final details and elements in this step of our guide on how to draw a Viking.
Firstly, use lots of smaller curved lines for his trousers extending from the base of his tunic. Then you can draw his boots beneath them.
Lastly, you can use a combination of straight and curved lines to show his cape flowing down behind his back.
Once you have drawn these final details, you can also add some of your own before you proceed on to the final step! You could draw a background to give this picture a real sense of place. Perhaps you could look up some pictures of the frozen expanse of Norway or Iceland and replicate it for your Viking!
How will you finish off this drawing before the final step?
Step 6 – Finish off your Viking drawing with some color
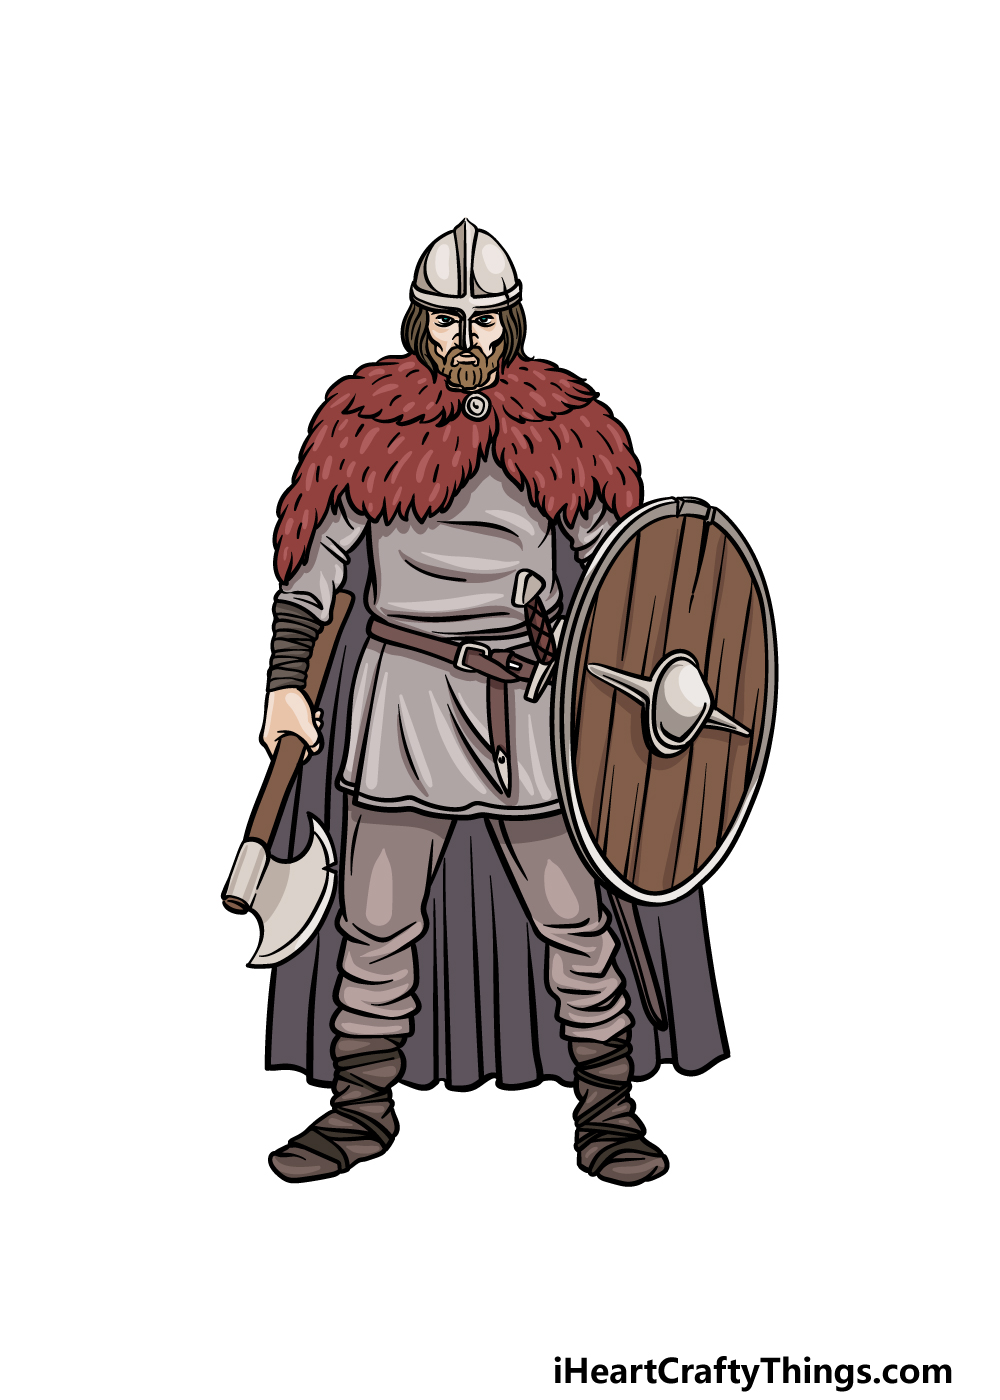
Now you have arrived at the final step of your Viking drawing, and for this one we will be finishing off with some color!
For our reference image, we went with some darker and more subdued colors for a more realistic look to the image.
We used greys and browns for his helmet, tunic and shield while going for a dark maroon color for his cloak.
These are the colors that we chose for the image, so while you could go for these as well you can also choose some colors of your own to finish it off!
Once you know which colors you would like to go for, you can also pick which art mediums you will go for to achieve your color choices.
There are mediums like acrylic paints and colored markers for brighter colors, whereas watercolors and crayons can be great for more subtle color schemes.
The choice is up to you, so we look forward to seeing what you choose!
Here’s how you can make your Viking drawing even better…
Finish off this fierce warrior in style as we make your Viking sketch even better!
This drawing of a Viking shows a warrior armed with a shield and an ax, ready for battle.
These are some of the many weapons the Vikings could use, and while they look great here there are many more you could use!
For example, you could arm him with a sword or maybe a bow and arrow. What are some other weapons you could give this Viking warrior to take into battle?
When we think of Vikings, we often picture them with horned helmets. In reality, Vikings didn’t wear helmets like these, but they still look cool.
If you wanted to give your Viking drawing a classic look, you could add some horns to his helmet! There are also other ways that you could customize his look.
These could include giving him different armor, clothing details or maybe even a longer beard. What are some other ways that you could alter the appearance of this awesome Viking?
If you were coming up with too many options to customize this Viking in the previous step, you could use some of these designs to add more Viking characters alongside this one.
Vikings would work in groups, so you could design as many different warriors as you like. Each one could have unique weapons, armor and clothing to differentiate them.
How many Viking warriors do you think you would like to have on this page to complete this warrior crew?
Finally, adding a background would be the perfect way to finish off this Viking sketch. You would have so many amazing landscapes to choose from if you wanted to do this.
Perhaps there could be snowy Norwegian mountains looming in the background or perhaps he could be patrolling the English countryside.
You could even show a slice of Viking life by drawing a quaint village setting behind him. What sort of background would you like to have for this portrayal of a Viking?
Your Viking Drawing is Complete!
We hope that you had a great time working with us on this guide on how to draw a Viking!
These warriors had a specific look to their armor and clothing, and we aimed to make recreating this design easy and fun for you to do. Finishing this guide doesn’t have to be the end of it, however!
You can also take this drawing even further by adding your own final touches and additions.
We mentioned drawing a background as one idea, so if you were to draw a background what do you think you would go for?
This guide is one of many that we have on our website, and our various guides cover a huge range of different subjects. Be sure to keep checking in to never miss out!
We would love to see your fearsome Viking drawing when it is complete, so please do share it on our Facebook and Pinterest pages for us to see!