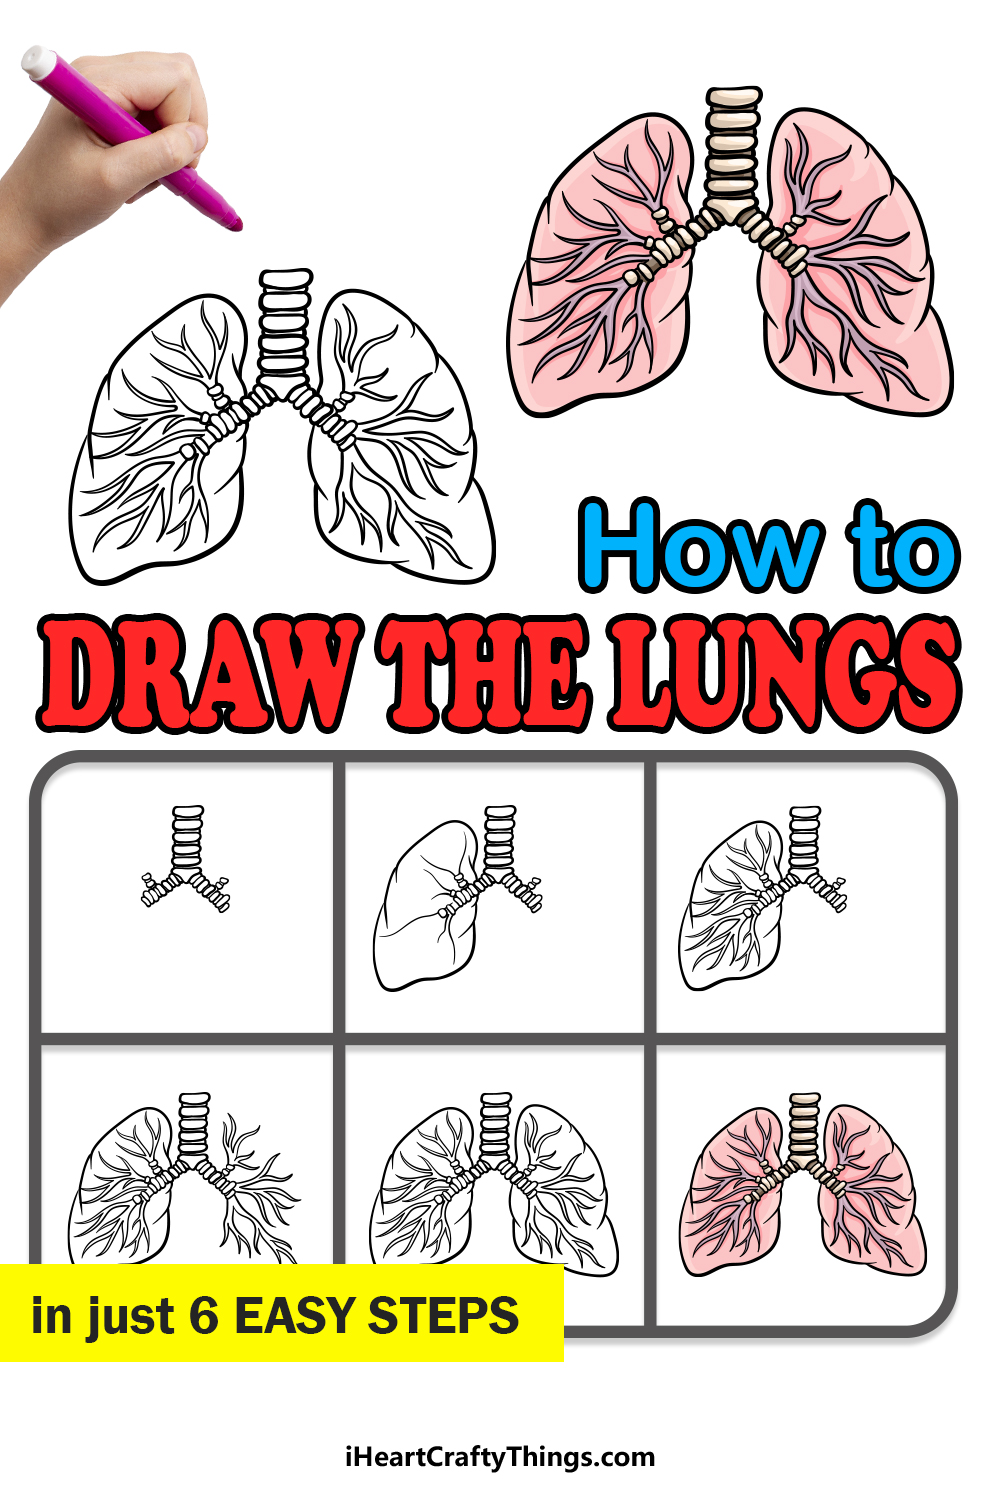
You can breathe easily, as this guide on how to draw lungs will make this design much easier! You’re about to discover how you can recreate this important organ.
The lungs are one of the most important organs we rely on every day. Even as you read this, you’re using your lungs to breathe Oxygen, something we need to do even as we sleep.
The lungs themselves have a very complex structure, and that can make them difficult to draw. The goal of this guide is to show you just how simple it can be when you know what to do.
I will walk you through each step and show you how to draw each section of the lungs. After that, you will have a drawing so detailed that you can even label the different parts in order to make it educational
Discover How To Make Your Lungs Drawing
How to Draw Lungs – Let’s Get Started!
Step 1
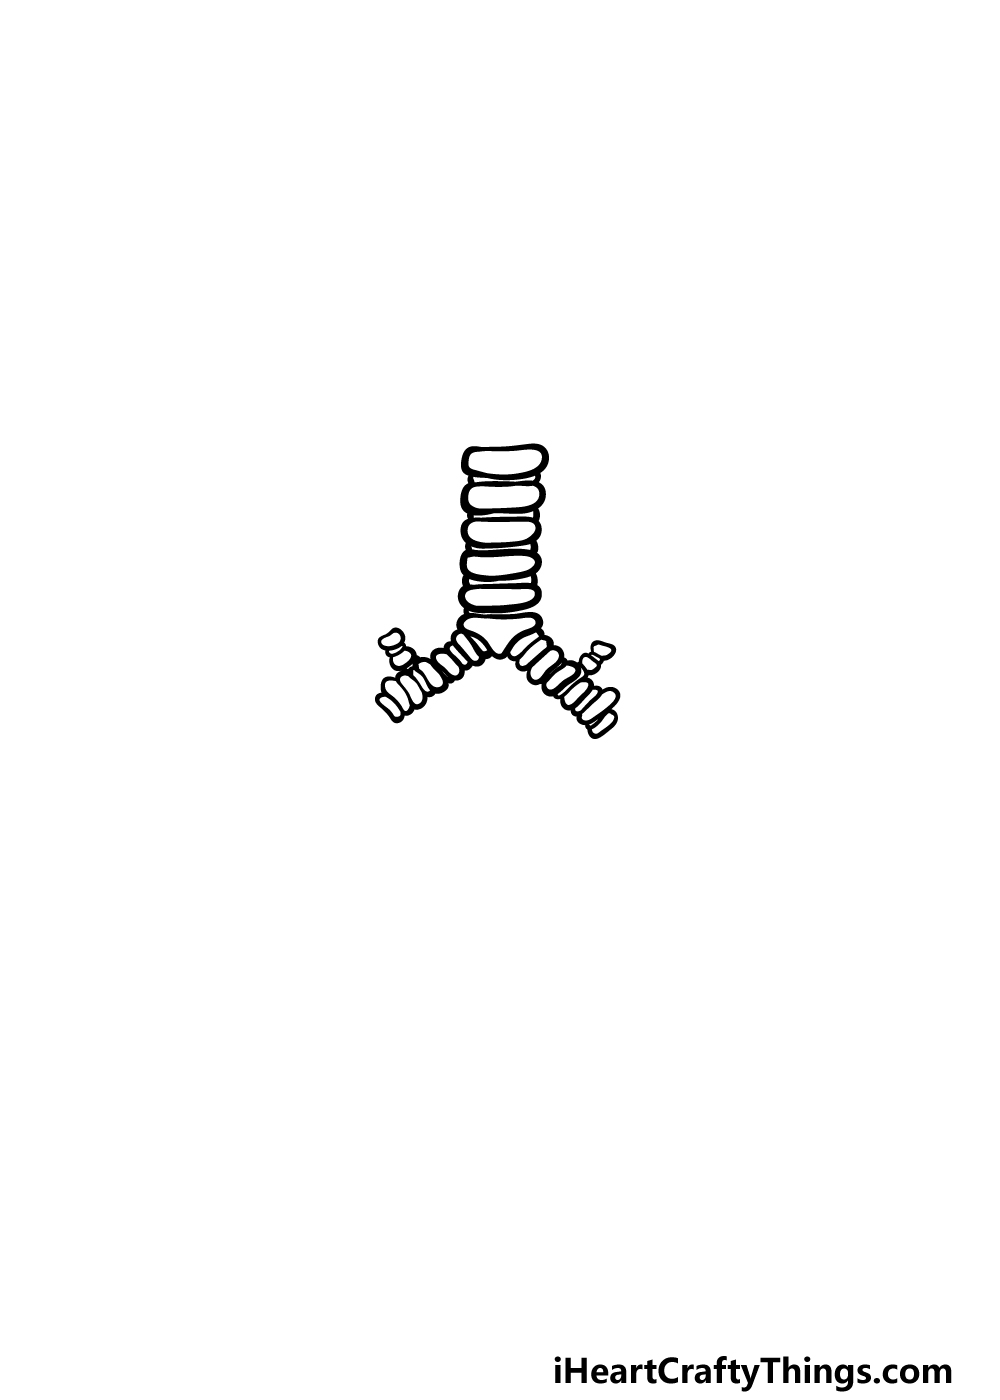
In this first step of our guide on how to draw lungs, we will be drawing the central structure of the lungs, called the trachea.
This part, also called the windpipe, is a pipe-like structure that carries air to the lungs. There is quite a curious look to this structure, and it appears almost as a series of ribbed pipes.
It will look a bit like an upside-down Y shape, and will be drawn with lots of smaller shapes connecting to one another.
You can draw some short, rounded shapes that form the top pipe of that Y shape, and each of these shapes will be connected by small lines.
Then it will branch off diagonally with those same small shapes and lines.
These branching shapes are the left and right bronchus, and they are also very important for the lungs. Once you have replicated the drawing as it appears in our reference image, you’ll be ready for step 2!
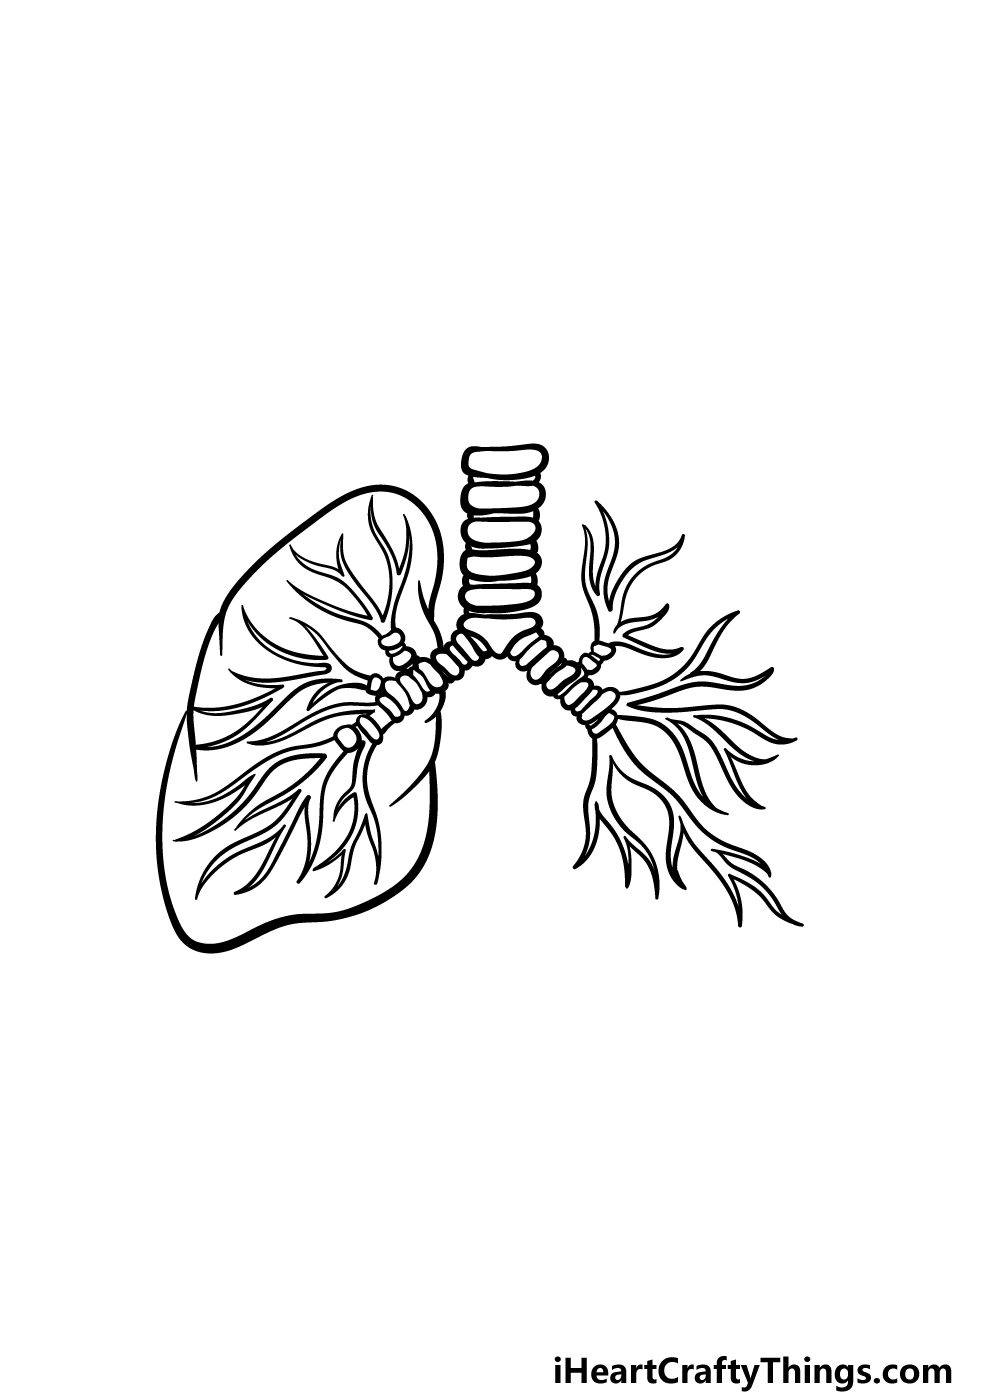
Step 2 – Next, draw the first lung
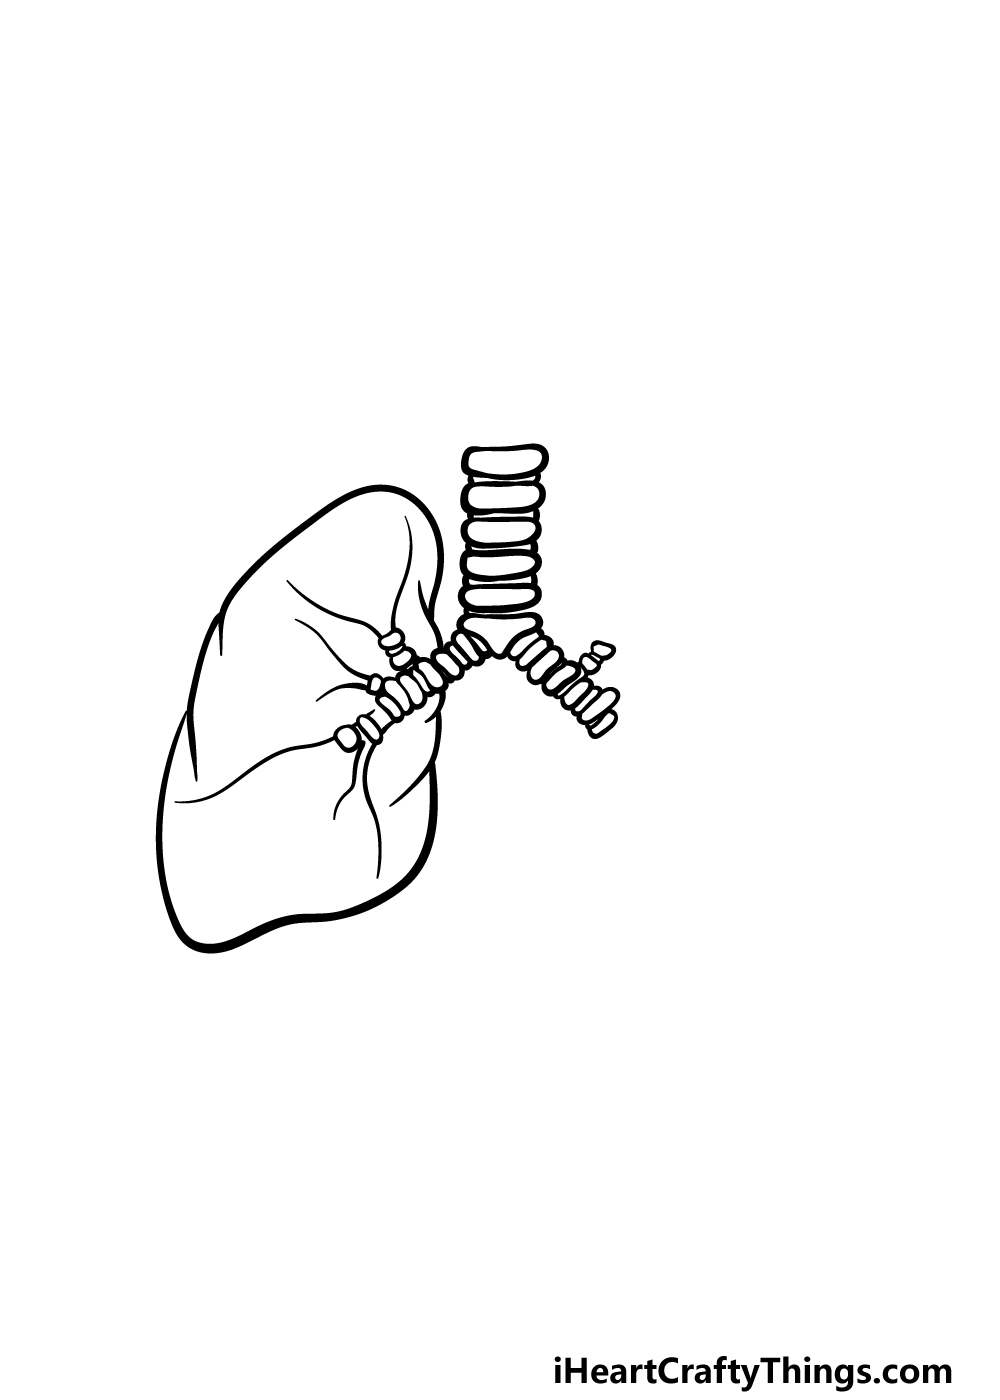
Now that you have the trachea and the bronchus, you can now draw the first lung. This first lung will go on the left, and will have a large rounded outline going around the bronchus on the left. The outline won’t be solid, and it will have quite a bumpy and irregular look to it.
You can finish off this step by then drawing some curved line detailing into the interior of the lung from the ends of the bronchus. That’s all there is to it, so let’s head on to step 3 now!
Step 3 – Draw some veins onto the lung

In this third step of our guide on how to draw lungs, we will be drawing some thick veins onto the lung that you just drew.
These veins are called lobes, and they will be drawn with several curved lines that culminate into sharp points at the end.
There will be quite a few arms poking off these lobe ‘trees,’ and they will fill up a large part of the lung interior. Once they are drawn, we will start on the second lung in the next step.
Step 4 – Next, draw some more veins for the other lung
To shake things up, we will be dealing with the second lung in the opposite order to the first one!
For this part of your lungs drawing, we will be starting with the lobes on the right-hand side instead of starting with the lung outline as we did earlier.
Other than this change in the order of doing things, these lobes will look very similar to the first lot that you did.
That means that they will be pointy shapes extending into ‘trees’ that fill up most of the interior of the lung that we will soon be drawing.
Then it will be time for some final details in the next step that will have you ready for some coloring to finish it up!
Step 5 – Finish off your lungs drawing
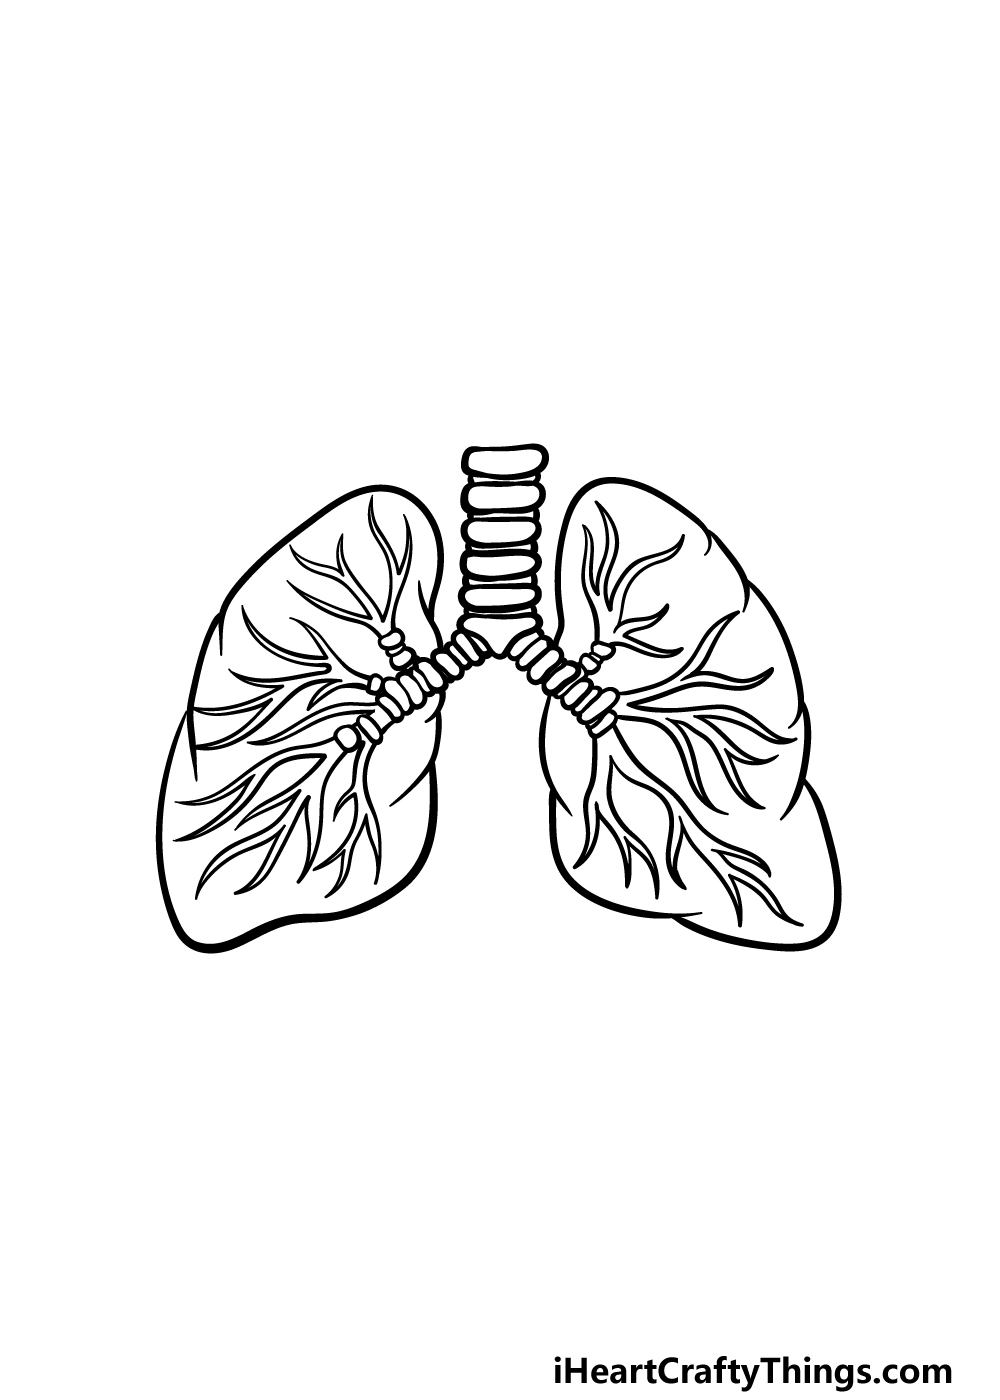
Now it’s time to finish up the drawing for this step of our guide on how to draw lungs. To do this, you will be drawing the outline for the lung on the right-hand side.
Once again, this will mirror how it appeared on the left side, and it will look pretty much identical to that one. Then you have finished your lungs drawing!
There are some ways that you could take this drawing even further, however. You could look up some more medical diagrams and draw some of the organs surrounding these lungs for one idea.
Another idea would be to look up a labeled diagram of some lungs and then label your own drawing.
These are just some of the ideas that you could use to bring this drawing to life, but be sure to include any more ideas that you may have for it!
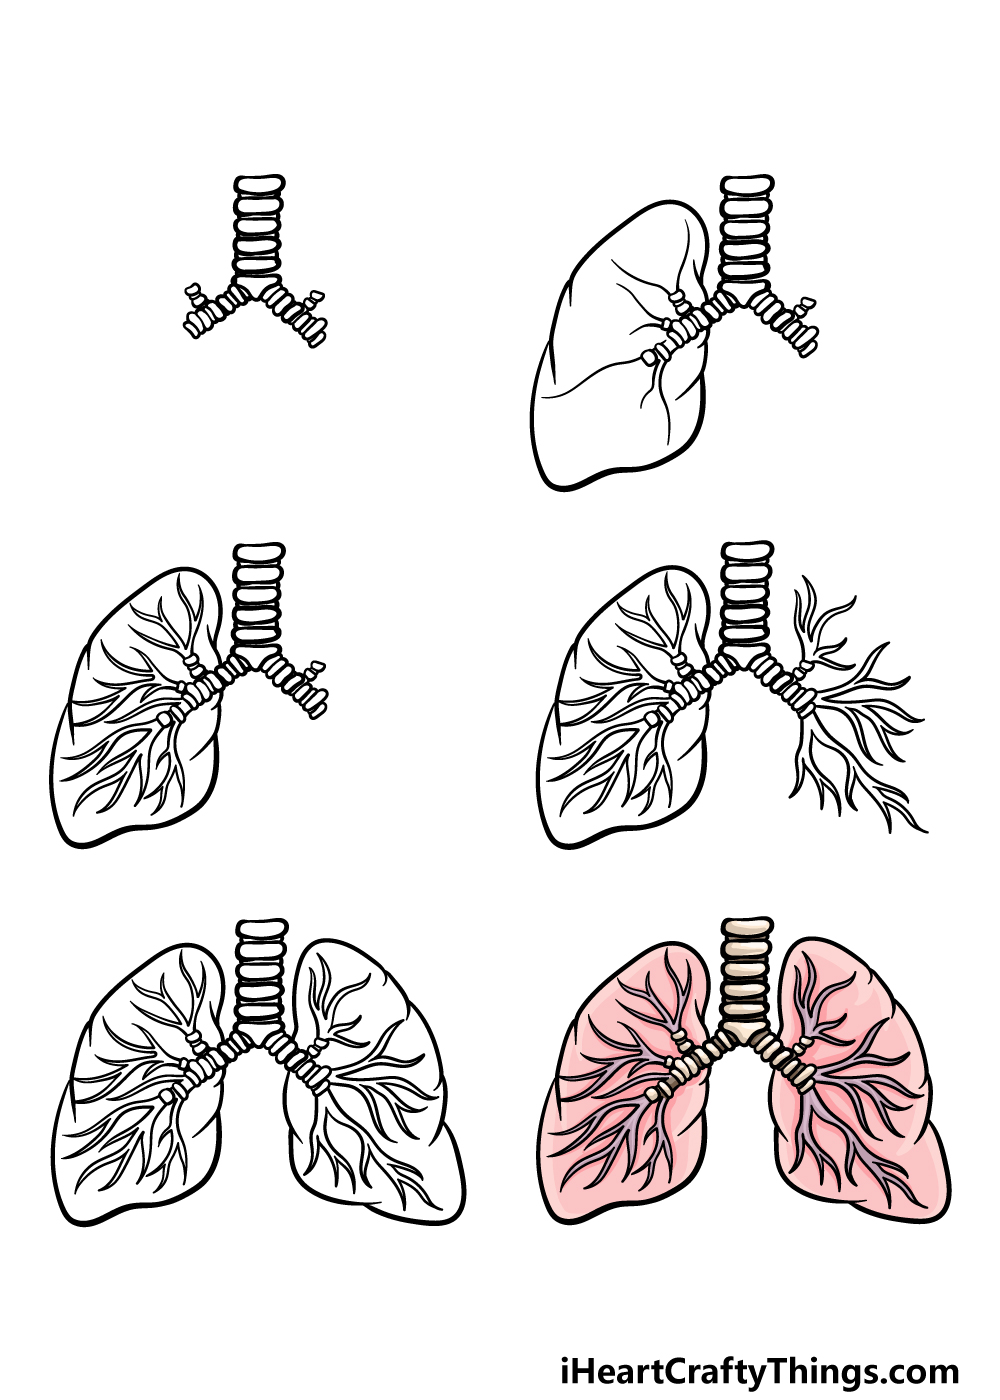
Step 6 – Finish off your lungs drawing with some color
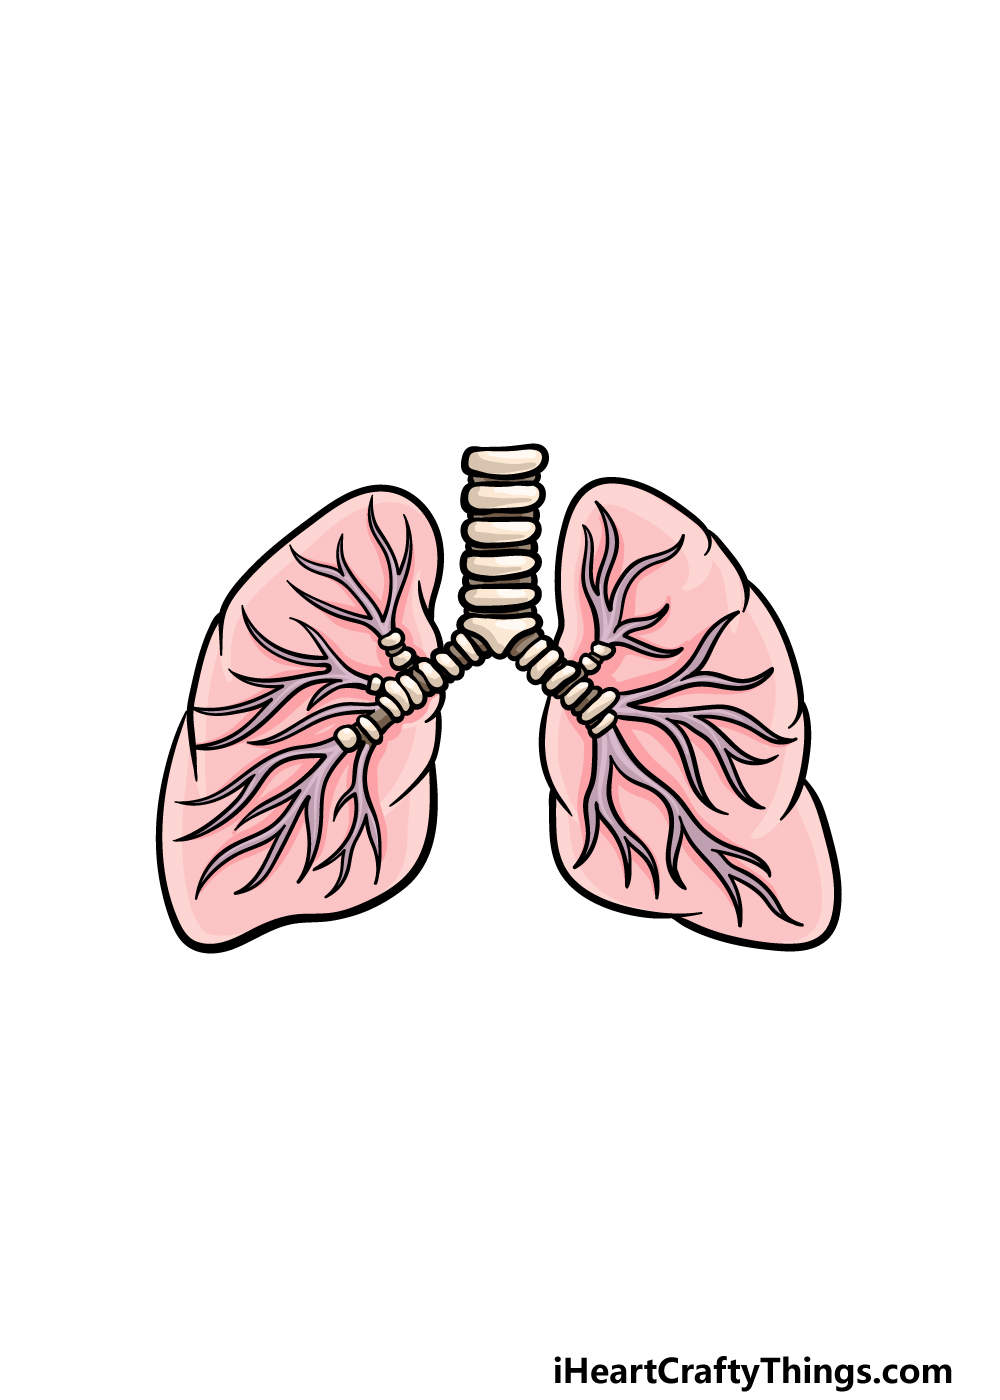
Your lungs drawing is now complete, and this final step will be all about finishing it off with some color! In our reference image, we showed you how we chose to color in the lungs with a focus on realism.
We used brown and beige for the trachea and bronchus, while using a softer pink for the interior of the lungs.
Finally, we finished off with a darker purple for the veiny lobes. These are the colors that we chose for our drawing, but you could also change up the colors for your own rendition in any way that you like.
Once your colors are chosen, you can also have some fun picking which art mediums you will use to achieve them. How will you finish off this lungs drawing with some amazing colors?
Do this to take your lungs drawing to the next level
Breathe in as we show you some tips for this lungs sketch that will make it even better.
We tried to make this lungs drawing nice and detailed in order to make it more realistic. Some people may not like to include all of these details, especially if all of the veins are offputting to them!
If that’s the case, you may want to remove some of the details. This could be done to make it easier, but it could also be a personal preference.
That is one example of details you could change or remove, but what are some other ones you may want to alter?
No matter what design you use for this drawing of lungs, you could make it more interesting by adding some labels. There are many parts that make up the lungs, and you could show what they are!
That would make it look like this drawing is straight out of a textbook. Unless you ha[[en to be a lung expert, you may want to look up some diagrams online or in textbooks.
How would you go about labeling this pair of lungs, and how many labels would you include?
The lungs are surrounded by other body parts and organs, and they could be fun to add to this lungs sketch. This is another suggestion that would benefit from consulting diagrams and books.
It would be up to you to decide on how many other parts you would like to add around these lungs. If you were to use this tip, maybe you could add labels to these new organs as well!
This next idea for your lungs drawing leads on nicely from the previous one. We think it would be cool to draw the outline of the body that these lungs are in.
That would be a great way to add some context to the image, and would educate people as to how the lungs sit in the body. This would also work if you added more organs and parts around the lungs!
Your Lungs Drawing is Complete!
That will conclude this guide on how to draw lungs, and we hope that this was a fun and easy experience for you!
Drawing anything involving the human body can be quite a challenge as there are specific parts and proportions to get right, so we hope that this guide helped you to overcome the challenge.
Don’t forget that you can put your own spin on the picture by adding elements, experimenting with colors or changing up the art mediums that you use. We can’t wait to see what you decide to go with!
Once you’re ready for more drawing fun, be sure to check out our website for more drawing guides to enjoy. You’ll want to keep checking in, as we upload new ones frequently.
Please also share your completed lungs drawing on our Facebook and Pinterest pages. We always love to see your creative artwork!
Here Is An Easy Lungs Drawing To Inspire You!
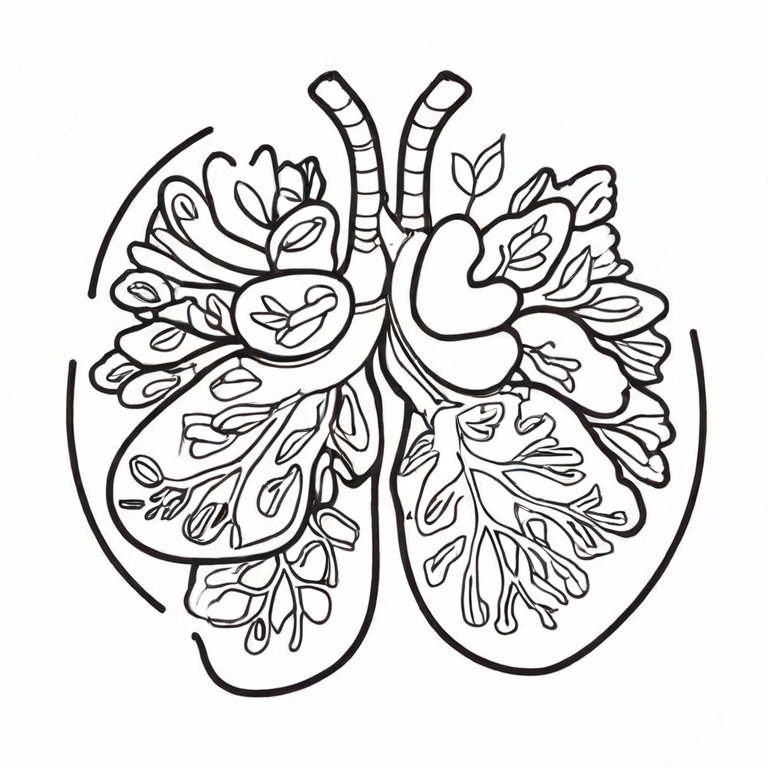
Our lungs are complex and amazing, and this can make them a bit tricky to draw. Our artist Amanda has shown you that it can be fun and easy to do so with this easy lungs drawing for kids!
She has really created a lovely design that takes the familiar, realistic shape of the lungs and adds so many intricate, beautiful details.
When you draw your own one, you can use her example to help make it easier.
Try to carefully follow her design if you want to replicate it as is. You may want to do a first attempt with your pencil before you commit to a more permanent pen mark.
That will allow you to make sure you’re happy and correct any mistakes before you finally add the definitive marks of the design, so maybe try that out!