


The tree of life is one of the most enduring concepts and symbols in the world. This tree and all it symbolizes is common in many religions, ideologies and mythologies around the world.
It can mean many things, from life to purity and growth, and it can have different meanings depending on who views it.
It is also a timeless and beautiful design, so learning how to draw the tree of life can be a really fulfilling experience.
If you would like to recreate this sacred tree yourself, this is the guide to be on!
Our step-by-step guide on how to draw the tree of life will show you how to portray this incredible symbol of life yourself.
How to Draw The Tree Of Life – Let’s Get Started!
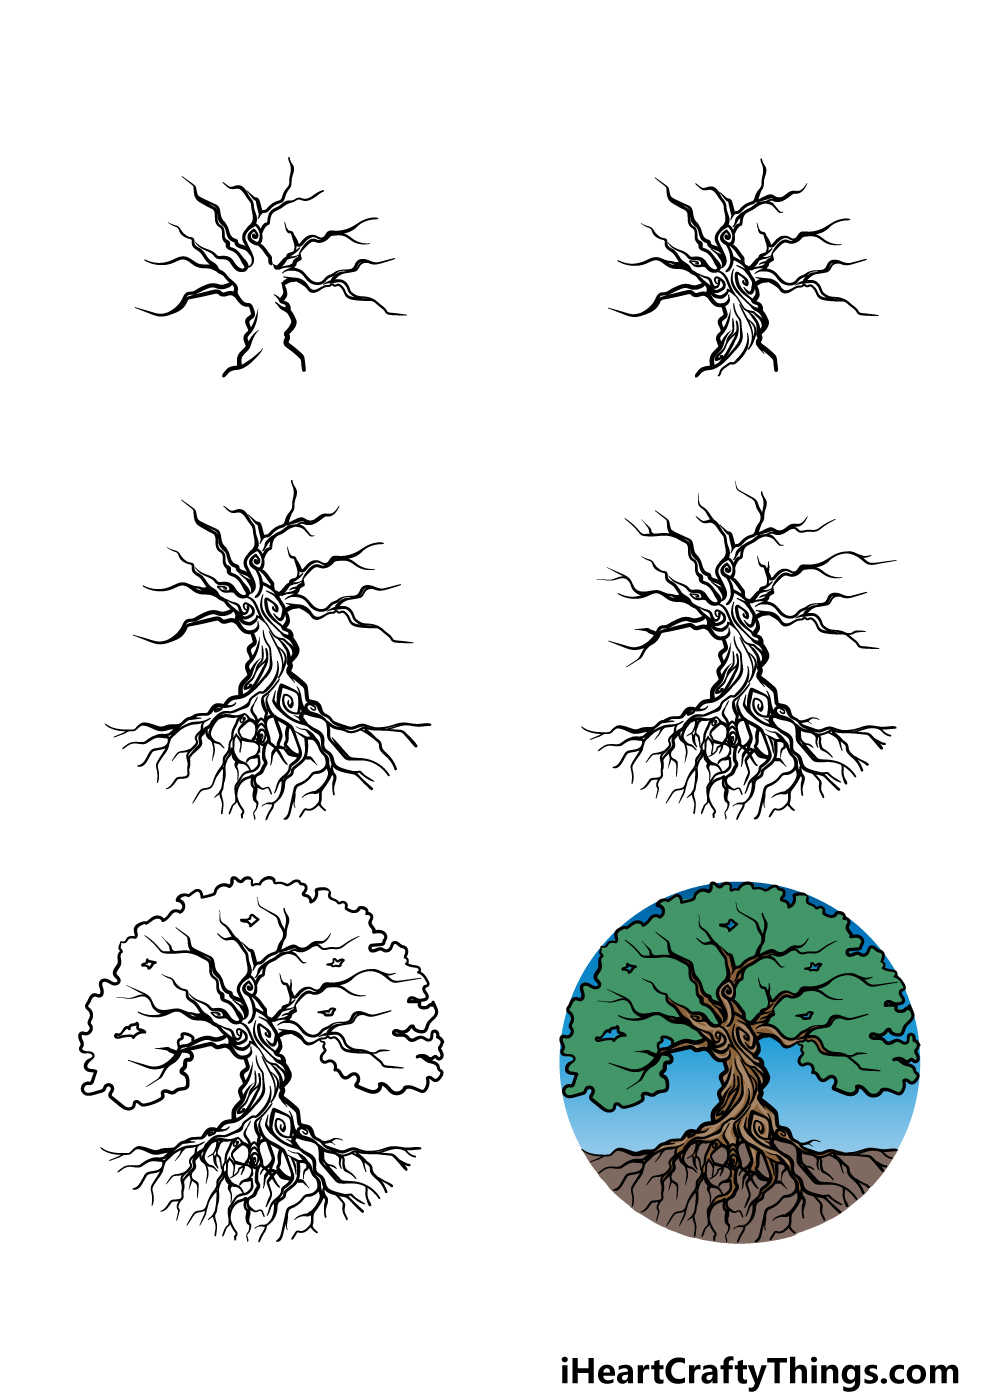
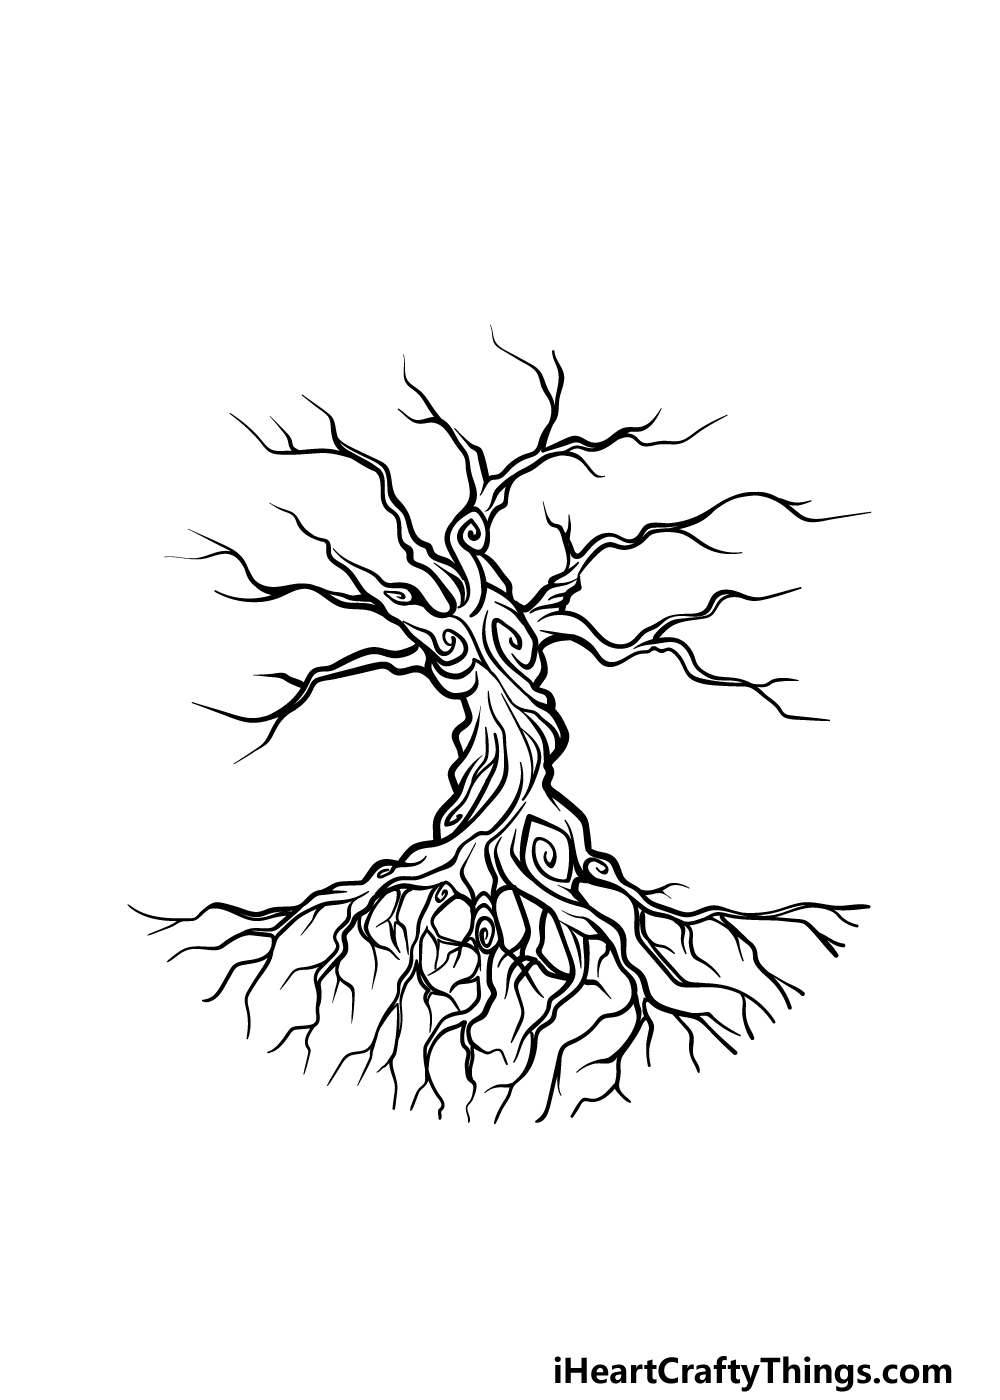
Step 1
To kick off this guide on how to draw the tree of life, we will be starting with the bark of the tree.
We will be aiming to make the tree quite twisty and pointy, so we will be using lots of bent and twisted lines to create the trunk and branches.
The branches will be poking off of the top of the tree in pretty much every direction, and they will all be quite wavy and bent.
The central branch at the top will also have a twisty shape at the base of it. Once you have recreated all these aspects as they appear in the reference picture, you can move on to step 2!
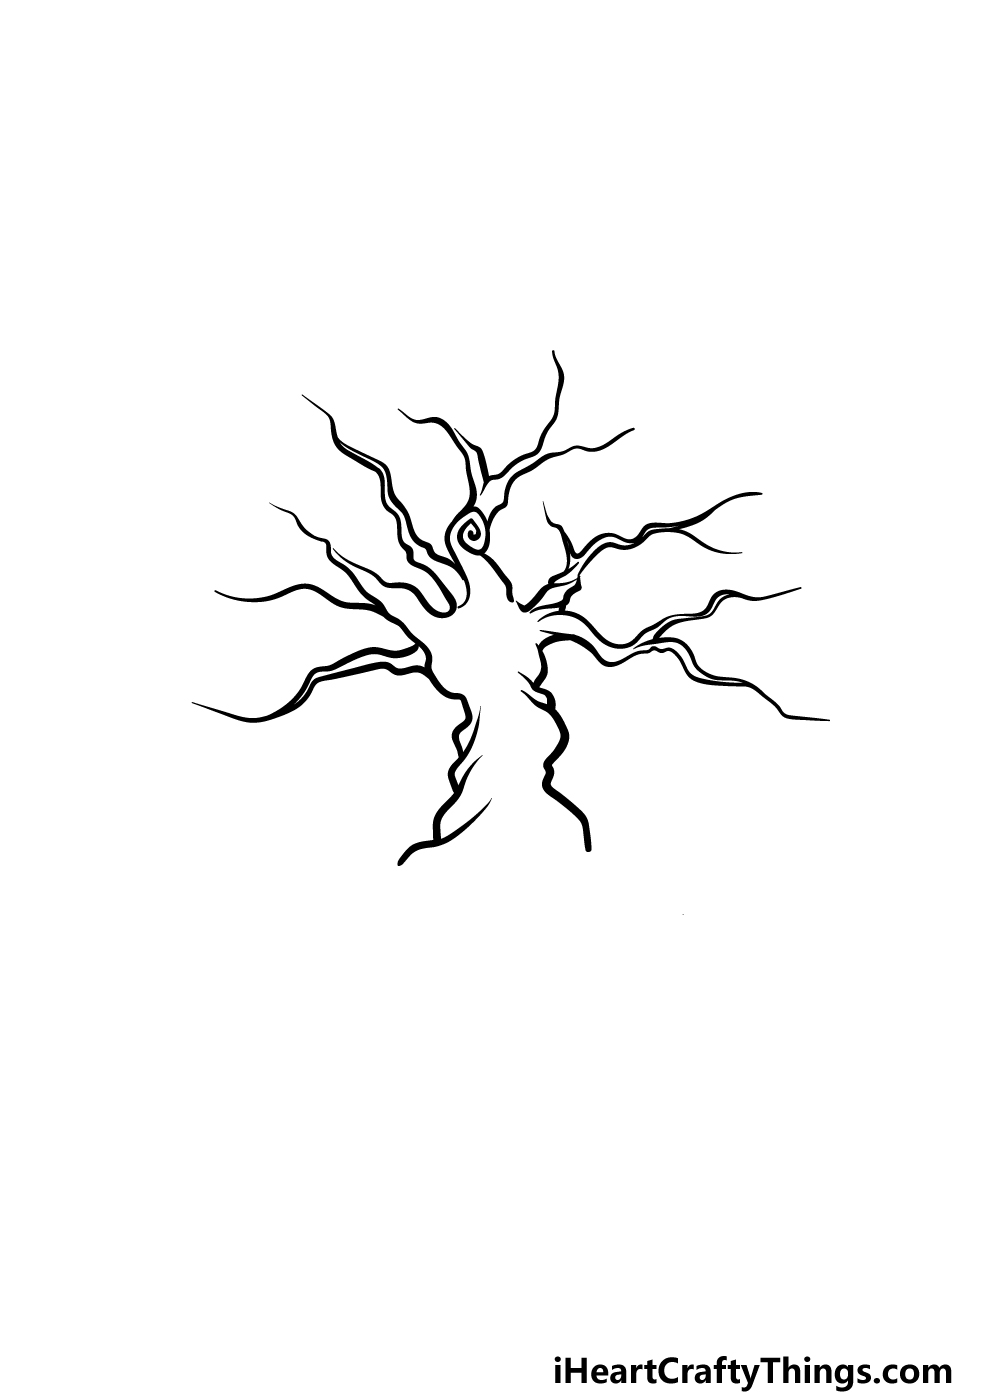
Step 2 – Next, draw some details for the bark
For this second part of your tree of life drawing, we will be adding lots of details for the bark and branches to make the tree look a bit more ancient and weathered.
To do this, we will be drawing lots of curved lines onto the tree, some of which will curl inward to some twisty shapes.
You can also extend more lines from the tips of the branches to add some more twigs and small branches poking out.
Once you are happy with how these details are looking, we can move on to the next part where we will work on the roots.
Step 3 – Draw some roots for the tree
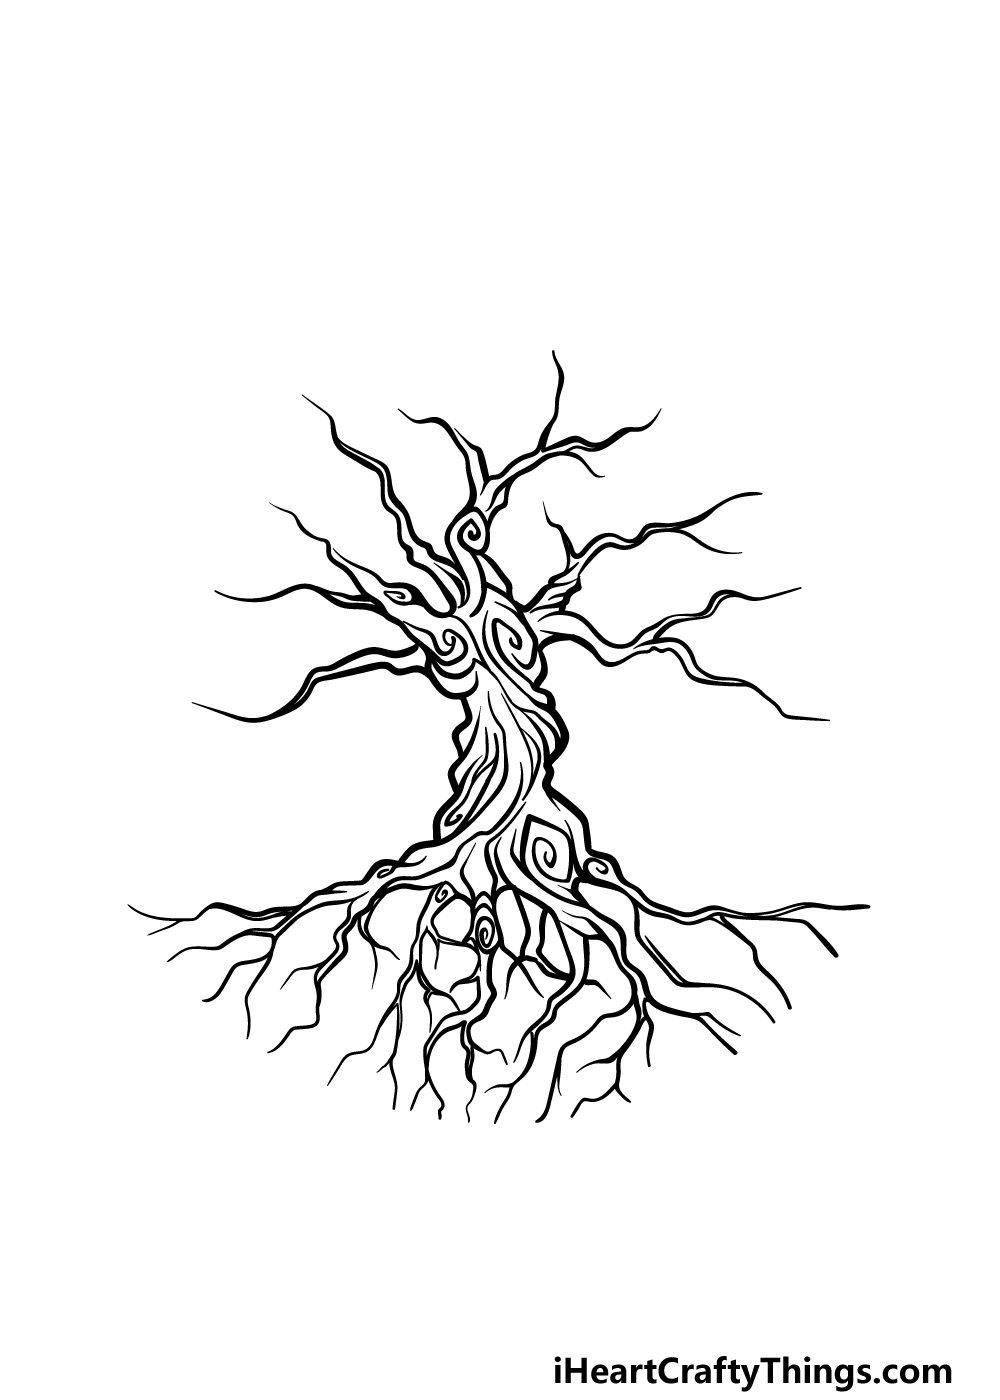
This step of our guide on how to draw the tree of life may be a bit complex, as we will be drawing lots of roots beneath the tree.
This is a step that may look harder than it actually will end up being, as we will take it nice and slowly!
Each root will individually stem from the base of the tree, and they will each have a thicker beginning before branching out into lots of smaller root branches.
For this design, we will be aiming to create 5 or 6 of these roots, with each one branching out into several smaller roots.
If you take it slowly and follow the reference image then you will easily be able to recreate this aspect!
Step 4 – Next, add some more to the branches and roots
For your tree of life drawing, we will be aiming to make it look as full as possible. For that reason, we will be drawing even more details onto the branches and roots.
For the branches, add some more curved and wavy lines onto each tip poking off of the branches.
We will be doing a similar idea for the roots, where we will draw some straighter lines poking off the existing roots.
Once you have done that, we can start to add the final details and touches to your picture, so let’s move on to step 5!
Step 5 – Finish off the leaves of your tree of life drawing
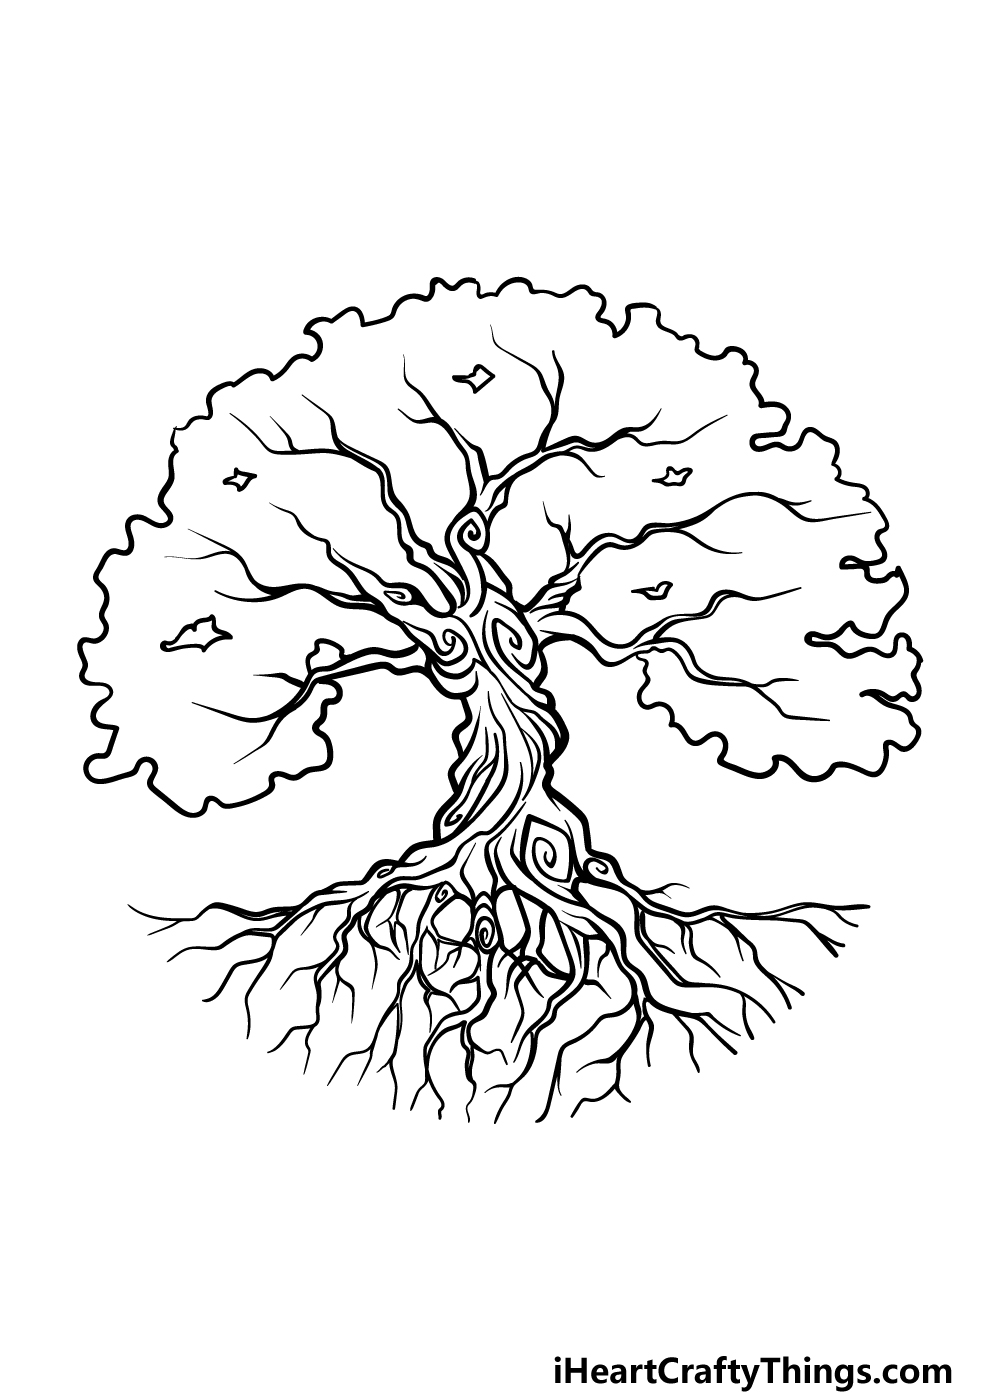
Without a healthy head of leaves, this tree would look pretty dead, and this would defeat the point of a tree of life a bit.
That’s why we will draw that aspect along with some final touches in this fifth step of our guide on how to draw the tree of life.
To do this, we will be drawing an outline around all of the branches for the tree to create that leafy canopy.
The line for this outline will be quite twisted and wavy, as this will help to give it a more dynamic look.
Once you have drawn the canopy of leaves, you are ready to proceed to the final step! Before you do, you can also add some details of your own.
These could be as small as leaves or fruit falling from the tree or as big as the sun in the background. It’s up to you, so have fun with it as you express your creativity!
Step 6 – Finish off your tree of life drawing with some color
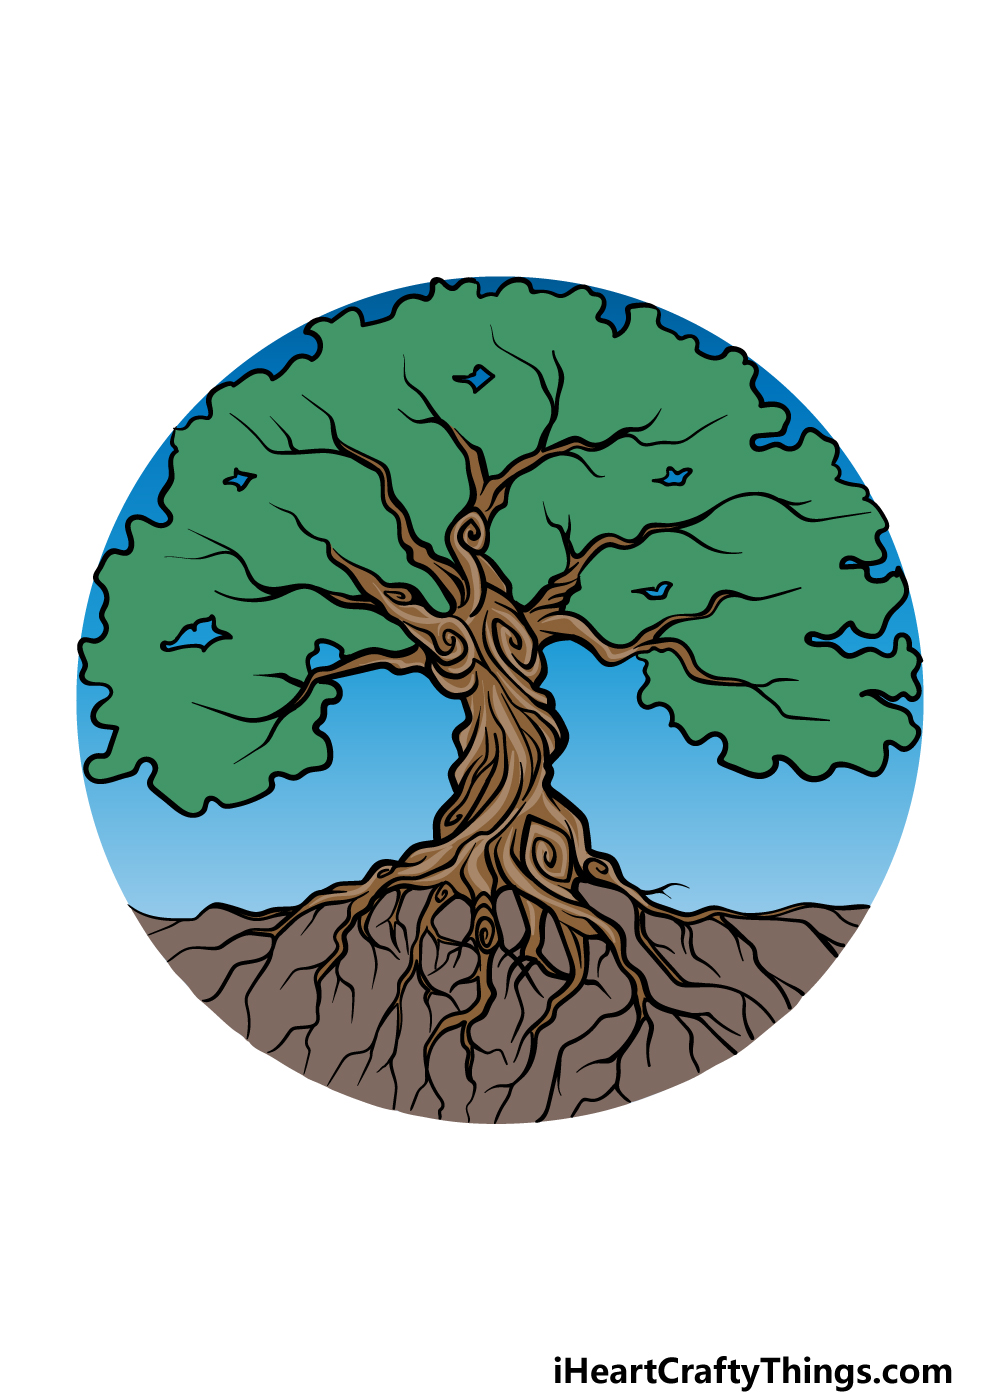
This image will often be in a spherical shape, so we will do that with colors for this final part of your tree of life drawing.
You could use a drawing compass with your colored pens or pencils to create a perfect circle encasing the tree as it appears in our reference image.
Then, we used browns and greens for the bark and leaves along with some pretty blues for the background.
These are what we chose, but you should feel free to use any other colors, art mediums and tools that you love for this image.
Colors can do a lot to bring a mood to a picture, so let your creativity lead you as you finish it off!
4 More Ways To Make Your Tree Of Life Drawing Unique
Create an even more incredible artwork with these fun tips we have for you!
The tree of life is usually used quite symbolically, so you could add some more pretty details to emphasize this. For instance, this tree of life drawing has some gaps in the leaves.
These gaps would be perfect for adding some rays of light, and that would help make it even more atmospheric. You could also have a sun rising or setting behind the tree for another idea.
That is just a small sampling of ideas, but what other atmospheric details can you think of?
To make your tree of life sketch even better, you could add some life to the tree! There are many forms that this idea could take.
The tree could have some birds nesting in it, some squirrels frolicking on it or maybe even some cute monkeys.
It could be as simple as having some fruit growing on the tree to show that it is supporting all kinds of life.
What are some other forms of life you could add?
We love the twisting roots on this drawing of a tree of life. If you draw this on a big piece of paper or keep the design small, you could extend these roots even more!
Once you have the hang of it, these roots could twist and extend as much as you like. To take it even further, they could be twisted into patterns and even words.
Lastly, you can make this tree of life drawing look even more stunning with how you use your colors. There are some typical, earthy colors you could use, but you shouldn’t be afraid to also make it more stylistic.
This drawing can be all about expressing your emotions and feelings, so you should let them take over as you color. Then, it can also be great to try out all the mediums and art tools you have at your disposal.
Be sure to get creative with it and you will have a wonderfully unique drawing!
Your Tree Of Life Drawing is Complete!
The tree of life is a really special symbol to many people around the world, so we hope that this guide on how to draw the tree of life was a wonderful experience for you!
There were loads of details in this picture, so if you have any trouble with any of it be sure to take it slowly and follow the reference images closely.
Don’t forget to add any other details and color choices that you would like for it!
Then you can enjoy some of the many awesome drawing guides that we have for you on our website. Be sure to keep checking in, as we upload new ones all the time for you.
We would love to see how you finished off this tree of life drawing, so please share your creation on our Facebook and Pinterest pages!