A trash can is something you’re likely to see at least one of if you venture out into the world.
We may not take much note of these humble objects, but they serve a very important function as they help us to keep trash from spilling out everywhere.
Much like other objects we interact with a lot, you may find that it is harder than expected to learn how to draw a trash can.
This is a task that can be made much easier when you know what to do, however, and that’s what this guide is for!
Our step-by-step guide on how to draw a trash can will show you how to draw one while having a great time while you’re at it!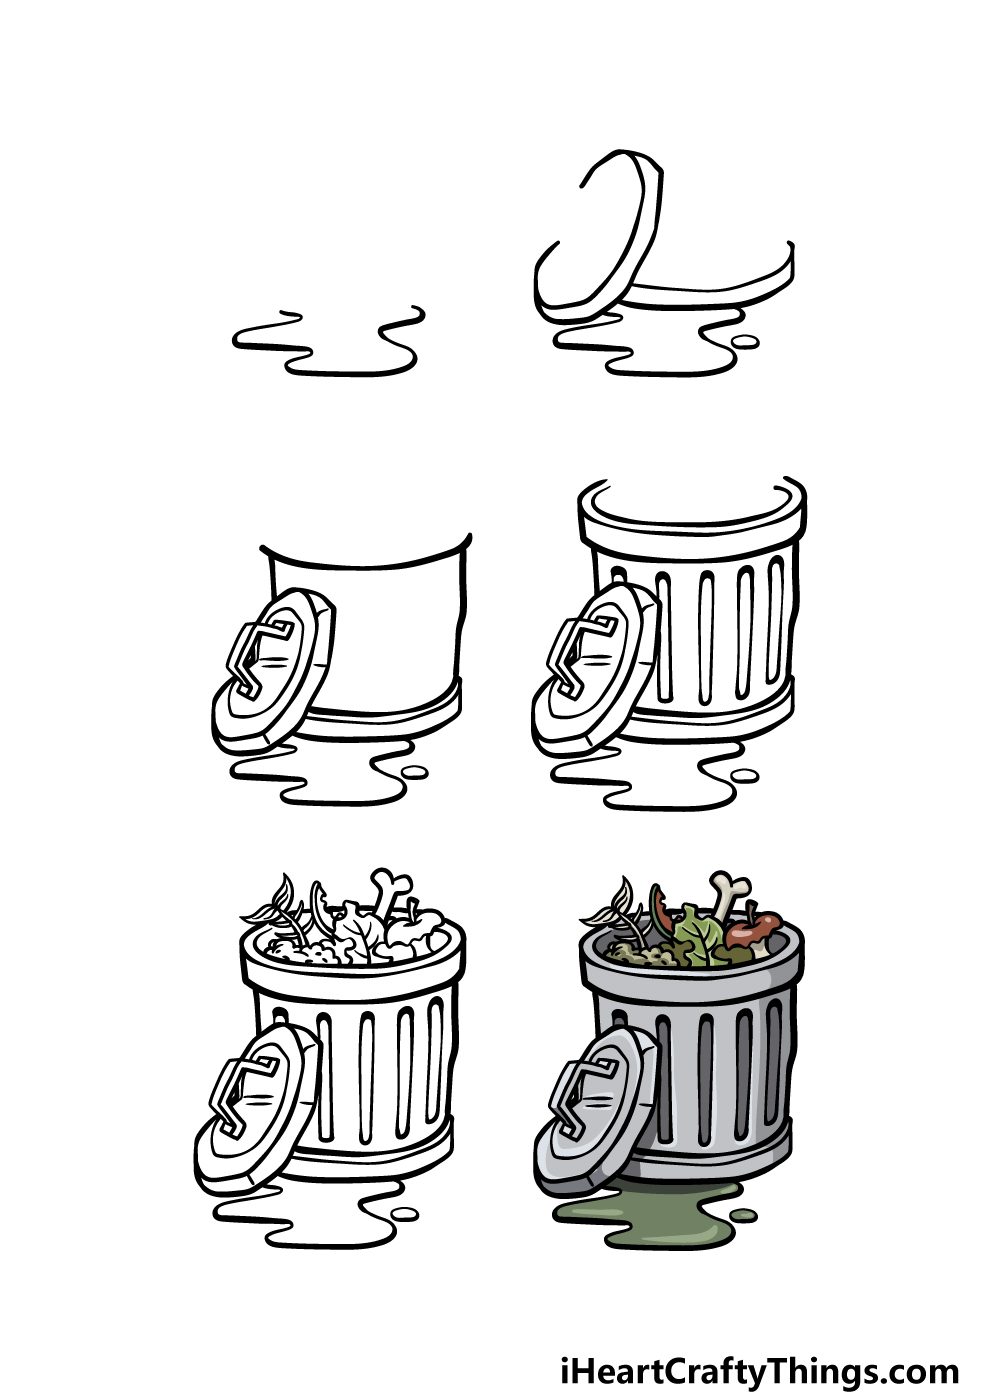
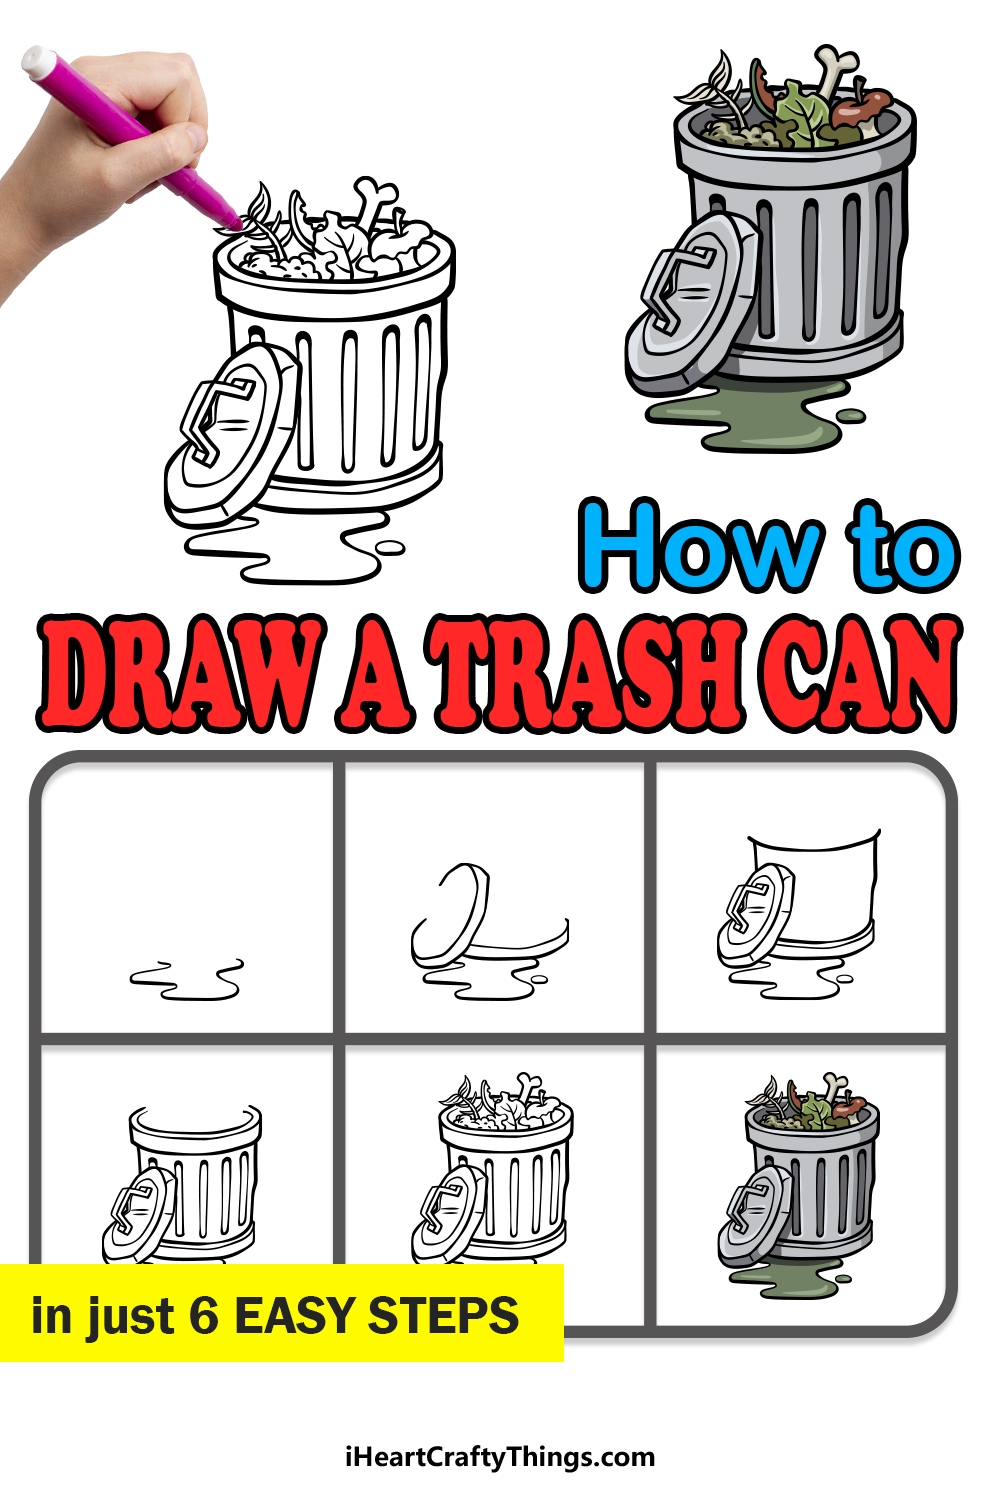
How to Draw A Trash Can – Let’s Get Started!
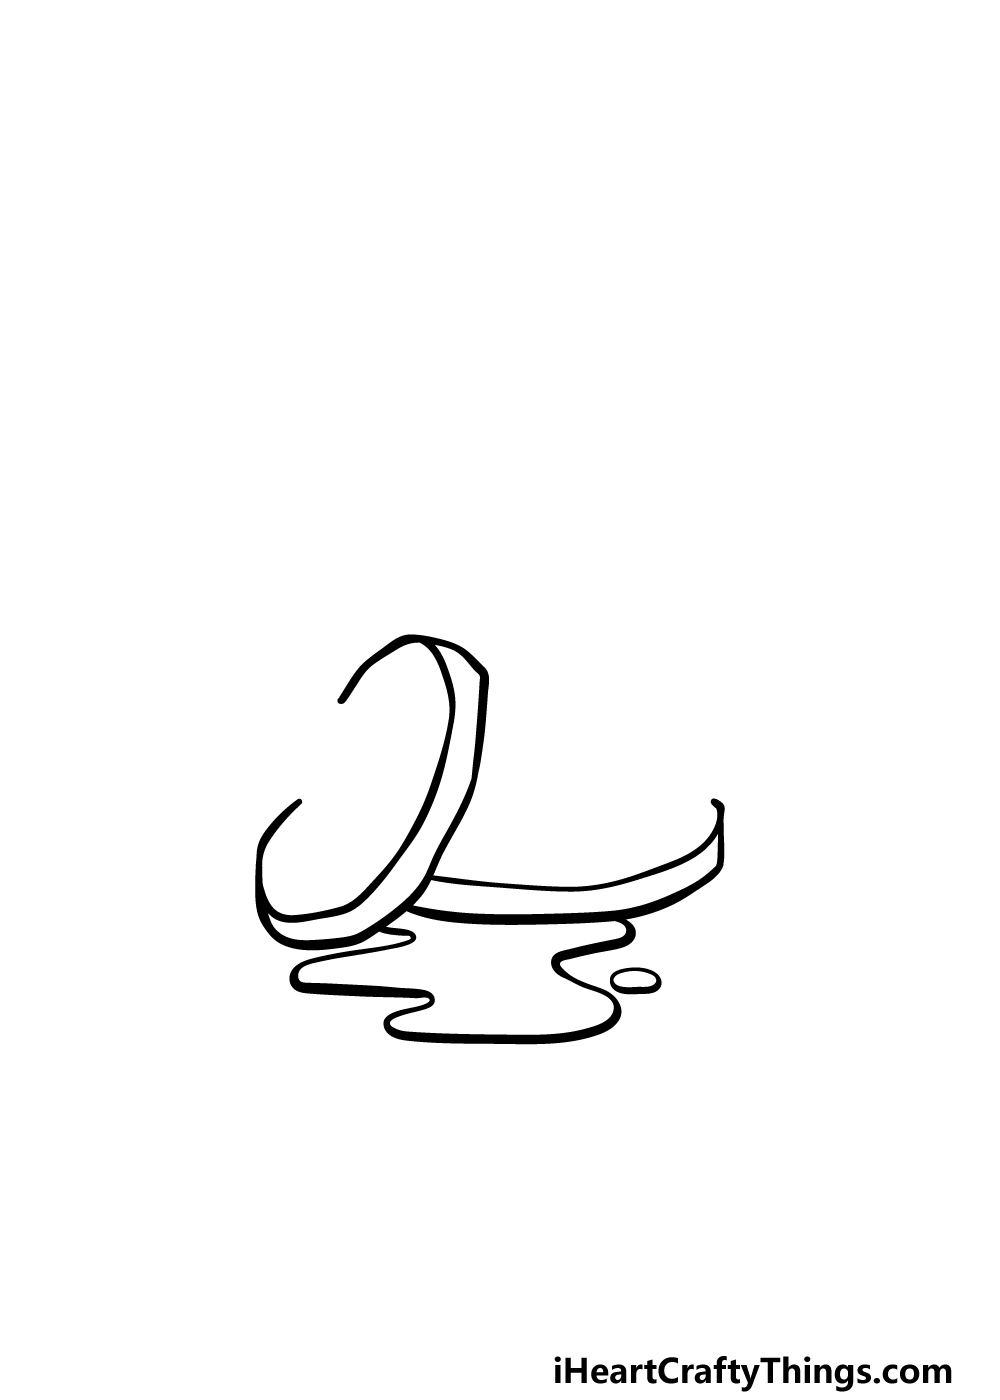
Step 1

In this guide on how to draw a trash can, we will be drawing one that is overflowing a book and looking a bit gross!
It wouldn’t be a very nice sight in real life, but it helps to make it a more interesting drawing.
This trash can is spilling some unspeakable liquid onto the ground beneath it, and this is what we will start with in this opening step.
Drawing this liquid spill should be pretty simple to do, and all you need to do is draw a wavy line to show how it is pooled on the ground.
Once you are satisfied with how it resembles our reference image, we can move on to the second step!
Step 2 – Next, draw the start of the outline for the trash can and the lid
For this second part of your trash can drawing, we will be starting on the outline for the trash can itself.
Before that, you can first draw the lid of the trash can that is leaning on it, and you can do this by drawing a thin circular shape with a small gap on the left-hand side.
Then, draw another curved line for the rim of this lid, as shown in the reference picture. We will finish off the lid in a later step, but for now we will draw the base of the trash can.
To draw the base, simply draw two more curved lines running parallel to one another to create the rim of the base. This rim will look similar to the one that you drew on the lid.
Step 3 – Keep drawing more of the trash can
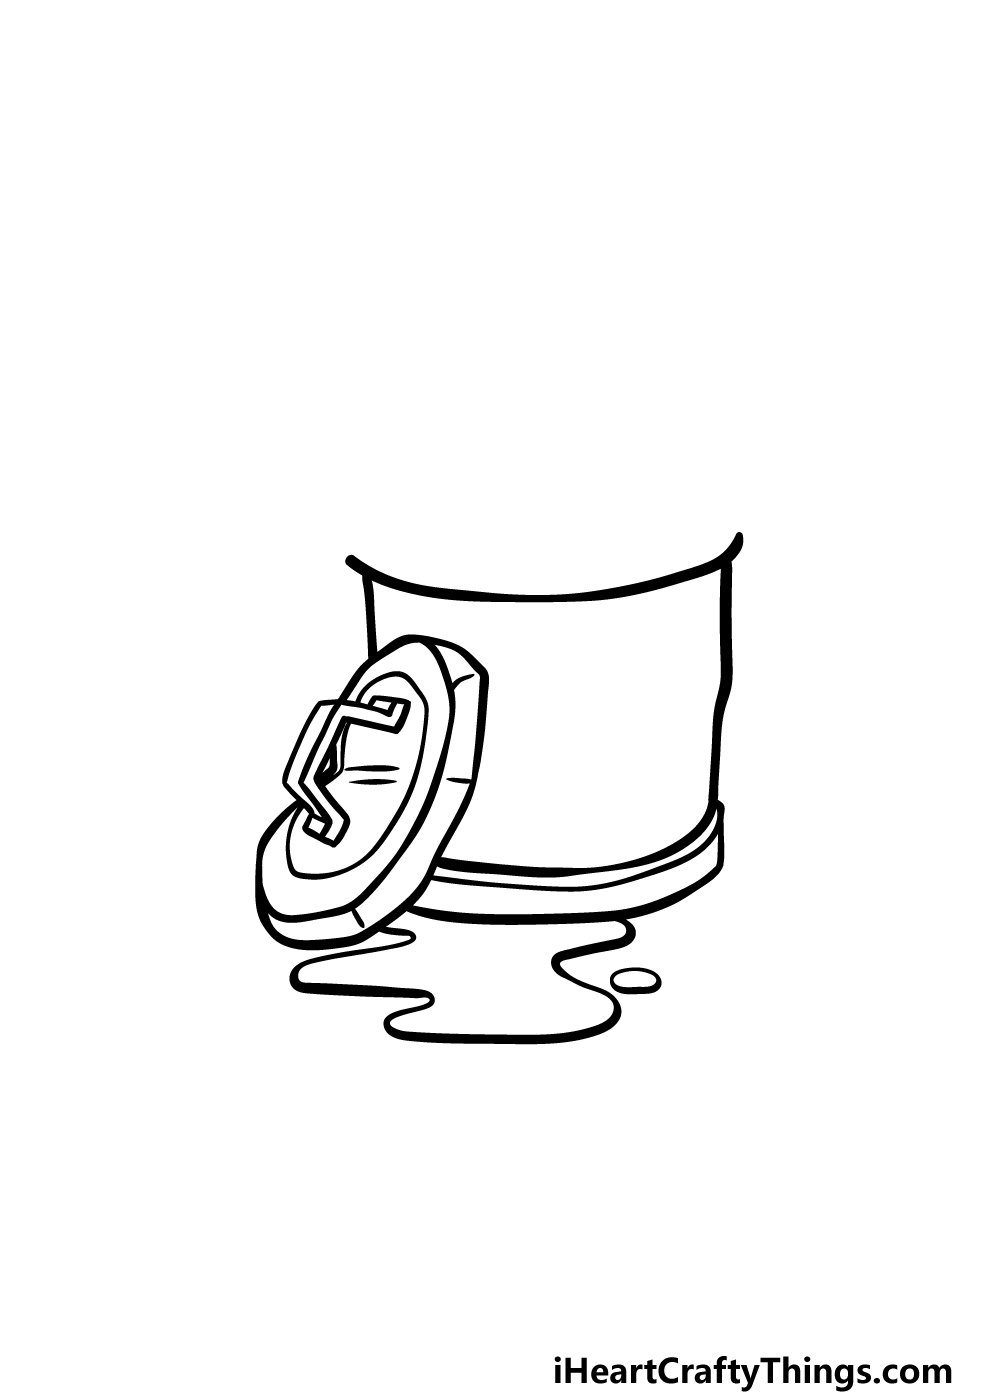
Now that you have the base and outline for the lid drawn, we can start on the outline for the trash can itself in this step of our guide on how to draw a trash can.
For the right-hand side of the trash can, draw a slightly bumpy line up from the edge of the base.
Then, for the left-hand side you can extend a line up from the top of the lid. You can connect these sides of the trash can with a horizontal curved line for the top of it.
Finally for this step, we will be drawing a large handle and some line details onto the lid to finish it off.
Step 4 – Now, draw the rim and details of the trash can
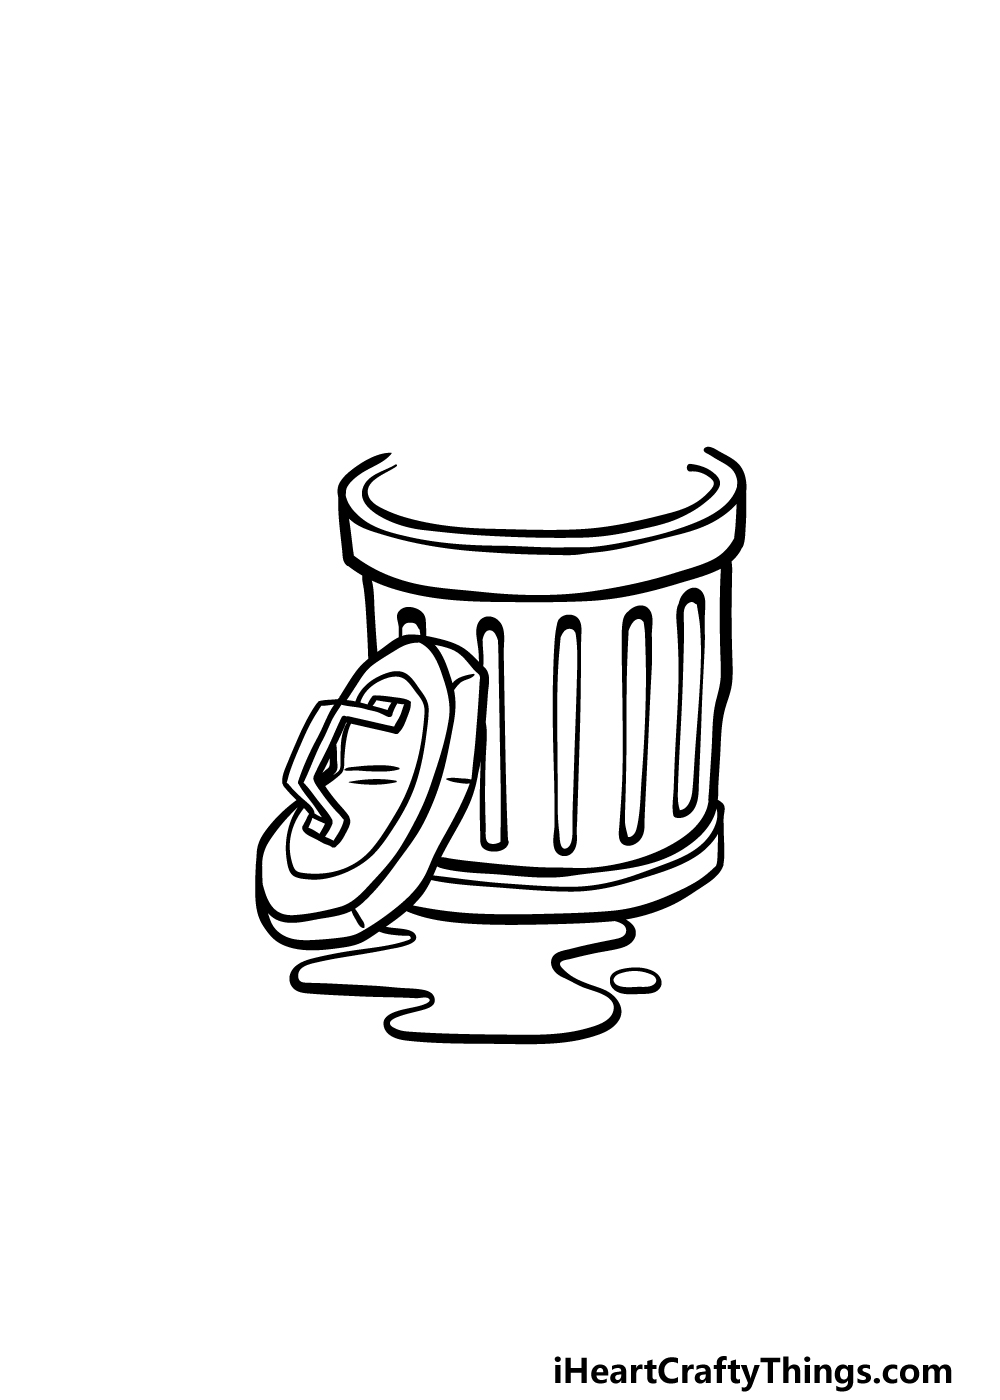
For the fourth step of your trash can drawing, we will be adding the rim to the can along with some details on the side.
For the rim, we will be using a similar look to the rims you drew on the base and lid of the trash can.
This rim will be wider and more open, however, and we will fill the big empty space on top of the rim in the next step.
Step 5 – Add some trash to finish off this trash can drawing
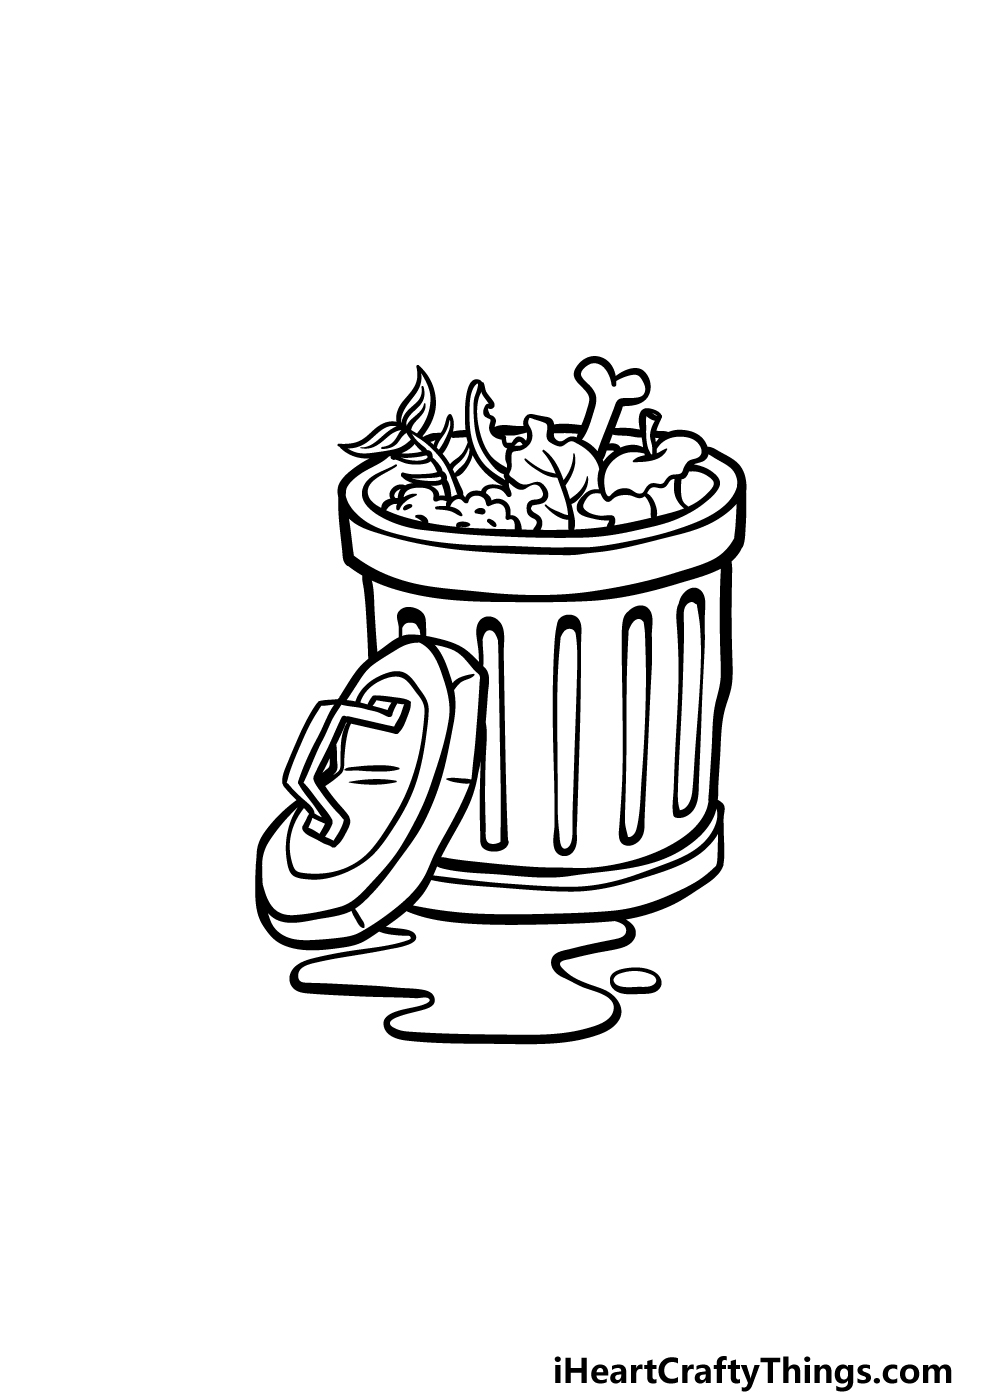
Before you start to color in your picture, we will add some trash into the opening that you drew.
We added all sorts of rotting foods inside the trash can such as fish skeletons, apple cores and other rotting delights.
You can replicate the trash that we drew, but this would also be a good opportunity to have some fun creating some disgusting trash of your own!
You could add even more trash than we did to really have it be overflowing.
Then, maybe finish it off with a background to show where this gross can is sitting to round off this step of our guide on how to draw a trash can.
Step 6 – Finish off your trash can drawing with some color
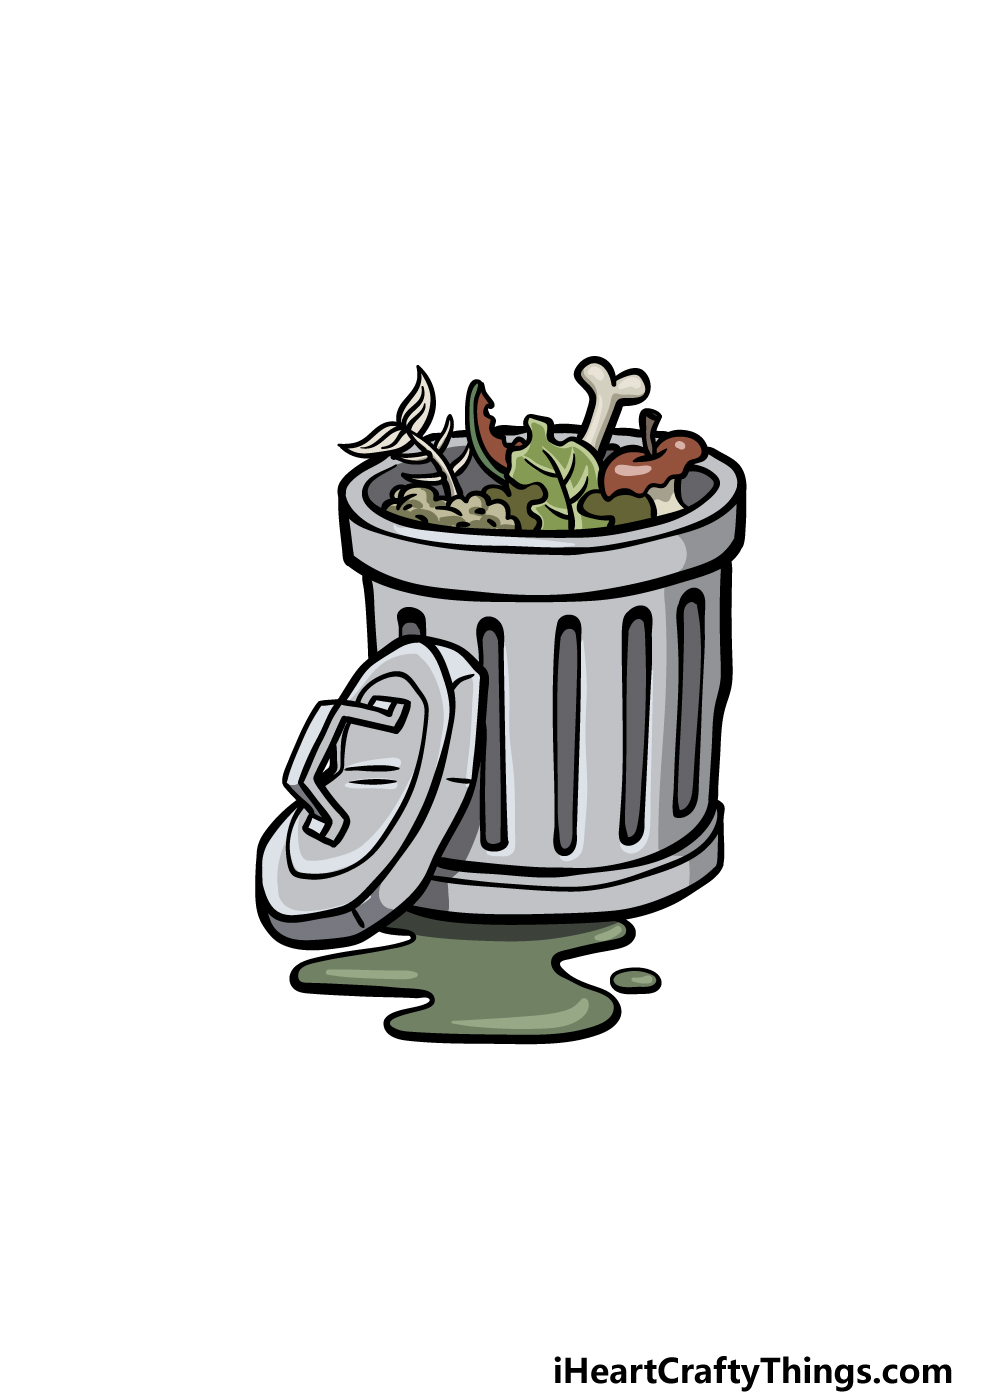
This is the final part of your trash can drawing, and in this one we shall finish off by adding some colors.
We kept the colors more muted in this example image, and this helps to make the trash can look a bit dirtier and dingier.
We used a combination of light and dark greys for the metal of the trash can, and then for the trash itself we used a variety of darker colors.
Finally, we made this trash can look a bit grosser by making the puddle beneath it dark green.
These are just some of the colors that you could use for this drawing, but they are far from the only choices!
You should feel free to use any color choices of your own, and then you can decide on the art mediums you will use to achieve these colors.
This is a great chance to get creative with it, so be sure to have fun!
4 More Ways To Make Your Trash Can Drawing Unique
These tips for your trash can sketch will make it even more incredible!
If you have not had enough trash by the end of this drawing of a trash can, you could add more by having a few more trash cans in the image.
They could be a similar design to the initial one, or they could be different if you prefer. Even if they are the same, you could differentiate them by the types of trash you can see in them.
How many trash cans would you like in this scene?
Trash will often attract all sorts of little animals and other wildlife, and these could be fun to add to the picture. There are so many little animals you could choose from!
For a few examples, you could have some rats, cats or maybe raccoons hanging about. You could make quite an amusing scene by adding some of these animals to the equation!
What are some other animals you could add to make the scene more interesting? Also, what kinds of shenanigans would they be up to?
Once you have added your extra trash or animal details, you could also add a background to this trash can drawing. This could be as simple as the wall of a dingy alleyway.
That’s one example, but you could also go for a more unique setting, as trash cans can be found in many different places and settings.
What are some background ideas you could use for this particular trash can?
Lastly, you can make your trash can sketch more interesting by using some small bits of real trash. These could include little gum wrappers and bits of packaging.
You could stick them over the part of the trash can where the trash is exposed, and that would help to give it a 3D look with some texture.
You would probably want to avoid any trash that smells funny, as that would be an extra element most would not appreciate! What small pieces of trash could you use?
Your Trash Can Drawing is Complete!
We mentioned earlier in this guide on how to draw a trash can that the one we depicted isn’t exactly a sight you would want to see in real life!
Despite this, it certainly made for an interesting subject to draw, and we hope that these steps helped make it fun and easy for you.
There were a few points in this guide where there was room for you to add some flourishes and touches of your own, so we will look forward to seeing your creative additions!
This guide is one of many that we have for you to enjoy on our website! We hope to see you there often, as we have many guides coming out frequently.
Don’t forget that we would love to see your finished trash can drawing, so be sure to share your creation on our Facebook and Pinterest pages!