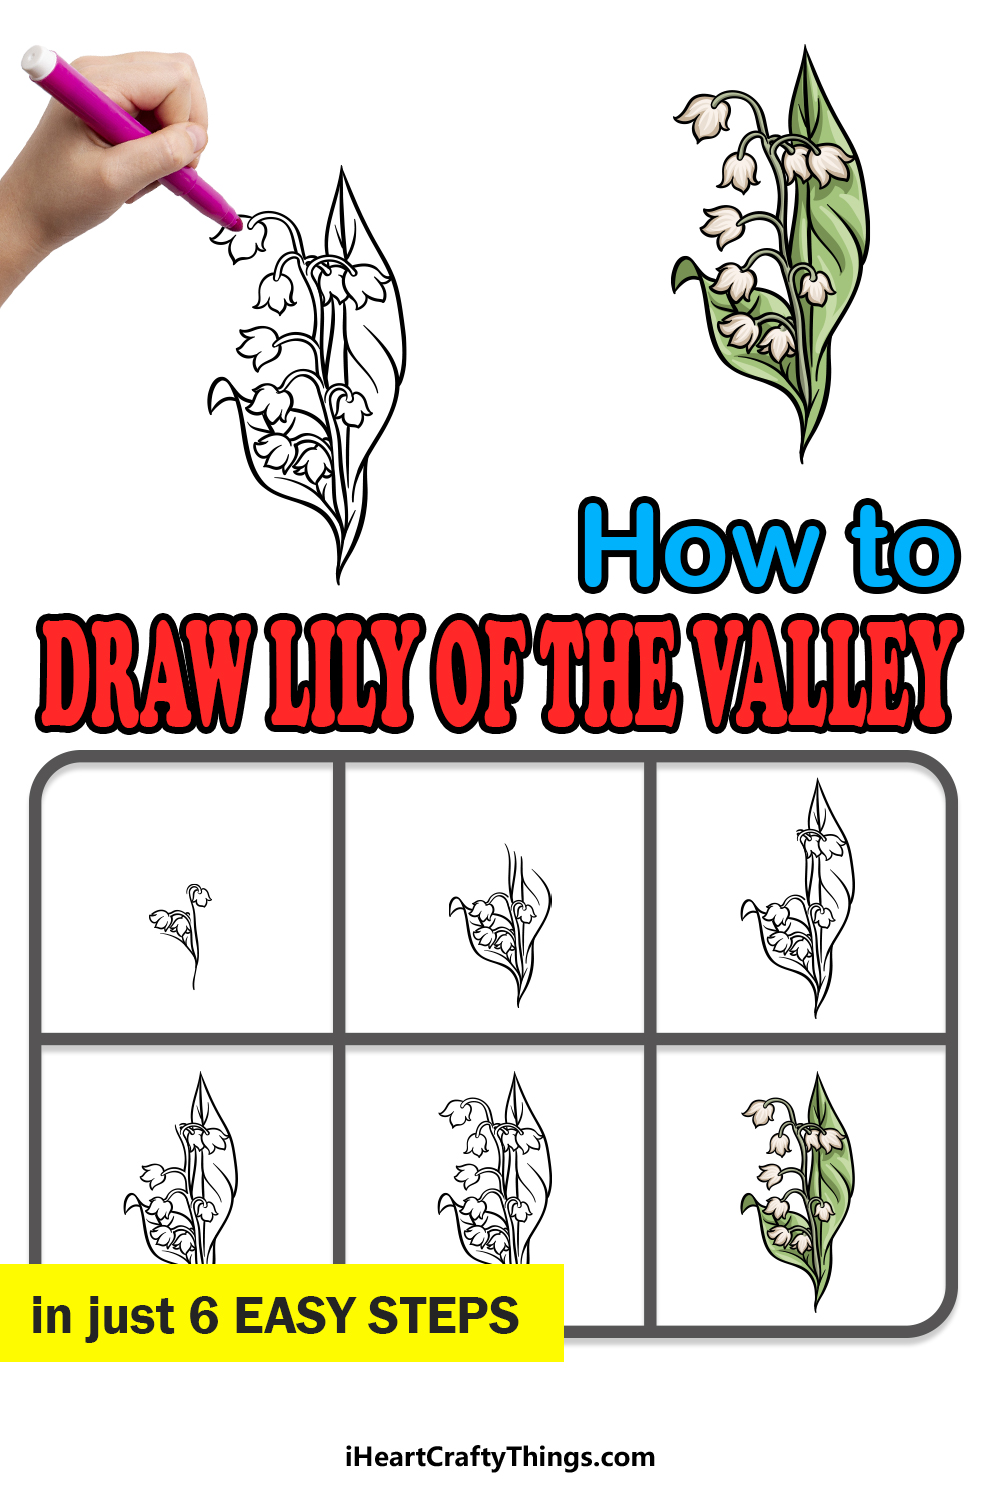
If you’d like to learn how to draw a lily of the valley then this is the guide for you! You will be able to recreate this beautiful plant in just a few steps.
There are so many beautiful plants and flowers in the world, and everyone has their favorites. The lily of the valley is one that many people love for its simple and elegant structure.
Not to mention that it has a light and pleasing aroma! Many of these fans love to try and depict this flower in art, but may find that drawing it is harder than it seems.
I made this guide to help anyone who loves it to create an accurate representation. I’ll walk you through all of the steps and explain each one in detail.
By the end, you will see how fun and easy it is to draw this classic plant.
See How To Make Your Lily Of The Valley Drawing
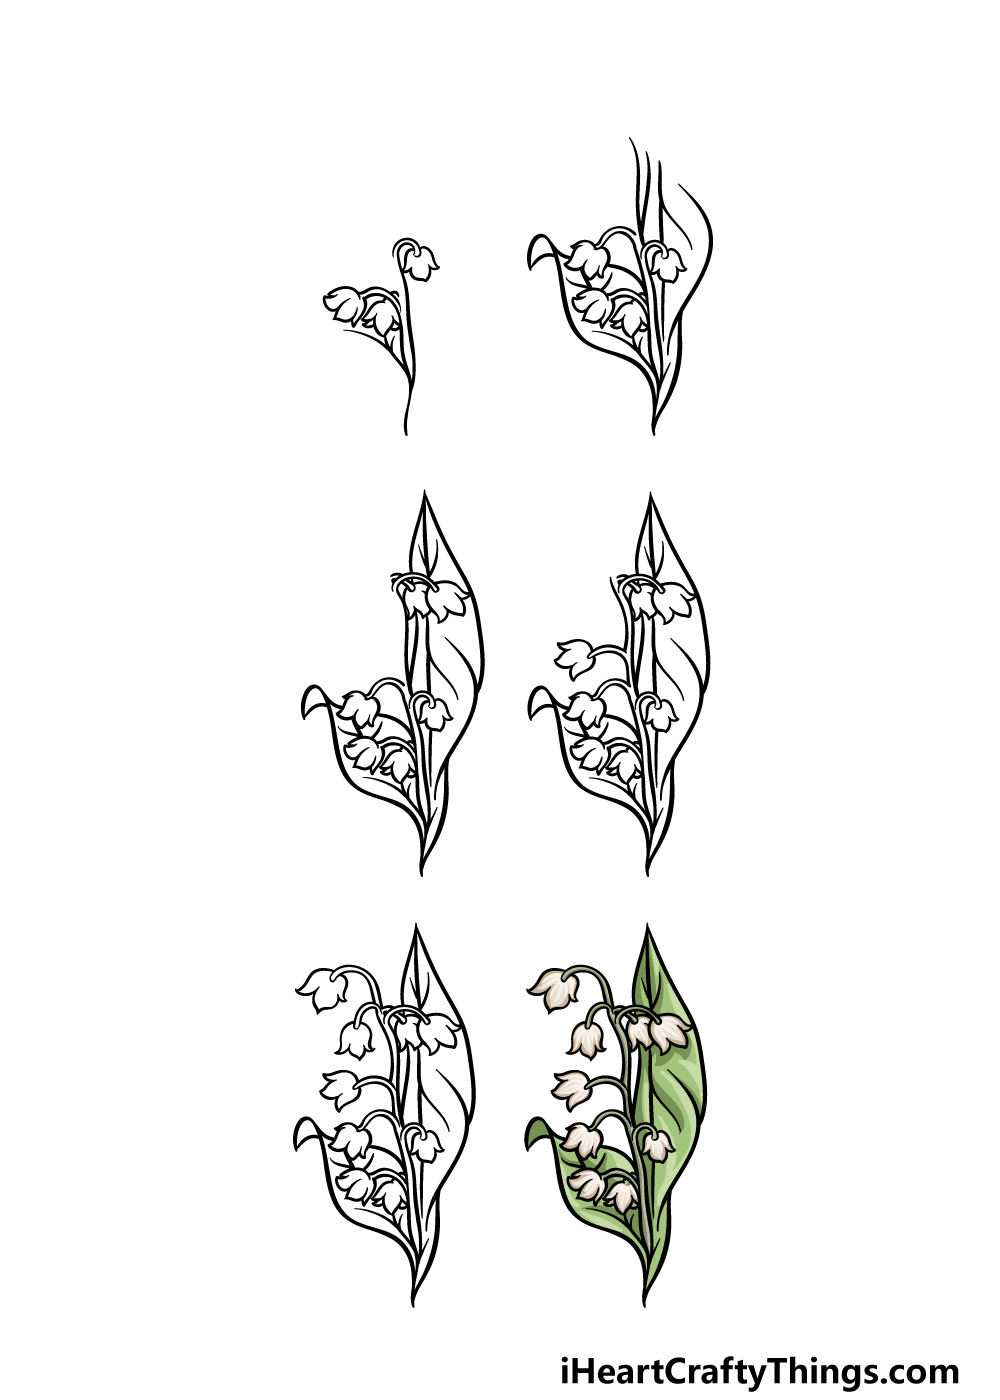
How to Draw Lily Of The Valley – Let’s Get Started!
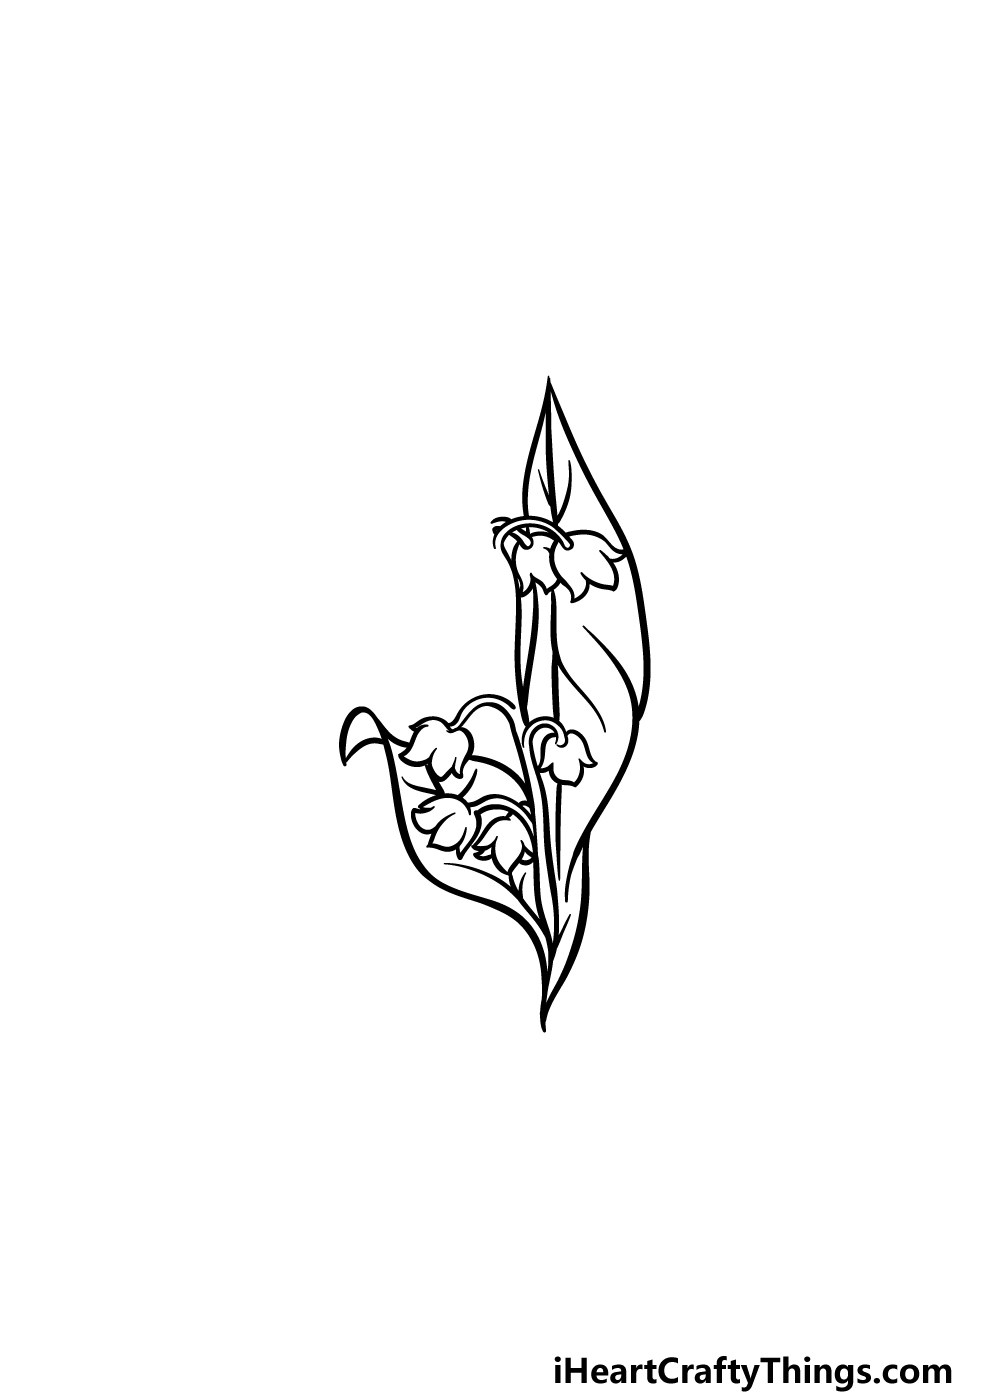
Step 1
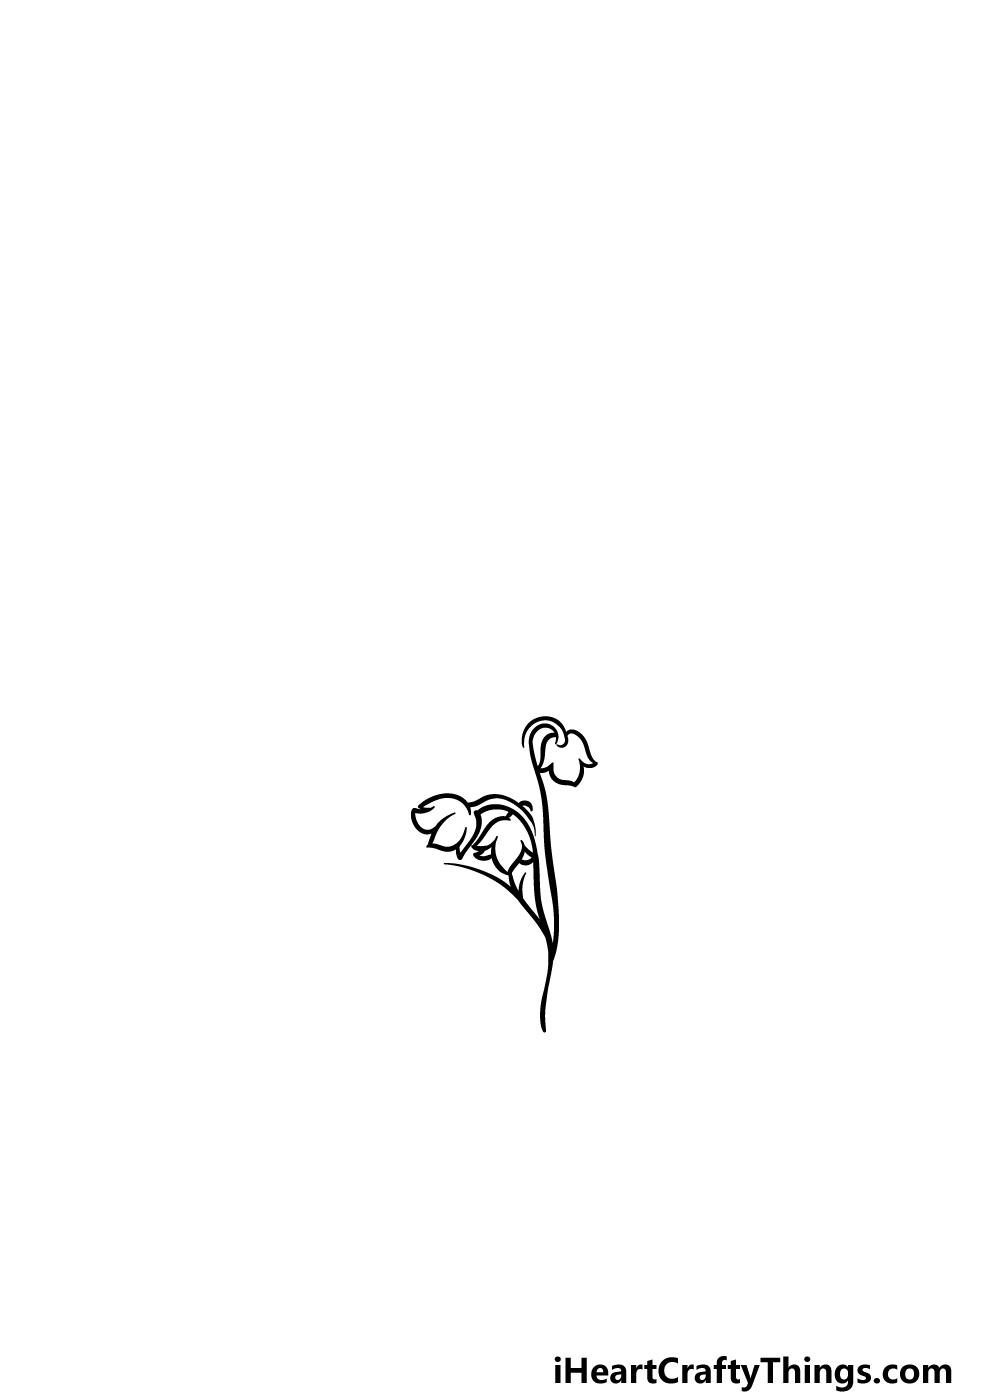
The lily of the valley flower has a wonderfully subtle structure to it, and it is made up of lots of small, bell-shaped flowers on s stem and surrounded by large leaves.
We will kick off this guide on how to draw lily of the valley by starting with some of these little flowers.
Each of these little flowers will be smooth and round where they connect to the stems, yet the outer edge will be sharper and more pointy.
For now, we will be drawing three of these little flowers, and each one will be on a thin, bent stem. We will also start drawing the bottom portion of the main stem along with the first leaves, as shown in the reference image.
Once you’re satisfied with how you have replicated our example, you can move on to step 2!
Step 2 – Next, draw the leaves and another flower
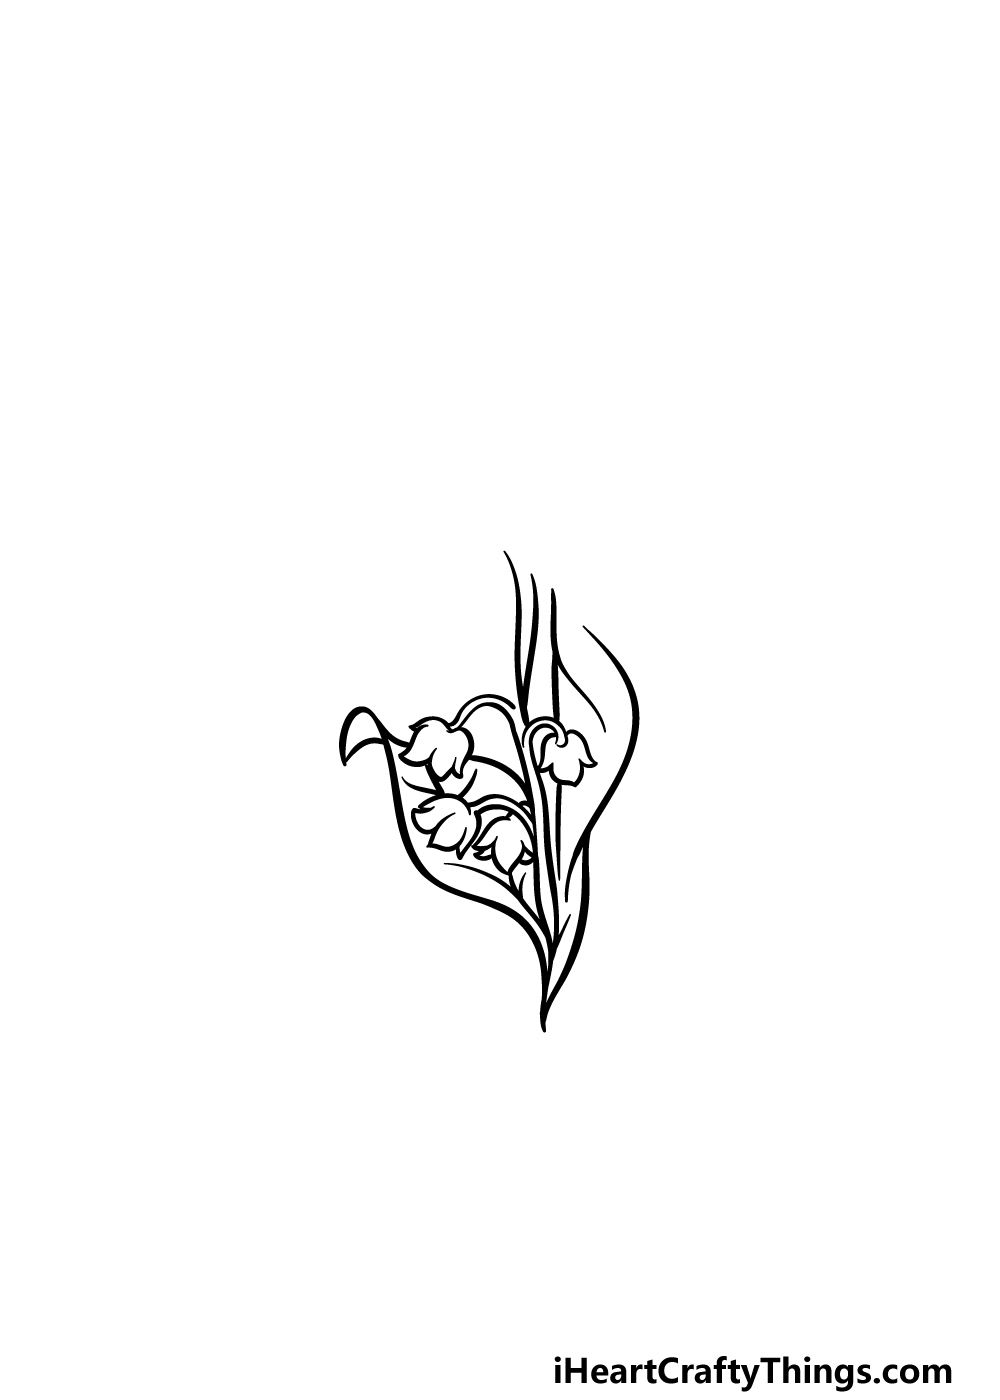
We mentioned in the previous step that this flower has little buds with large leaves, and we shall be adding the leaves to your lily of the valley drawing in this next step.
To draw these leaves, we will be using some curved and rounded lines to draw the leaf on the left that is behind some of the buds that you have already drawn.
This leaf will curl over at the tip, and you can also add some line details onto it for the veins of the leaf.
We will then add another little bud on a thin stem above the other ones that you have drawn, and then we will use some more of those rounded lines with vein details for another leaf.
Step 3 – Complete the leaf and add some flowers
In this part of our guide on how to draw lily of the valley, we will be finishing off the leaf that is on the right-hand side of the picture.
We will use some more slightly curved lines extending up and inward to form the pointy tip of that leaf that you started in step 2.
Don’t forget to draw the central spine line and veins for that leaf as well!
Then, we will add two more little buds, and like the others they will be on thin, bent stems.
Step 4 – Now, draw another bud and more of the central stem

The next few parts of this lily of the valley drawing will be based around finishing off the structure of the flower before you color in your artwork in the final step.
We will keep it simple for this fourth step, as all you need to do is extend the central stem up and then add another little bud on its own thin stem.
Once you have added this bud, it’s on to some final details in the next part.
Step 5 – Finish off your lily of the valley drawing
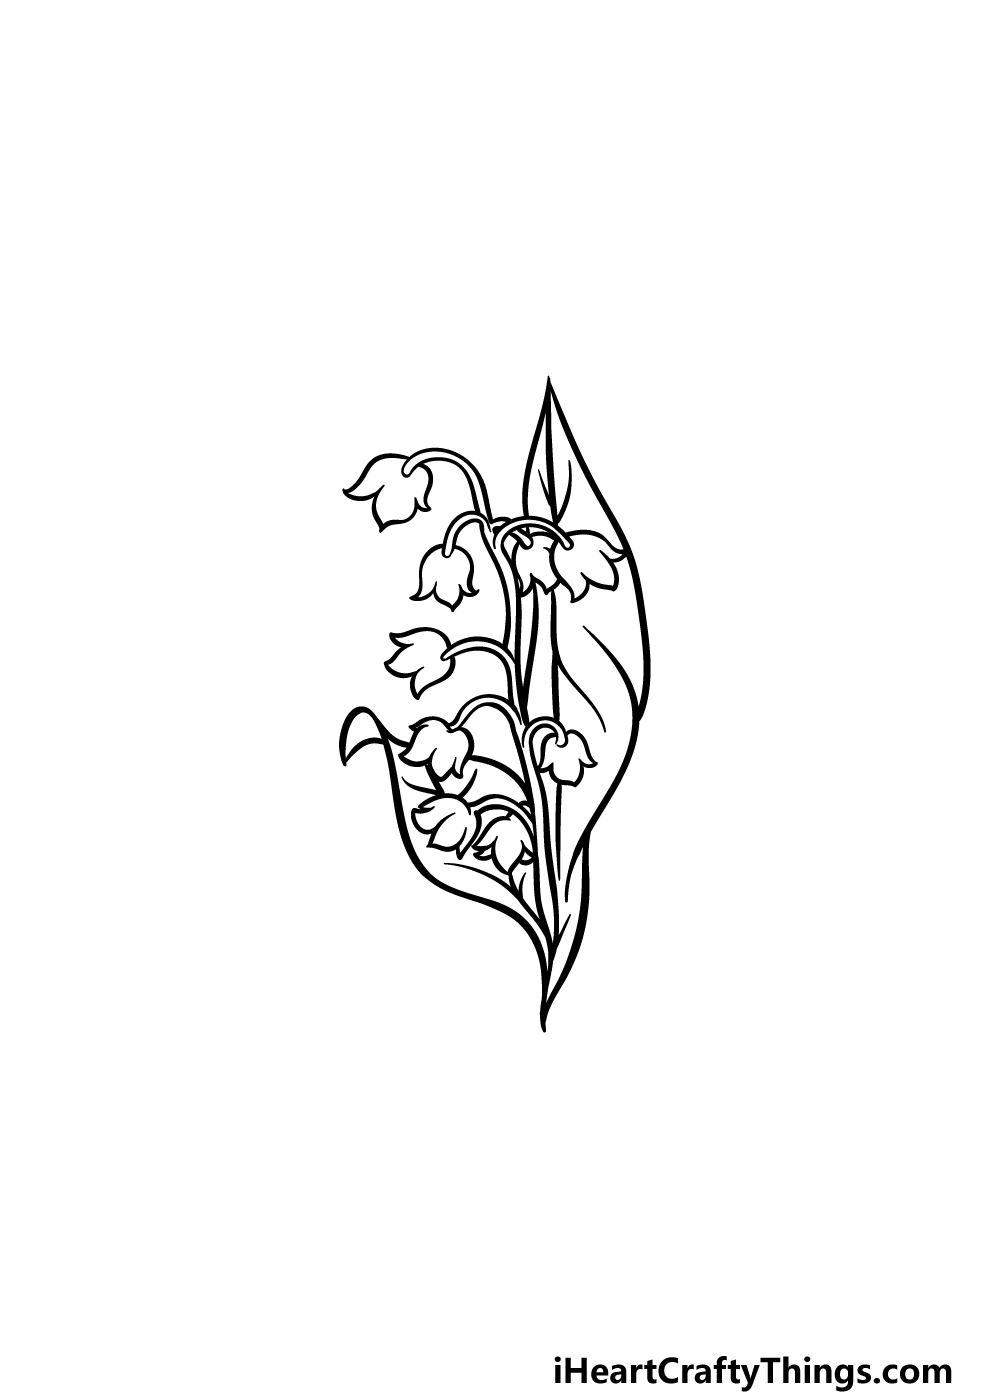
We’re now ready to add the final touches of your picture in this fifth step of our guide on how to draw lily of the valley! To finish it off, we will be adding two more buds onto the top of the flower.
Much like the others, these will each be on a thin stem. These will form the top of this particular flower, and they will also be the final details we will be drawing before the final step.
That certainly doesn’t mean that you have to stop here though, as there are loads of wonderful additions that you could add to this image.
You could draw a garden background featuring more of your favorite flowers for one idea, or even draw your own lily of the valley flower to go with this one. These are just a couple of ideas, but you should let your creativity flow as you finish it off!
Step 6 – Finish off your lily of the valley drawing with some color
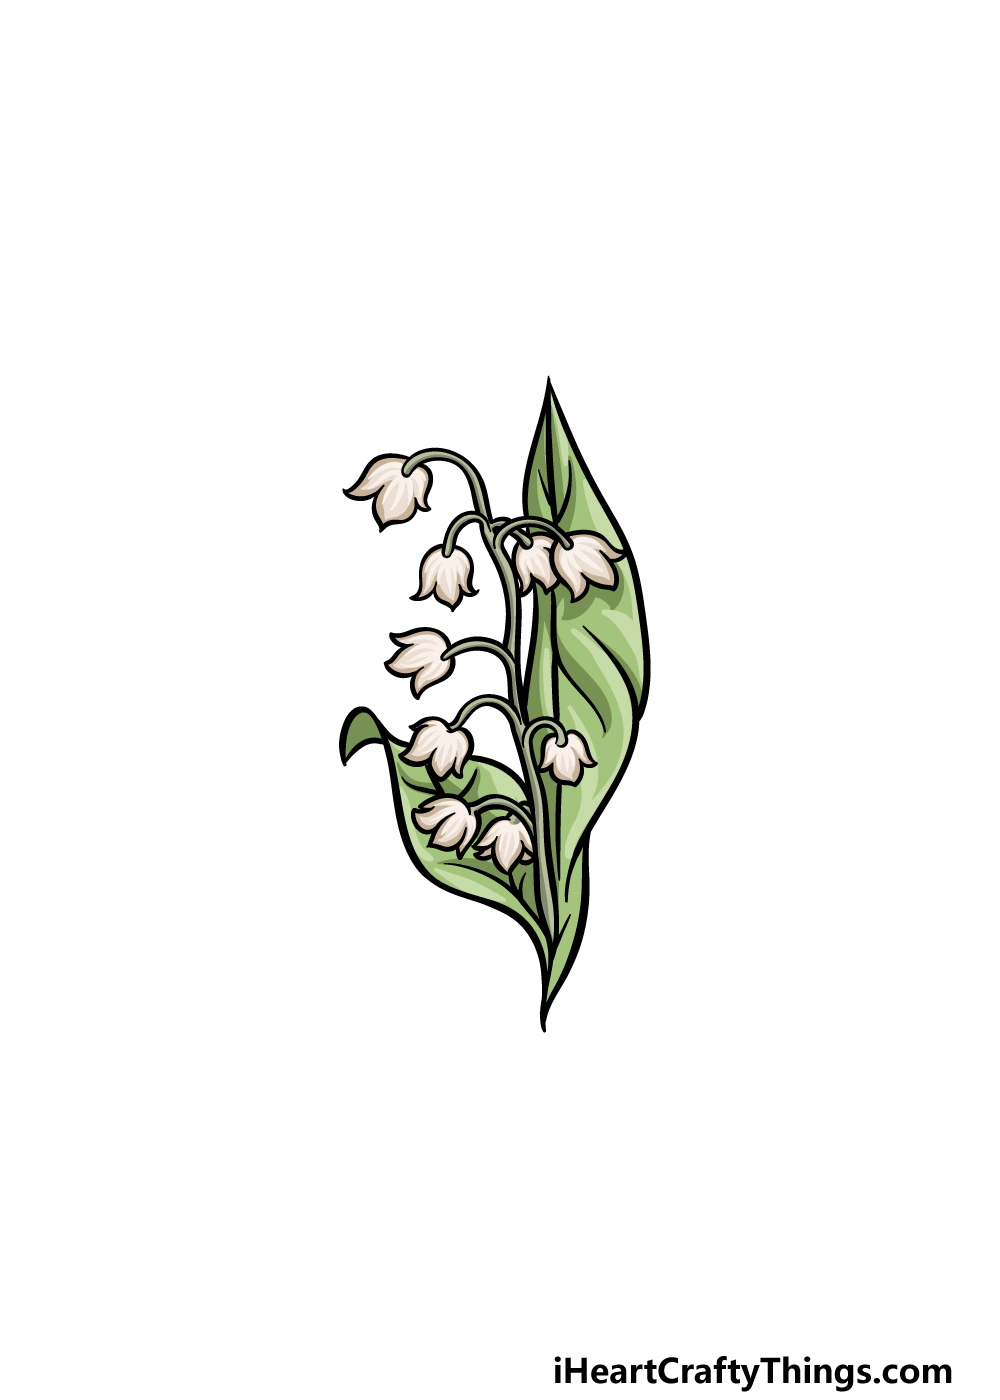
We will be closing off this lily of the valley drawing by adding some lovely colors to it! This flower is known for its beautiful, subtle colors.
This is the color scheme that we went with in this image, as we used some white and beige shades for the buds and then used some green shades for the stems and leaves.
Watercolor paints would be our suggestion for coloring this in, as this subtle medium would match the delicate nature of these flowers.
This is just one suggestion, however, so which colors and mediums are you feeling for this image?
3 More tips to make your lily of the valley drawing easy!
Make this beautiful lily of the valley sketch even easier to draw with these tips!
We tried to keep the details of this drawing of a lily of the valley simple, but it can still be tricky. When working on any drawing, you can always change or even remove details to make it easier.
For example, you may find it frustrating drawing all of the small buds of the flower, in which case you could remove a few of them.
Or, you could also remove the leaves in the background and focus on the flowers.
These are a few examples, but the idea is to focus on parts that are proving tricky and then change them to be easier for you to draw.
When you have the hang of it, you could always add some of these details back in!
When you’re drawing something, it’s always a good idea to refer to the real thing that you’re drawing. The same is true for this lily of the valley drawing, and it can make it so much easier!
If you happen to have a lily of the valley growing in your yard, then you have the perfect model ready to go. If not, you can look up images of the flower online to refer to.
Using these references can not only make it easier but can also help you to make it even more realistic.
When something is the sole focus of a drawing, it can add more pressure as you draw. That’s why we think it could be helpful to make this lily of the valley sketch part of a larger scene.
You could add other flowers or even a background setting so that there is more to look at in the picture.
That way, less scrutiny will be paid to the lily of the valley, so you will have less pressure to make it perfect.
If you’re going to add more elements, you should try to stick to things that you find easy to draw!
Your Lily Of The Valley Drawing is Complete!
This flower is one of the most beautifully elegant wonders to be found in nature!
We hope that creating this artwork was fun and easy for you as you worked on this guide on how to draw lily of the valley.
We tried to make this guide not only fun and simple to use, but also hope that it left lots of room for your own creativity.
We will be very curious to see what extra details, colors and mediums you use to put your own spin on it!
If you enjoyed this guide, you can find many more on our website. We have some more coming out soon, so definitely keep checking in when you can!
Once your lily of the valley drawing is finished, please do share it on our Facebook and Pinterest pages for us to enjoy!