Winnie the Pooh is one of the most enduring and beloved children’s characters of all time. From books to films, comics and even video games, fans young and old alike have been delighted by his exploits.
The stories are about more than just the clumsy bear though, and his many friends have won lots of hearts as well.
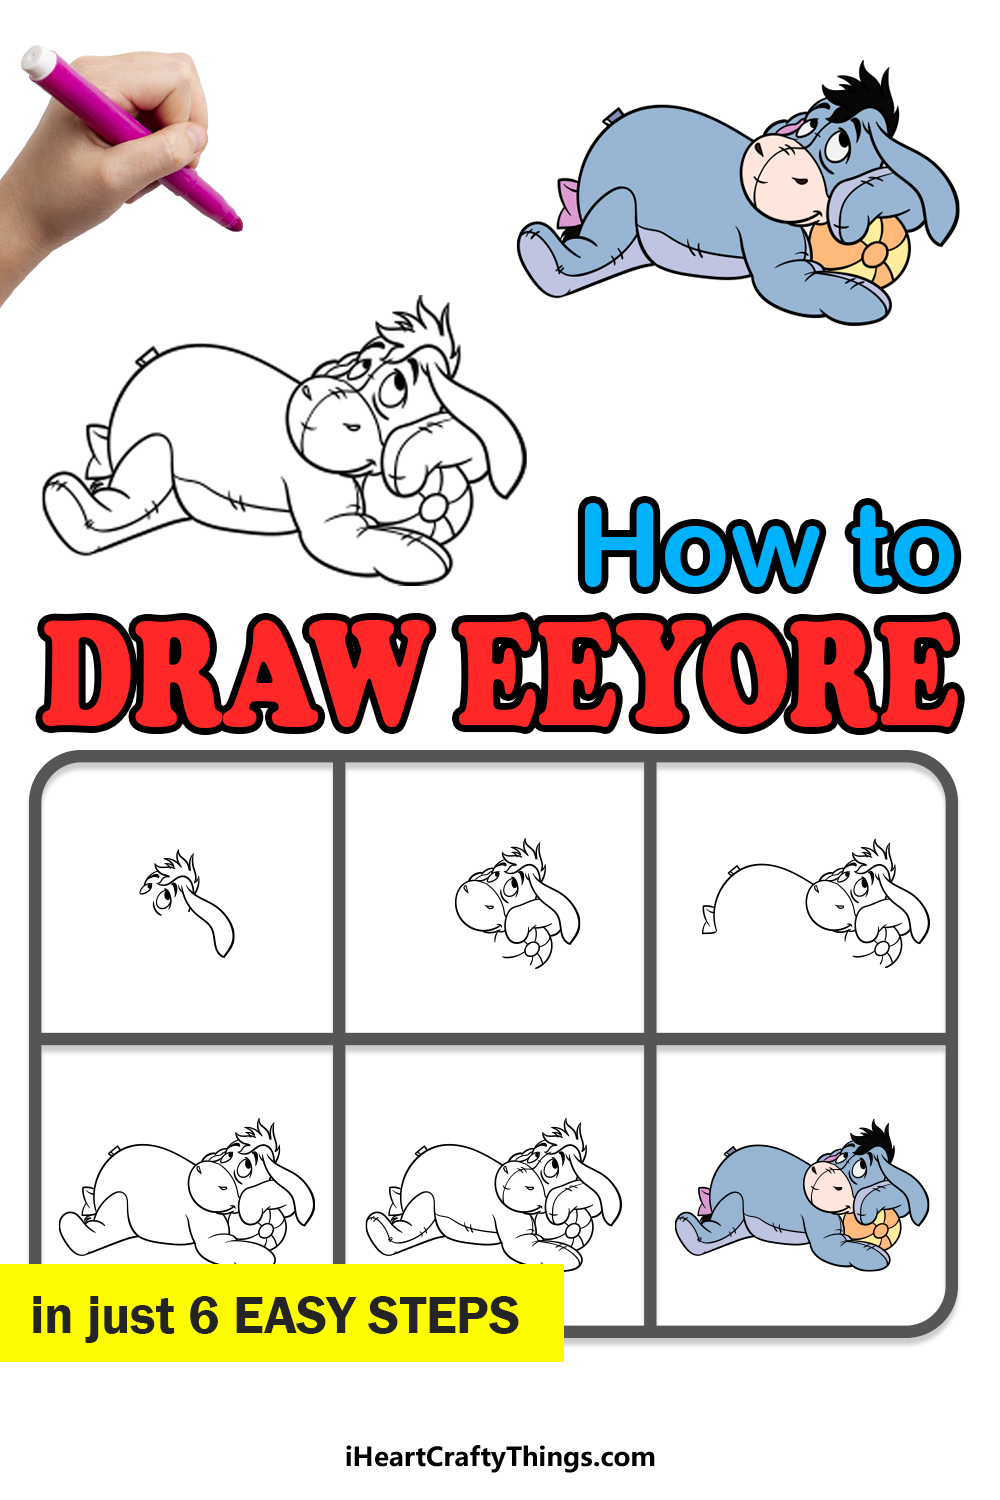
The sad and dour donkey Eeyore is one of the most loved characters from the stories, and many fans like to show this by learning how to draw Eeyore.
If you love this grouchy character as well, then you’ll be thrilled with what we have in store for you in this guide!
Our step-by-step guide on how to draw Eeyore in 6 steps will show you how you can recreate this beloved donkey.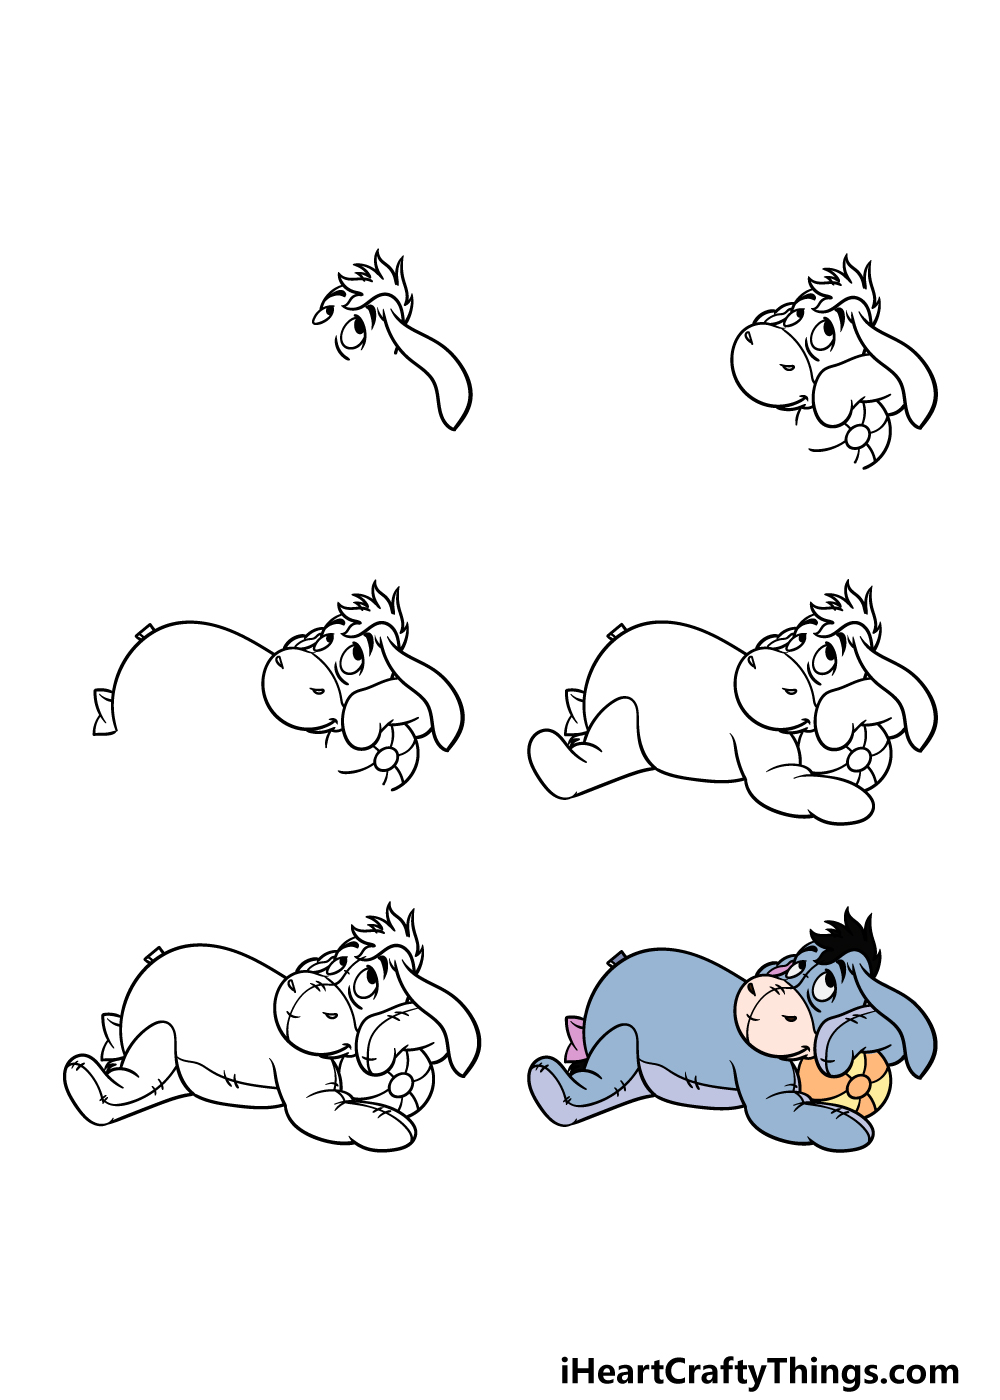
How to Draw Eeyore – Let’s Get Started!
Step 1
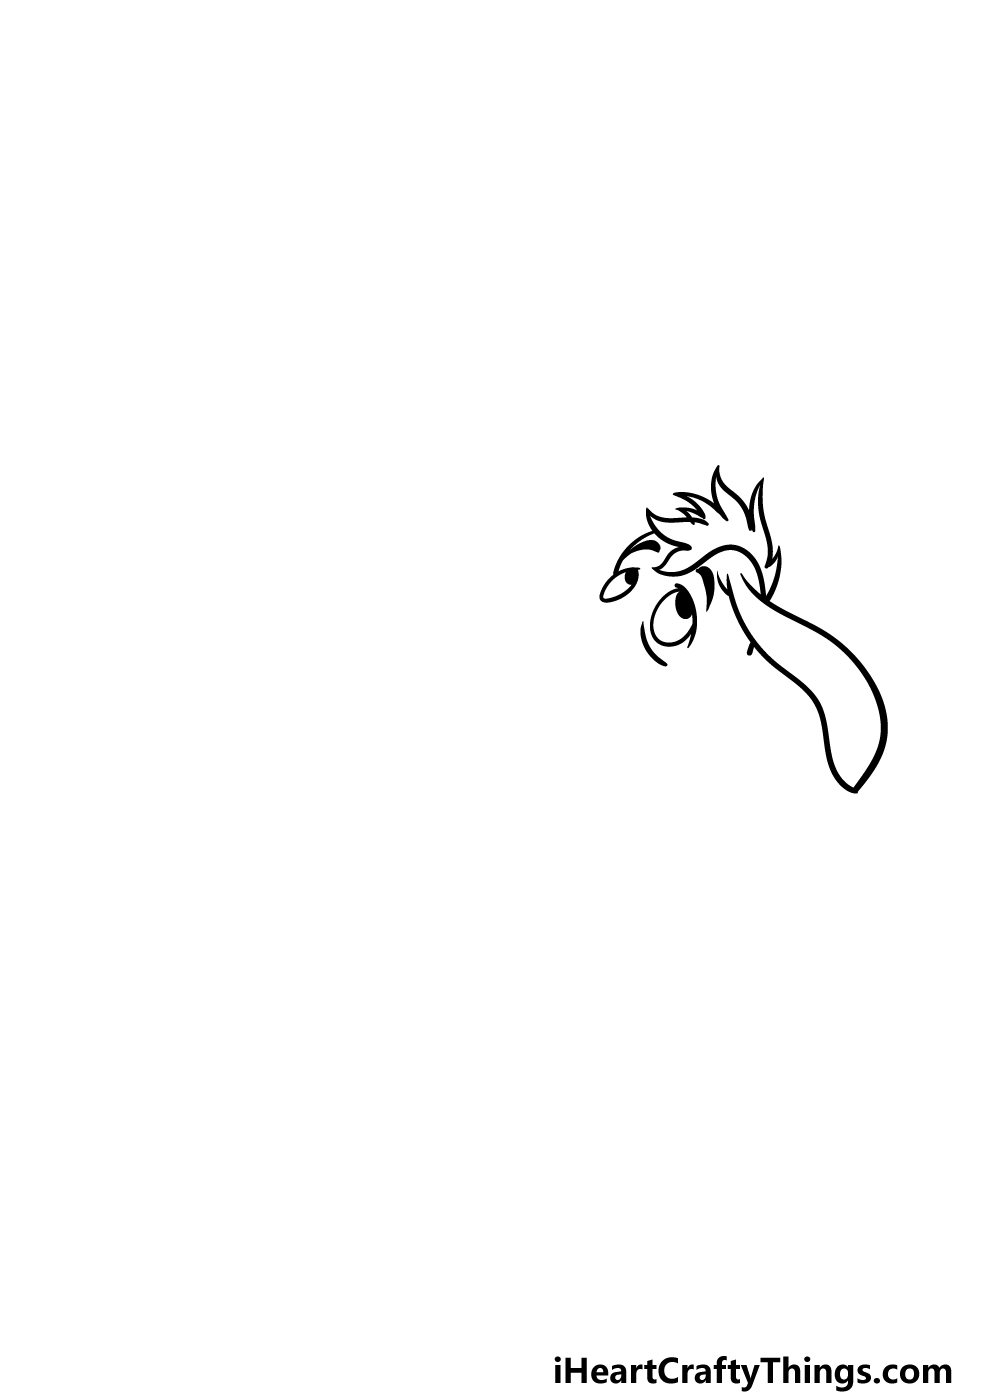
While this character is usually seen frowning and unhappy, we will be depicting a rare lighter moment in this guide on how to draw Eeyore!
To do this, we shall start with the head and face for your picture. First, you can start with some round shapes for his eye outlines. You can then add some big pupils inside of his eyes.
There will also be some line details above and below his eyes to give them some more character. Then you can finish off the eye area by adding some thick eyebrows above them.
Finally for this step, we will use some curved lines with sharp points in them for the tuft of hair atop his head.
Then you can complete the step by using some more rounded lines for his floppy ear dropping down from beneath his hair. After that, it’s on to step 2!
Step 2 – Next, draw some facial details for Eeyore

Now that you have the top of his head drawn, we can now start on the lower half for your Eeyore drawing. First, use some rounded lines to create his muzzle at the end of his face.
This will also have a curved line at the bottom of it that is curled up with a small smile for him. Don’t forget to draw some nostrils where his nose is as well!
In the scene that we are drawing, we will be showing him resting his head on a ball.
Use some rounded lines below his ear for his leg resting on the ball, which you can draw as a small circle with rounded lines extending off of it.
Step 3 – Draw the body for Eeyore
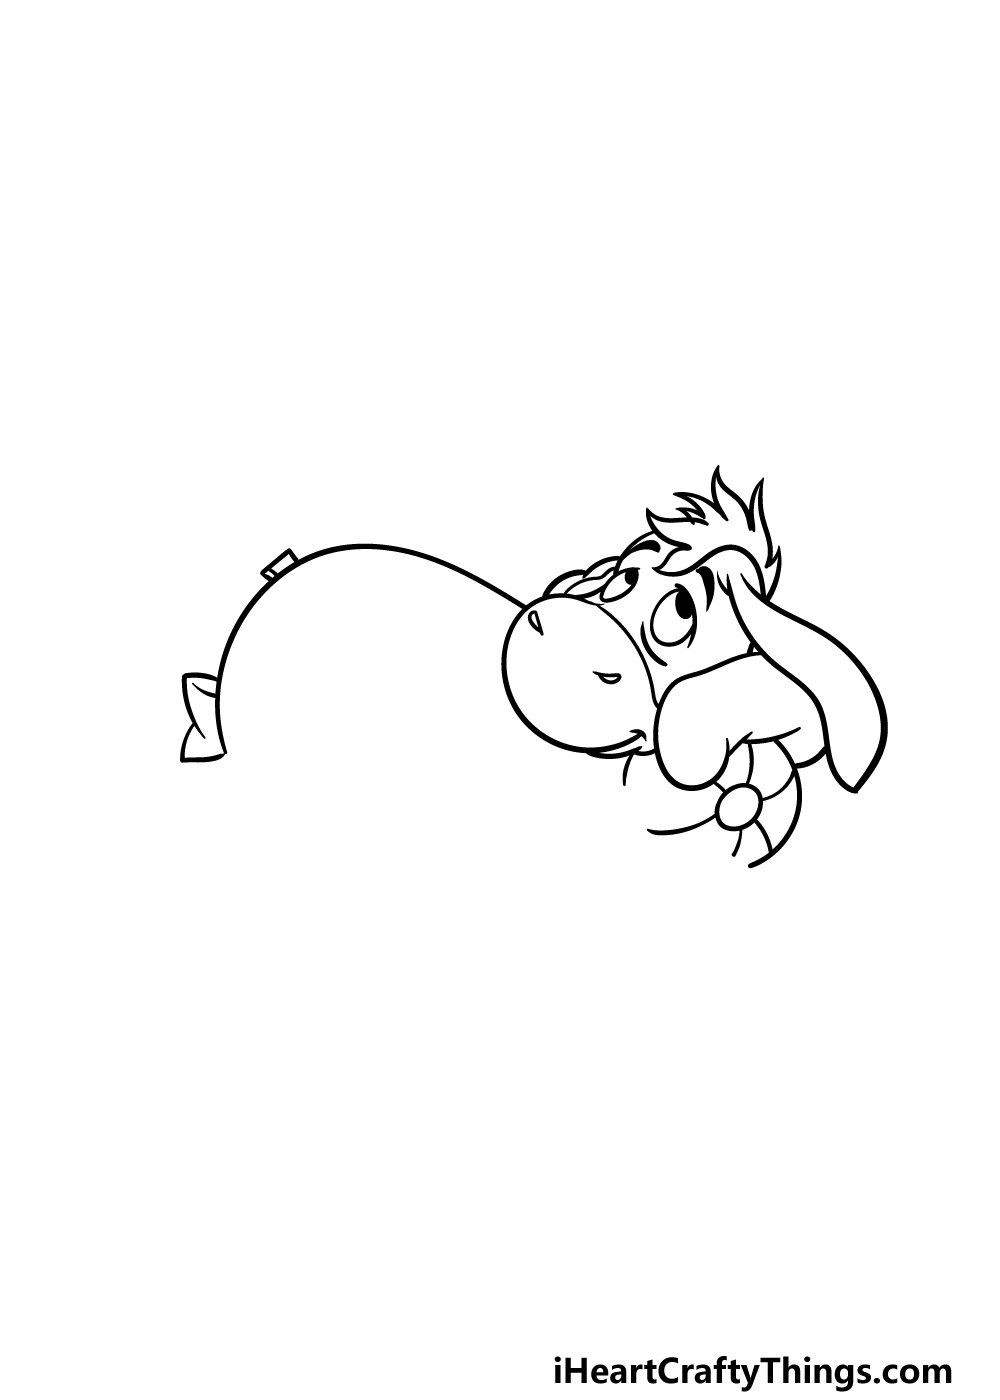
This step of our guide on how to draw Eeyore will be focused on drawing his body. To do this, simply extend a long, rounded line from his muzzle and sloping up and then down.
Once you have drawn this round curve for his body, you can draw a small square shape onto it where you see it in the reference image.
Then you can finish off this step by drawing a small bow at the base of his body.
Step 4 – Now, draw some legs for Eeyore

We will be finishing off the outline for your Eeyore drawing in this next step. To do this, we will be focusing on his legs below his body.
For the front leg, we will use some more rounded lines connecting to one another in a similar fashion to the other front leg. This one will be below his body to show that he is resting on it.
Then, extend a curved line back from his leg to show his belly. Finally, you can finish off this step by drawing his back leg poking out.
This will also be drawn with some rounded lines on top, but it will have a flat line at the bottom of it. Then we can move on to some final touches in the next step.
Step 5 – Finish off your Eeyore drawing

All of the animal characters in the Winnie The Pooh series are stuffed animals that come to life, and we will reflect that aspect in this step of our guide on how to draw Eeyore.
To do this, we will be adding some stitching lines throughout his limbs and body. First, draw a line coming down the center of his face.
As you see in the picture, we will be making this line follow the curvature of his face. Then you can add some short lines across it for some stitching.
You can then add some similar stitching lines on his legs, belly and body to finish off the effect.
Before you move on to the final step, perhaps you could draw more characters from the series or a nice background for your picture!
Step 6 – Finish off your Eeyore drawing with some color
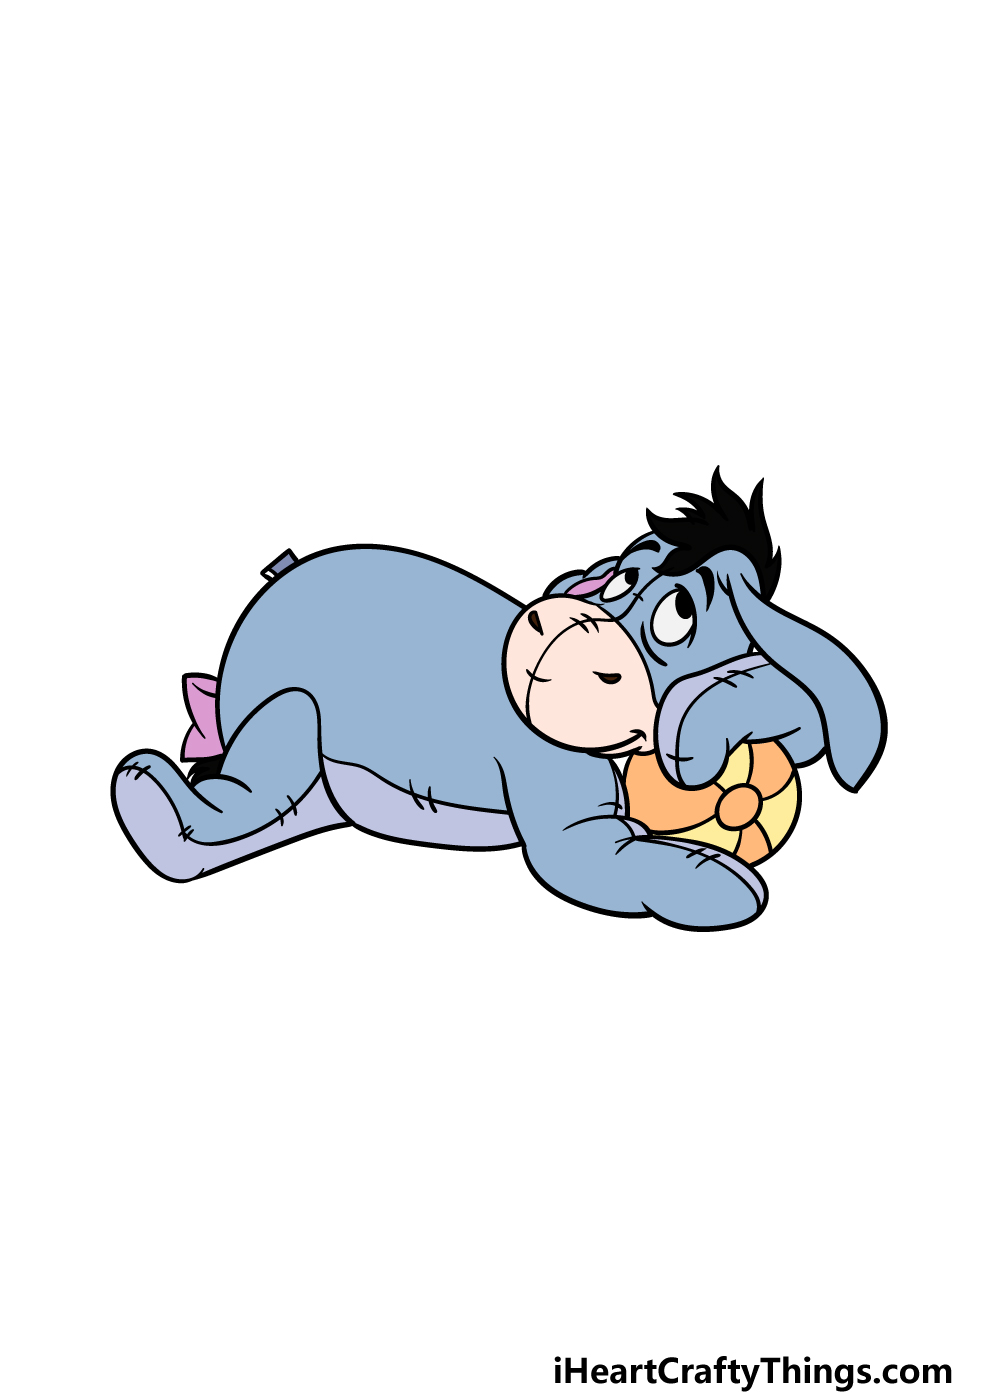
This is the final part of your Eeyore drawing, and in this one we shall finish it off with some coloring fun. In our reference image, we showed off the colors that Eeyore typically has.
That means some mild shades of blue for his body and black for his hair. For some brighter colors, we used pink for the bow on his back and yellow with orange for the ball.
These are the colors that we chose, so will you go for this color scheme or change it up with your own color choices? We can’t wait to see what you choose!
Here’s how you can make your Eeyore drawing even better…
Make this Eeyore sketch even better with these fun and easy tips!
This drawing of Eeyore shows him looking unusually happy, which is great to see! You could easily adapt the drawing to look more like his more dour self if you wish, however.
This could be as simple as changing his facial expression or altering his pose a little. You could also go in the other direction and make him look even more happy and content!
Do you think you will change his expression here?
This depiction of Eeyore shows him posed with a small ball, but you could also add some other toys and objects for him to interact with. There are so many possibilities you could go for when doing this!
Maybe there could be a larger beach ball around, or you could draw some stuffed animals beside him.
You could use some toys you’ve owned in your life as inspiration for some toys to give to Eeyore!
What objects could you add to the image?
Eeyore is one of many beloved characters from the series, and you could add some of his friends for a more complete image! Some classic examples would include Winnie the Pooh, Tigger or maybe Piglet.
These characters could be drawn in the classic Disney style, or you could depict them as they appeared in the original books. If you did change the style, then you could change Eeyore to match that style too.
What sorts of adventures would you like to depict in this scene with him and his friends?
Finally, you could complete your scene by adding a background for this Eeyore sketch. You would have many locations from the stories to use!
Perhaps they could be hanging out in the Hundred Acre Wood, or they could be having a tea party in one of the character’s houses. These settings would work whether you portray Eeyore alone or with friends.
Once again, you could also play around with some different styles once you have chosen your location.
Your Eeyore Drawing is Complete!
Eeyore may sometimes be a bit of a sad character, but we hope that this guide on how to draw Eeyore brought you fun and happiness!
There were some fine details and elements in this picture, so we also hope that the steps in this guide made it easier with no frustration as well.
The best part of this drawing process is that now you can customize it as you wish! You could draw some additional character, create a background or use some great colors and art mediums to finish it off. What final details and extra touches can you think of to add?
You’ll want to check out our website when you’re ready for more, as we have many more awesome drawing guides for you there. We upload new ones often, so keep swinging by!
We would love it if you would share your finished Eeyore drawing on our Facebook and Pinterest pages, as we always love to see your amazing artwork!