If you take a step outside the door and into your yard, you are likely to be surrounded by legions of insects.
There are many different kinds of insects, and it’s quite amazing just how diverse in size, color and shape they can be!
With how complex their little bodies can be, it can become quite daunting to learn how to draw an insect.
If you would like to learn how to draw one of these amazing creatures, then you have certainly chosen the right guide!
Our step-by-step guide on how to draw an insect will show you how to recreate one of these fascinating bugs.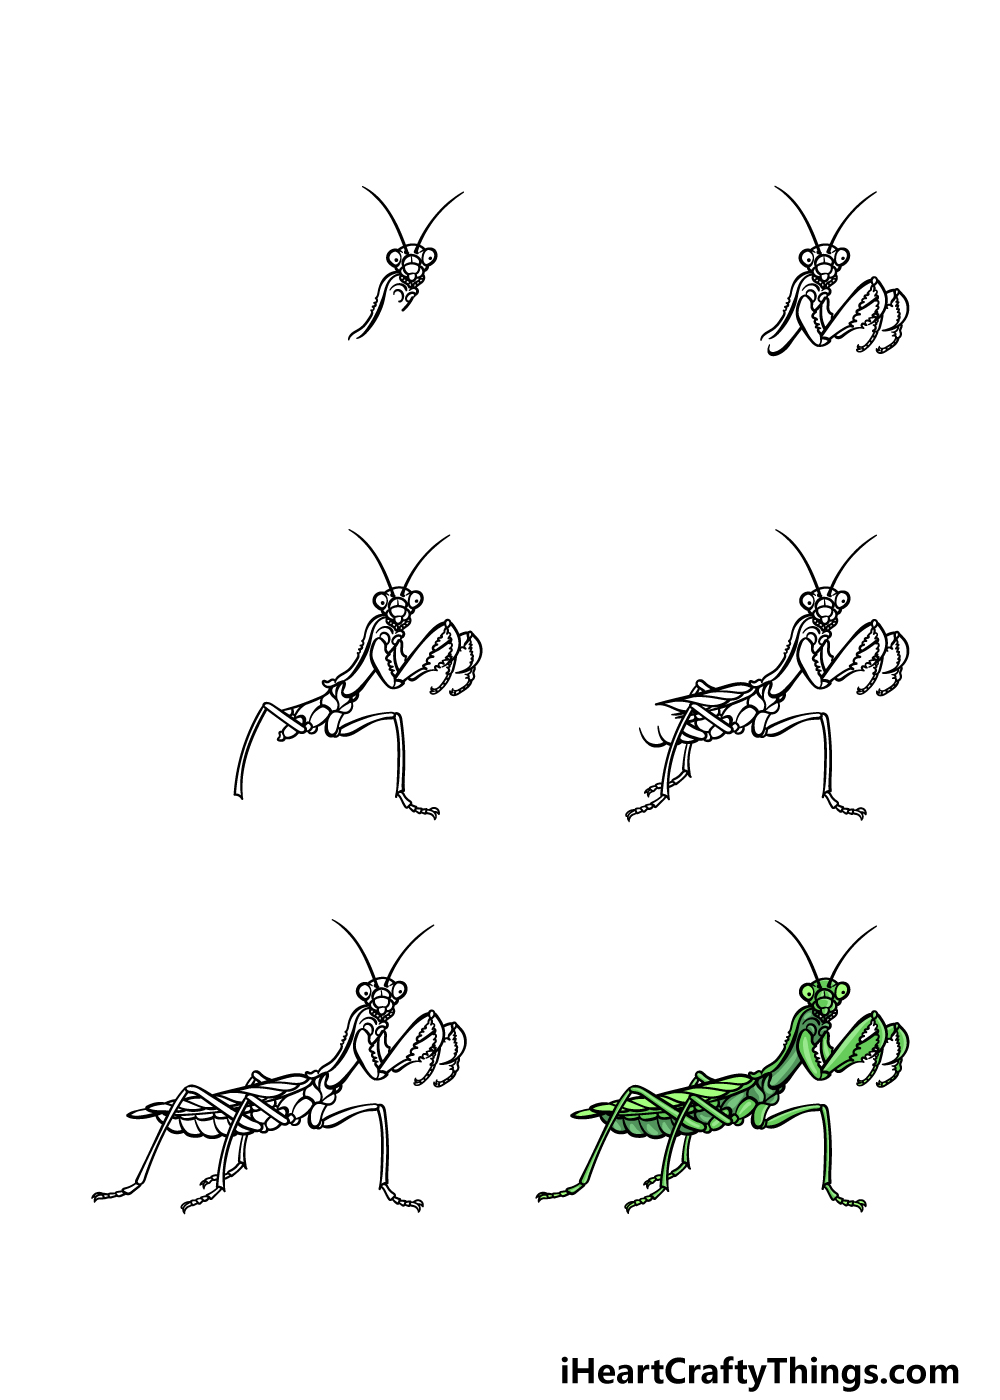
How to Draw An Insect – Let’s Get Started!
Step 1

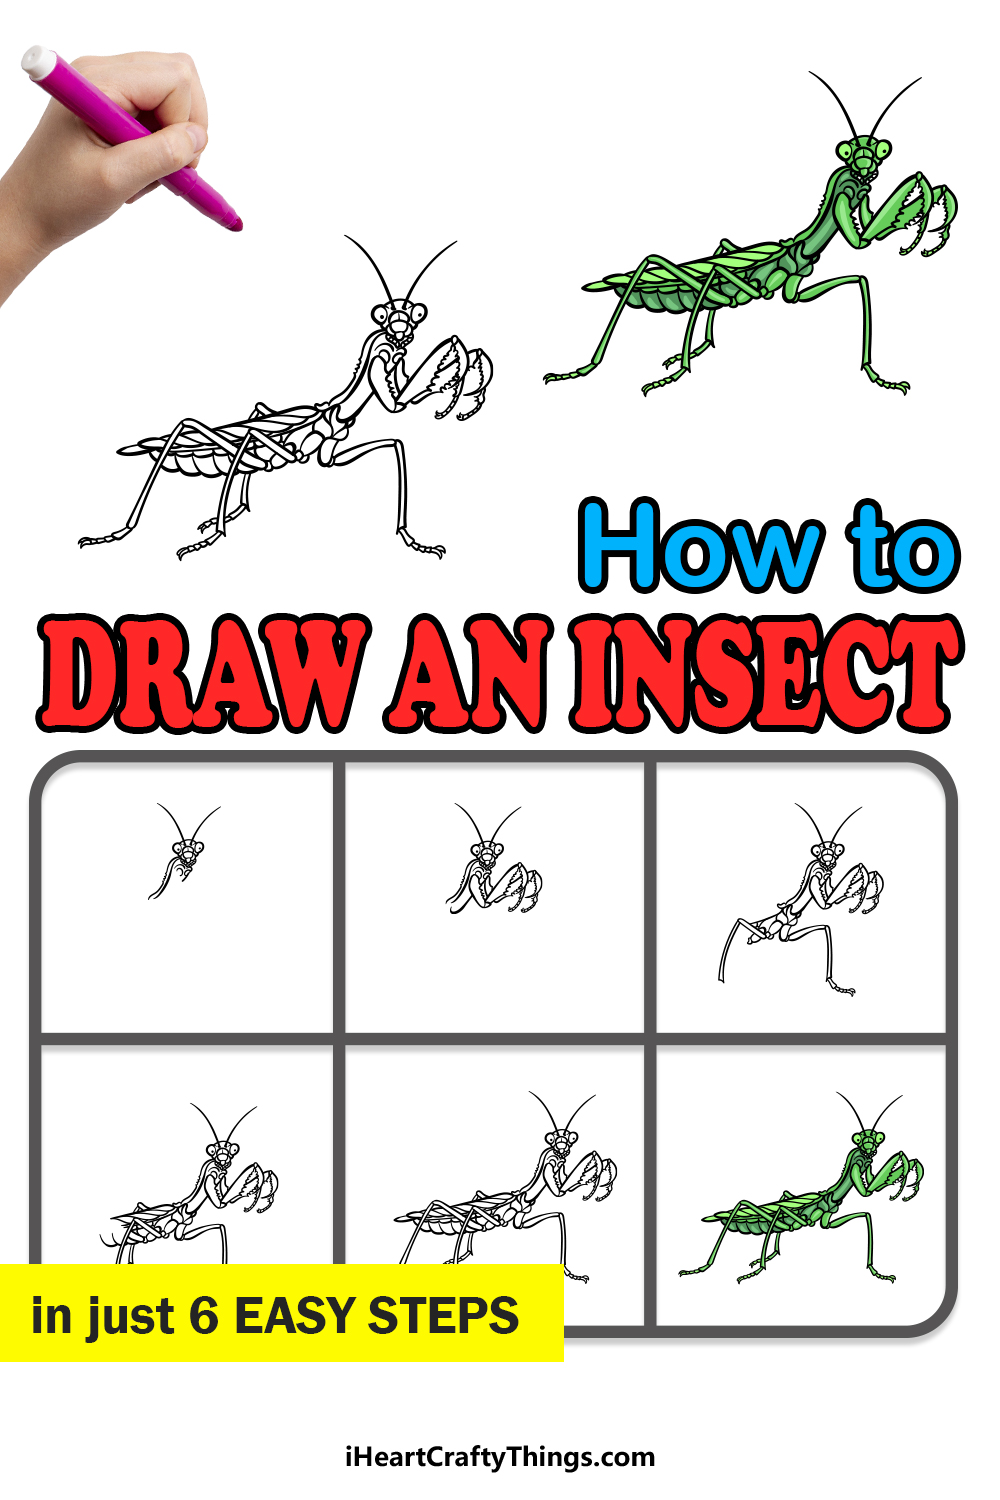
For this guide on how to draw an insect, we will specifically be drawing a praying mantis insect.
There are many different amazing insects, but this has to be one of the most unique looking! To begin this guide, we will be staring with the head and the beginning of the body.
This insect has a fairly small head with some large, round eyes at the sides. You can start off by drawing these two eyes as small, round shapes.
Then, we will be using some intricate lines to draw the head and face details between these eyes. Some of these details will include a round shape with some line detailing on it between them.
To finish off this step, you can draw the long, thin feelers poking off of the head, and then start drawing the top of the body.
Step 2 – Next, start drawing the first legs of the insect
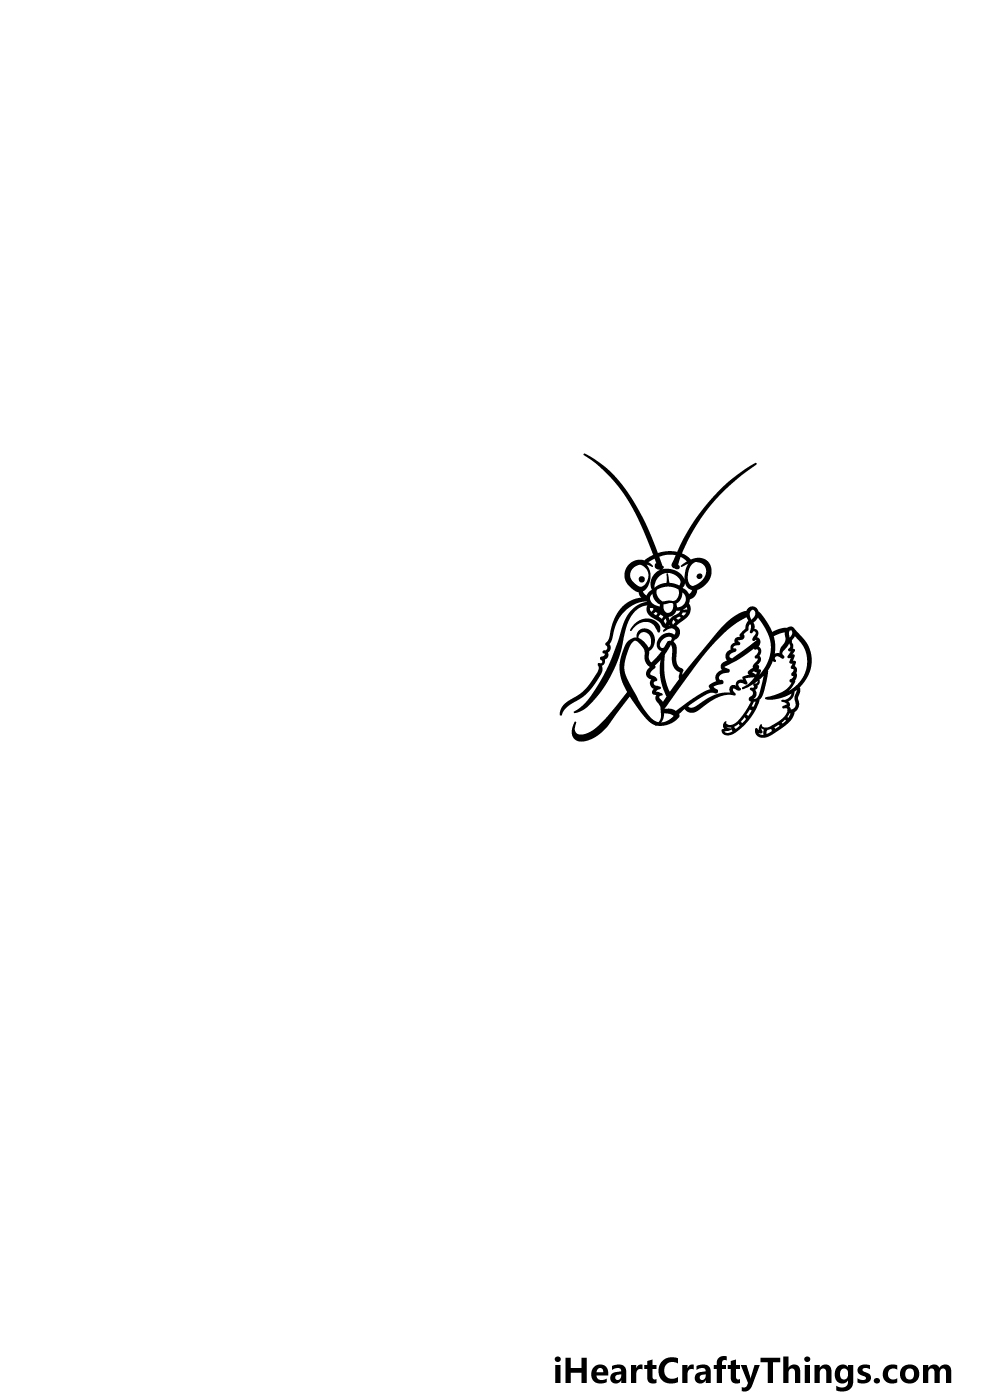
In this second part of the guide, we will be adding the first two legs for your insect drawing. These legs look more like arms, and the way they look is what gave the praying mantis its name, as that’s just what it looks like it is doing!
These legs are drawn in three different sections. Each section has one smooth side that you can draw with a slightly curved line, yet the other side will have a more jagged line for the other edge.
The first segment will be of medium length, while the middle one will be the longest of the three. Then, there will be a short segment at the end that has a thin bit sticking off the end.
Once you have drawn these legs as they appear in the reference image, we will be ready to proceed.
Step 3 – Draw the next section of the body
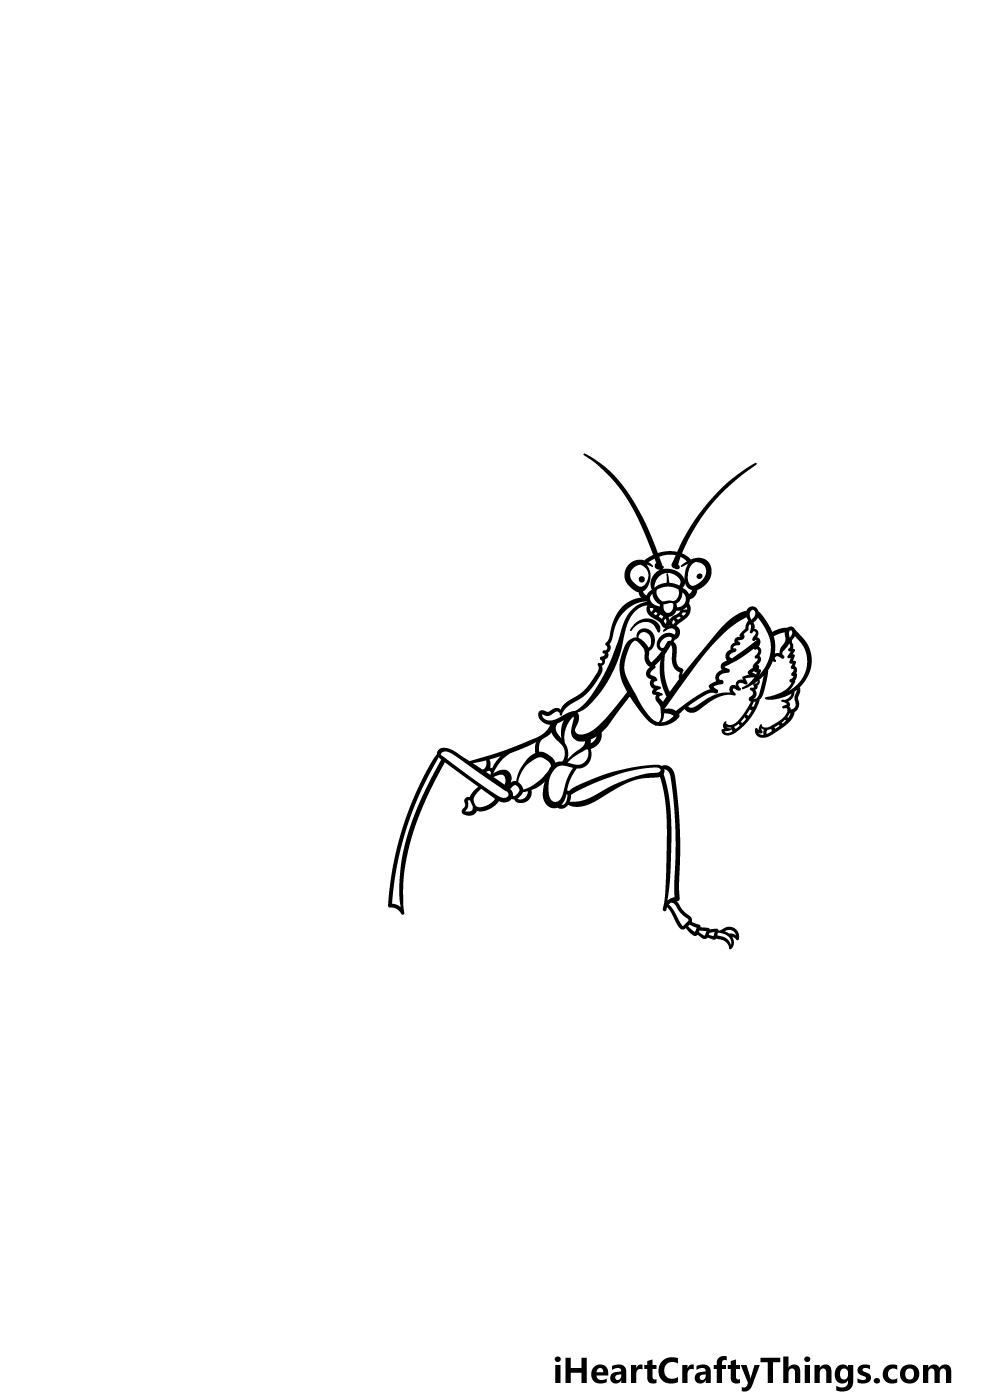
Now we can move on to the midsection of the body in this step of our guide on how to draw an insect. This mid-section will be made up of lots of smaller sections connecting to one another.
Then, we will be drawing two more legs, and these ones look a lot more like what one may imagine insect legs as looking like than the first ones!
They will also be drawn in a few different segments, with the first two being quite short and squat. Then, the remaining sections will be really long and thin, giving these legs an overall much longer length.
Step 4 – Now, keep drawing more of the insect
We will keep building on to the body of the praying mantis for this step of your insect drawing. To do this, we will keep extending it backward, and we will also be drawing the wings on top of the body.
These wings will be drawn as several thin sections connecting to one another. There sure are a lot of different segments throughout this insect!
There will be a space left at the back of the body, but we will fill that in very shortly.
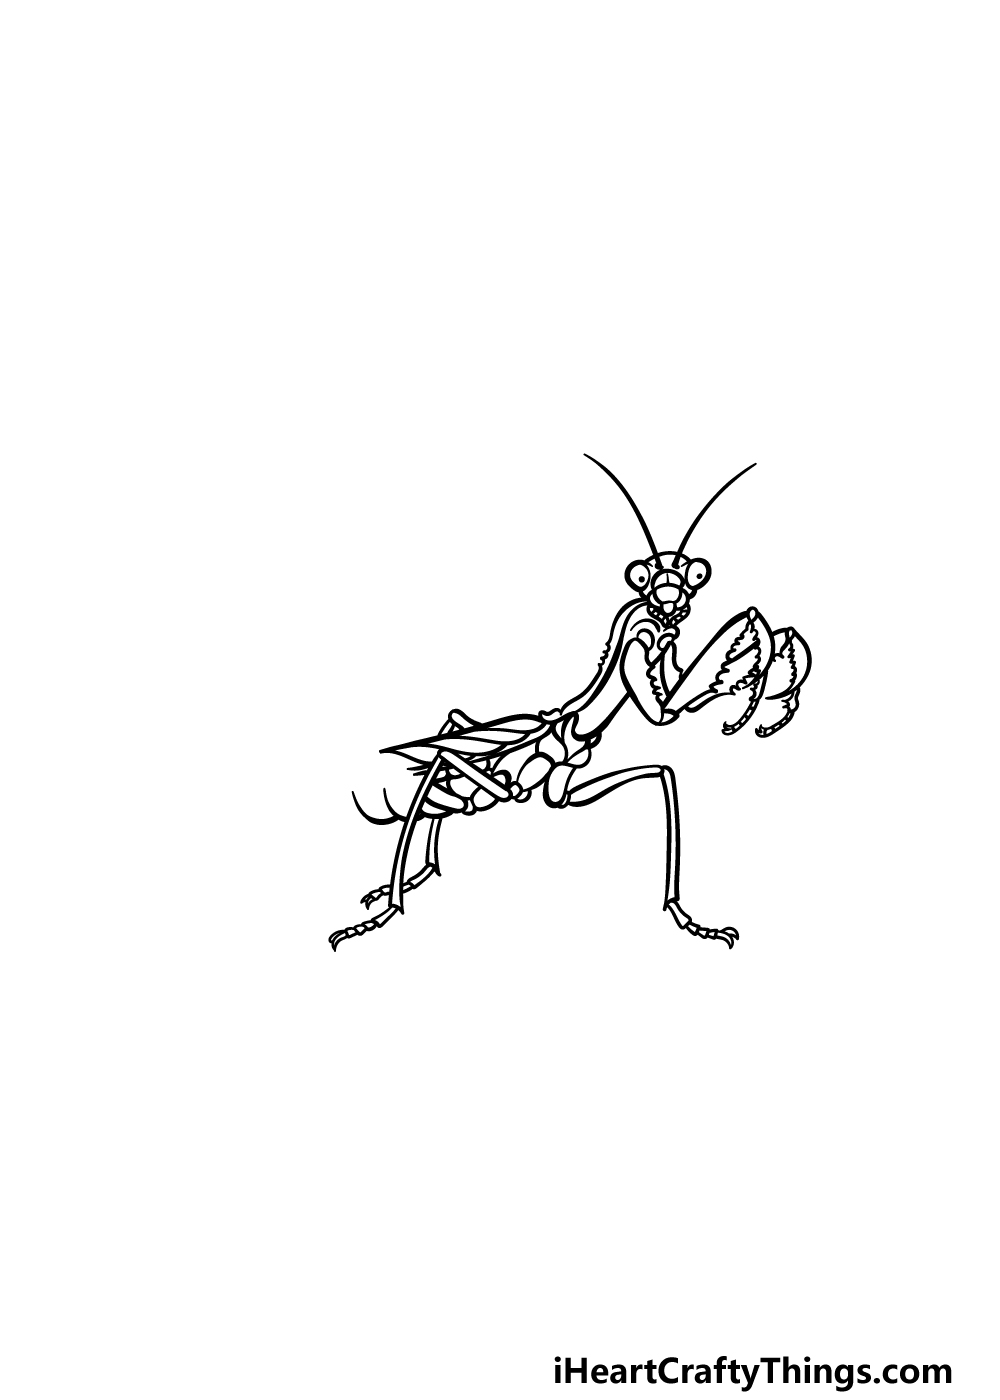
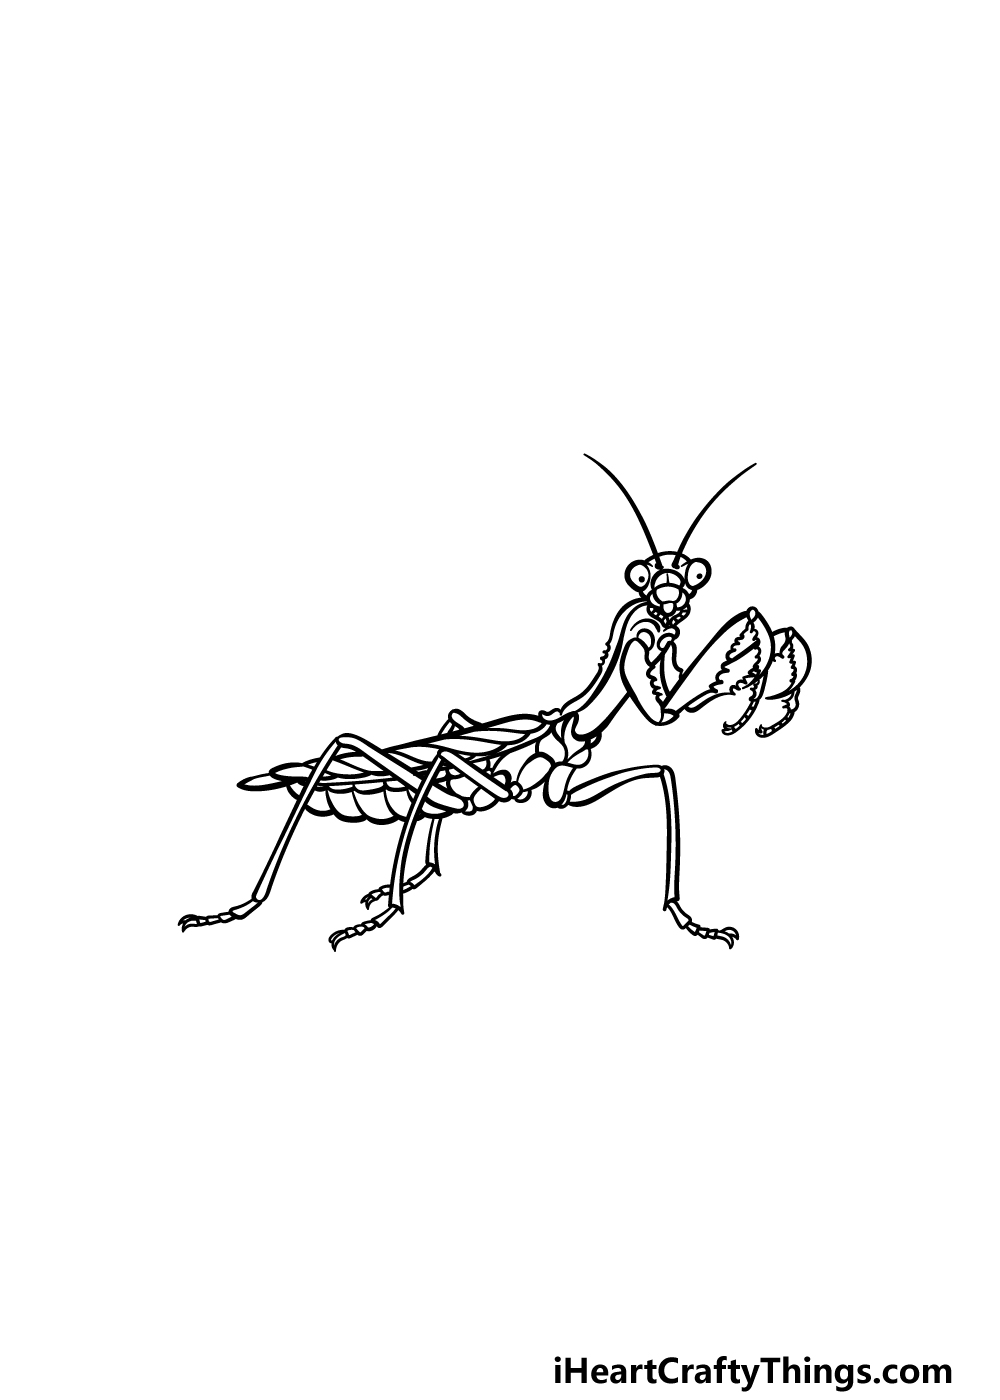
Step 5 – Finish off your insect drawing
This step of our guide on how to draw an insect will be all about finishing off the drawing to have you ready for the final step where you will color it in.
First, we will be finishing off the final section of the body. Simply keep extending the sections of the wings and underside of the insect backward as you have been doing.
We will then be adding one more pair of long, thin legs, and these legs will be the longest out of all the legs on this insect.
Once you have finished off all of these elements, you will be ready to move on to the final step! You could also add some of your own details and touches before doing so, however.
You could draw a background that features some more of your favorite insects for one idea! What else can you think of to finish off this picture?
Step 6 – Finish off your insect drawing with some color
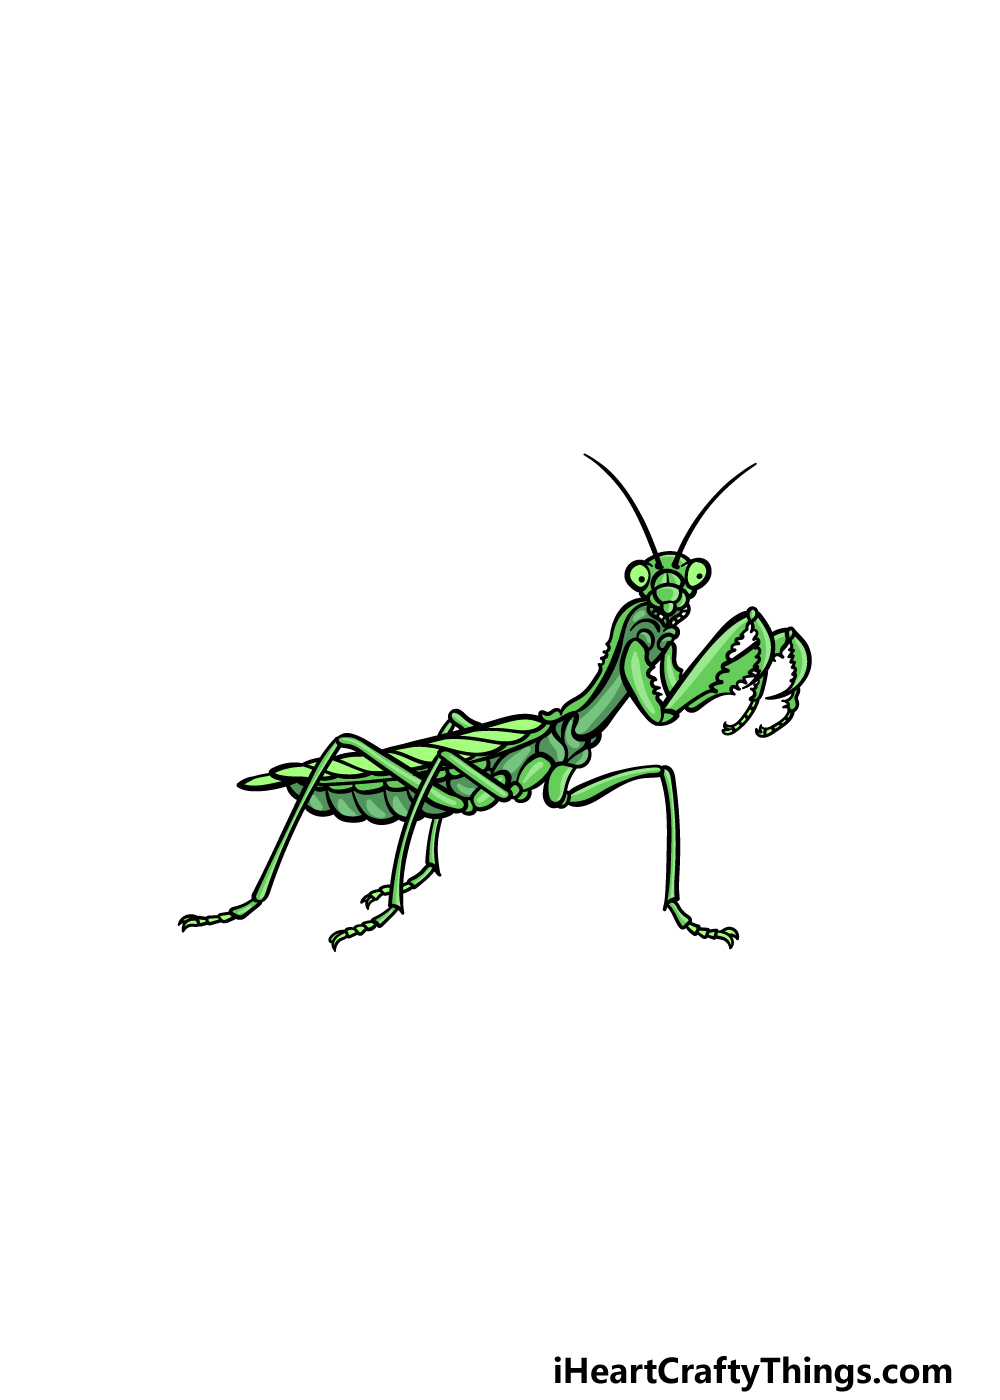
For the final part of your insect drawing, you can finish off by coloring your creation! In our reference image, we used some shades of bright and darker greens, but these are just a few of the colors you could go for.
This insect can come in many different colors and shades, and you could also go for a more stylistic look by using your favorite colors!
The art mediums that you use can also play a role in how you achieve your colors.
Certain mediums like colored markers work best for brighter colors, whereas ones like watercolor paints work better for more muted tones. We can’t wait to see what you choose to go with!
3 More tips to make your insect drawing easy!
This insect sketch doesn’t have to bug you once you have these 3 tips to make it easier!
For such a small creature, this drawing of an insect sure packs a lot of detail. If this level of detail is making it too much of a headache to complete, you could always change the level of detail.
There are quite a few ways you could alter the details in a way where the insect would still be recognizable. For instance, you could merge some sections of the body and limbs.
This would make the drawing less accurate, technically, but it would still look good. What are some other details you could change that would make it a bit easier for you to draw?
If you were to add a background setting for this insect drawing, then you would have the perfect excuse to make the insect itself a bit smaller on the page.
This would mean that you would need to draw some background details, but it would mean less scrutiny on the insect itself. That means that it would not need to be as detailed or accurate.
This is a tip that would be best followed if you find drawing background settings easier than drawing the insect, otherwise you will only be making things harder for yourself!
If all else fails, you could also make this insect sketch easier by referring to some diagrams or photos of the real insect. As you probably know, this insect is the praying mantis.
Therefore, that would be the term to enter if you want to find some pictures. With these pictures, you could then use them along with our reference images in order to make all the details much easier.
Many diagrams you find may also have the different parts of the mantis’s body labeled. You could add these labels to your own insect in order to make this artwork more educational.
Using alternative references would also allow you to potentially create other variations on this insect.
Your Insect Drawing is Complete!
You have completed this guide on how to draw an insect, and you have ended up with an incredible portrayal of this marvelous creature!
There were certainly some small and finicky details to work with for this drawing, but we hope that this guide made it easy and fun for you to work on.
Once you finish this guide, you’re in charge of finishing off with your own touches!
We went through a few ideas like drawing a background, adding some insects or getting creative with your colors and mediums. Let your creativity flow as you finish off this image!
We have a website just full of guides for you to enjoy, and the best part is that we have many more coming out soon. We look forward to seeing you there for some more drawing fun!
Please also share your insect drawing on our Facebook and Pinterest pages when it’s complete, as we would love to see your creative artwork!