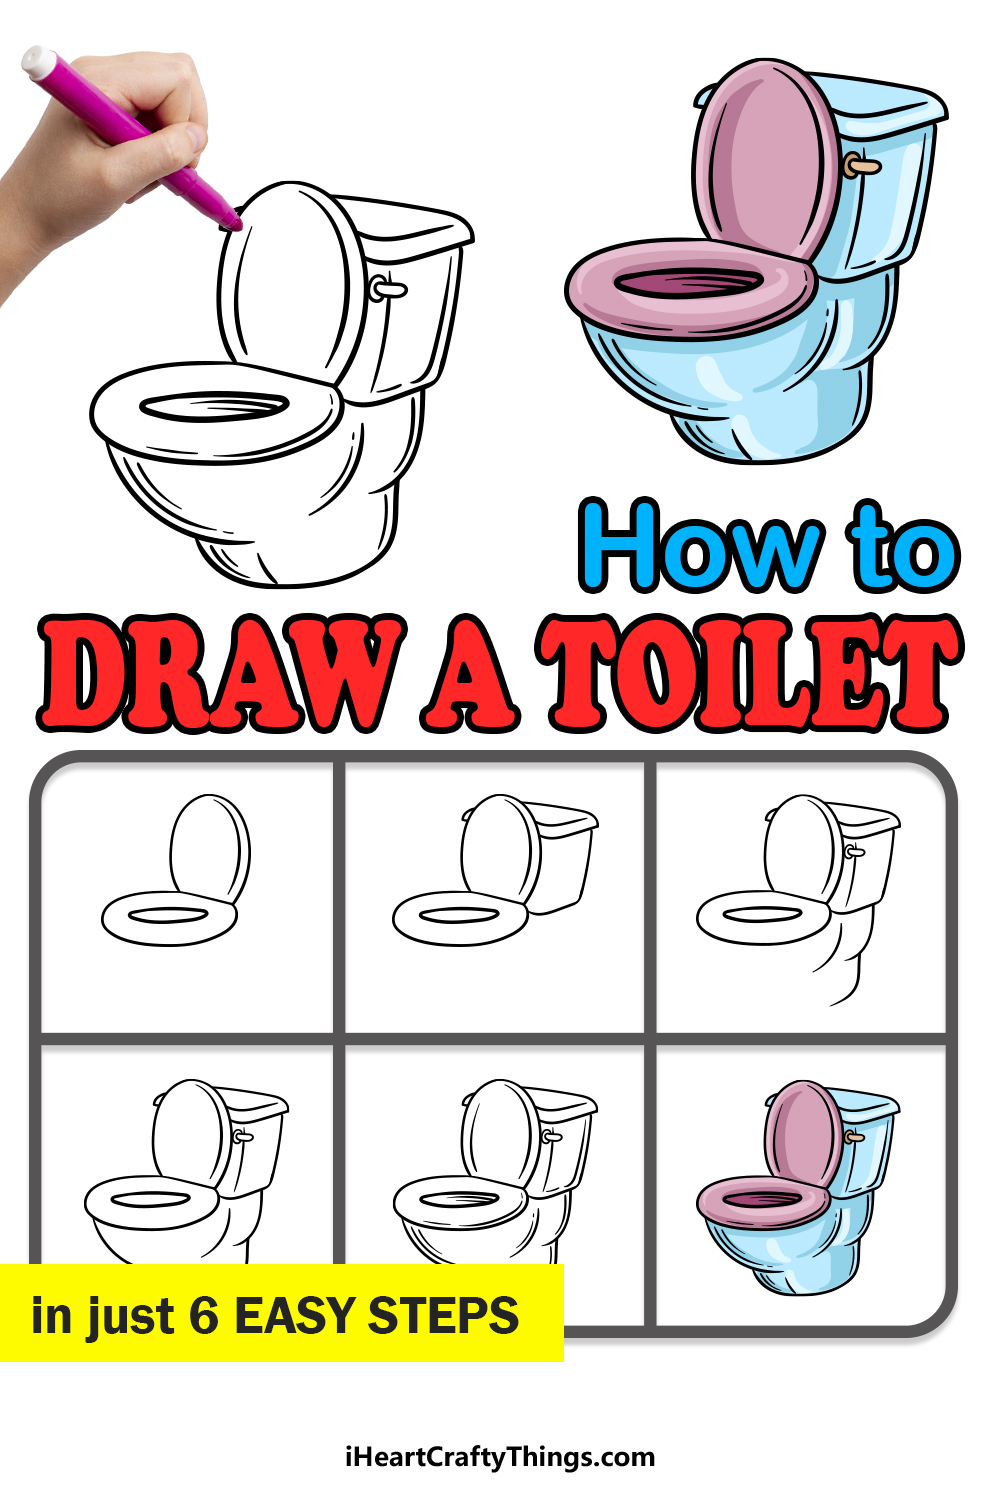
Discover how to draw a toilet by following this guide for kids! You won’t believe how simple it is to draw this household staple!
Humanity may not share many broad commonalities, but one thing people from all backgrounds can relate to is that we all need to use the subject of this tutorial every day.
Toilets come in many different forms depending on the country you’re in, but they all serve the same purpose. It’s something we take for granted, but toilets are always there to support us when we need them the most!
Even though you probably see a toilet every day, when you sit down to draw one you may find that it’s much more difficult than you thought.
This guide aims to make it so much easier for you, and by the end you could make all sorts of fun and unique drawings!
Find Out How To Make Your Toilet Drawing
How to Draw A Toilet – Let’s Get Started!
Step 1
For the first step of our guide on how to draw a toilet, we will begin with the seat and the lid of the toilet. For the seat, we will start with a flat, thin oval shape.
Then we shall surround it with another line surrounding it for the outer edge of the seat. After that, we can draw the lid for the toilet.
This will be drawn with a rounded line on top of the seat. You can finish off the lid by drawing another slightly curved line inside of the outline for the lid for some extra detail.
Once it looks as it does in our reference image, you’ll be ready for step 2!
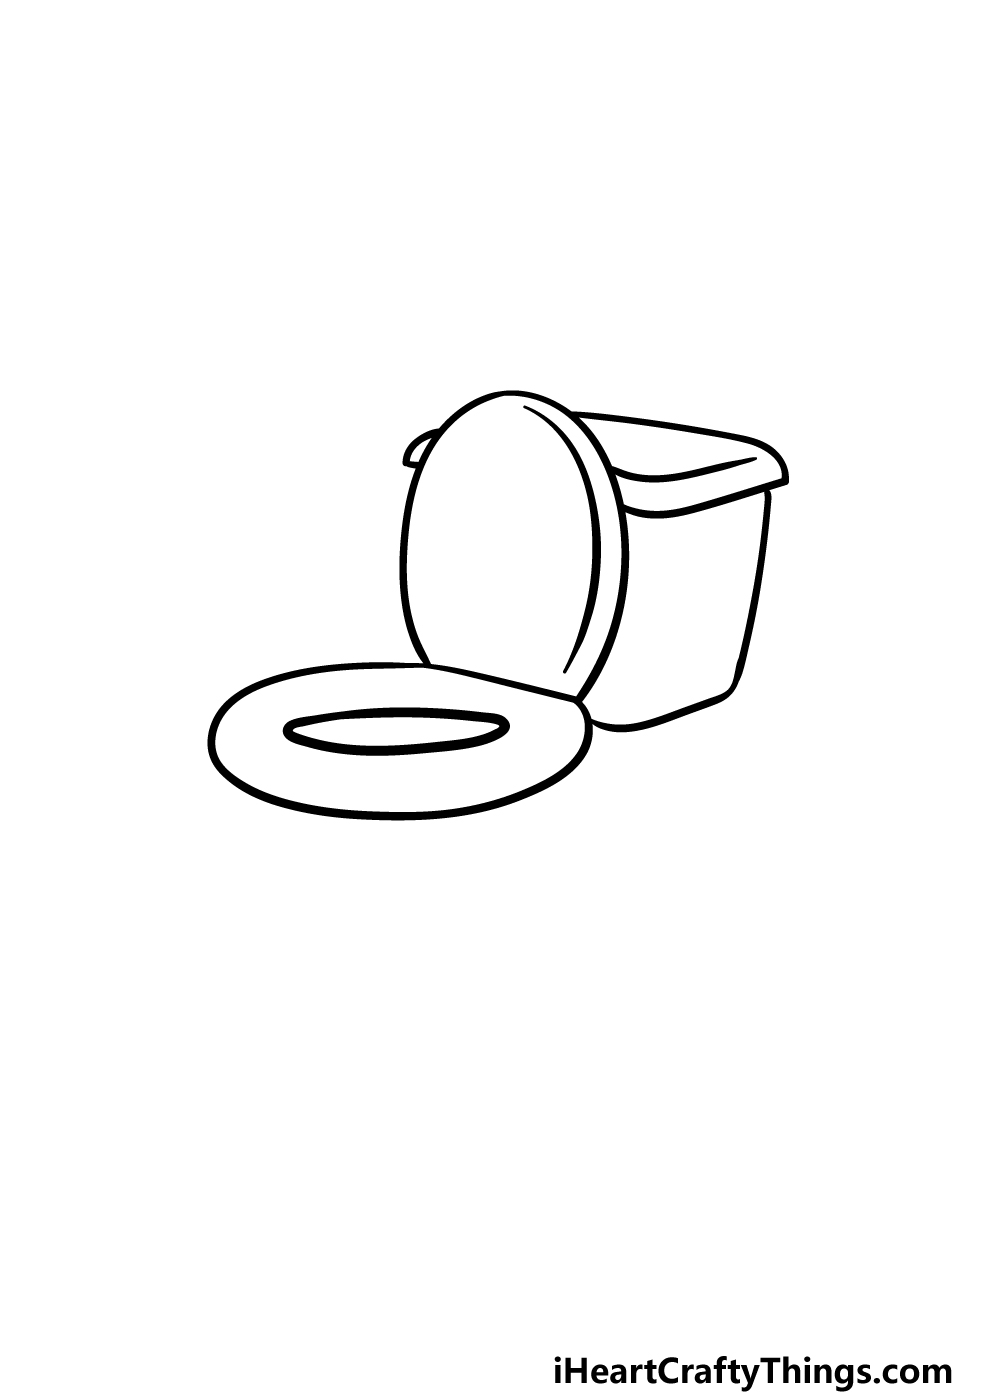
Step 2 – Next, start drawing the cistern for the toilet
Next, we will be drawing the cistern for your toilet drawing in this step. The cistern is a tank that usually sits behind the toilet, and it stores water that is then used to flush it.
First, we will draw the base of the cistern. This can be done with a curved, slightly square line extending back from the seat and then up again.
Then we will be drawing a lid for the cistern. You can draw this lid by drawing another curved and squared line across the top of it and extending out from near the top of the open lid.
That’s all there is to it for the cistern in this part, so when you’re happy with how it works, we can move on.
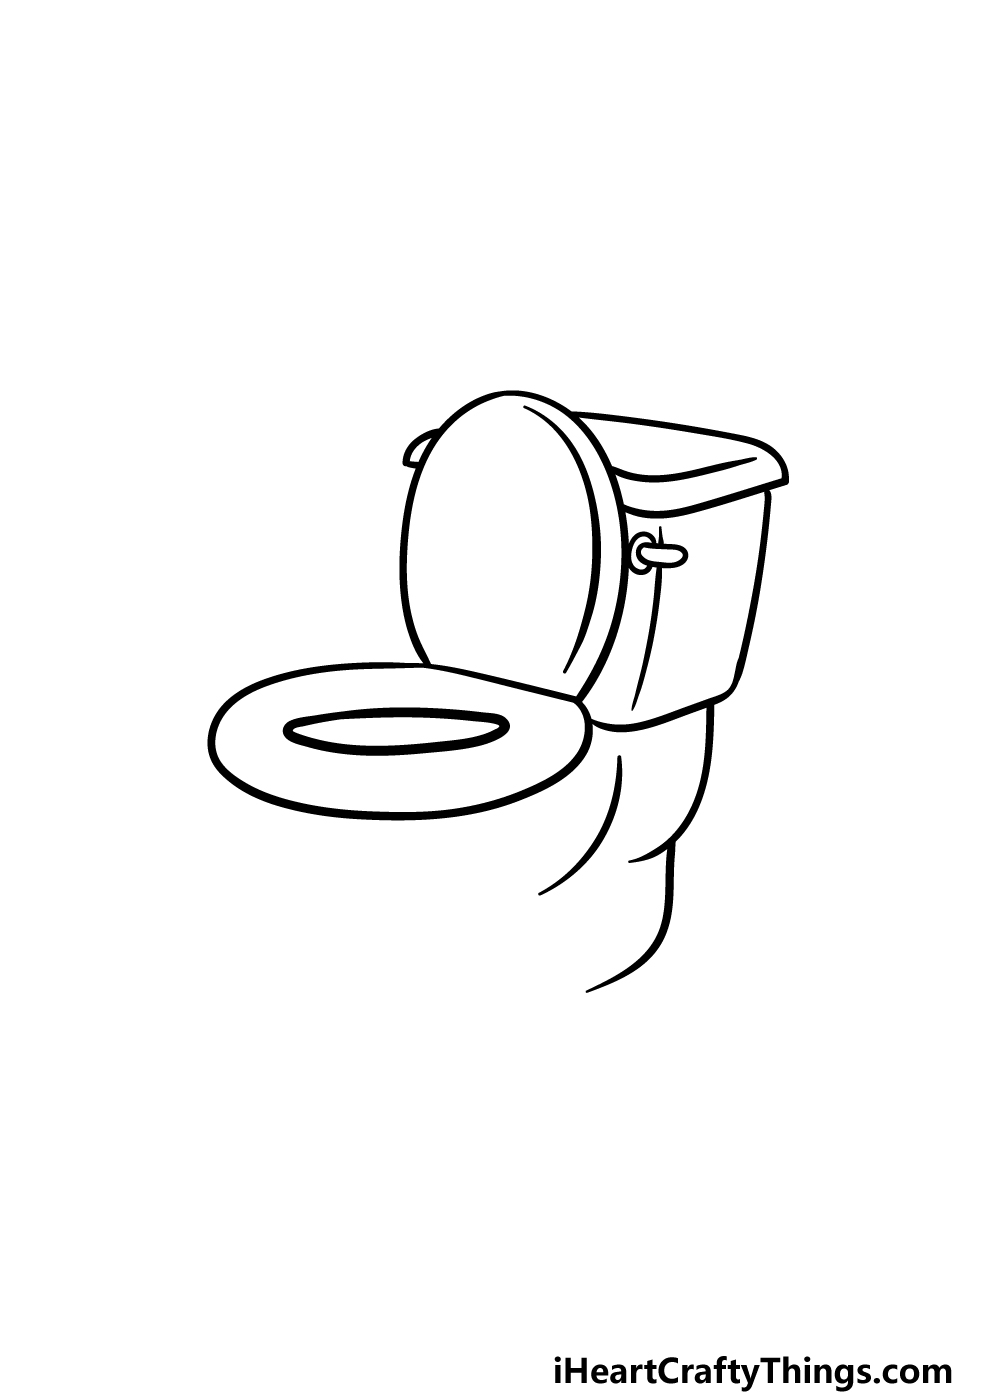
Step 3 – Draw the handle and some more details
In this third step of this guide on how to draw a toilet, we will be adding the handle along with some more detailing.
For the handle, you can draw a small, round flat shape inside an even smaller rounded shape.
Then, draw a line touching this handle and going down, and this will form the corner edge of the cistern.
Once you have drawn that cistern edge, we will start the base of the toilet. First, draw a curved line down from the end of the cistern.
Then connect another curved line coming down from that one, and then finish off this part with one more curved line in the outline for a curve on the base.
Step 4 – Now, draw the rest of the outline for the toilet
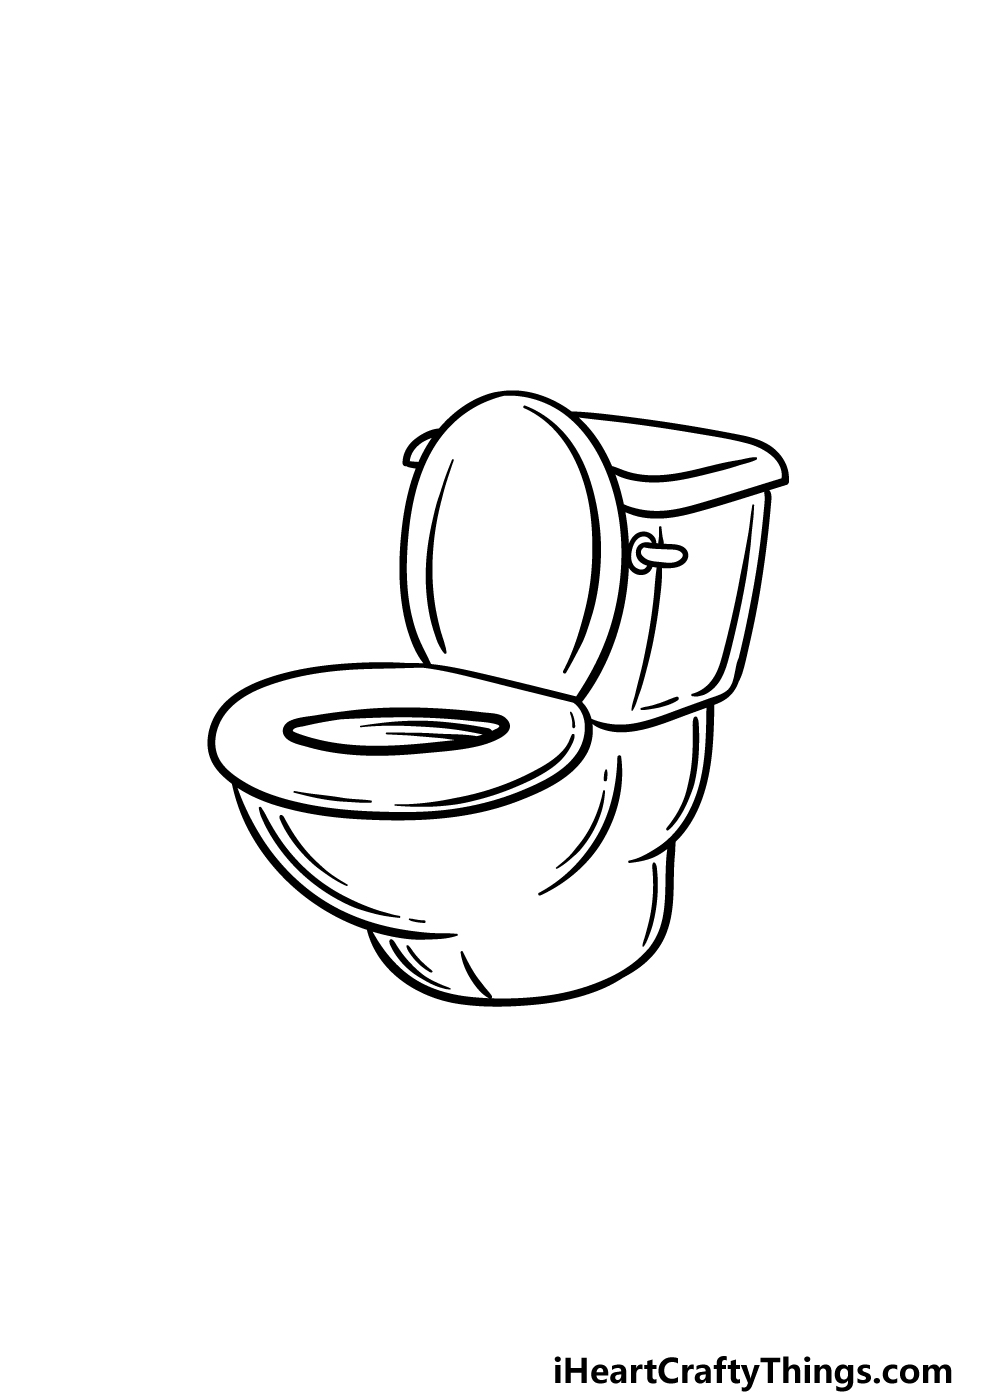
Now you are ready to finish off the final outline for the toilet drawing in this step. That will have you ready for some final details in the next step! This step should be pretty easy to do.
To begin with, simply draw a curved line coming down from the left-hand edge of the seat.
Then there will be another line coming from that line and connecting to the other side of the base that you drew in the last step.
Once that is drawn, we will add those final details in the next step!
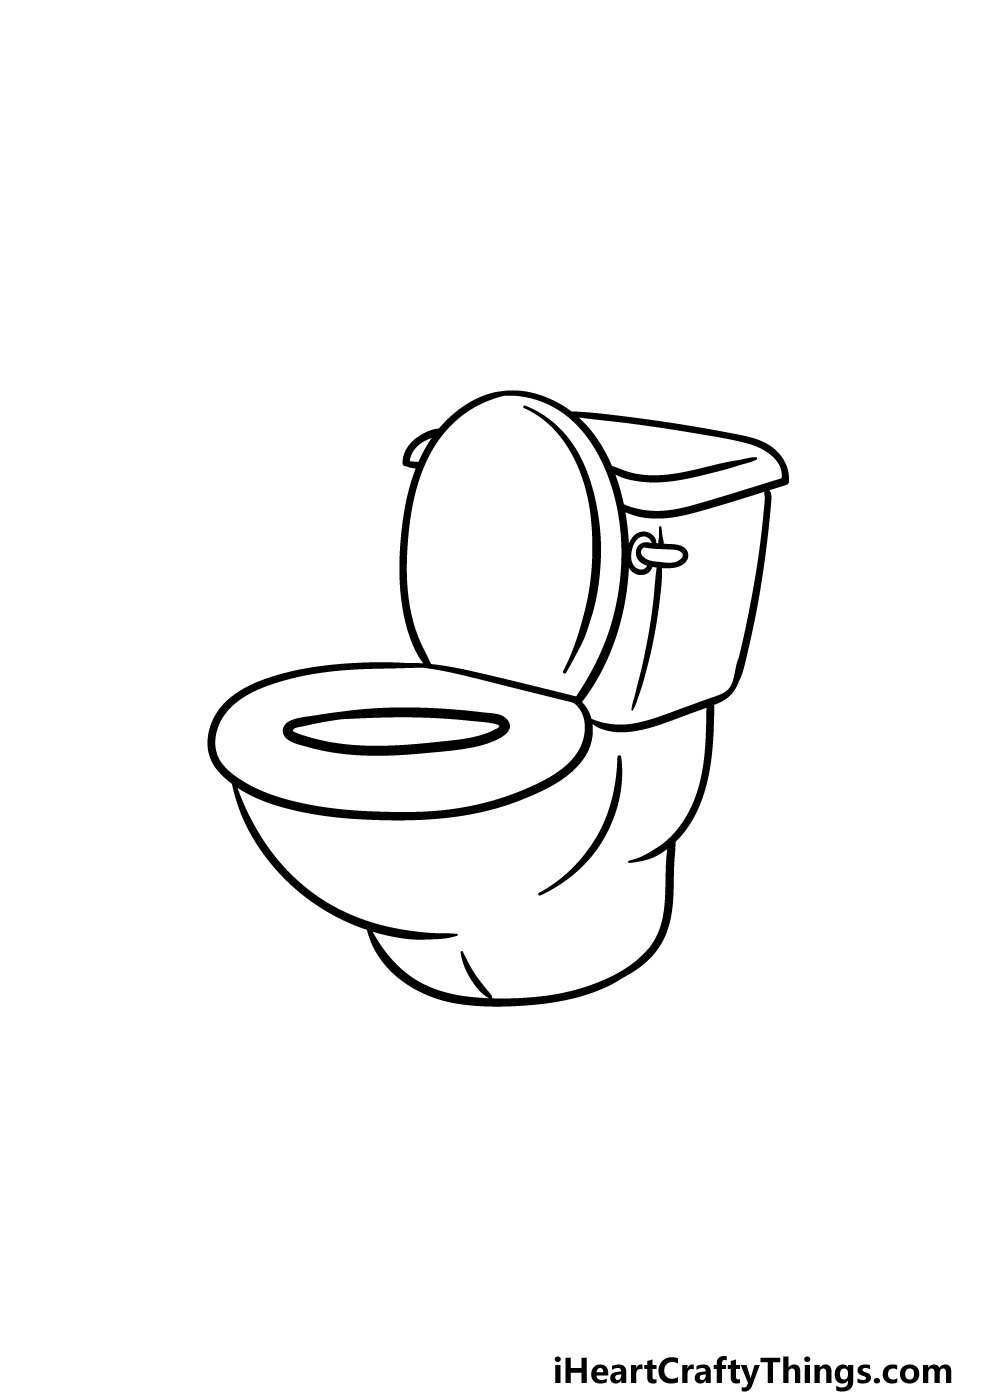
Step 5 – Finish off your toilet drawing
This step of our guide on how to draw a toilet will be all about finishing off the final details to have you ready for the final part.
To do this, we will be adding some linework all throughout the body, seat, lid and cistern of the toilet. This helps to give the toilet a bit more shape and structure. When you have drawn these final details, you will be ready for the next part!
You could also add some details of your own before you do, though. Maybe there could be some accessories nearby such as a plunger or toilet cleaner.
Another idea would be to draw a small stool with a book or stack of magazines on it next to the toilet!
These are just a few possible ideas, but have fun getting creative as you prepare for the final step.
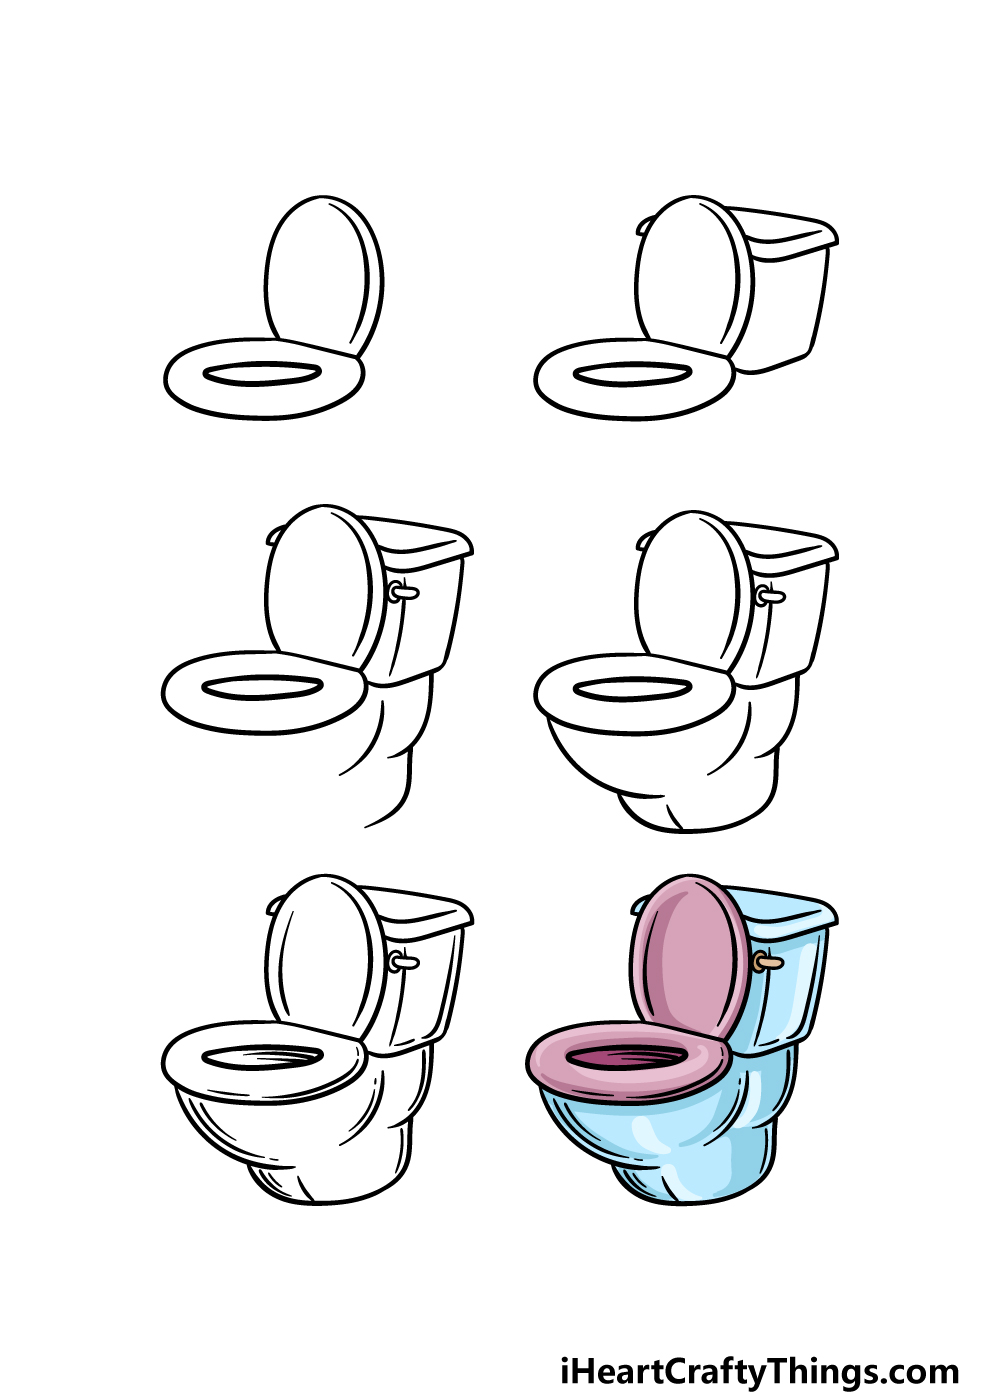
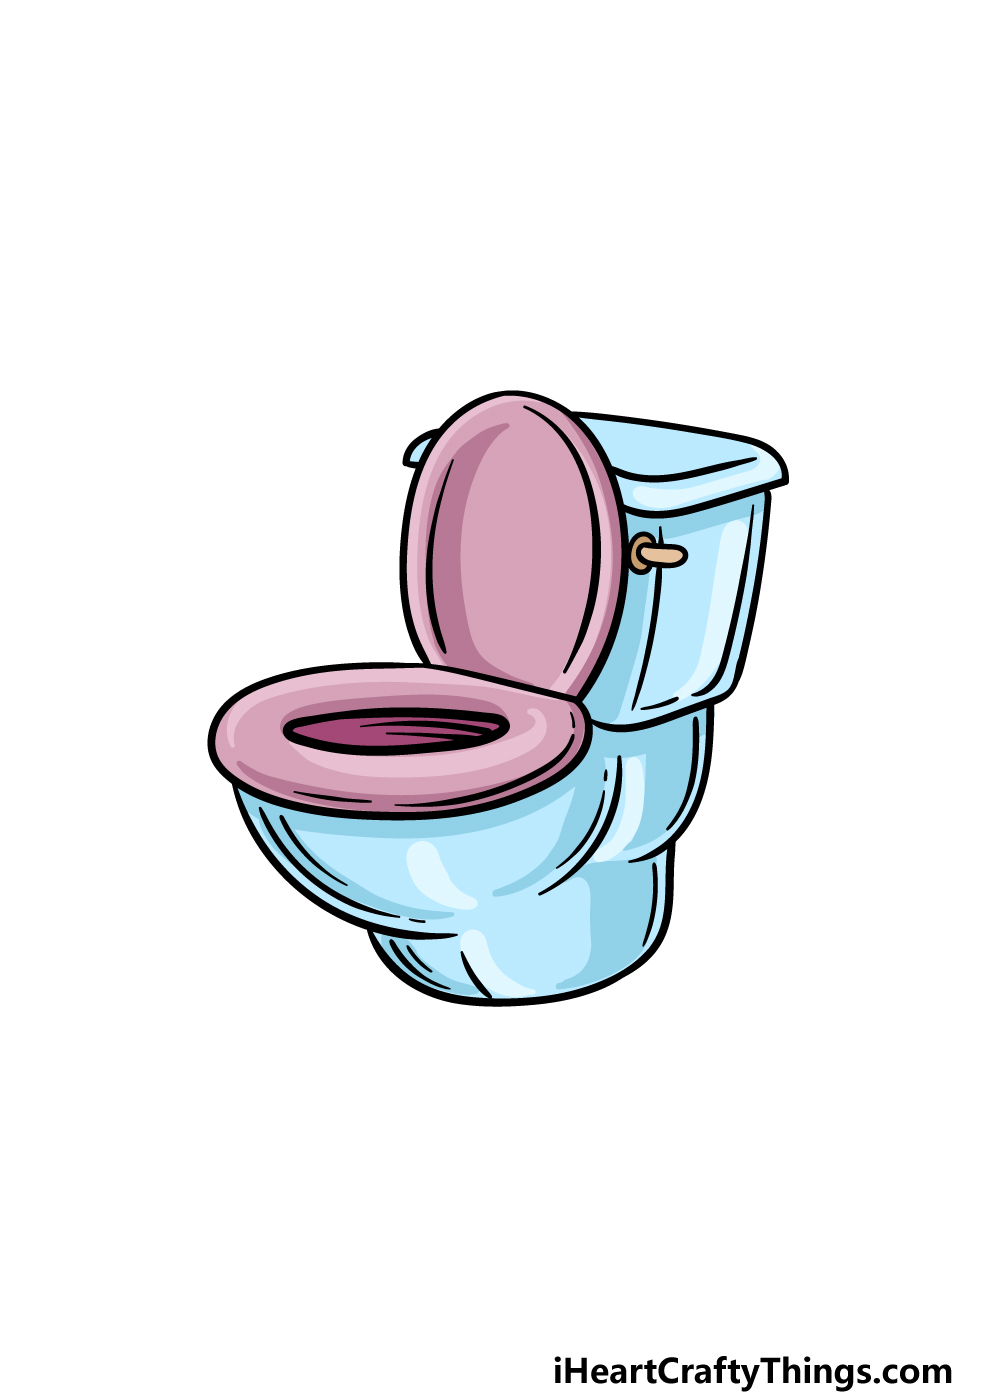
Step 6 – Finish off your toilet drawing with some color
For the final part of your toilet drawing, we will be finishing it off with some colors.
We may think of toilets as usually being made of white porcelain, but the truth is that they can come in all manner of colors and styles.
In our reference image, we used pink for the seat and lid while using a light blue for the rest of it. These colors are just our suggestion for one way that you could color this in.
You could use our suggestion, but this is also a chance for you to use some amazing color choices of your own! With your colors chosen, what art mediums and tools will you use?
Will you go for paints or something like colored markers and pencils? We can’t wait to see what you choose!
4 More Ways To Make Your Toilet Drawing Unique
Find out how to make this toilet sketch the best it can be with these 4 tips!
For this toilet drawing, we kept the focus entirely on the toilet itself. You could add some of the objects one would normally find in the vicinity of a toilet to make the drawing look more unique.
There are a few obvious ideas that you could add. These could include objects such as toilet paper or a plunger.
That is just a couple of objects you could add, but you can probably think of many more that you could add!
Once you have added your extra objects to this drawing of a toilet, you could also build a background setting. If you were to do this, you could design as much of the bathroom setting as you like.
You could even model it after your own bathroom to make it a bit more personal and unique! What sort of bathroom design would you like to add as a background for this drawing we have created here?
Toilets come in many shapes, sizes and designs. You could use this toilet sketch we have drawn as a base and change a few of the details to create your very own unique toilet design.
If you want to try this, you could look at the toilets in your own house as inspiration. It would be pretty easy to create a brand new look for this toilet by just changing a few details.
What kind of toilet design would you like to make here?
Another way that toilet designs can differ is with the colors they come in. you can have lots of fun playing around with the colors you use for this toilet drawing!
Once again, you could use the toilets you have around you as inspiration, but you should also feel free to create your own design.
Be sure to try out some interesting art tools and mediums as you color, as they can make the colors look even better! What colors will you choose?
Your Toilet Drawing is Complete!
That concludes our guide on how to draw a toilet! As we mentioned earlier in the guide, an object like a toilet can be deceptively tricky to draw.
We hope that by following the steps in this guide that you found it to be a fun and easy experience with no frustration.
Don’t forget to customize this drawing even further by adding some of your own details, elements and extra touches. Be sure to have fun getting creative with your color and mediums choices as well!
When you’ve closed the lid on this guide, we have many more on our website for you to enjoy! We have lots more that we will be uploading soon, so be sure to keep visiting regularly.
We would love to see how you went about finishing off your toilet drawing, so please remember to share it on our Facebook and Pinterest pages when you’re ready!