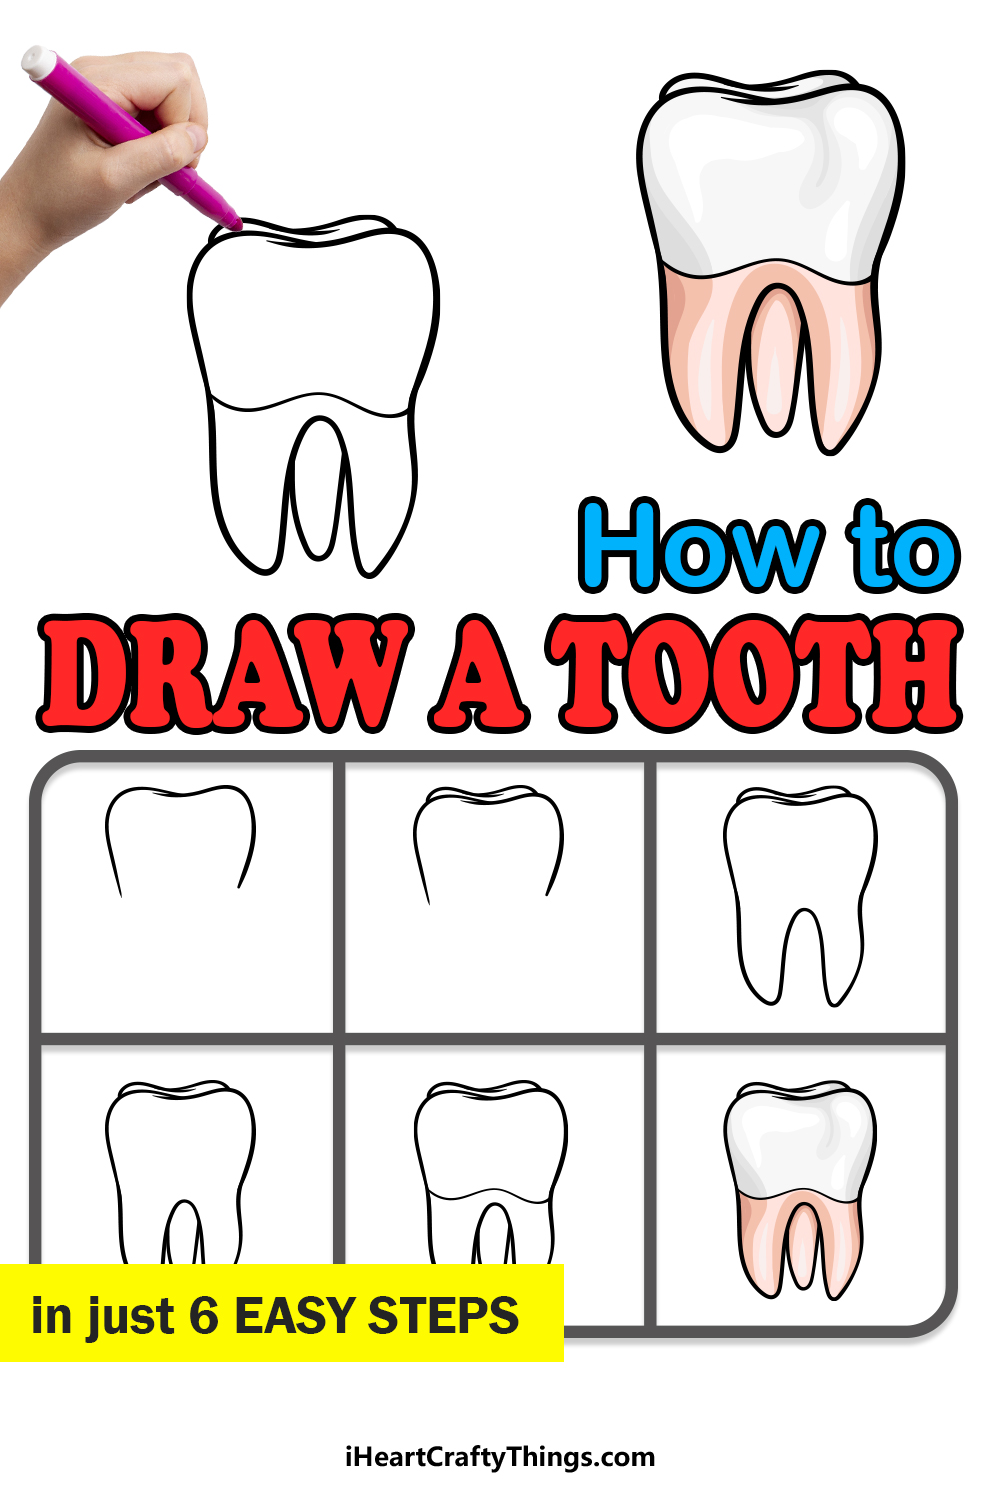
It doesn’t have to be a toothache to learn how to draw a tooth! By the end of this guide for kids, you will see the easiest way to depict one of your chompers.
I’m terrified of the dentist, so I try to take good care of my teeth. Despite this fear, I also find something weirdly pleasant about the shape of a full tooth.
They have a really distinctive form, especially when you include the roots that are normally hidden beneath the gums. When you want to draw a tooth, you can find that it’s actually kind of tricky!
This guide aims to make it so much easier for you, though. These steps will show you how to make a tooth, including the roots I mentioned.
Once you have the hang of it, you could draw a whole row of teeth with ease!
Watch These Steps To Make Your Tooth Drawing
How to Draw A Tooth – Let’s Get Started!
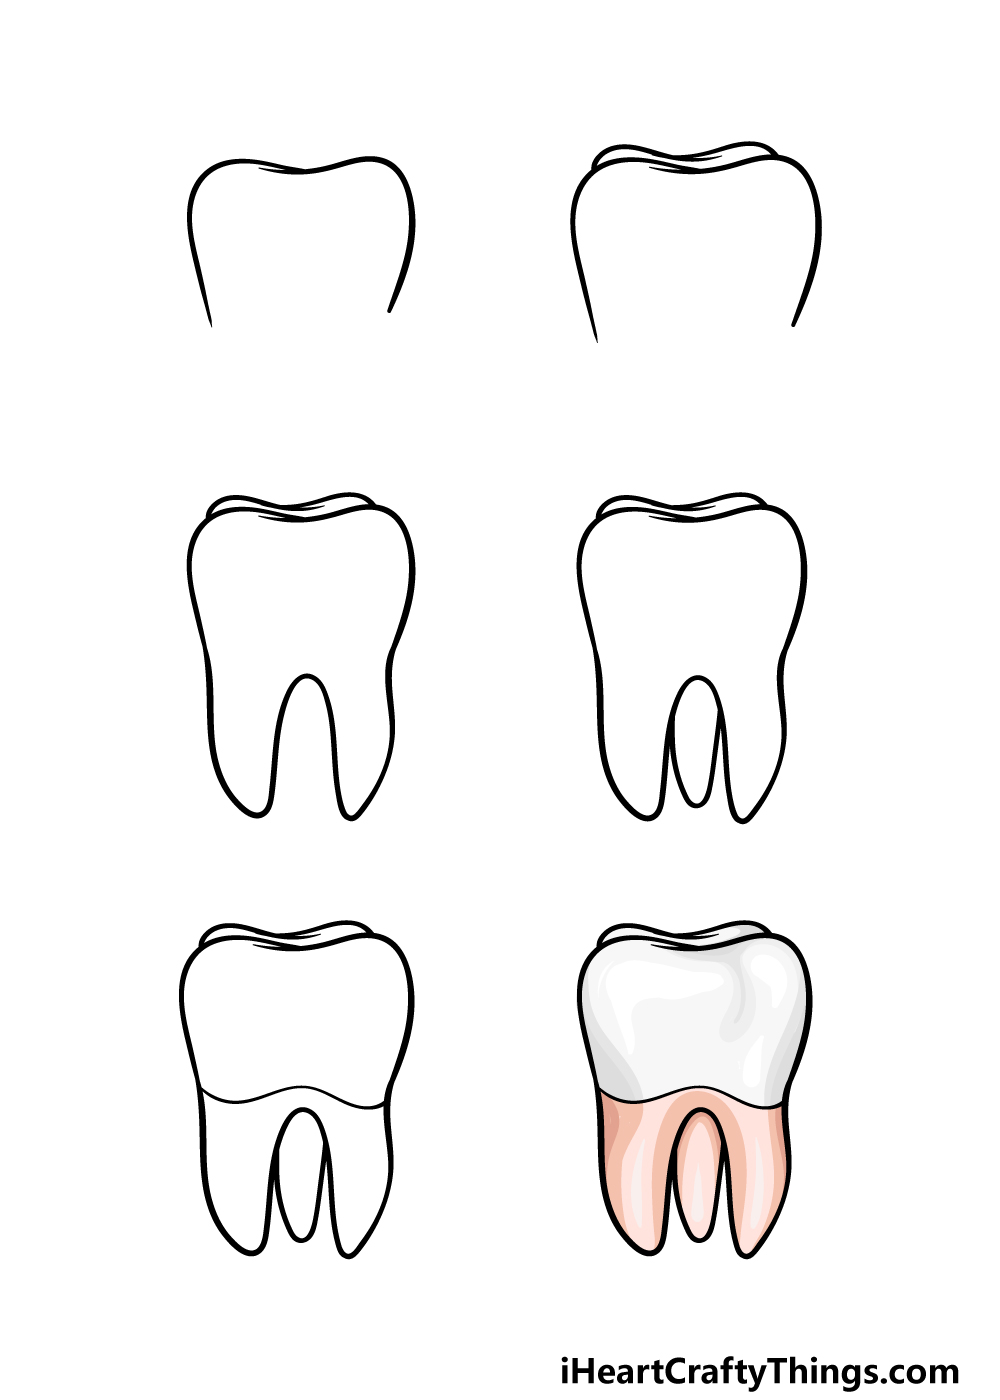
Step 1
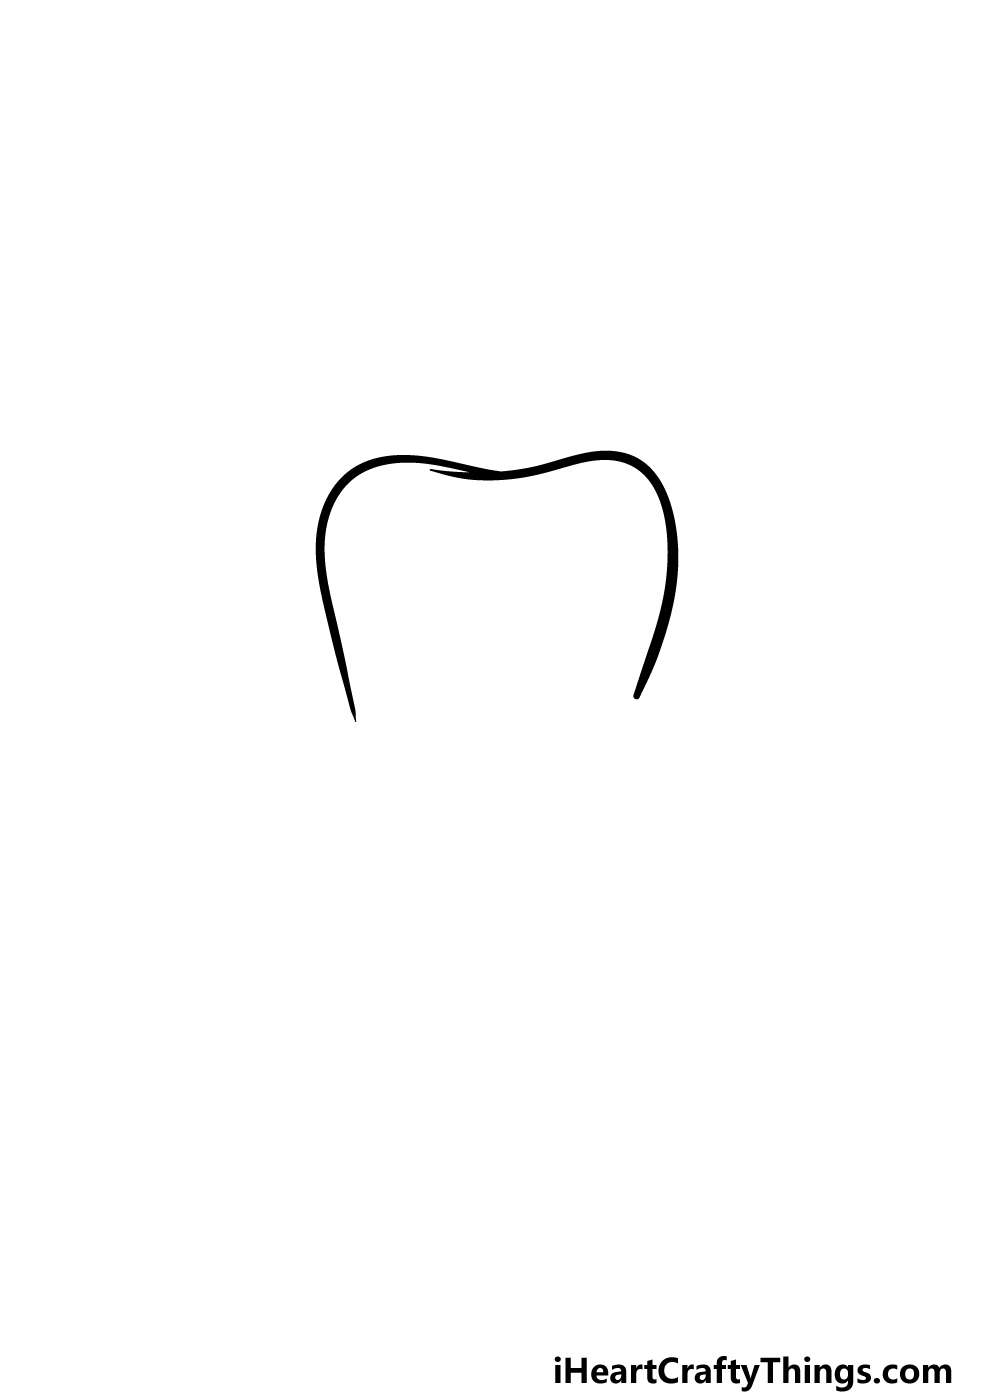
For the first step of this guide on how to draw a tooth, we will be starting with the top of the tooth.
You can draw this part of the tooth by using some curved lines that connect at the top of the tooth.
This will form the surface of the tooth, and then we can move on to the next section in part 2 of this guide!
Step 2 – Next, draw the OTHER surfaces of the teeth
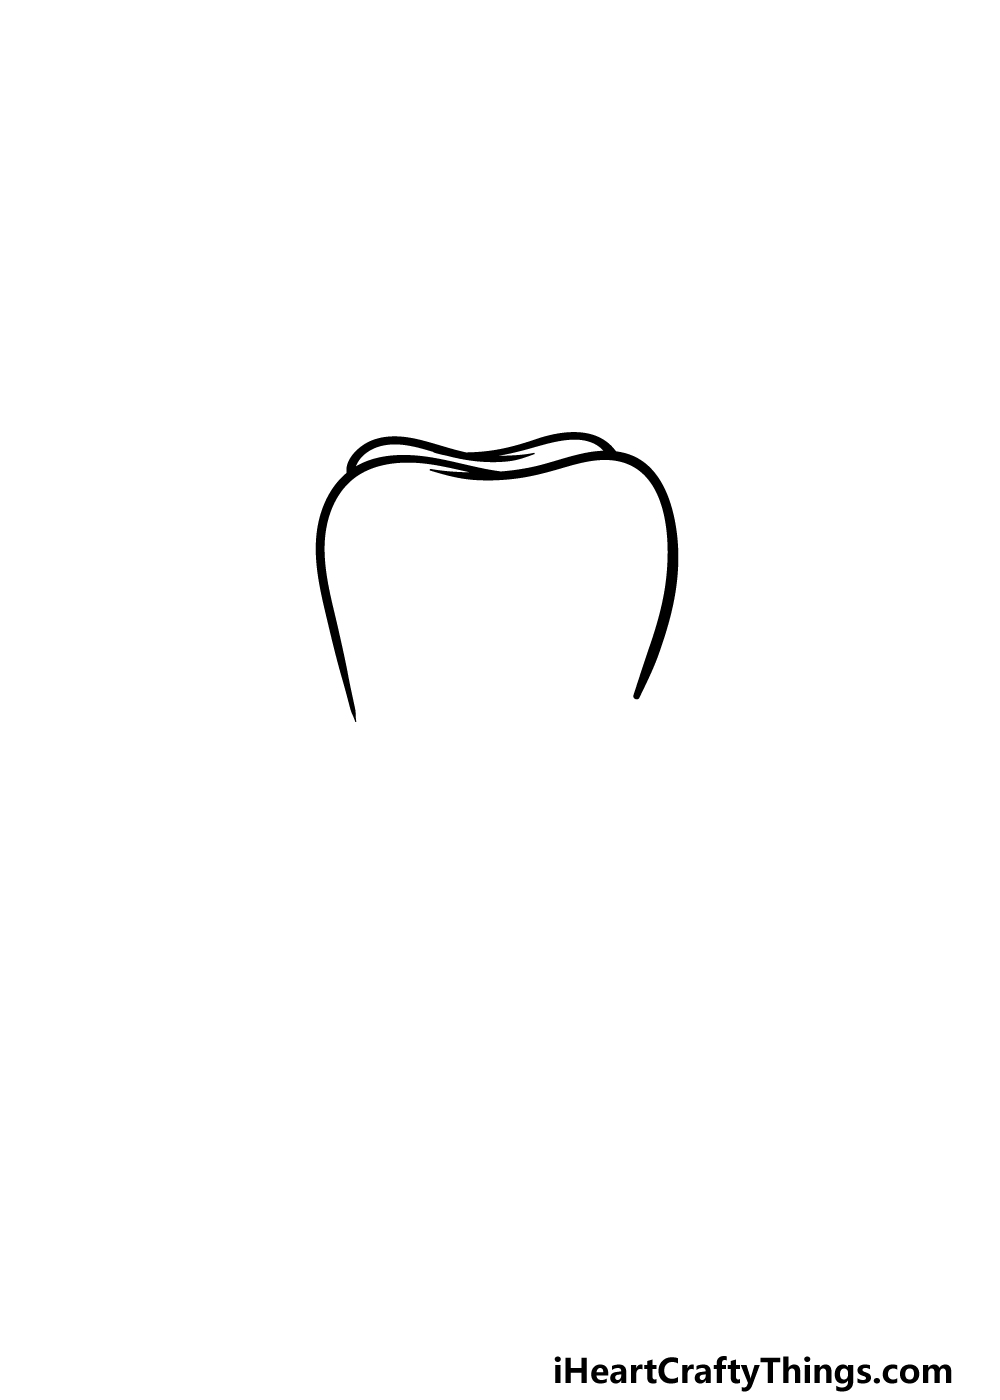
We will be drawing some more of the surface for your tooth drawing in this second part.
This one should be a really easy step for you to do, as all you need to do is draw two more curved lines connecting to each other on top of the other ones you did in the first step.
Once you have drawn these lines as they appear in the reference image, it’s on to step 3.
Step 3 – Draw the roots of the teeth in this third part
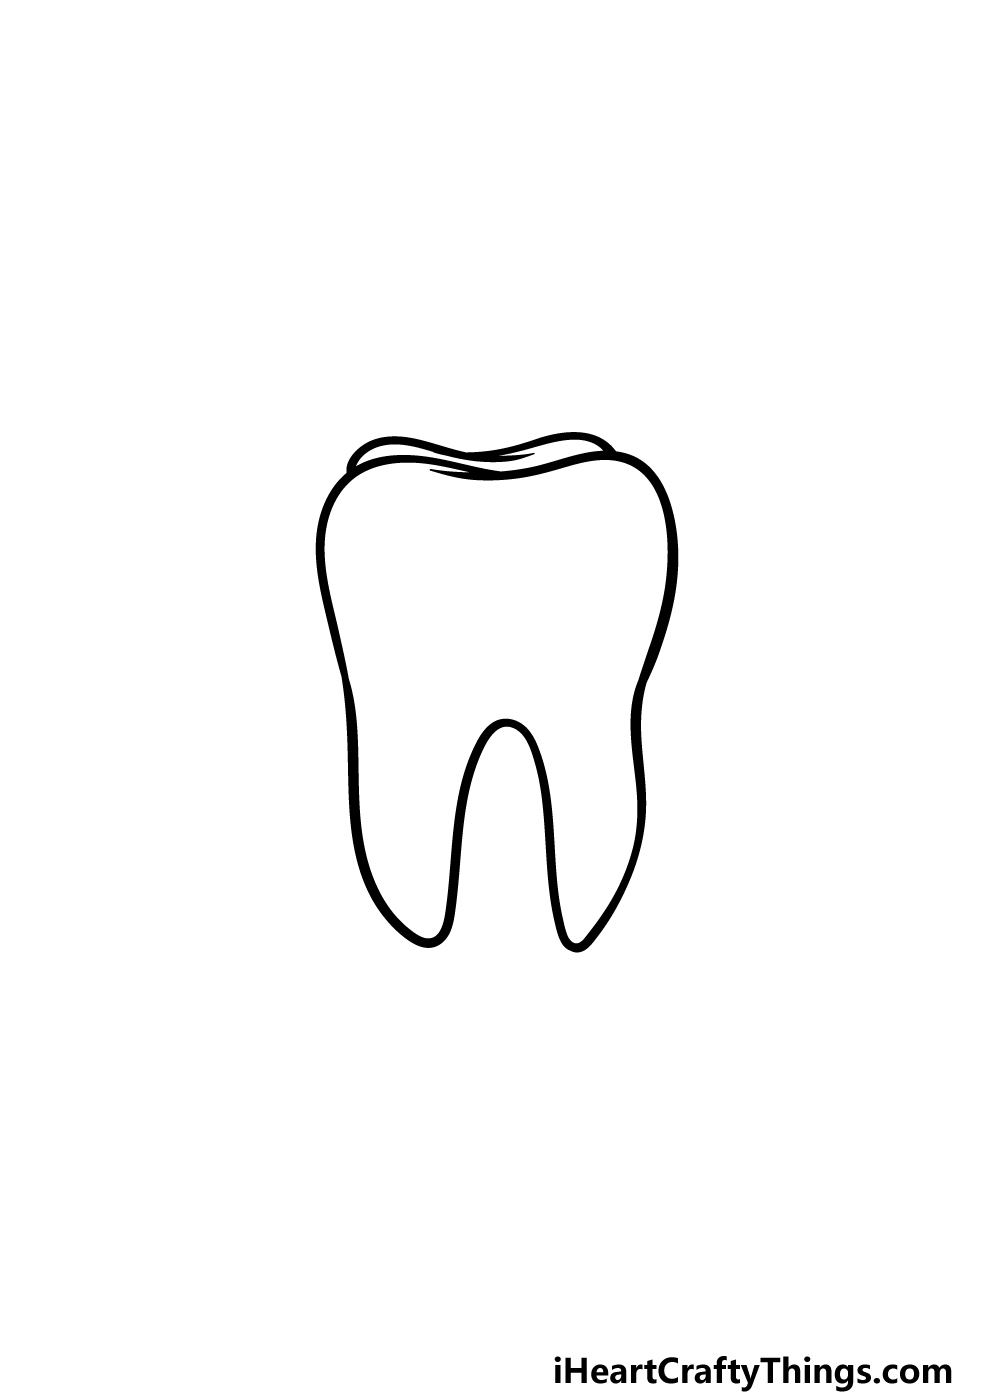
Teeth wouldn’t stay in our mouths very well without roots, so we will draw those in this next part of our guide on how to draw a tooth.
We normally don’t see these roots as they are embedded in our gums and jaws, but they have a rather distinctive look to them. Teeth have several of these roots, and we will add the first two in this part.
Luckily, these roots are rather simple to draw! Extending the lines down that you drew previously, we will add some more sharply curved lines to form the two roots.
They will have sharp yet rounded points at the end of them to give them a more realistic look. That will finish off a general outline for the tooth, but we still have a few details to add as we proceed.
Step 4 – Now, draw another root for your tooth drawing
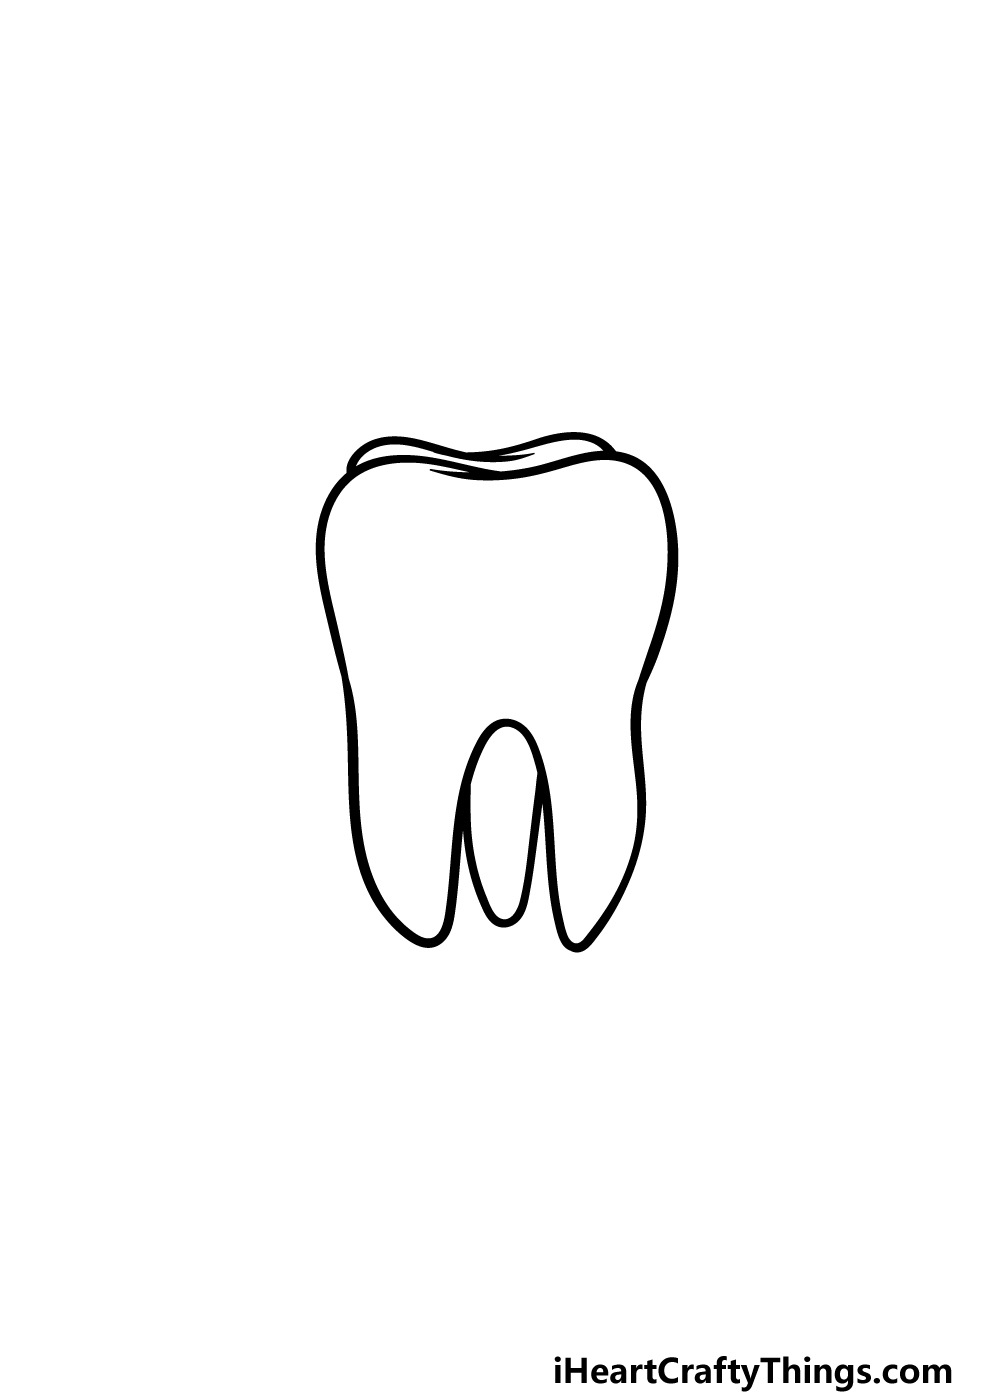
As we mentioned in the previous step of your tooth drawing, teeth will usually have more than two roots on them. For that reason, we will add a third one in this part.
This will also be quite simple to add, as you merely need to add another long, curved line between the other two roots to create the third one between them.
Once that root is added, you will have finished the complete outline for your tooth drawing.
Before you start to color in your picture, we have just a few more details to add in the next step.
Step 5 – Finish off the final details of your tooth drawing

We spoke earlier about how we normally don’t see the roots of our teeth, and we will add some more details to separate the tooth into what we see and what is hidden.
To finish off this step of our guide on how to draw a tooth, we will be adding a wavy line near the center of the tooth to show what would be submerged by the gums and what wouldn’t.
With that line drawn, you have pretty much finished your tooth drawing and are ready for the next part!
Before you move to the final step, this is your chance to add any extra details of your own to really finish it off.
There are many creative ways you could put your own spin on this drawing, and we will go over a few of them now!
You could draw more of the gums and even have more teeth next to it. Or you could look up a cross-section of a tooth and draw a portion revealing the different layers of the tooth.
You could even draw a face onto the tooth for a whimsical touch! These are just a few ideas, but what else can you think of to finish off this image?
Step 6 – Finish off your tooth drawing with some color
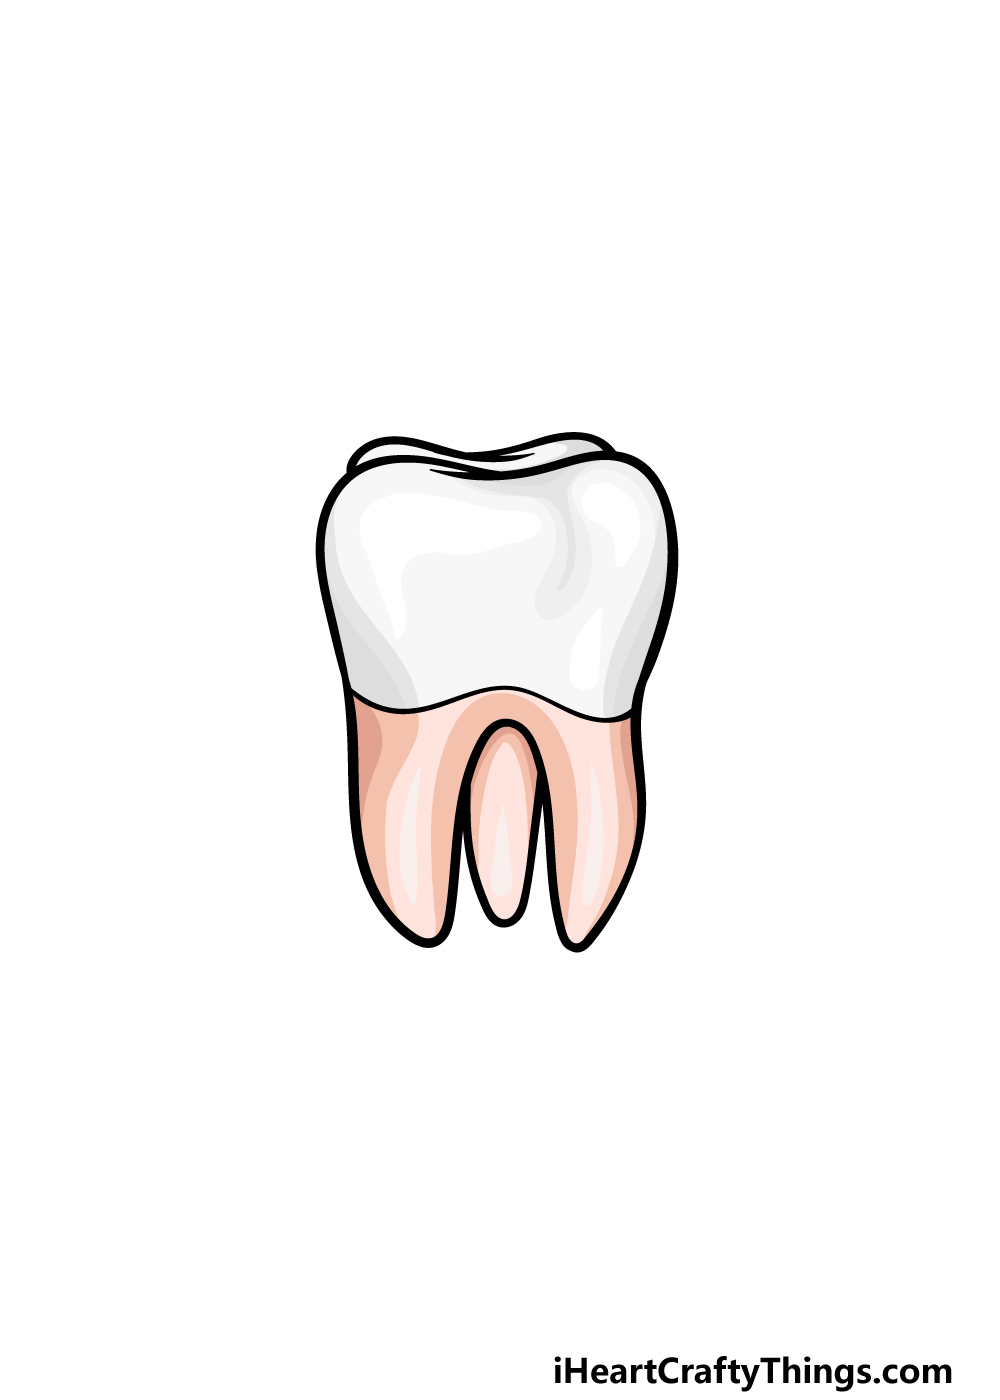
This final part of your tooth drawing is where you can finish it off with some amazing colors!
You may think that a tooth doesn’t give you much leeway with how you can color it in, but there is a lot that you can do!
In our reference image, we used some shades of pink for the roots below the tooth, and then we used various light shades of grey and white for the surface of the tooth.
By using different shades of these colors, you can create a more dynamic look of texture detail for the drawing.
You can also use any other colors you like for a more stylistic image or color in any extra details or additions you may have added.
We look forward to seeing which colors, art mediums and techniques you use to finish off this tooth drawing!
Do this to take your tooth drawing to the next level
Take a bite out of these tips on how to make your tooth sketch even greater!
For this tooth drawing, we created a tooth as it looks when it is outside of the gums. This gives us a good look at the tooth, but you could also create a variant where the tooth is still in the gum.
If you were to do that, then you could take it even further by adding more teeth to the row that this one is in.
You could easily do this by following the guide again to create more of the teeth in the mouth.
You might not know it just looking at a tooth, but they actually have lots of layers inside. One fun idea for your drawing of a tooth would be to draw a cross section of the tooth.
That would be a great way to show the layers inside the tooth! To help you out, you could look at diagrams of teeth online to see what the layers all look like.
You could even take it further by labelling the various layers and parts.
If you’ve ever seen a poster at a dentist’s office, you may have seen teeth portrayed as cartoon characters. That would be another fun way to enhance your own tooth drawing!
This could be done easily by adding some cartoon eyes and other facial features to the tooth. Adding some simple cartoon limbs would finish off the effect brilliantly.
What would you have your cartoon tooth doi g if you were to go for this idea?
Keeping with our inspiration from dentist posters, you could make a poster of your own using this tooth.
For one design idea, you could draw the tooth at the center of the page and then make a pattern from tooth shapes for the background.
If you added some text and bright colors, you would soon have a really cool poster that would catch the eye. What text would you add to your poster?
Your Tooth Drawing is Complete!
You have finished up this guide on how to draw a tooth, and you have done a fantastic job on it!
Something like a tooth can be surprisingly challenging to draw, so we hope that this guide made it fun and easy for you to do.
Don’t forget that you can take this drawing even further by using your own details, elements, color choices and extra touches.
There is so much that you could do to make this drawing more personalized, so have fun with it and see what happens!
Once you’re ready for more drawing fun, you’ll want to check out our website! We have lots of awesome guides for you and will be uploading plenty of new ones soon.
When you have completed your tooth drawing, be sure to share it on our Facebook and Pinterest pages for us to enjoy!