Thanksgiving is one of the most wonderful times of the year, as it is a time of lots of delicious food, crunchy leaves and good times with family.
One of the best ways to commemorate this special occasion is to create a beautiful Thanksgiving centerpiece.
Designing one can be a tricky endeavor, so learning how to draw Thanksgiving centerpieces can help out a lot with this!
This is the guide to be on if you want to create some Thanksgiving cheer.
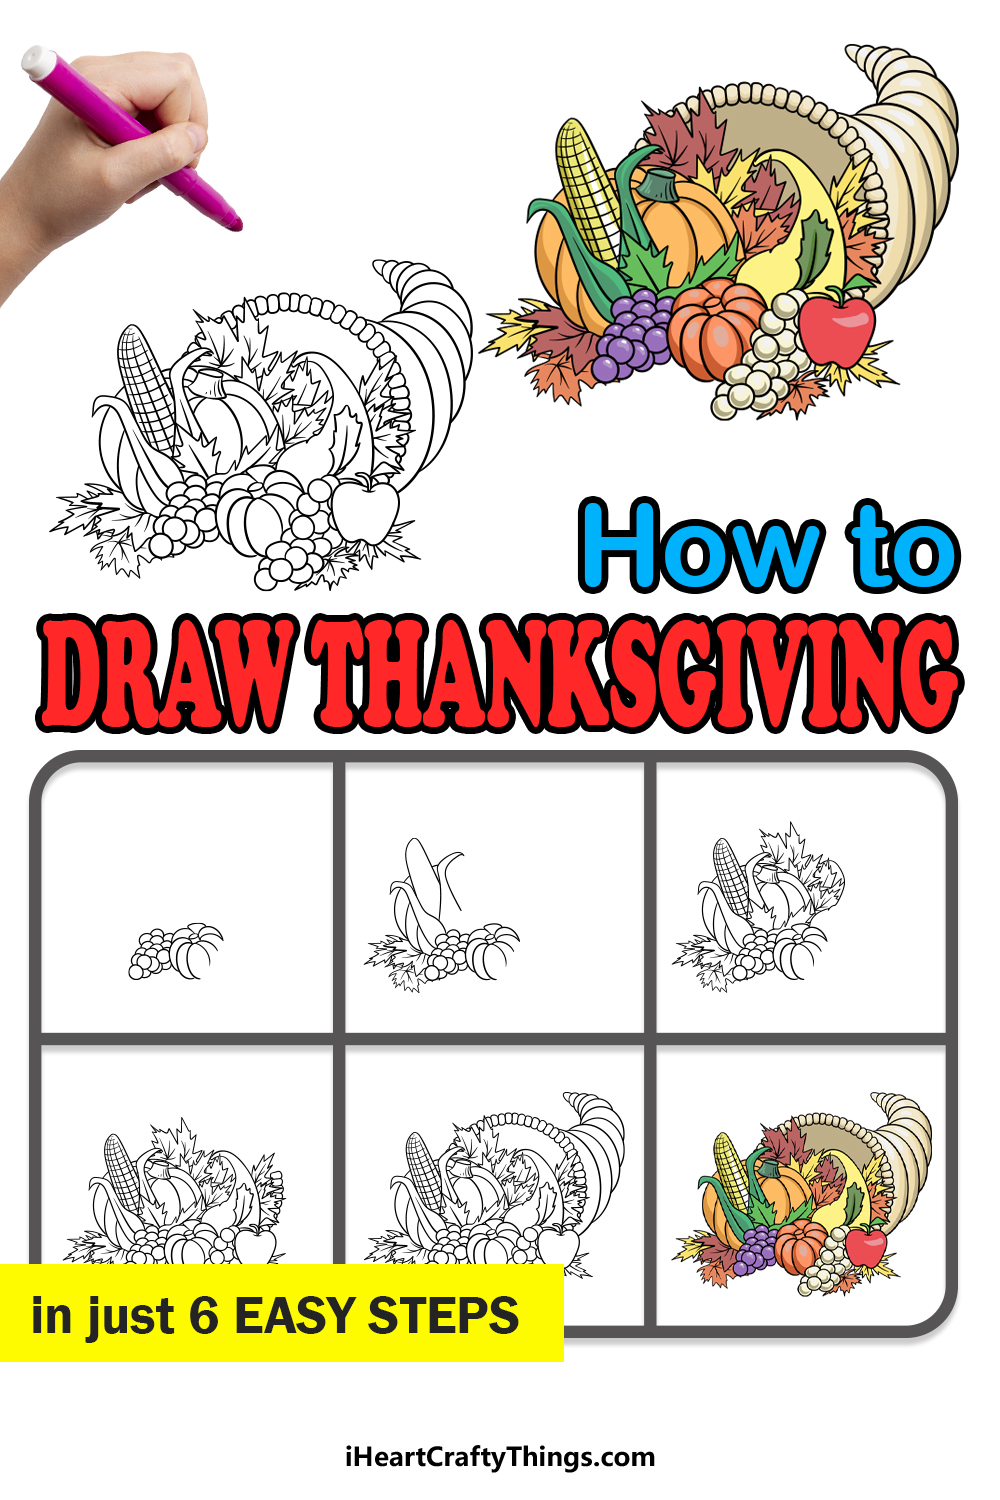
We hope you have a great time working on this step-by-step guide on how to draw Thanksgiving in just 6 steps!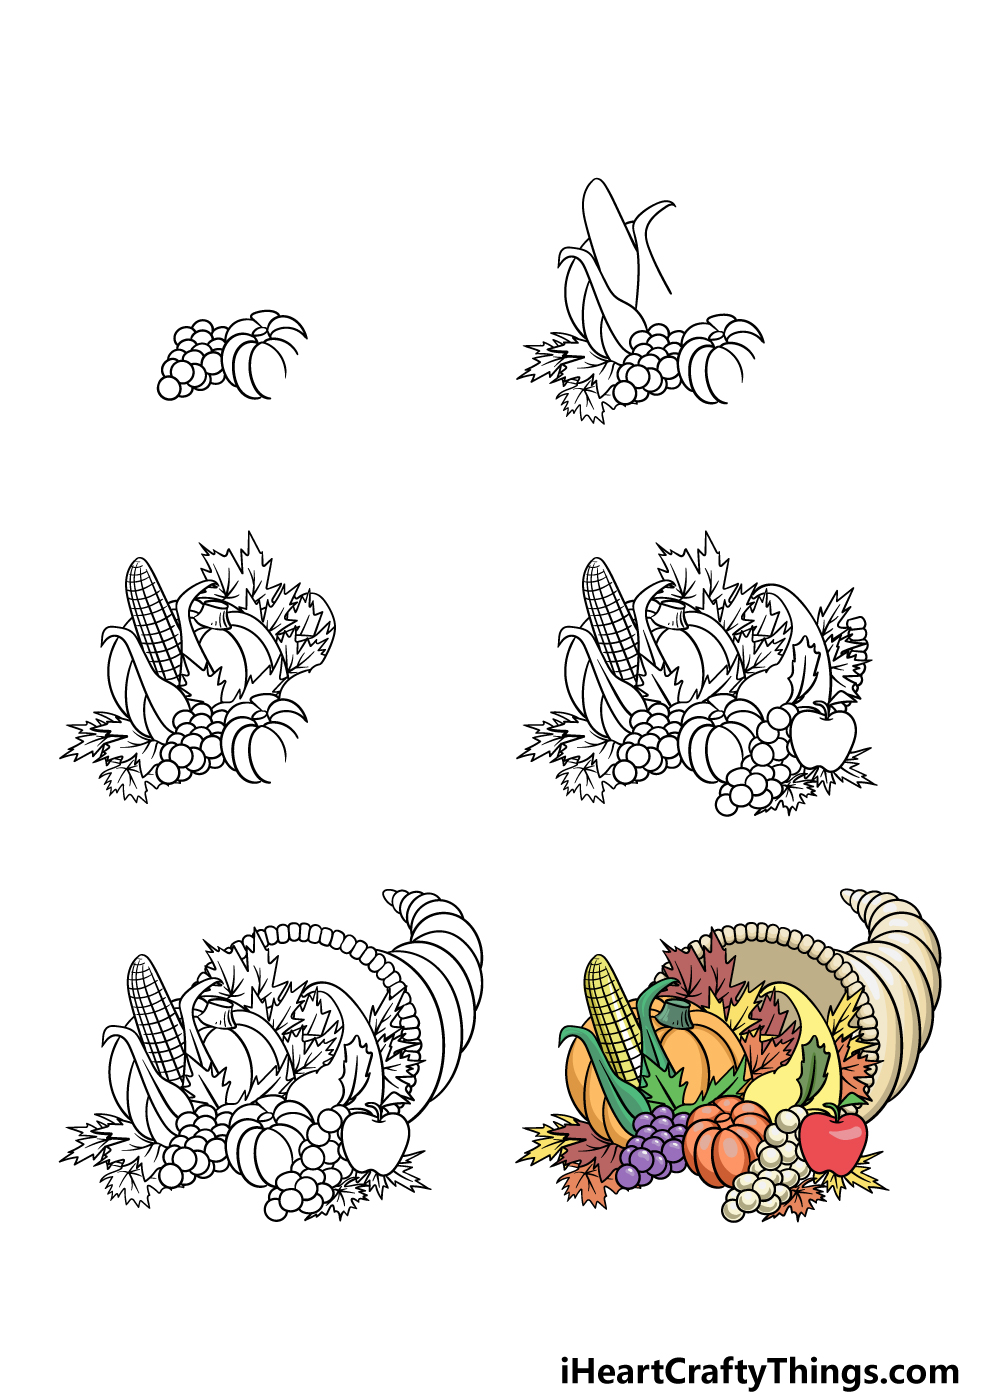
How to Draw Thanksgiving – Let’s Get Started!
Step 1

When creating a Thanksgiving centerpiece, you will usually use vegetables and plants that are closely associated with the Thanksgiving season.
With that in mind, we will start this guide on how to draw Thanksgiving with two foods that are common around this time: grapes and pumpkin.
We will start with the pumpkin, which you can start by drawing a circle for the tip of the stem and then two small straight lines coming down from it.
Then we will draw the body of the pumpkin, and this will be drawn in several different segments. You can draw these segments using some curved and rounded lines, and they will connect to the short stem that you started with.
Be sure to leave an empty space near the right-hand side of the base, as we will be adding some more objects there later.
Finally, finish off this step by drawing lots of small circles connecting to one another next to the pumpkin for the grapes beside the pumpkin.
Step 2 – Next, start drawing some corn and leaves

We will be adding two more iconic Thanksgiving aspects in this part of your Thanksgiving drawing. These will be corn and crunchy Fall leaves, and we will start with the corn for now.
Start this by drawing a curved and pointy shape for the inside of the corn, and then we will draw the leaves flopping off to the side.
The corn will go directly beside the grapes, as shown in the reference image.
You can also start drawing the sides of a larger pumpkin on the left-hand side of the corn. Finally, we will be drawing a small pile of crunchy leaves at the base of the corn to finish off this step.
Step 3 – Draw the rest of the corn, pumpkin and leaves
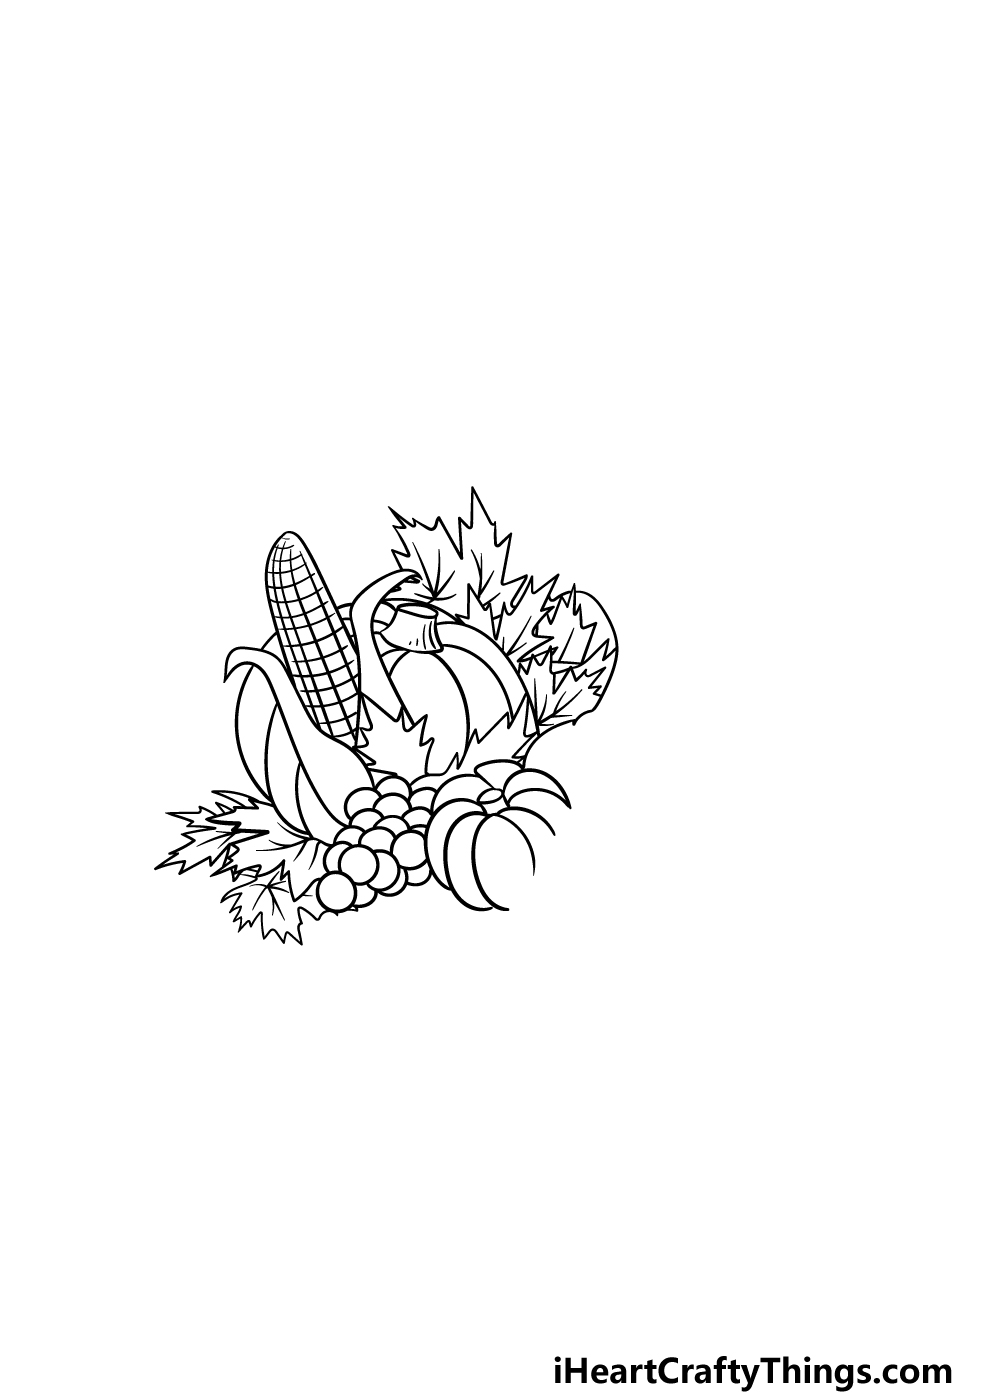
In this third step of our guide on how to draw Thanksgiving, we will be finishing off the corn and the pumpkin that you started in the previous step.
First, add some cross-hatching pattern to the interior of the corn to represent the segments of the corn.
Then, use some more curved lines to create the rest of the larger pumpkin that you started in the previous step.
Finish off this step by drawing lots of Fall leaves around these aspects that you have been drawing!
Step 4 – Now, draw the rest of the vegetables and objects
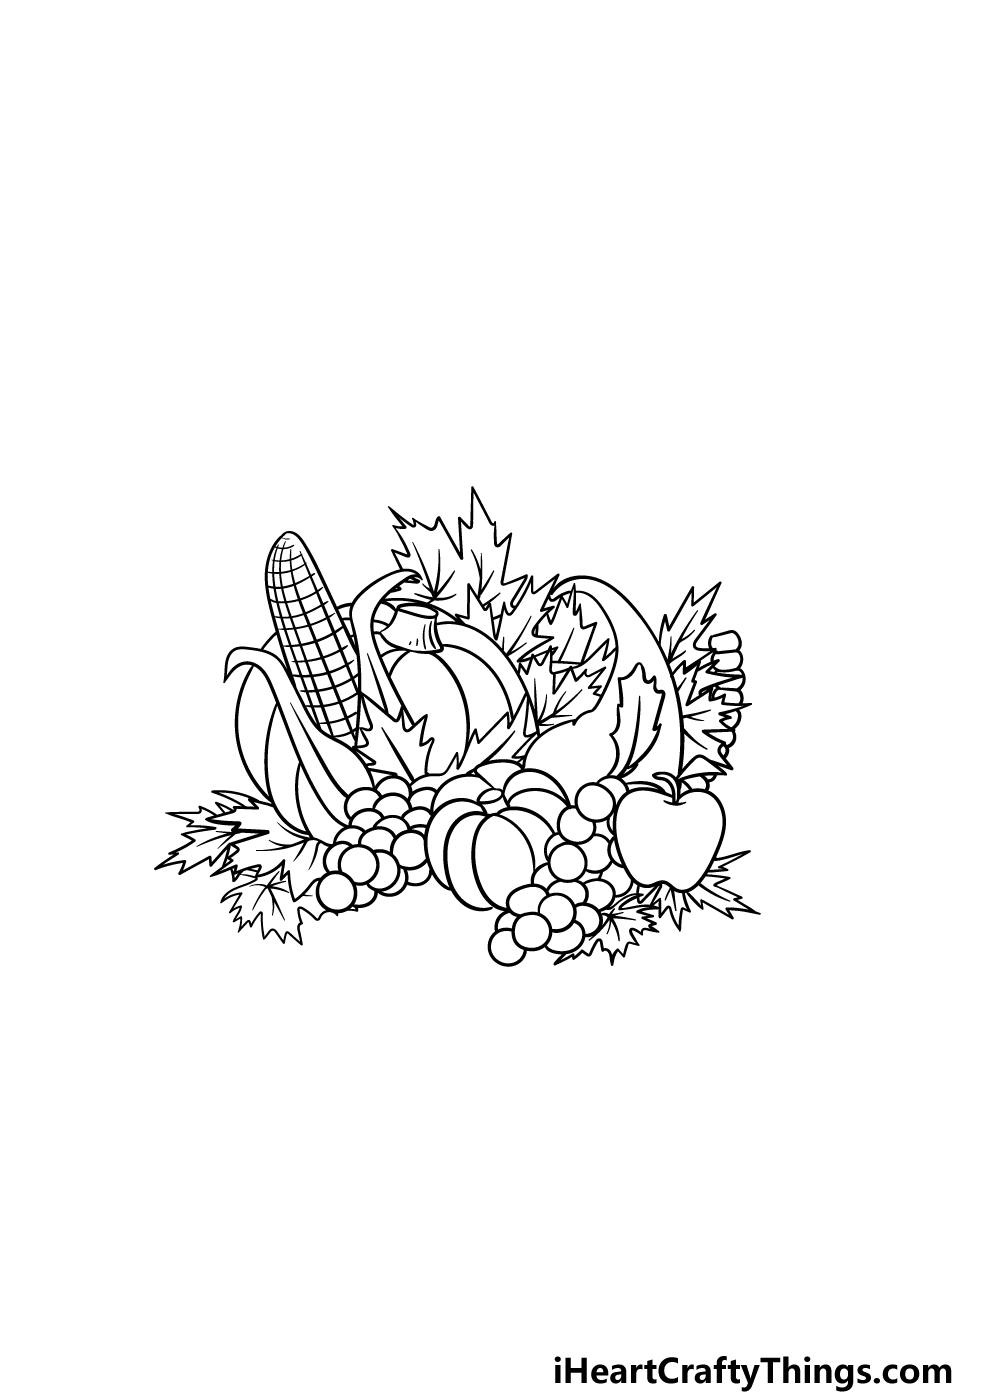
We will finish off the final objects in this step of your Thanksgiving drawing. We will be adding quite a few objects in this step, so let’s go through it slowly to make sure we don’t miss anything out!
First, you can use some curved and rounded lines for the tall vegetable next to the large pumpkin.
Below that, we will then add some more leaves along with another bunch of grapes. Then you can finish off with an apple along with even more leaves.
There’s just one more aspect to add in the next step, so let’s move on to step 5!
Step 5 – Finish off the basket casing for the Thanksgiving centerpiece
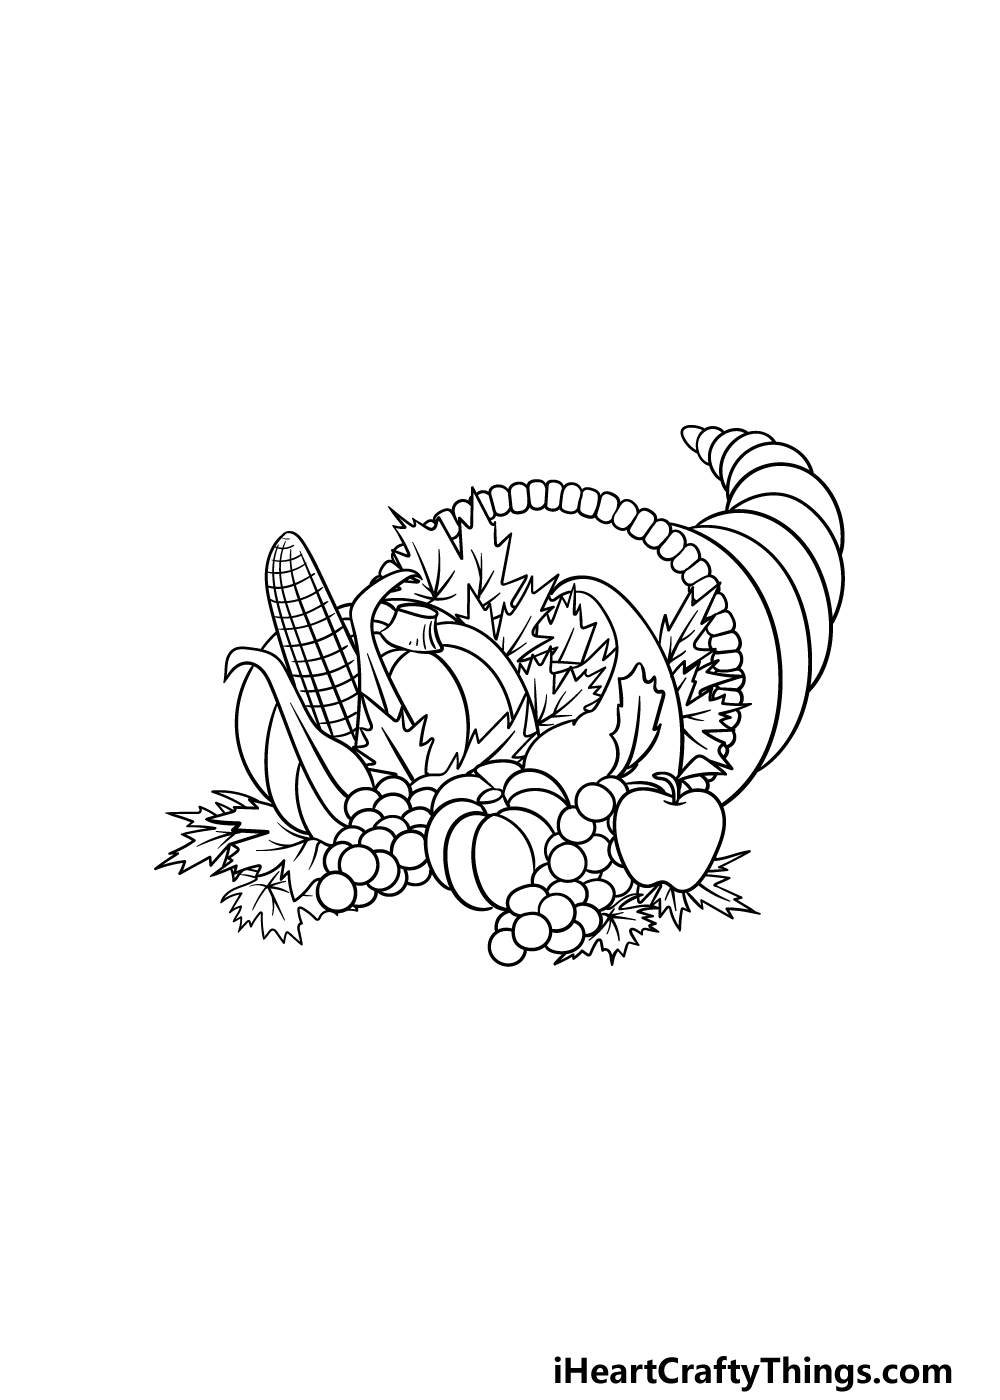
In this fifth part of our guide on how to draw Thanksgiving, we will be drawing the pointy basket casing that holds the centerpiece together.
First, use a row of small, rounded shapes that form the round opening of the casing. Once you have drawn that aspect, we can then draw the body of the casing.
This will get thinner the further it goes along and you can draw it using lots of curved lines connecting to one another.
Once you have recreated the basket as it appears in our reference image, you’re ready for the final step!
Before you move on, you can also add some details and elements of your own to put your own spin on it. What other objects and foods can you think of to add to this centerpiece?
Step 6 – Finish off your Thanksgiving drawing with some color
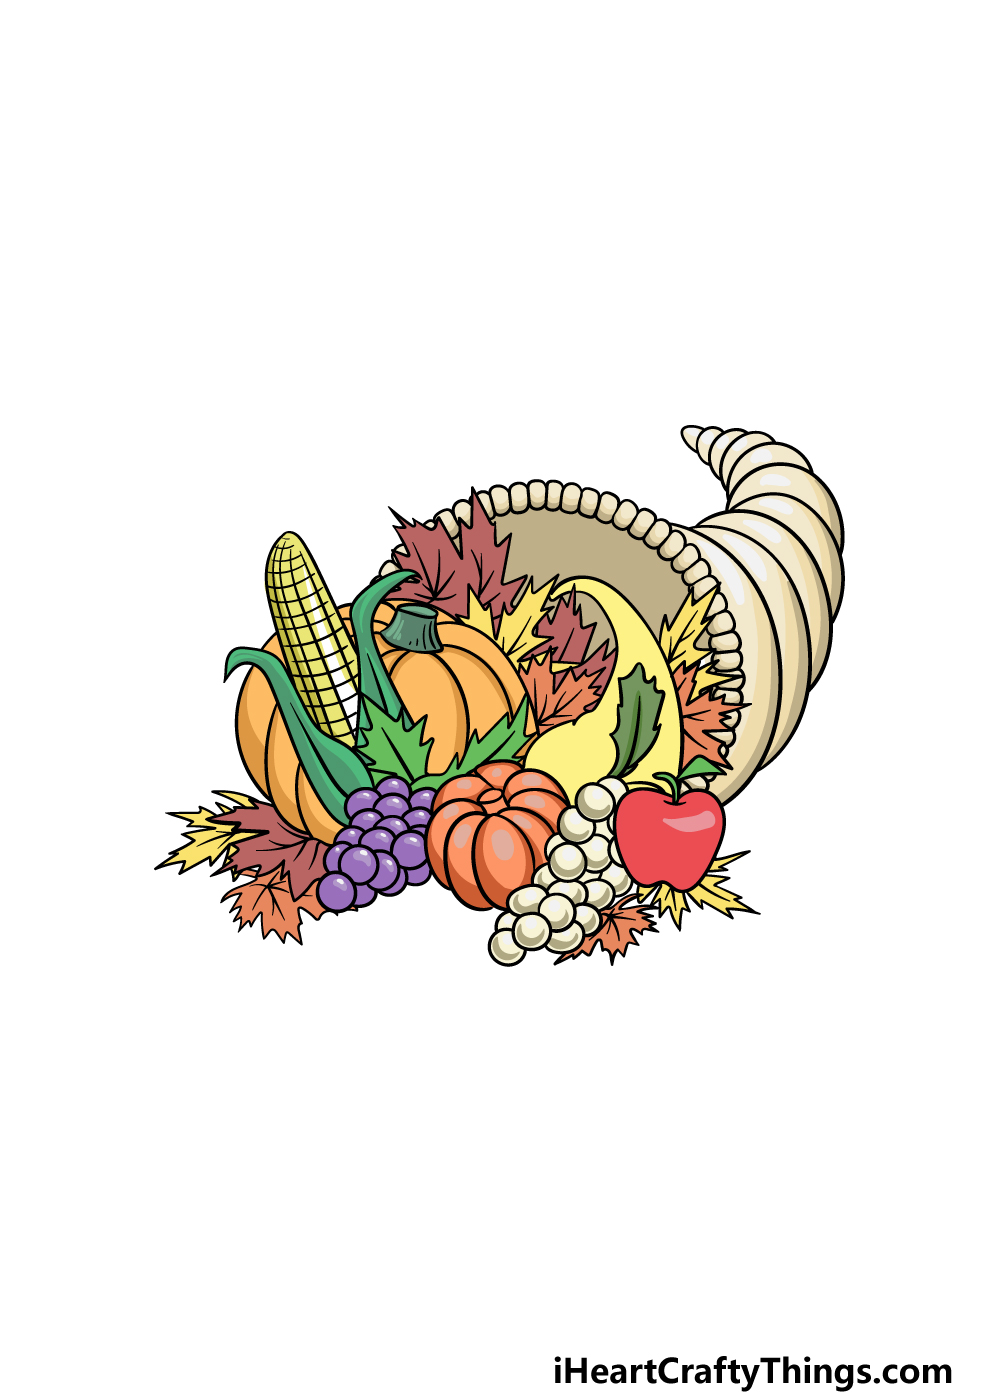
This is the final step of your Thanksgiving drawing, and for this one you can bring it to life with some incredible colors!
Because there are so many different objects and foods in this image, there are a lot of opportunities to incorporate lots of colors.
There are tons of traditional Fall colors like brown and orange, but also some purples for the grapes along with greens for the leaves.
This is a great chance for you to use some of your favorite colors to finish it off!
Once you have chosen the colors you want, it’s time to choose what art mediums and tools you will use to achieve these colors.
We can’t wait to see what you choose to use as you finish off this drawing!
Here’s how you can make your Thanksgiving drawing even better…
You’re sure to be thankful for these tips for your Thanksgiving sketch!
This drawing of Thanksgiving shows a cornucopia, which is a traditional Thanksgiving centerpiece.
There are many other things you would find on the table along with it, though.
These could be added to the image to finish off the display! For example, there could be some Fall leaves, pumpkins or other similar arrangements.
You could use the Thanksgiving tables you have seen as an inspiration for the one in this image. What other elements should be on the table along with this cornucopia?
Of course, with a Thanksgiving display like this there will likely be a delicious meal involved. This would be another great addition to this artwork.
It would be a perfect way to show off what your own ideal Thanksgiving meal might look like. This could be a roast turkey surrounded with all sorts of classic Thanksgiving sides.
There are so many to choose from, so you should definitely choose from all of your favorites.
Once you have the display and food set out for this Thanksgiving drawing, you could then finish off the background to really add to it. The first and most obvious setting would be a Thanksgiving dinner table.
You could do that, but there are some other settings you could go for. This cornucopia could be on display in the house to celebrate the season.
Or you could surround it with other elements of Thanksgiving to create a poster celebrating the season.
If you do decide to create a setting of a Thanksgiving meal, you would probably need some people to enjoy the meal! That also brings us to the final suggestion we have for your Thanksgiving sketch.
Adding some human characters to the drawing would really help to commemorate the season! When choosing who to include, you could start with your own friends and family.
If you’re not as used to drawing real people, then they could be drawn in a cartoony, simple style to make it much easier.
Your Thanksgiving Drawing is Complete!
You have completed all six steps of this guide on how to draw Thanksgiving, and you have a beautiful centerpiece to show for it!
There were lots of shapes and different lines to incorporate into this drawing, so we hope that this guide made it fun and easy for you to do.
You can also take what you learned here to design your own unique Thanksgiving centerpieces by adding some of your favorite objects that remind you of this special season.
By doing this or getting creative with your colors and art mediums, there are lots of ways to get creative with this drawing!
Once you have completed this guide, we hope that you will visit our website for your next one! We have tons of amazing guides for you to enjoy, and we upload new ones frequently.
We would love to see how you completed this Thanksgiving drawing, so please be sure to share your artwork on our Facebook and Pinterest pages!