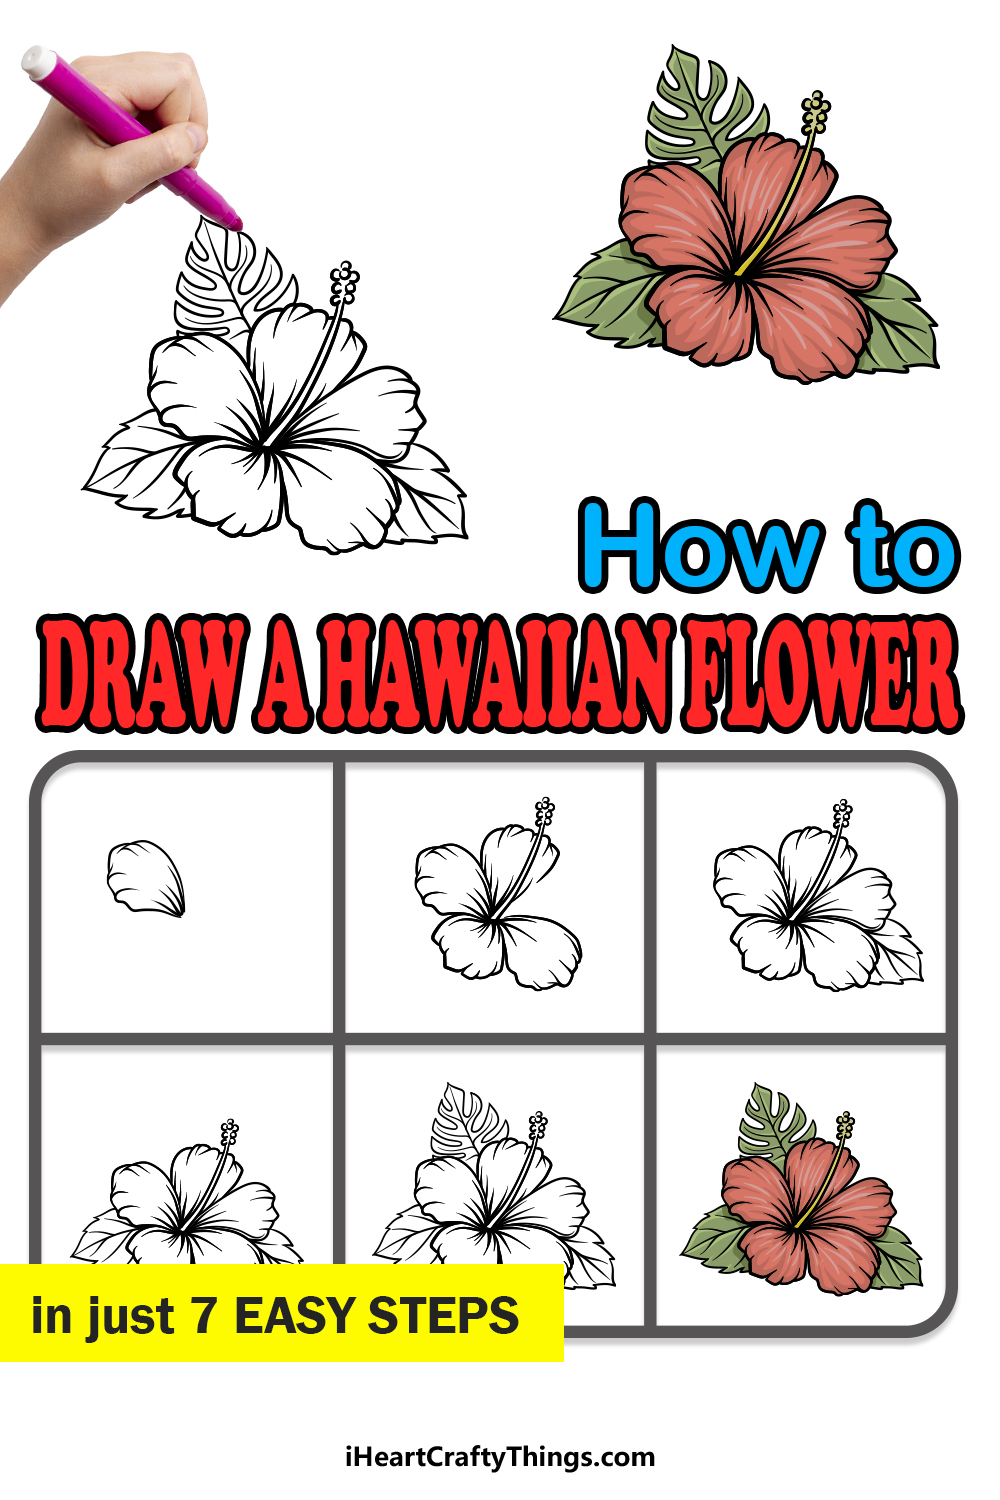
Anyone wanting to know how to draw a Hawaiian flower has found the right guide! Get into a tropical vacation vibe as we work on making this iconic flower together.
Hawaii is one of the most beautiful, magical places I have ever seen. There is something about the varied biomes, friendly people and fascinating cultures that makes it unlike any other place.
The Hawaiian flower is an iconic symbol of Hawaii, and it’s used in a lot of cultural ceremonies. When people want to replicate the feeling of being in beautiful Hawaii, they may try to learn how to draw this flower.
Doing so isn’t always that easy though, but I will show you how to make it as simple as possible. By the end, you will be able to incorporate a bit of Hawaiian magic to your life no matter where you may be!

Watch And See How To Make Your Hawaiian Flower Drawing
How to Draw A Hawaiian Flower – Let’s get Started!
Step 1

For this first step of our guide on how to draw a Hawaiian flower, we will start with a single petal of the flower.
These petals will have quite a lot of detail to them, and will be made up of a rounded shape that has a more narrow tip to them. This narrow part will be where the petal connects to the center of the flower.
Finally, you can finish off with some rounded lines throughout the petal to give it some more texture detail.
Once you have replicated the petal as it appears in the reference image, you’re ready to proceed to the next step!
Step 2 – Draw some more petals
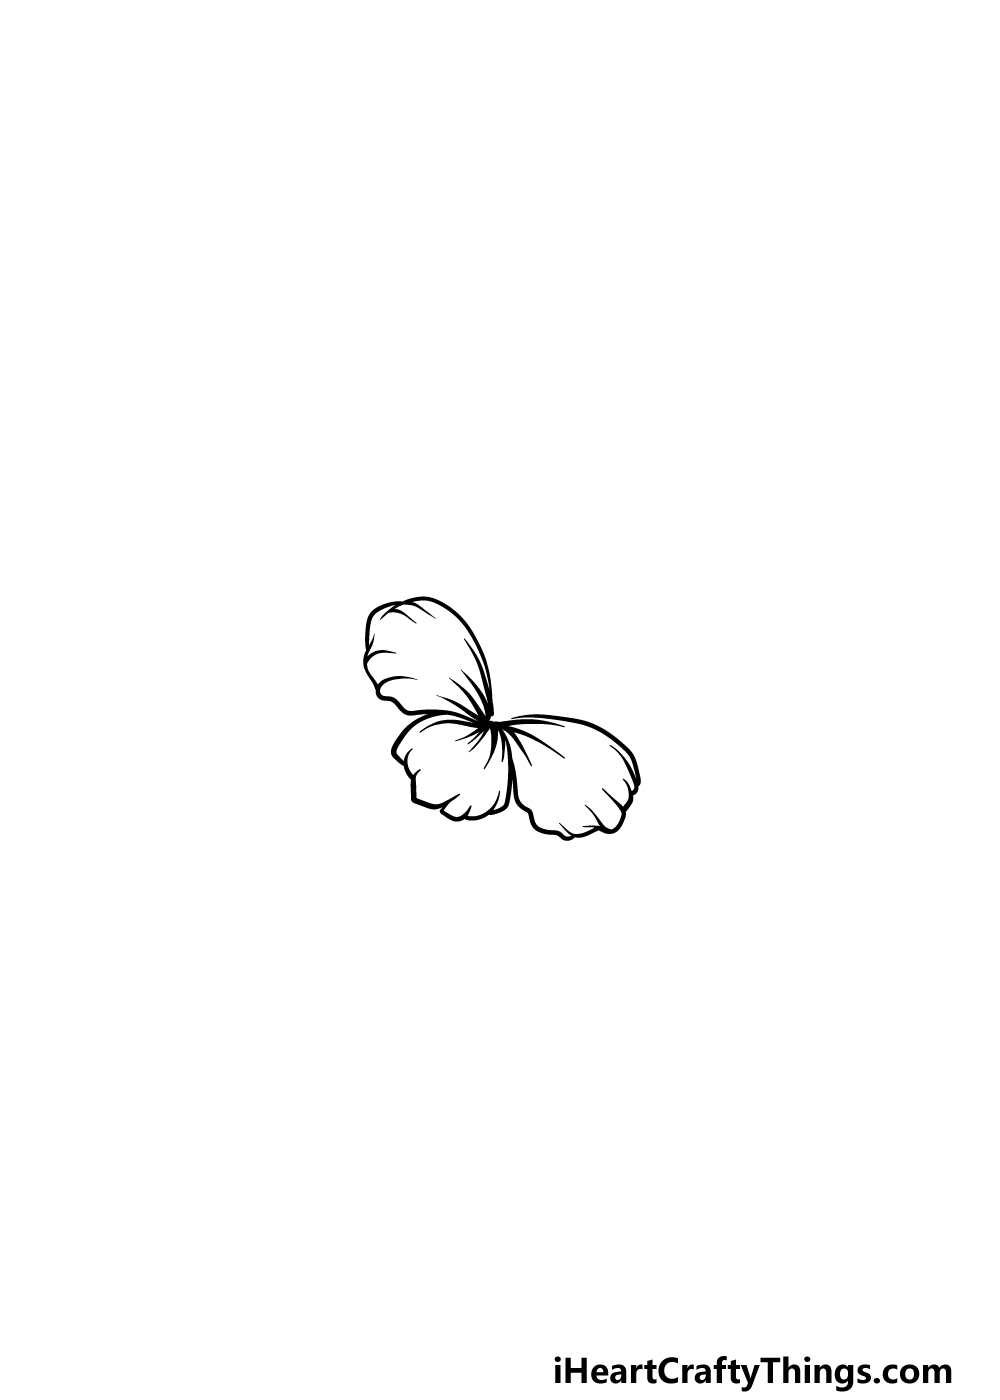
Now that you have created one petal for your Hawaiian flower drawing, you should have no problem drawing a few more!
These will be quite similar to the previous one, but the sizes will be a bit different.
The one between the others will be the smallest, and the reference image will guide you as to the position and size of these petals.
Step 3 – Add another petal and the style
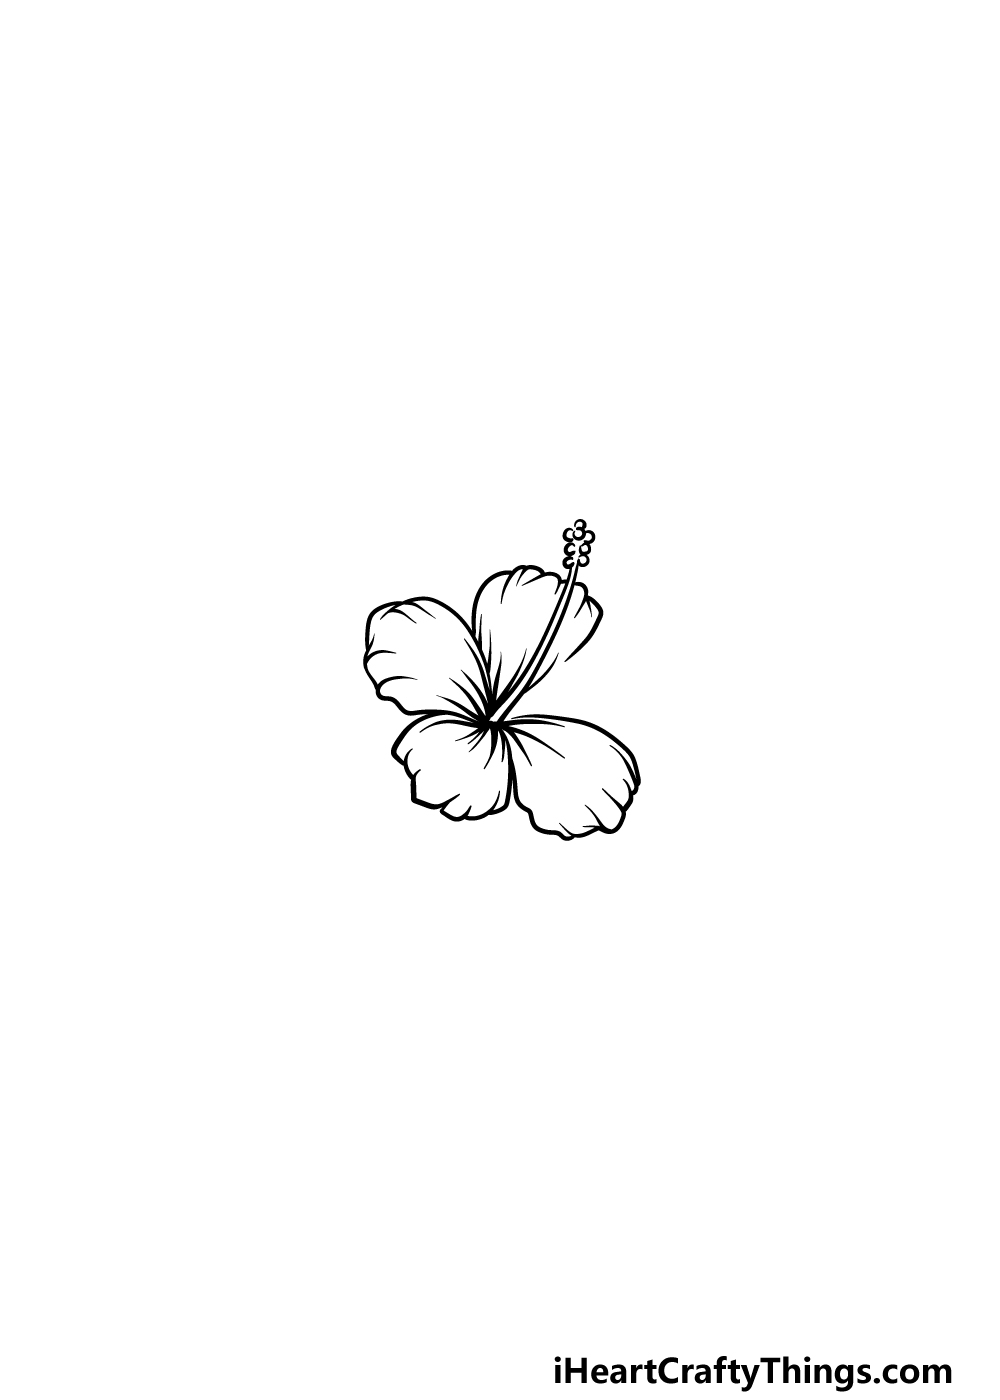
We will be adding two elements in this step of our guide on how to draw a Hawaiian flower. First, we will be adding another petal near the top of the flower.
Then, we will be adding a long, thin column coming up from the center of the flower. This column is called the style, and you can draw it using some thin, curved lines coming up from the center.
This will end in a bulbous section drawn with some small, round lines.
That’s all there is to it in this step, so let’s proceed!
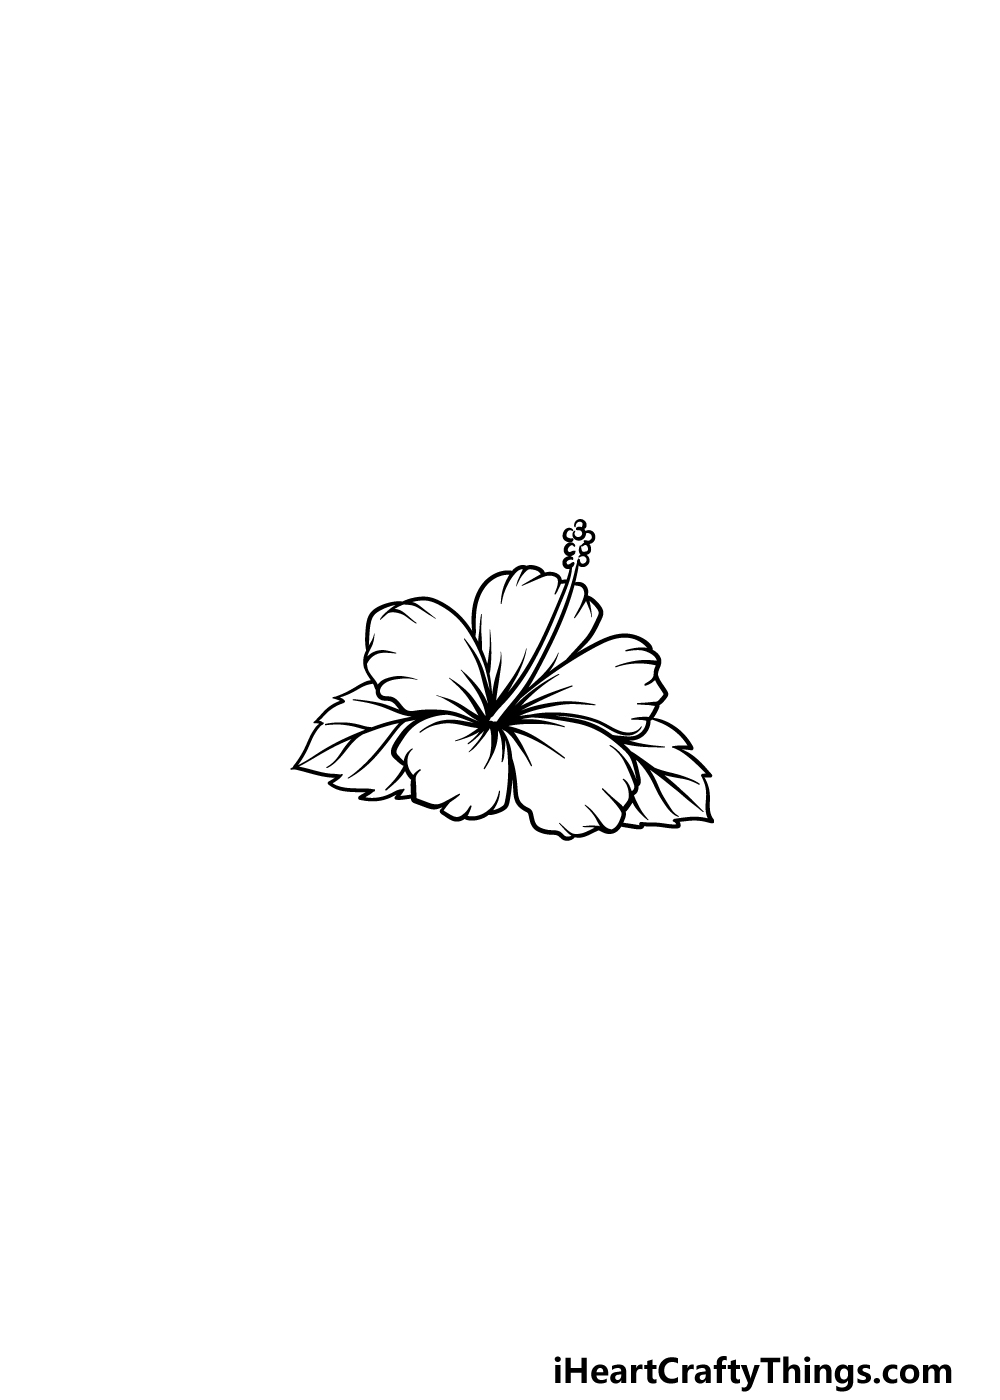
Step 4 – Now add the final petal and first leaf
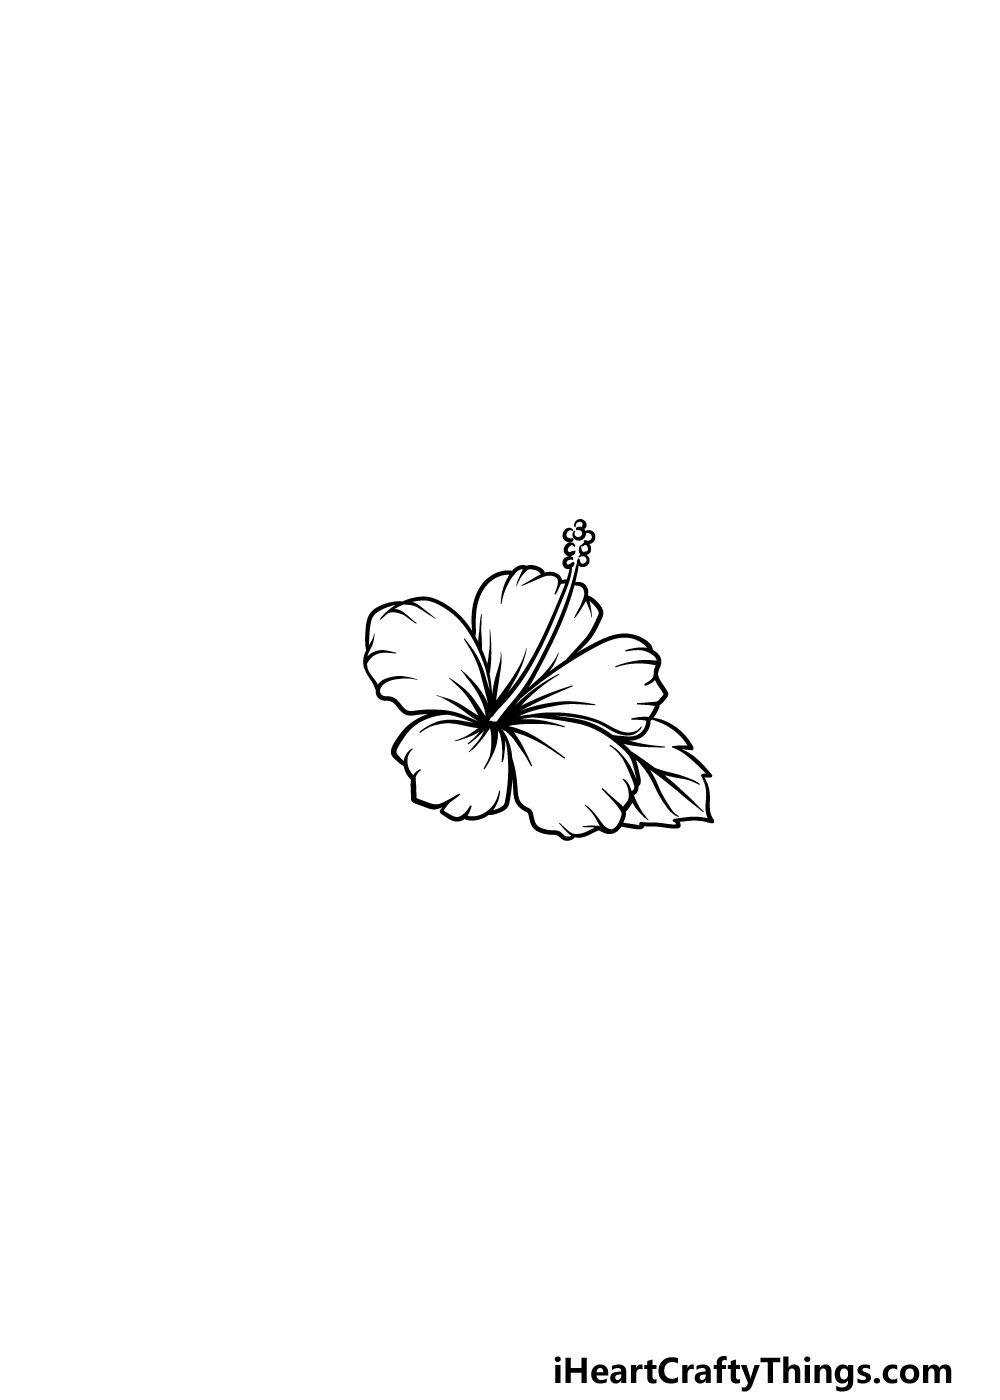
This fourth step of your Hawaiian flower drawing will see you adding the final petal for the picture. This final petal will fill in the final space left between the others, as shown in our reference picture.
Then, once you have all petals we will be drawing the first leaf. You can use some curved lines with some sharp points for the edges of the leaf, and then add some veins to it to finish it off.
Step 5 – Draw another leaf for the Hawaiian flower
Using what you learned in the previous step of this guide on how to draw a Hawaiian flower, you can draw another leaf for the plant.
This leaf will be very similarly structured to the other one, but will be on the other side of the flower, almost like a mirror image.
Once you have that leaf drawn, we will just have a few final details to add in the next step!
Step 6 – Now, draw the final leaf of the Hawaiian flower
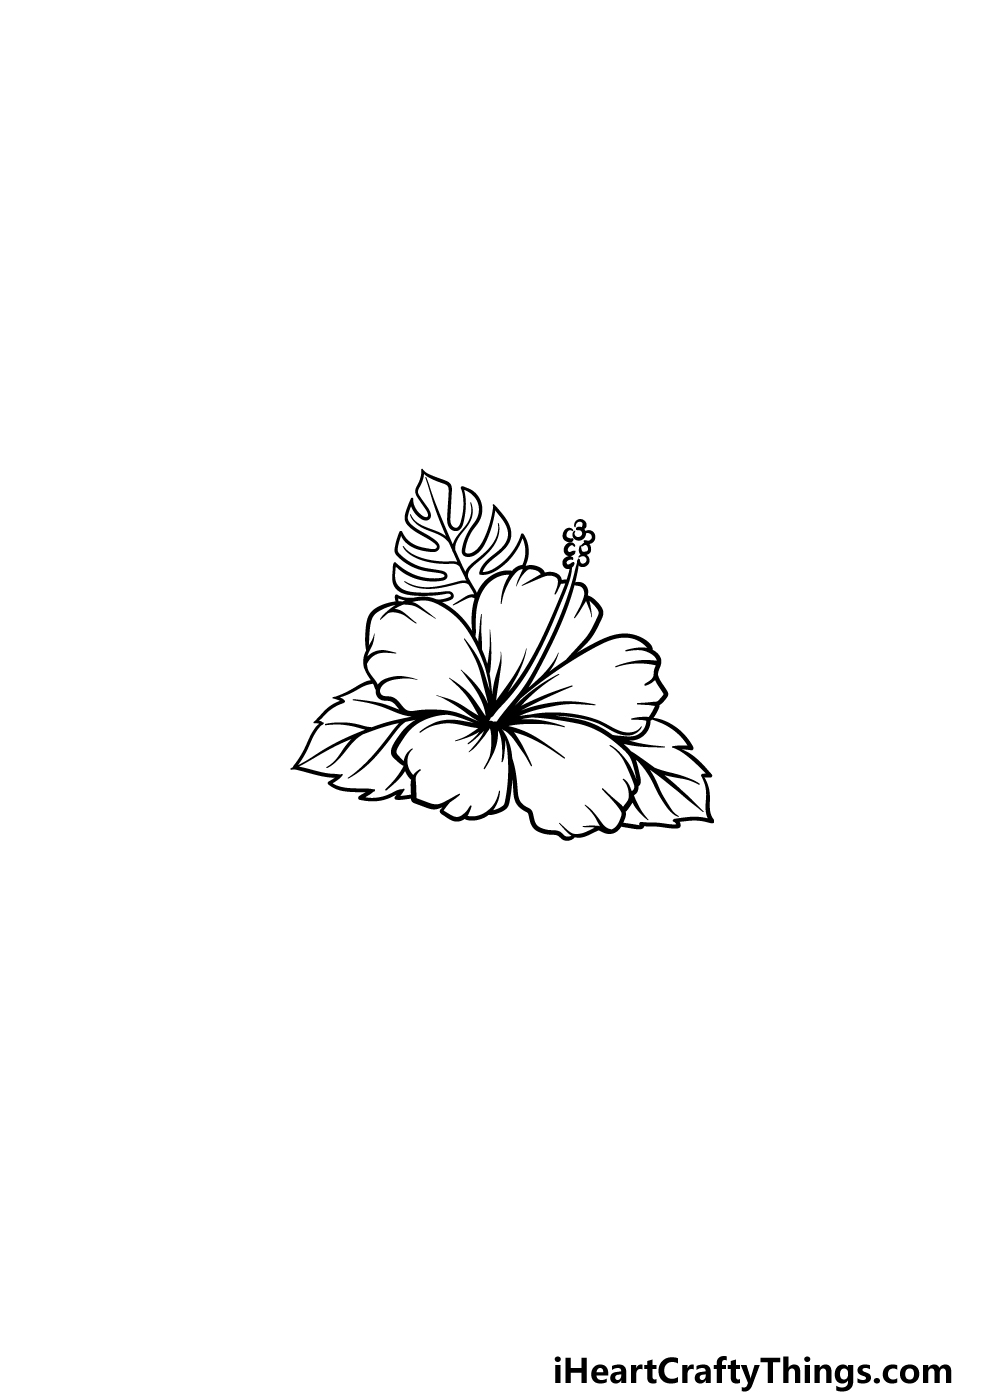
It’s time to finish up the details before you add some amazing colors to your Hawaiian flower drawing. The main thing that we will be adding will be a final leaf for the flower.
This leaf will be quite different to the other ones, though. Instead of one large, solid leaf, this one will have several sections for its edge that you can draw with some straight and curved lines.
If that sounds confusing then the reference image will show you how it should look!
Then your drawing is finished, and you’re ready to proceed! Before you move on to the final step, you can also add some details of your own to finish it off.
There are many ideas you could use to do this, from incorporating the flower into a background or even drawing more flowers beside it.
You could do this by drawing some more Hawaiian flowers taking what you’ve learned, or you could draw some more of your favorite flowers as well. How will you finish off this drawing before the final step?
Bonus: Try Out These Fun Tips To Make Your Drawing Even Better
This drawing of a Hawaiian flower is looking amazing so far, but it could look even better if you add to it! There are many simple ways that you can add to the drawing.
One of the easiest ways would be to add some more Hawaiian flowers to the drawing. Now that you have finished the guide, you know how to draw them and you can follow through the guide again.
There are some subtle shape and color differences you can use to make each one unique. If you would like to have other kinds of flowers, then you could add any of your favorites to the image!
Looking up pictures of real flowers online can be very helpful when drawing unique flowers. If there are any other objects that remind you of Hawaii then you could add those too!
Examples would be coconut, various tropical fruits and maybe a drink with a little umbrella in it. These are just a few examples, but you may have many more ideas!
You could also make some fun crafts with this Hawaiian flower design. For example, you could cut the petals from tissue paper and then assemble it into a real flower.
If you made a few of these, you could then make a real Hawaiian flower necklace, called a lei. If you wanted to add a background then that would also really add a lot to the image.
This is your chance to make your ultimate Hawaiian getaway, so we will be very curious to see what you come up with! Will you use the ideas we had or do you have some unique ones of your own?
We will be interested to see what you choose to do.
Step 7 – Finish off your Hawaiian flower drawing with some color
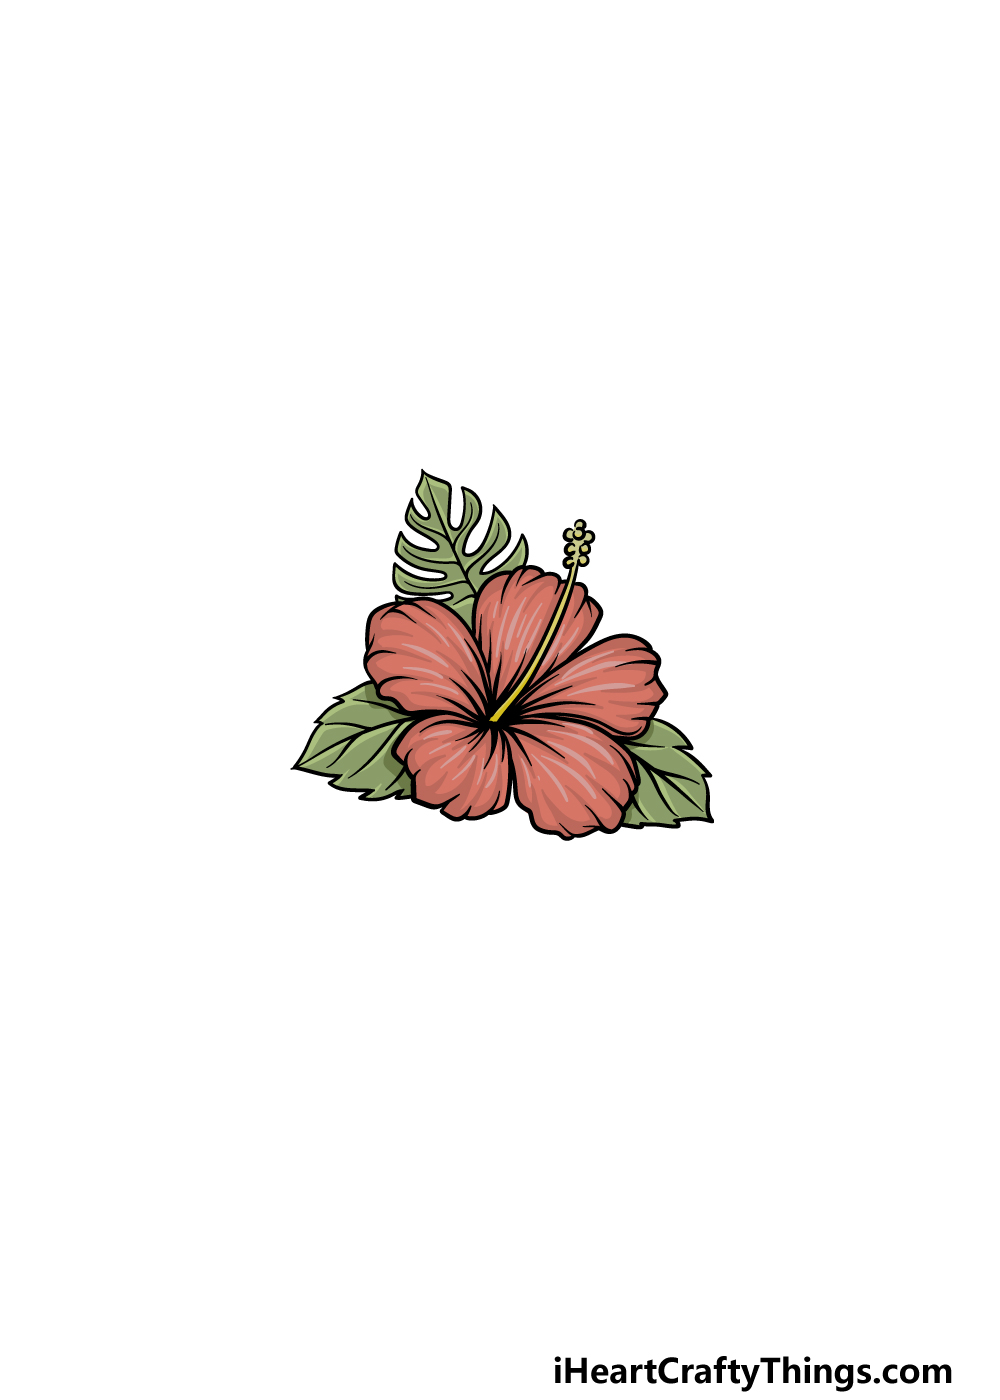
You have done a great job on this guide on how to draw a Hawaiian flower, and now you can finish it off with some amazing colors!
In our reference image, we used some reds and greens for the flower, but this is just one option of many that you could go for. These incredible flowers can come in many different colors and shades, so that gives you many options to go for when adding some color to it.
Choosing the colors is just part of the fun, as you can also experiment with different art mediums. Watercolor paints can be great for this kind of drawing, as it gives a nice soft look to the image.
Any mediums you use will look amazing, however, so be sure to use any art tools you love to finish it off!
3 More tips to make your Hawaiian flower drawing easy!
Find out how you can make your Hawaiian flower drawing even easier with these tips!
The tips we had for this easy to draw Hawaiian flower helped make it simpler, but you could make it even more so with a real flower.
Using a real flower alongside the tips in our guide would really help you to draw the petals, leaves and other details.
The Hawaiian flower is called a hibiscus, and you could probably find them at some plant stores. If not, you may be able to get realistic fake ones at a craft or art shop.
If all else fails, you can use photos online of this beautiful flower to make it easier!
We made this Hawaiian flower drawing quite detailed, and it looks great! Details can make a drawing a bit harder, however, so you could look into simplifying some of the details if need be.
For example, you could remove some of the texture lines from the petals. Then, by making them into much simpler round shapes, you will find it is suddenly much easier.
This tip could be applied to any part of the drawing you’re struggling with. That could be the stem, petals or the style poking out from the center of the flower.
Simplifying things can also help to make the picture have a unique style!
Another way to make this Hawaiian flower drawing easy is by using other objects to obscure parts you’re struggling with. For example, maybe you’re a pro at drawing daisies.
You could turn this picture into a flower arrangement and have the daisies covering up part of the flower.
Or, maybe you could put the Hawaiian flower into a vase so that you don’t have to draw the intricate leaves.
There are lots of creative ways that you can get past parts you struggle with. We would also recommend trying again to get the hang of the parts you are having a tough time with.
There’s no shame in not being able to do something though, and that’s what this trick is here to help with!
Your Hawaiian Flower Drawing is Complete!
That brings you to the end of this guide on how to draw a Hawaiian flower! We hope that this tutorial made it easy and fun for you to work on this incredible flower. By taking it step by step you can easily conquer any drawing challenge that you take on!
Now you can take this drawing even further with your own details and elements. We mentioned a few ideas such as drawing more flowers or a cool background, but what else can you think of to put your own spin on this drawing?
When you are ready for your next drawing challenge, be sure to give our website a visit. We have tons of guides for you with more coming frequently, so be sure to visit often!
We would love to see how you finished this incredible flower, so please be sure to share it on our Facebook and Pinterest pages.