There are many impressive sights and places to behold on our planet and also in the expanse of space.
It can be difficult to observe some of these with the naked human eye, however, so sometimes you need a little help to see what you want to see.
The best tool to use in such a situation is a telescope, and these can come in many different sizes and varieties to best suit certain scenarios.
It’s loads of fun to use one, but learning how to draw a telescope can also be a lot of fun to do!
If you’re wondering how you can learn to do that, then you’re in the right place!
This step-by-step guide on how to draw a telescope will show you how to draw one of these incredible devices.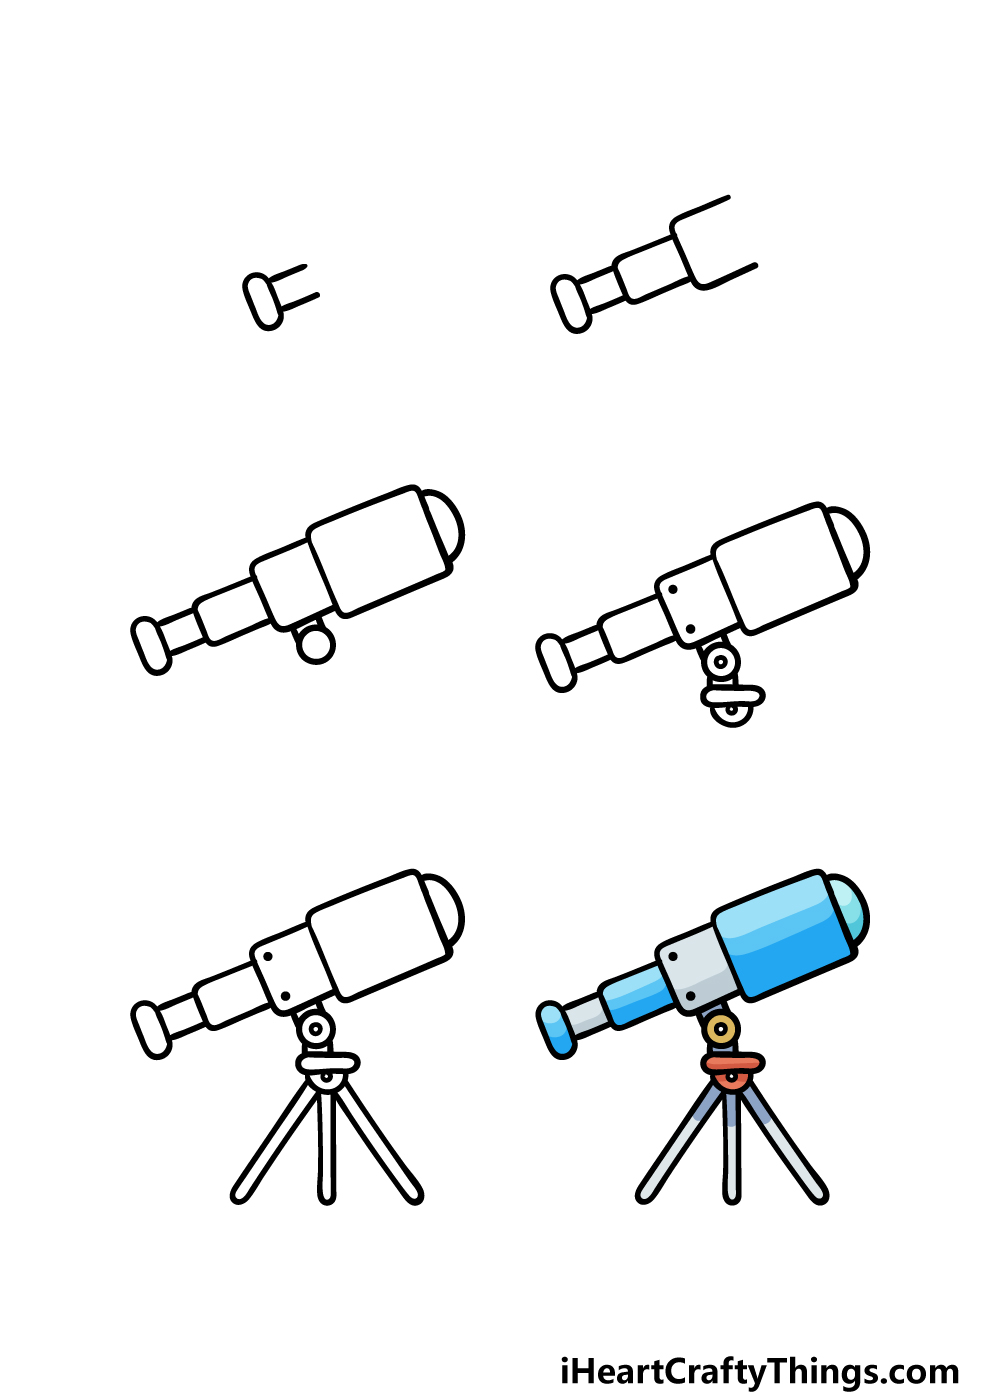
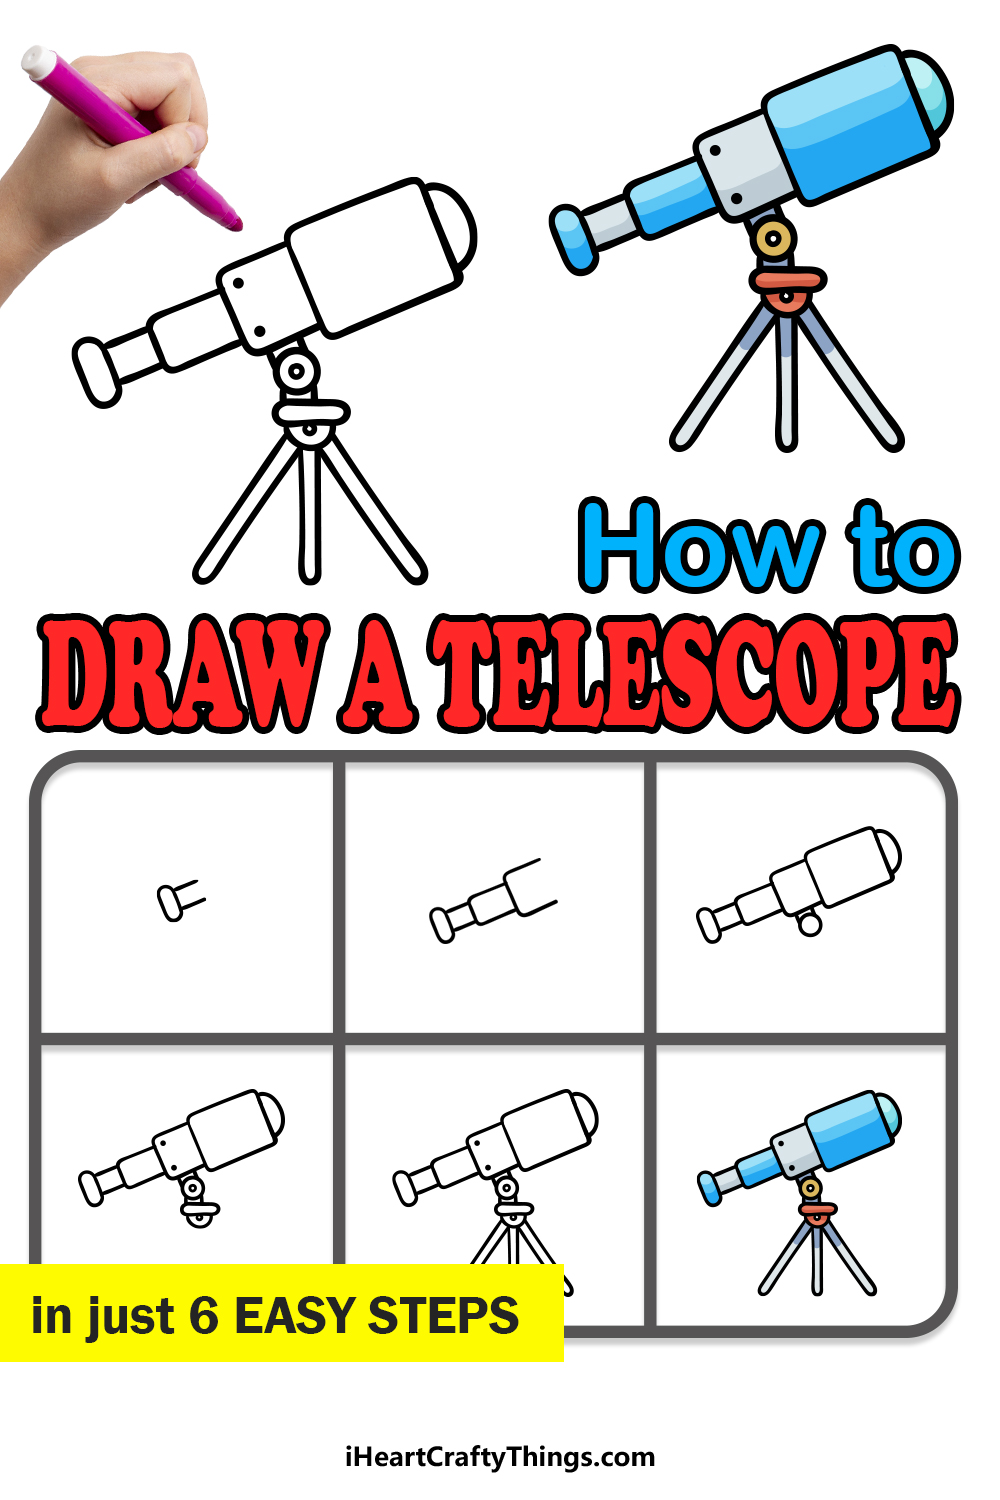
How to Draw A Telescope – Let’s Get Started!
Step 1
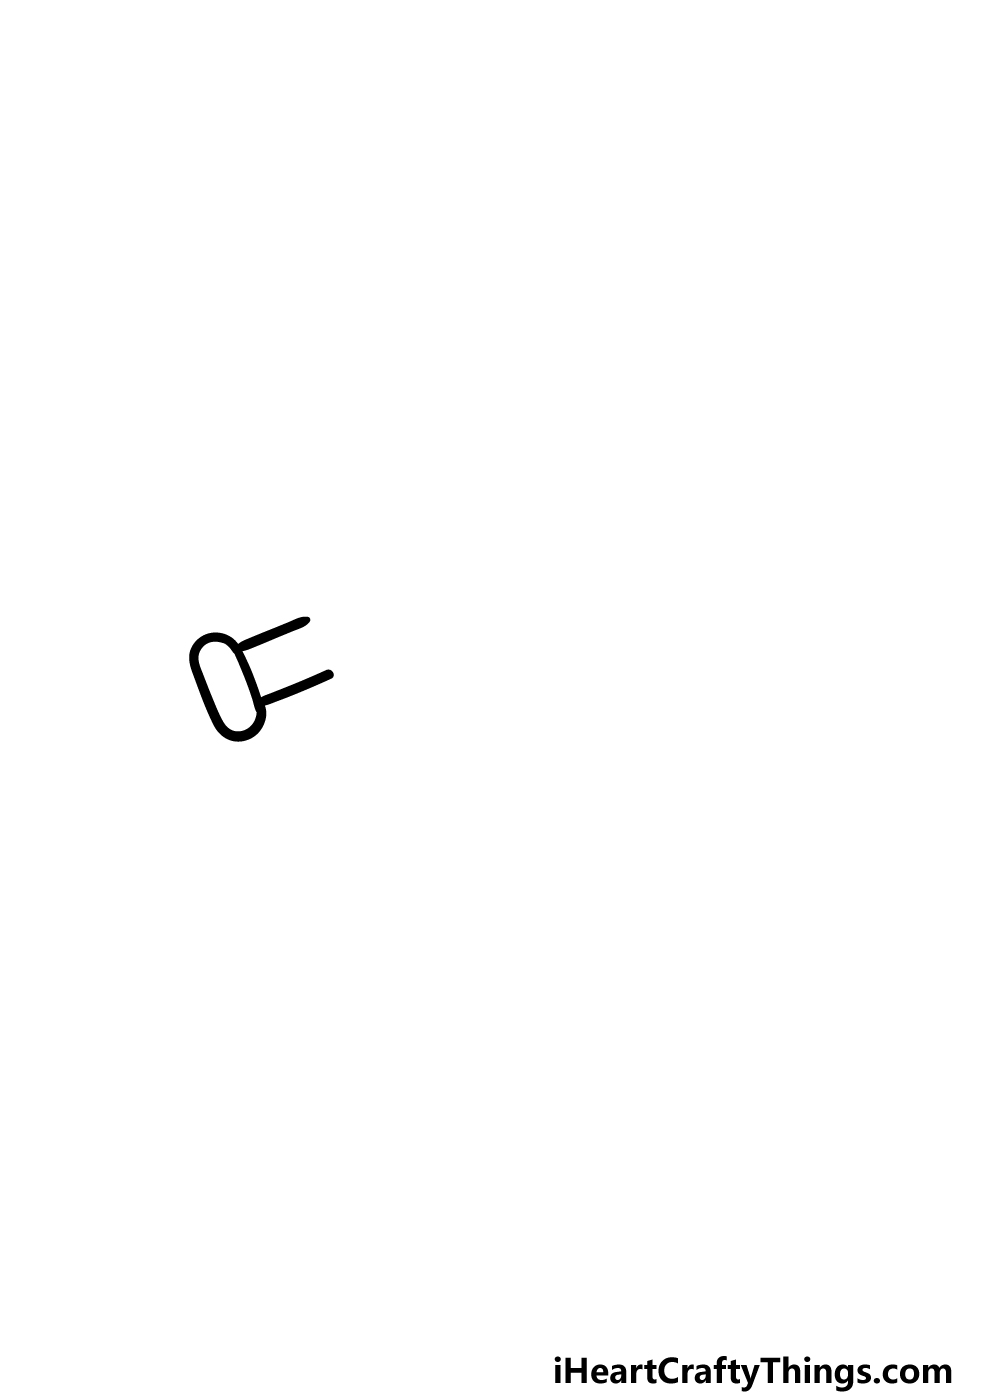
The first part that we will be drawing in this guide on how to draw a telescope will be simple, but it’s also one of the most important parts of the telescope.
This part will be the eyepiece, and this is where you will look into when using the telescope. To draw this eyepiece, you can start by drawing a thin oval shape.
This will be the rim of the eyepiece, and then you can attach two short straight lines onto it.
That’s all there is to it for this part, and then you’re ready to add on to it in the next steps.
Step 2 – Draw the start of the telescope tube
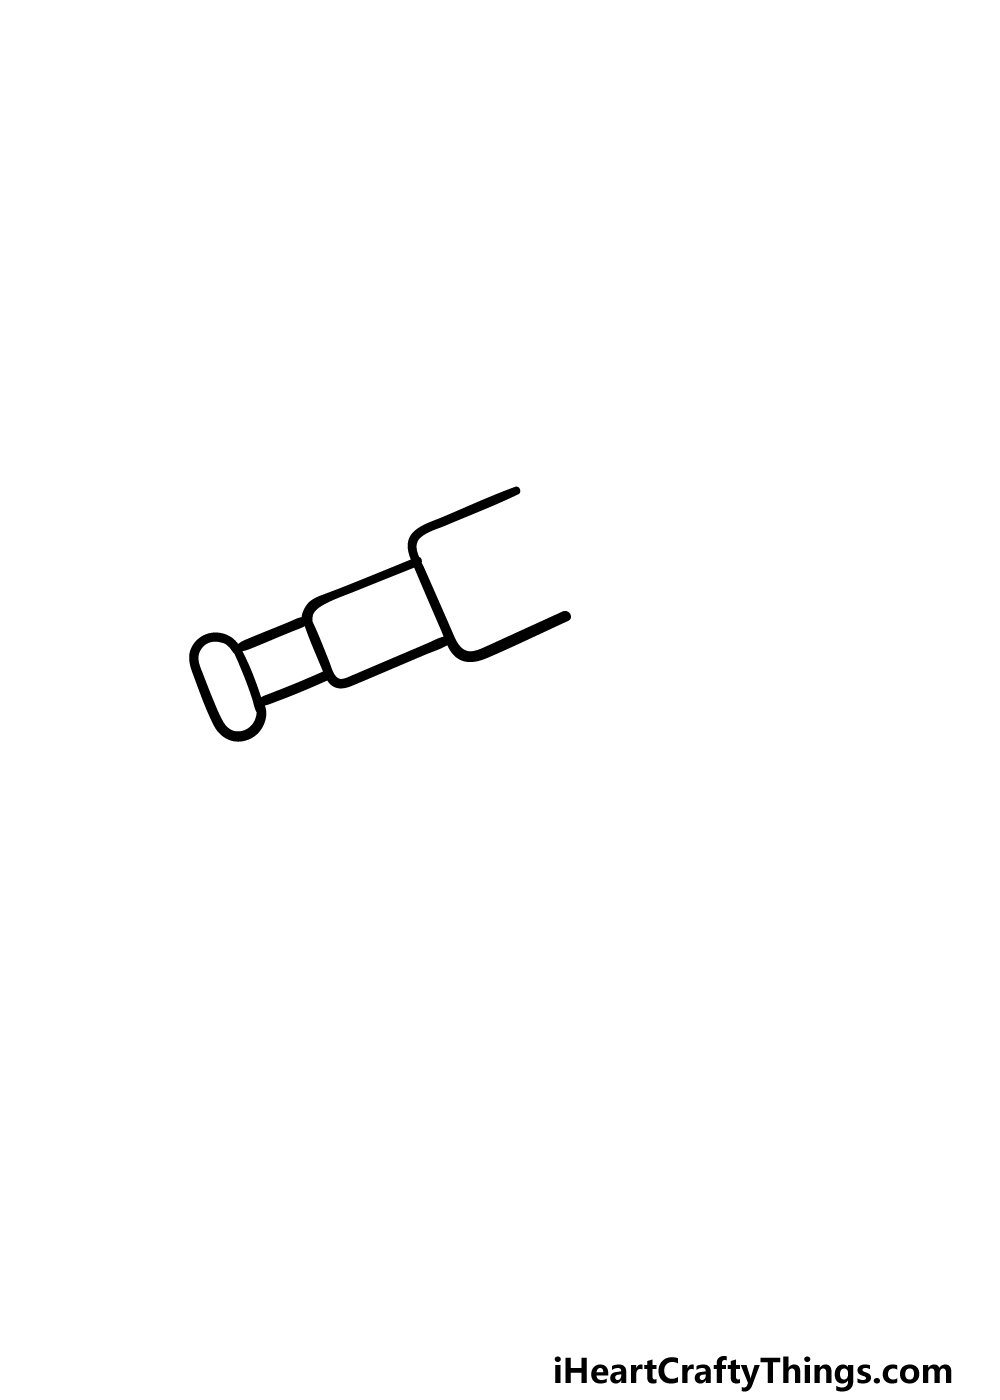
For this second part of your telescope drawing, we will be adding the first parts of the central tube of the telescope.
For now, we will be drawing two sections of this tube, and once again they should be pretty simple to draw!
First, add a thin rectangular section by drawing two lines coming off of the end of the eyepiece.
Then, we will be adding another section. This will also be drawn as a rectangular shape, but it will be a bit wider than the previous one.
It will also be left blank on its far right-hand edge, but we will fill that blank space in soon.
Step 3 – Now, draw another section of the telescope
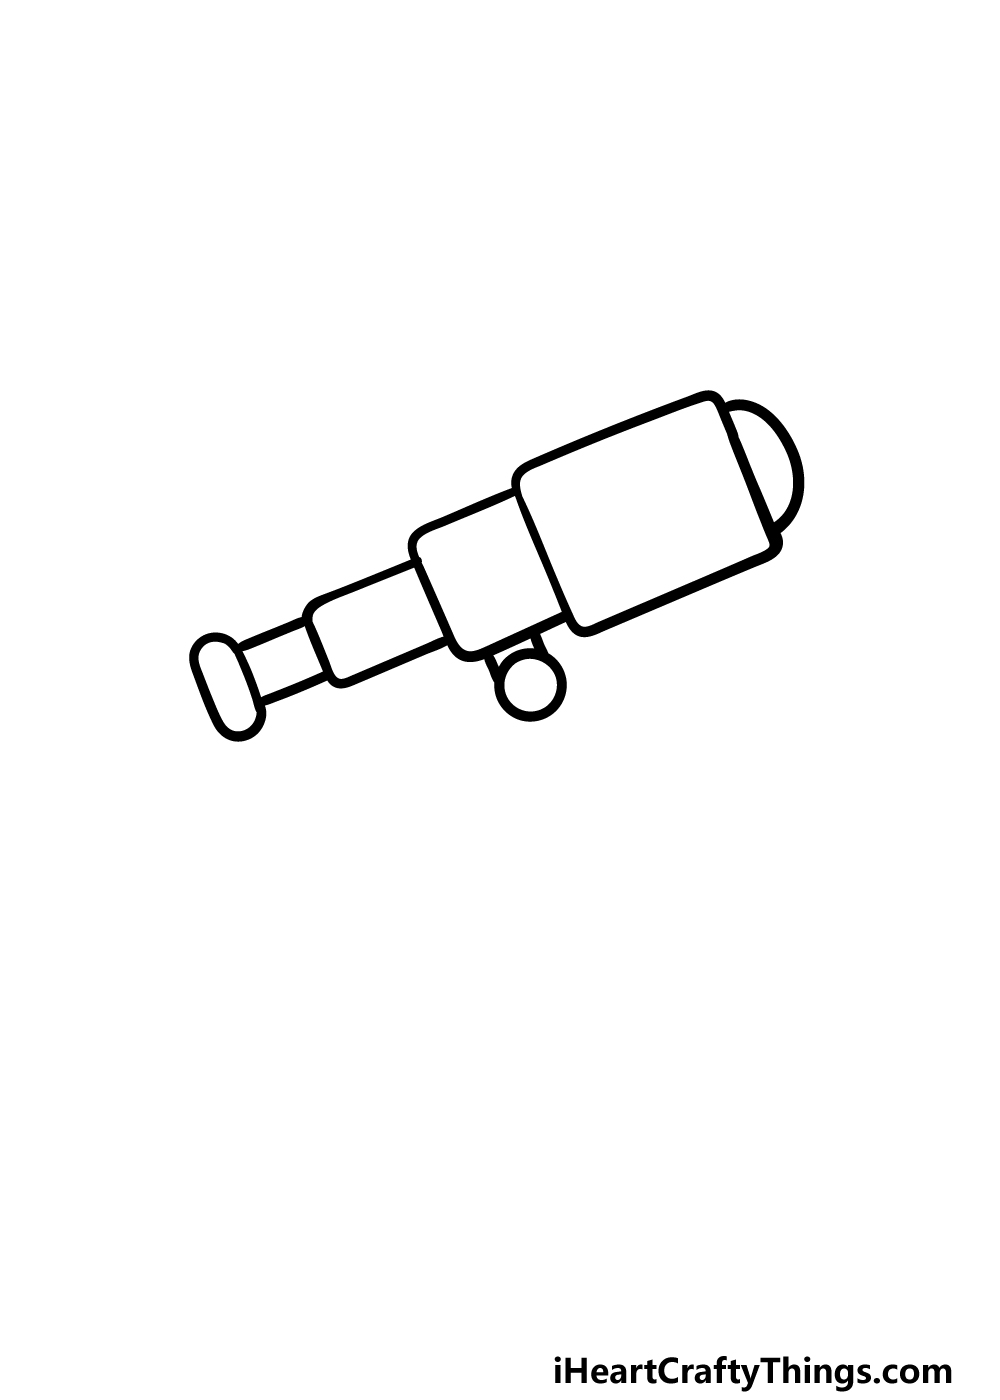
We left a blank space at the end of the previous step of our guide on how to draw a telescope, and we will be filling it in along with other elements in this part.
First, draw another rectangular section onto the end of the telescope.
This one will be a bit wider and a bit squatter than the previous sections. It will also have a rounded line drawn over the end, and this line will be the glass lens of the telescope.
Then, we shall start drawing the mount of the telescope. Simply draw two very small lines coming off the base of the telescope, and then draw a small circle beneath that.
That’s all there is to it for now, and then we can move on!
Step 4 – Next, draw more of the mount and add some details
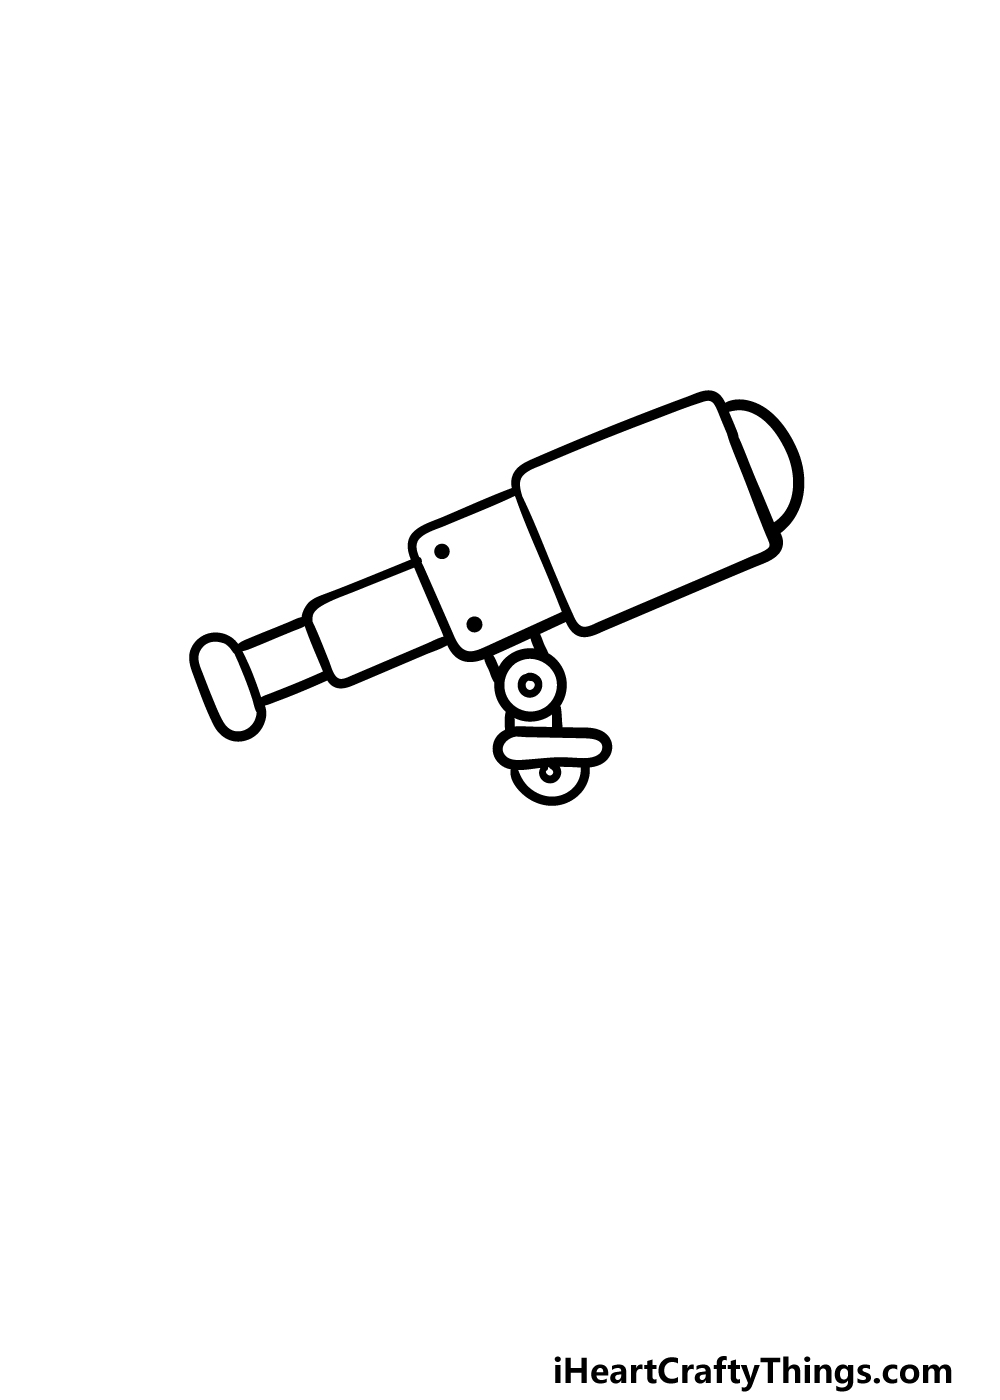
For this fourth part of your telescope drawing, you can add some small details along with the next section of the mount.
First, add some dots to the central section of the middle tube of the telescope. Then, draw a small circle into the other circle that you drew at the hinge of the mount.
Add two more short lines coming down from this, then draw a squat and thin oval shape beneath it.
Finish off this step by then drawing a half-circle underneath this oval and add a dot to it. Once this section is drawn, you will be ready for some final elements in the next step of the guide.
Step 5 – Add the final details to your telescope drawing
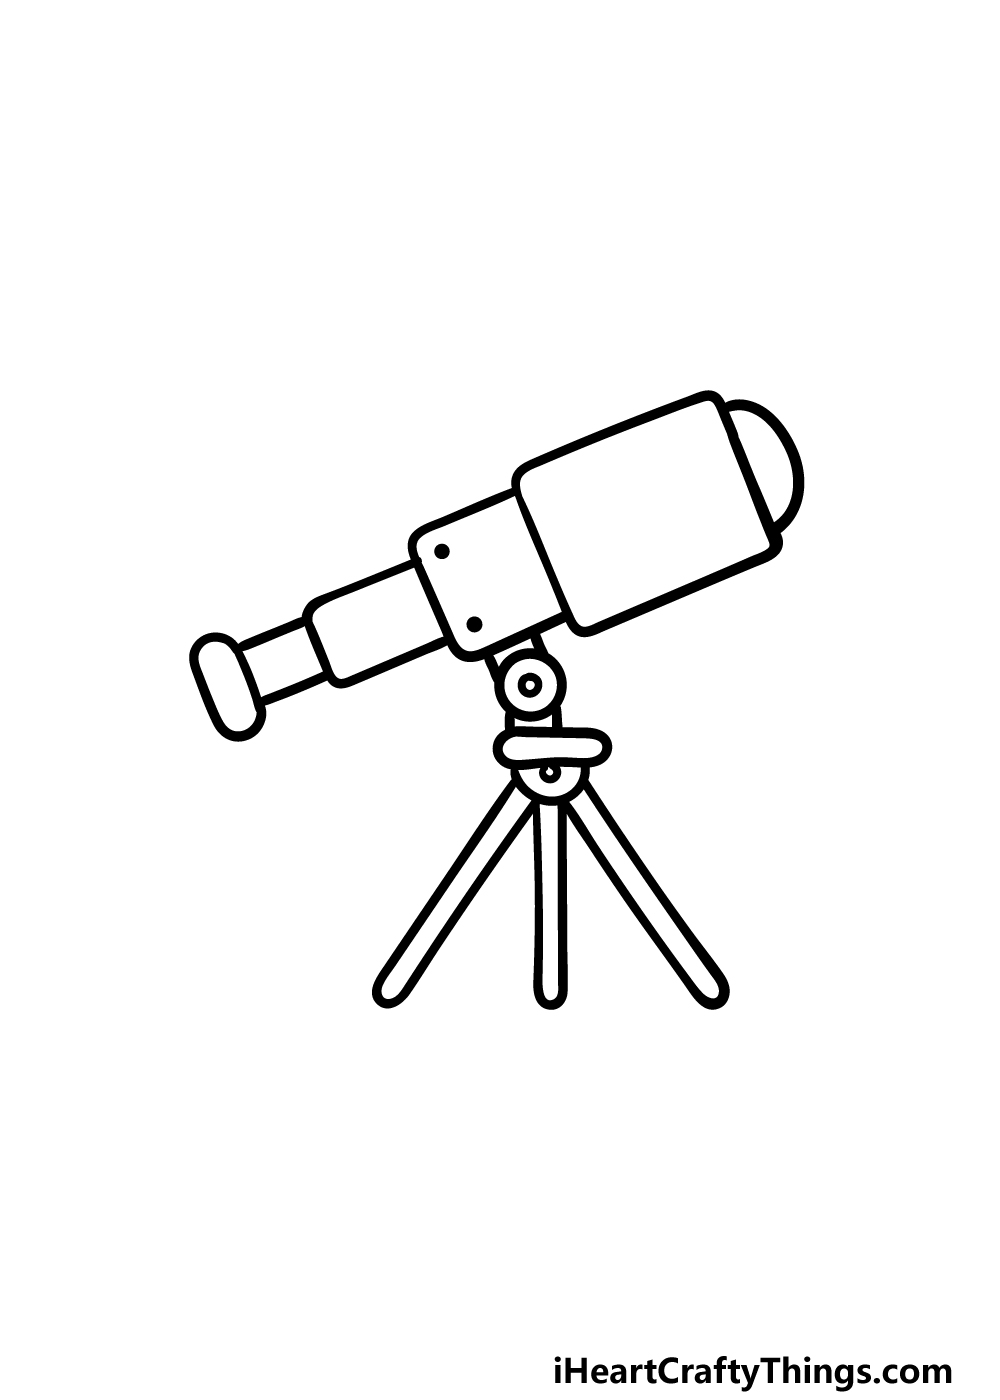
You’re almost ready for the stage of this guide on how to draw a telescope where you shall finish it off with some color.
First, we have a few final elements to add before we move on to that. The main aspect to add in this step will be the legs of the mount that the telescope is standing on.
To draw these legs, simply add three long, thin shapes coming off the bottom of the mount. Be sure to make their ends rounded, as shown in the reference image.
That’s all there is to it, and with that you have finished off this image! Before you move on, you could also add some details and ideas of your own.
Perhaps you could draw a background to show off what you would be observing with this telescope. What kind of setting can you think of for this image?
Step 6 – Finish off your telescope drawing with color

For the final step of your telescope drawing, you can finish it off with some color! In our reference image, we showed you just a few of the colors you could use for it.
We kept the colors cold for the most part, as we used light greys and blues for the various parts of the telescope.
For a bit of variety, we added some red and yellow to the top of the mount. These are the colors that we chose for it, but you should feel free to use any colors of your own that you would like for it!
You can also experiment with the art tools and mediums that you use, so have fun getting creative as you finish it off!
4 More Ways To Make Your Telescope Drawing Unique
Take a look at these awesome ideas for your telescope sketch!
This drawing of a telescope shows a simple, cartoony design of this tool. Once you have the hang of this drawing, you could alter the design of the telescope a bit!
To do this, you could use a real telescope or even a picture of one to help you add some details to the image.
This would be great not only for making a more unique design but also making it a different style.
What are some changes you would make to this telescope?
A telescope is pretty useless with no one to use it! For that reason, it could be fun to add a character to your drawing. If you stuck with the style we used in this image, then they could be drawn in a cartoony style.
That being said, you could use any drawing style you like! It would also be fun to base the character on yourself or someone you know. Who would you use for this picture?
A telescope is used to look at things in the sky. That’s why we think that adding a sky above would really finish off this telescope drawing!
To do this, an easy way would be to use a paintbrush to make the background entirely black. Then, you could add small dots of yellow for stars or even use glitter.
The moon or shooting stars would be other great details that you could add! What else could be in the night sky?
Once you have taken care of the sky, you could then add some details to the background around this telescope. This would be something you could do even if you added a character.
They could be using this telescope from a bedroom window or they could be using it in a yard. These are just a few examples of background settings you could add underneath the sky.
Can you think of some locations where you would like to use a telescope such as this?
Your Telescope Drawing is Complete!
That will finish off this guide on how to draw a telescope! We hope that you enjoyed recreating the joy of discovery that telescopes provide us in drawing form as you completed this picture.
As long as you go through all of the steps we laid out and try your best, you will finish this drawing challenge with no difficulty!
Then, be sure to also add any extra details, background details or any other ideas you may have for the image.
You can then find many more awesome drawing guides to enjoy on our website! We have more on the way soon, so keep checking in for those.
We would love to see your finished telescope drawing, so please be sure to also share your artwork on our Facebook and Pinterest pages for us to see!