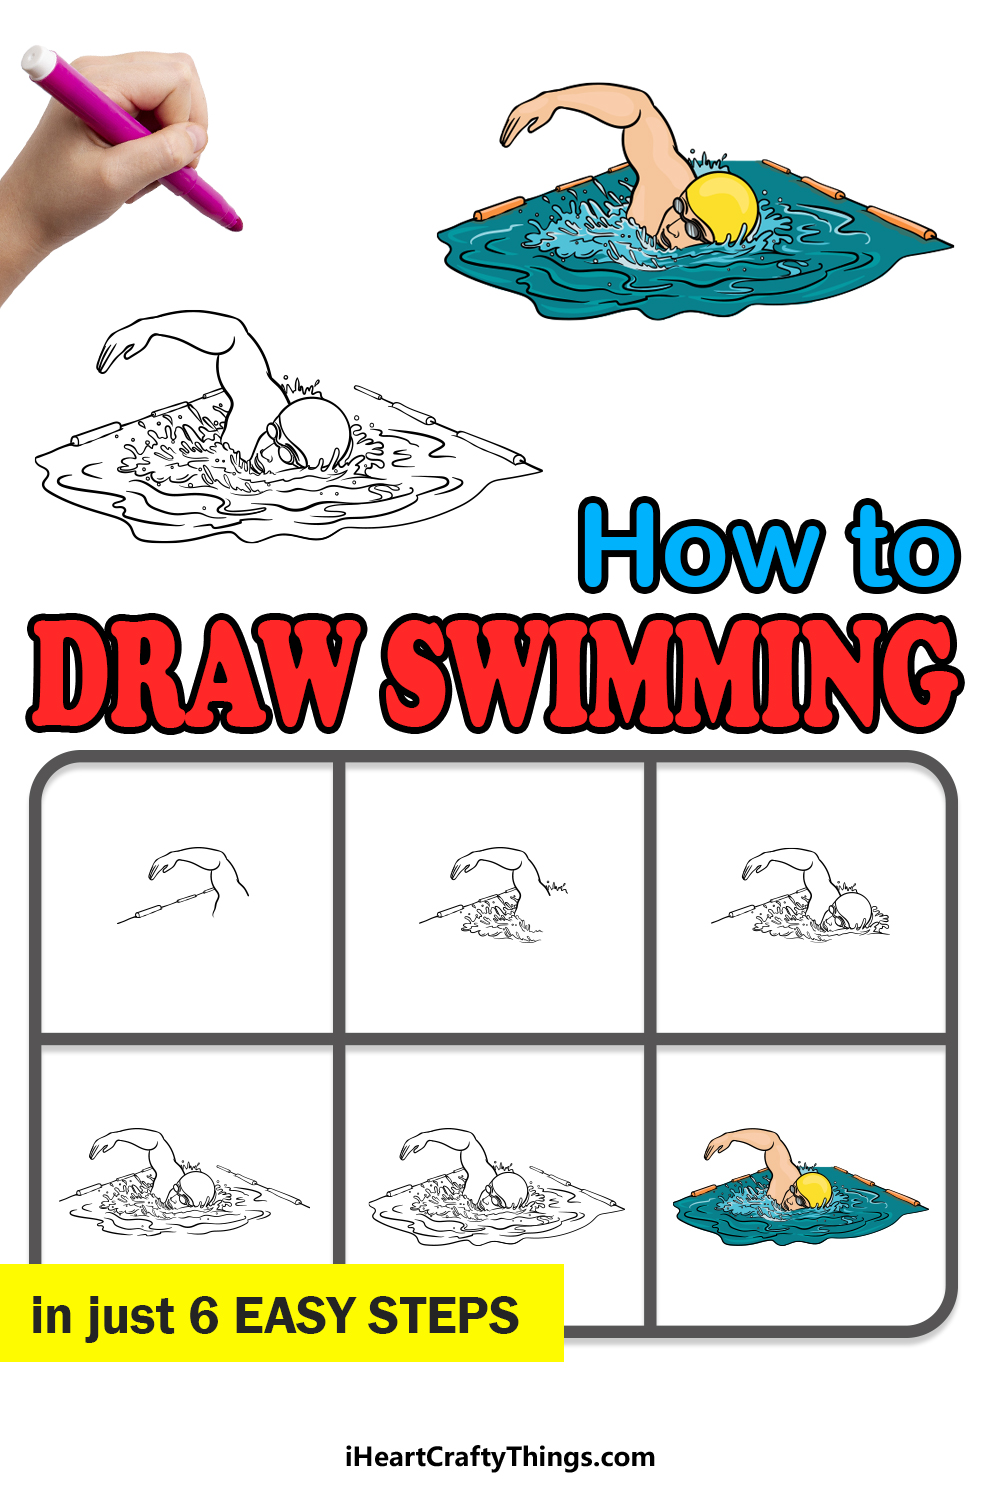
When hot Summer days start rolling in, there are few activities better suited to cooling you down than having a nice swim in a pool, ocean, lake or any other body of water.
While swimming is a fun activity to cool you down, there are also people who take it very seriously and have huge sporting careers with competitive swimming.
If you can’t go swimming for any reason, then learning how to draw swimming can be the next best thing!
This is the tutorial to be on if you want to recreate the fun of swimming from the comfort of your own home.
Prepare to dive into this step-by-step guide on how to draw swimming in just 6 easy steps!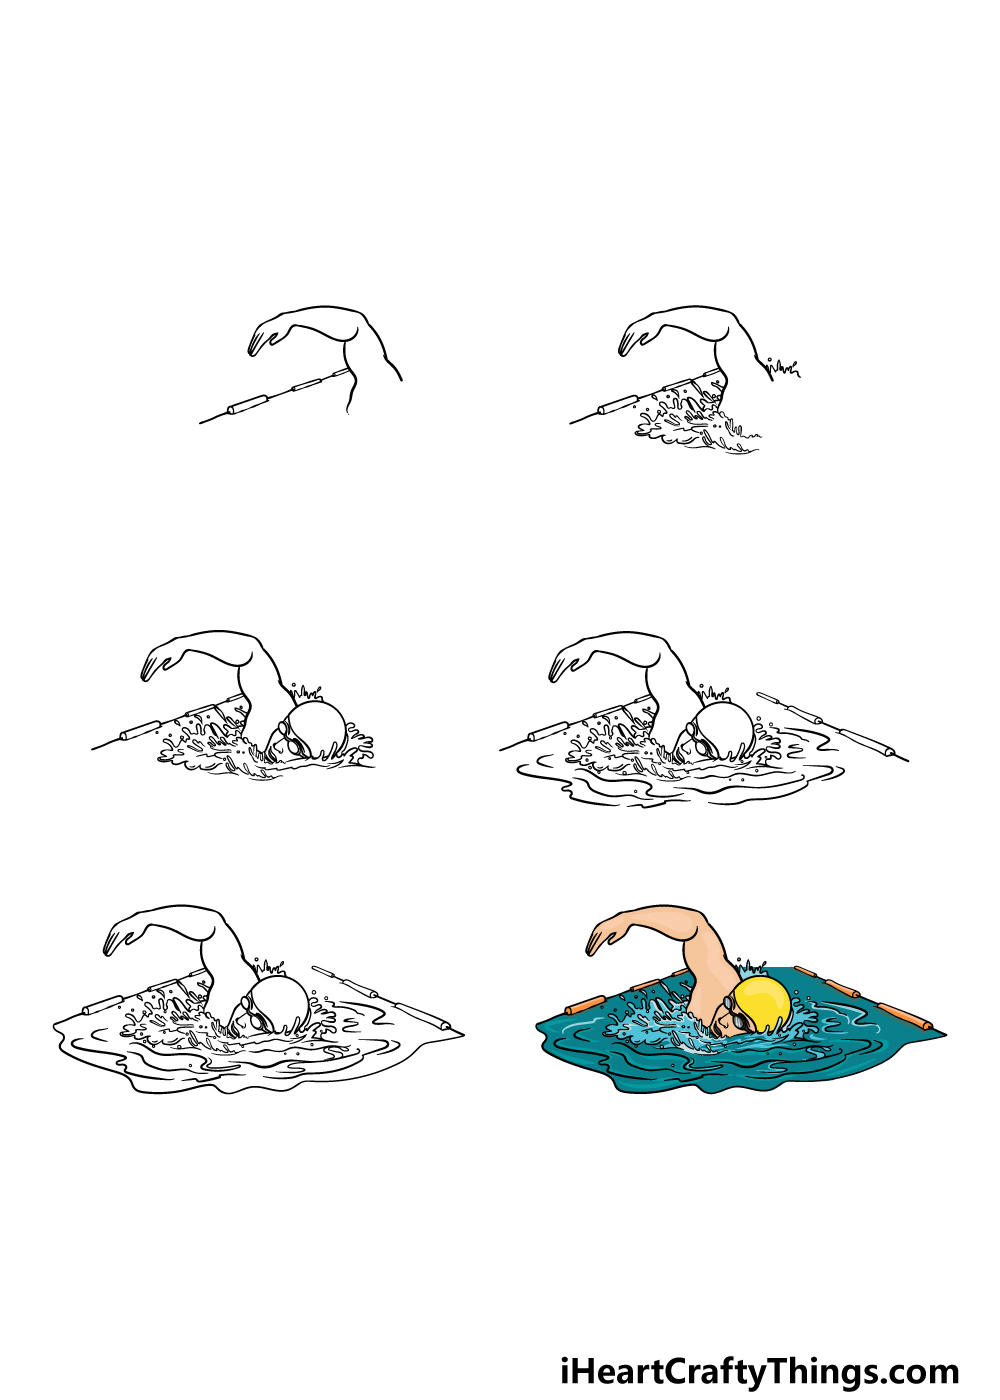
How to Draw Swimming – Let’s Get Started!
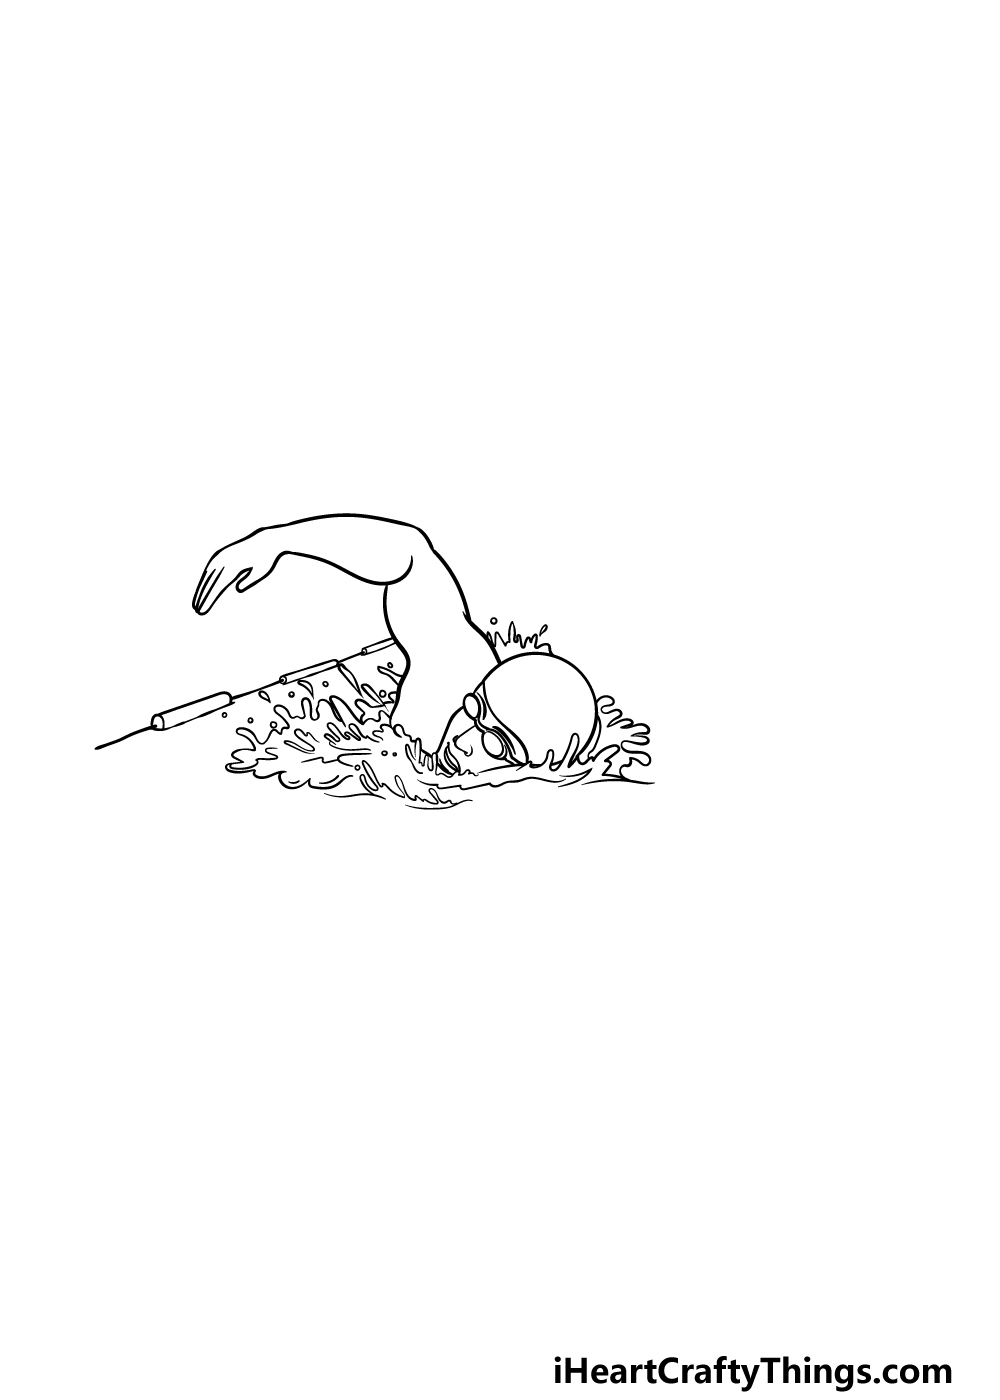
Step 1
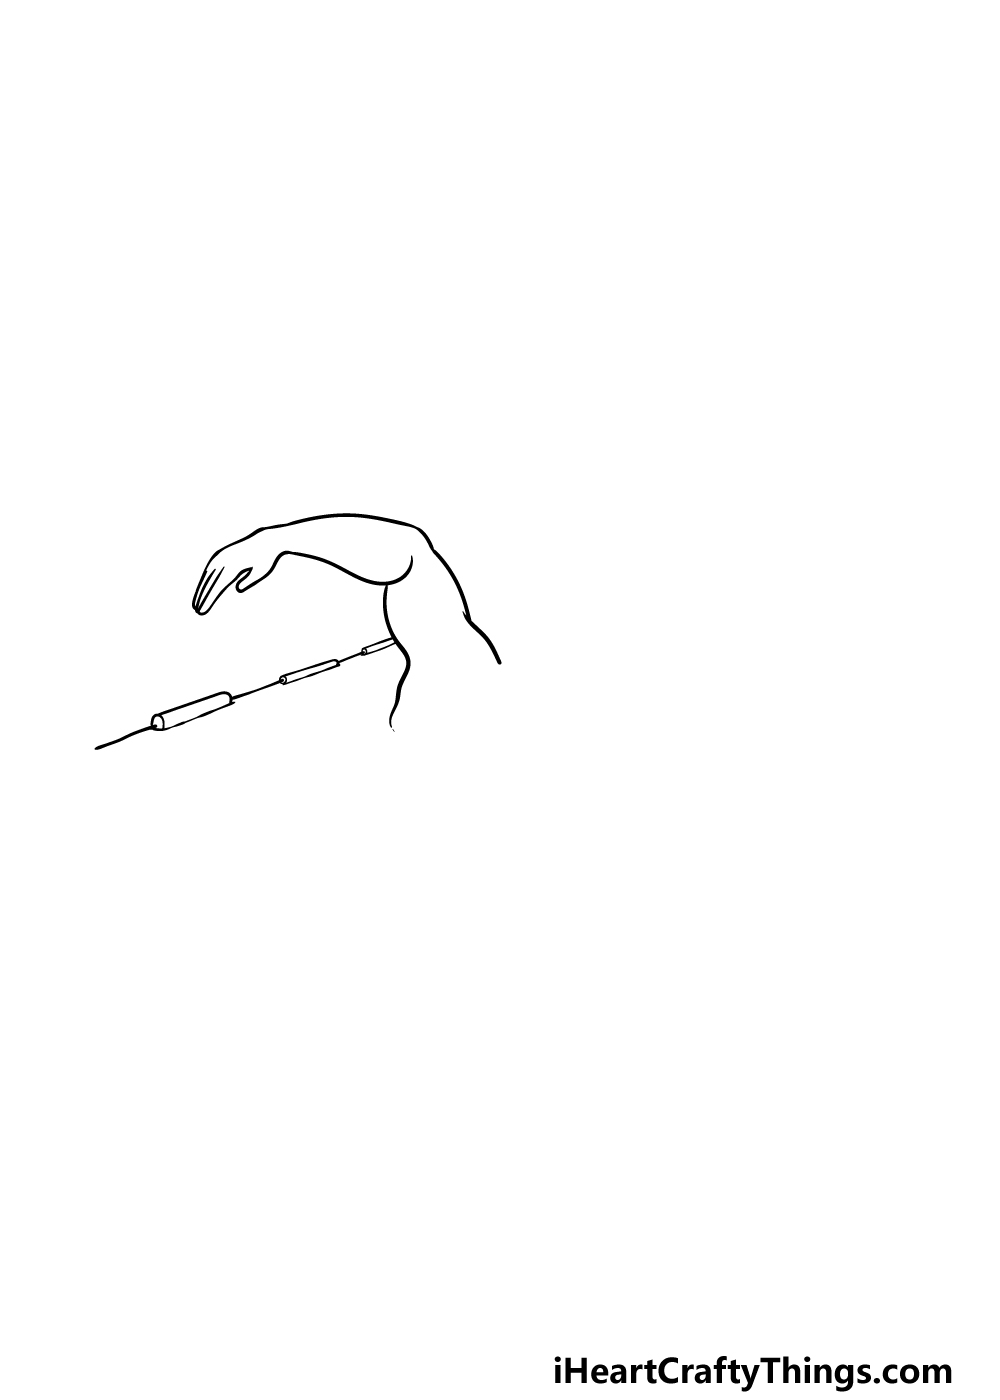
The scene that we will be drawing in this guide on how to draw swimming will be depicting someone who falls more on the side of taking swimming very seriously!
They are swimming in a lane, and that will usually mean that this person is either competing or training to do so.
To begin this depiction, we will be starting by drawing the person’s arm as well as the start of one side of the lane that he is swimming in. use some curved lines to draw this muscular arm as it plunges out of the water during the middle of a stroke.
For the lane, we will be drawing some long, rounded shapes connected to one another by some straight lines.
Once these have all been drawn, we will be ready for step 2.
Step 2 – Now, add some splash details
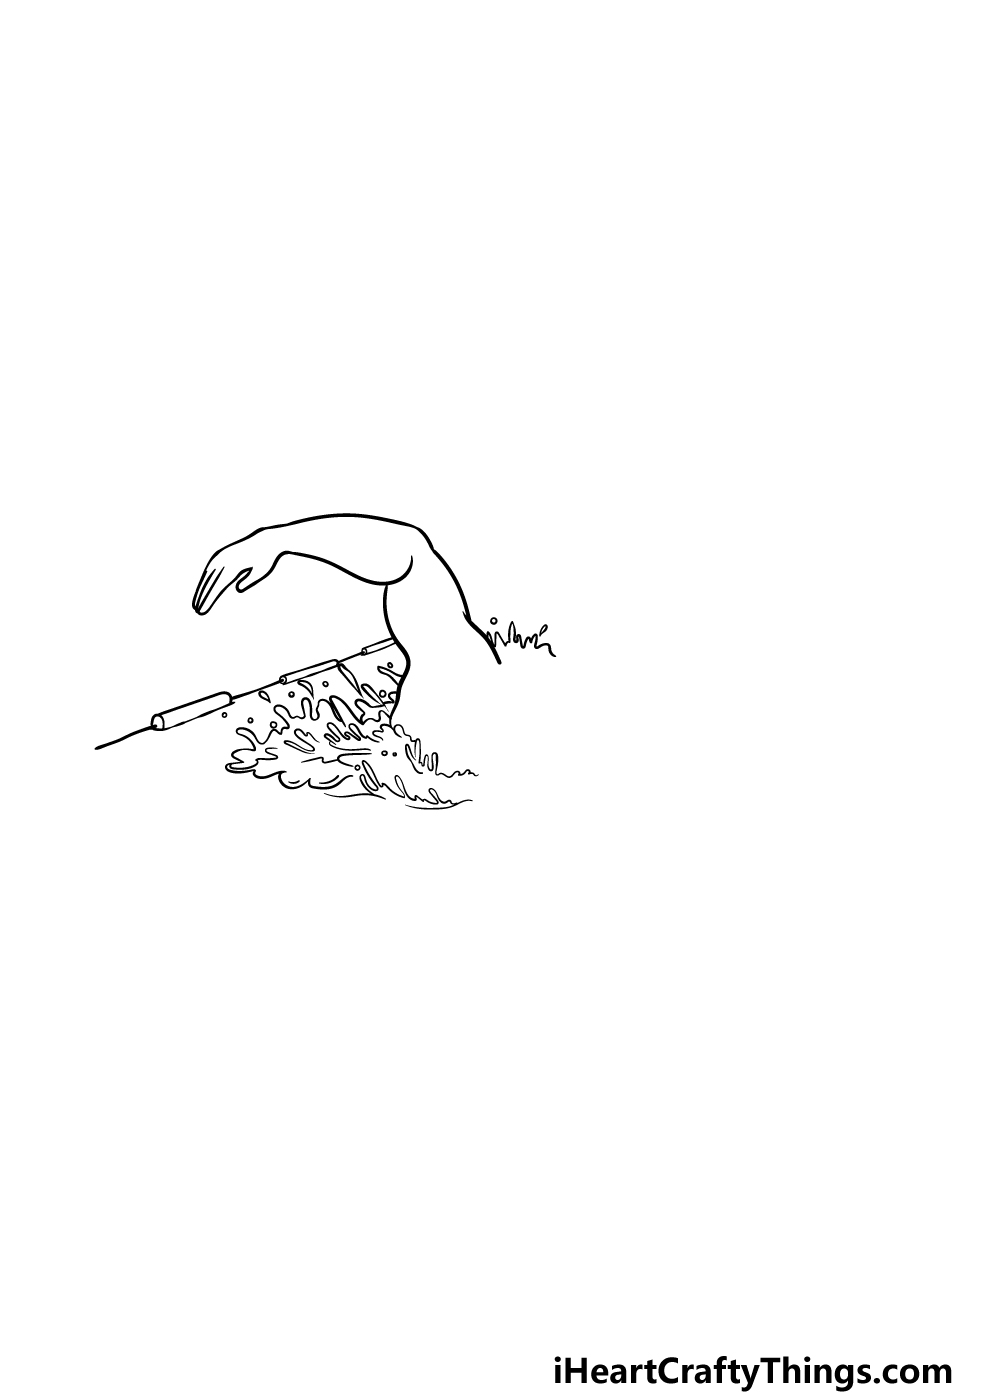
We will be making a real splash in this second step of our swimming drawing! This will be quite literal, as we will be focusing on drawing some splash details around this swimmer.
To do this, we will be using lots of small, thin and curved shapes around the swimmer to show the splashing water as he plummets through the water.
Be sure to leave an empty space on the right-hand side, as his head will be going into that spot later on.
That’s all there is to it for this step, so when you’re ready then we can proceed to the third step of the guide.
Step 3 – Next, draw the head and face of the swimmer
There are more signs that we are depicting a serious swimmer in this guide on how to draw swimming!
The signs in this step are that they are wearing both goggles and a swimming cap, and these both contribute to more efficient swimming.
To draw the top of the head that is covered by the swimming cap, we will be using a smooth, rounded line to create the shape.
Then, use some small oval shapes connected by some thin straps for the goggles sitting over his eyes. Next, we will be drawing his nose and slightly open mouth along with the outline for his face.
Finish off by drawing some more splash details around his head, and then you’ll be finished with step 3!
Step 4 – Now, draw more water details and the other side of the lane
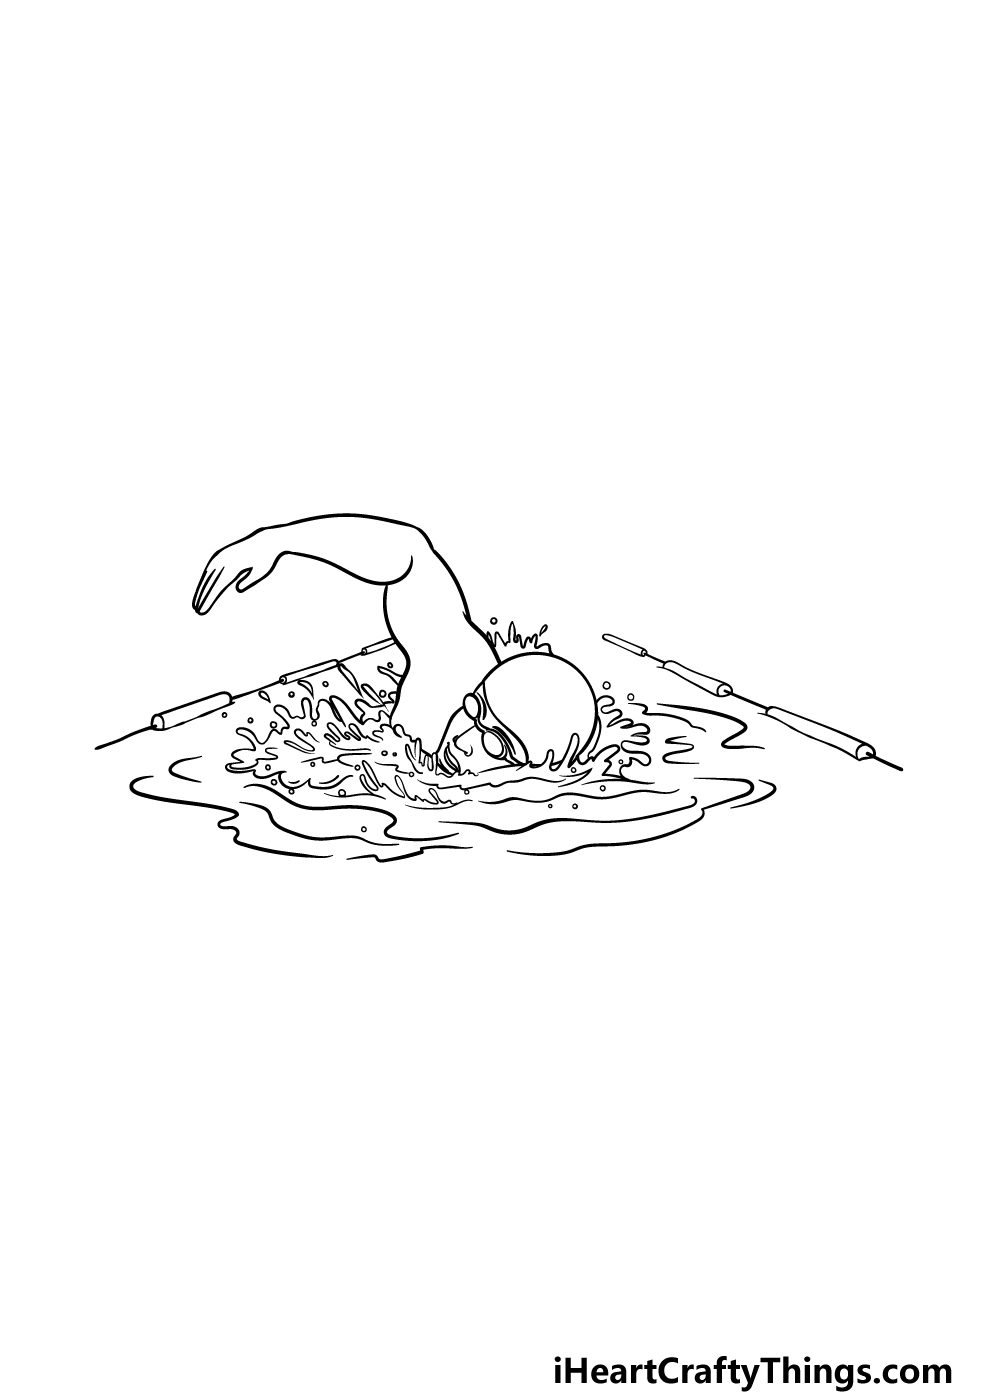
For this fourth step of your swimming drawing, we will be drawing some more details for the water surrounding the swimmer along with the barrier for the other side of the lane he is swimming in.
First, we will be using lots more curved and rounded lines around the head and arms of the swimmer in the water to show the ripples of the water caused by his swimming.
Then, draw the other side of the lane by adding more of those thin shapes connected by straight lines.
Be sure to try and recreate the angle that we show in the reference image, as this will help to create some perspective. Then you will be ready for some final details in the next step!
Step 5 – Add the final details to your swimming drawing
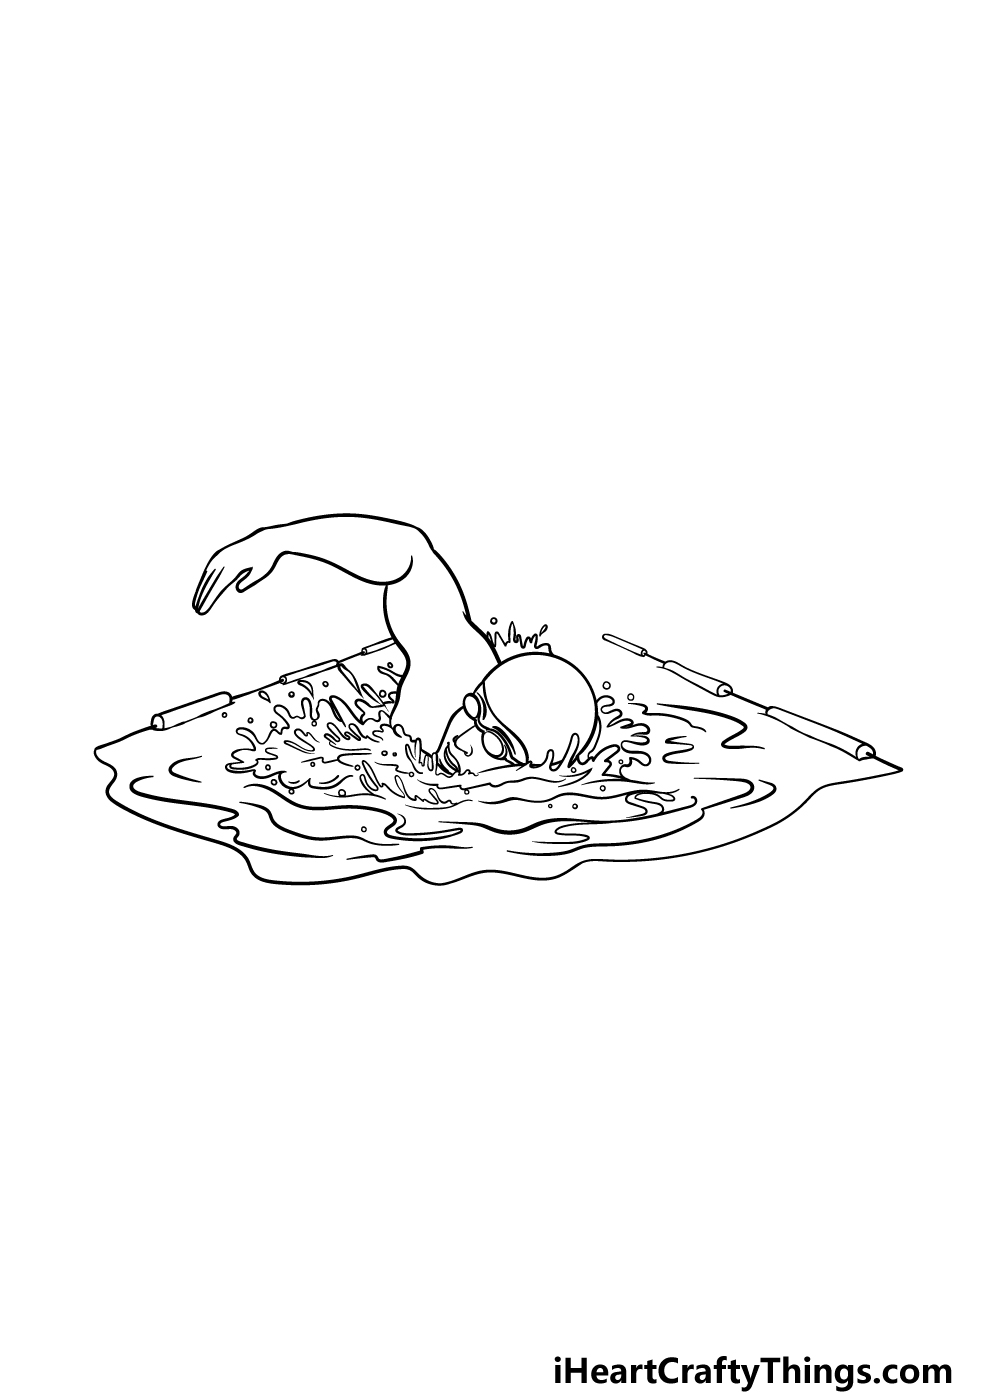
You’re almost ready to start coloring your picture, but we have some minor details to add first in this step of our guide on how to draw swimming.
To finish off this drawing, add some more rounded lines in the water in front of this swimmer to make more ripples and to add some more dimension to the image.
Before you move on, be sure to also add any additional details you may want! Perhaps you could draw a background showing the swimmers that he is competing against for one idea.
Step 6 – Finish off your swimming drawing with color

Now you can finish off this swimming drawing by adding some color to your picture.
We used a lot of blue for the water surrounding him, and then we added some contrast by using some bright yellow for his swimming cap and some orange for the lane dividers.
You could use these same colors for your own drawing if you like the look of them, but you should also feel free to use any additional colors you may prefer!
Which awesome art mediums, tools and techniques will you use to finish off your incredible drawing?
We will be very interested to see how you finish it off, so be sure to have fun getting creative with it!
Here’s how you can make your swimming drawing even better…
Dive into these suggestions for making your swimming sketch even better!
In this drawing of swimming, we see a closed in view of the lane that this swimmer is using. You could increase the scope of the drawing by drawing some more of the swimming pool they are in.
This could be more of the water and lanes, but you could also show some of the background outside of the pool itself. How much more of the pool setting would you like to depict in this image?
Another way to make this drawing even more exciting would be to add some additional swimmers. This would be perfect especially if you added some additional background details.
To make these additional swimmers, you could follow through the steps of the guide and merely change a few details.
Be sure to make these additional swimmers a bit smaller in order to show perspective.
You could look up images of real swimming races to help you with these details and perspective.
This swimming drawing shows a random character, but you could make it more personalized by making this swimmer look more like a real person.
Who you based this character on would depend on you, but you have many different options! It could be based on a real life famous swimmer you admire.
Or, you may want to base it on a person you know, perhaps even yourself! If you were to make this character look like a real person, who would you use as a model?
Athletes such as swimmers get to where they are through many hours of practice and determination. For that reason, this swimming sketch could be turned into an inspirational poster.
If you were to do this, then you would want to start by drawing it on a large piece of paper or cardboard.
Then, once you have added all of your own details and touches, you could then add some inspirational text.
This could be a quote you know, or you could look some up online to use.
Your Swimming Drawing is Complete!
We hope that you enjoyed this deep dive of a tutorial as you worked with us on our step-by-step guide on how to draw swimming!
In this guide, we aimed to capture the fun and excitement of competitive swimming in a way that would be fun and easy for you to learn. Hopefully we succeeded in this regard for you.
Now that you have completed this drawing, there is still a lot that you could do to put your own spin on it!
We mentioned a few ideas for your own details and additions that you could go for, but this is your chance to really show off your creativity!
We have many more drawing guides like this one for you to enjoy on our website! Be sure to visit us there frequently, as we upload new guides frequently.
Once your swimming drawing is complete, please share it on our Facebook and Pinterest pages for us to admire! We can’t wait to see how it turned out.