A sweater can serve a few different purposes. On the most basic level, it is a garment that can help to protect against cold weather.
It can also be a stylish fashion item though, and there are many different kinds of sweaters that come in many styles and variations.
For this reason, it can be just as fun to learn how to draw a sweater and design your own as it is to find the perfect sweater in real life!
With this guide you’re about to do, you will be able to do just that.
We can’t wait to work on this step-by-step guide on how to draw a sweater alongside you!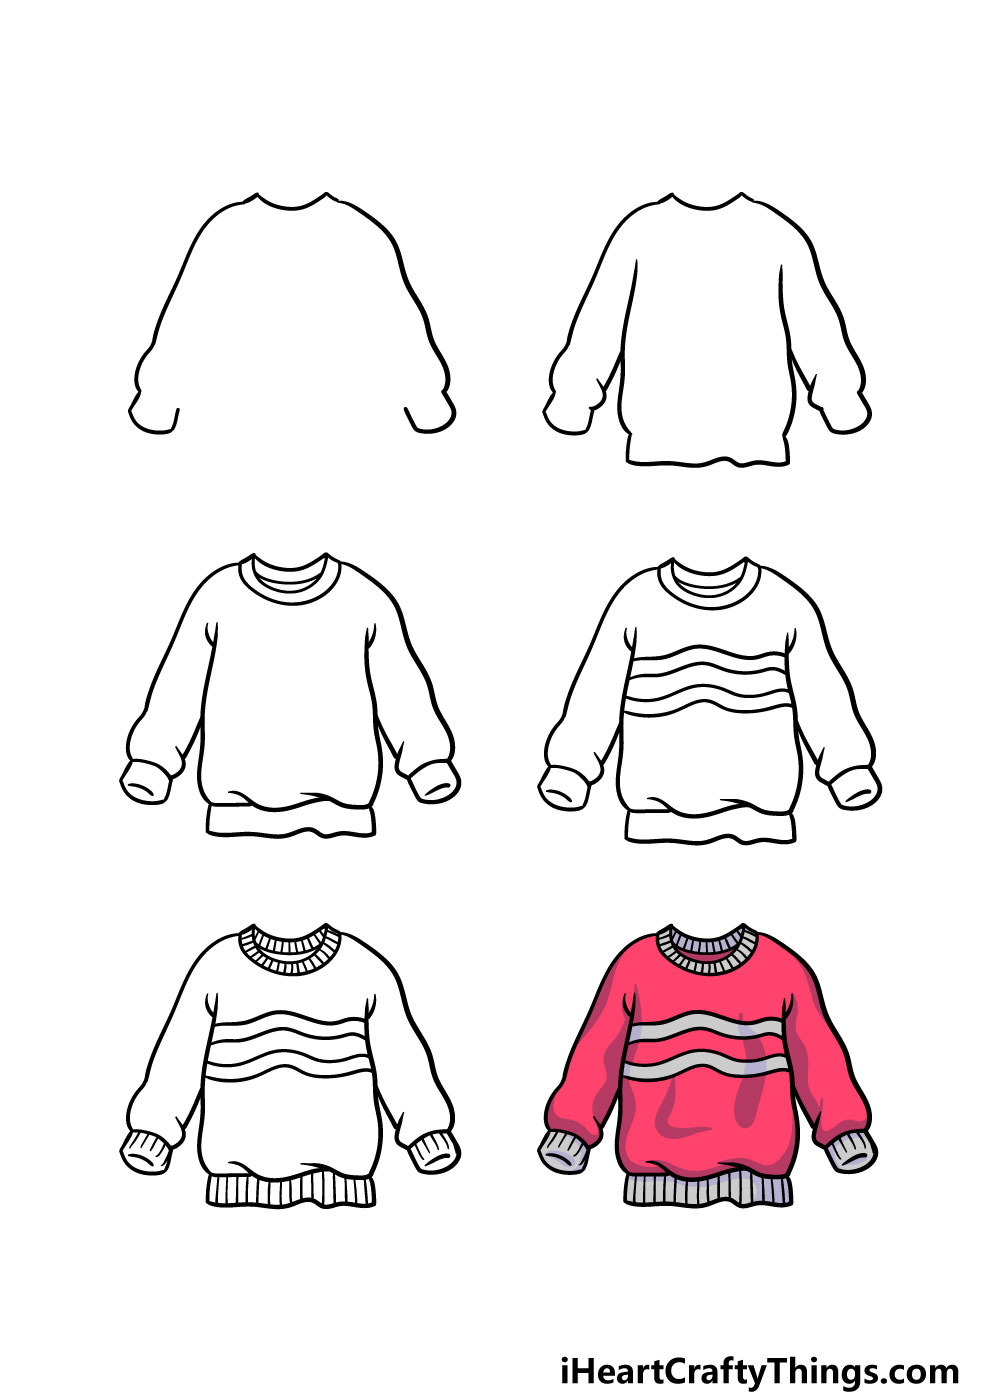
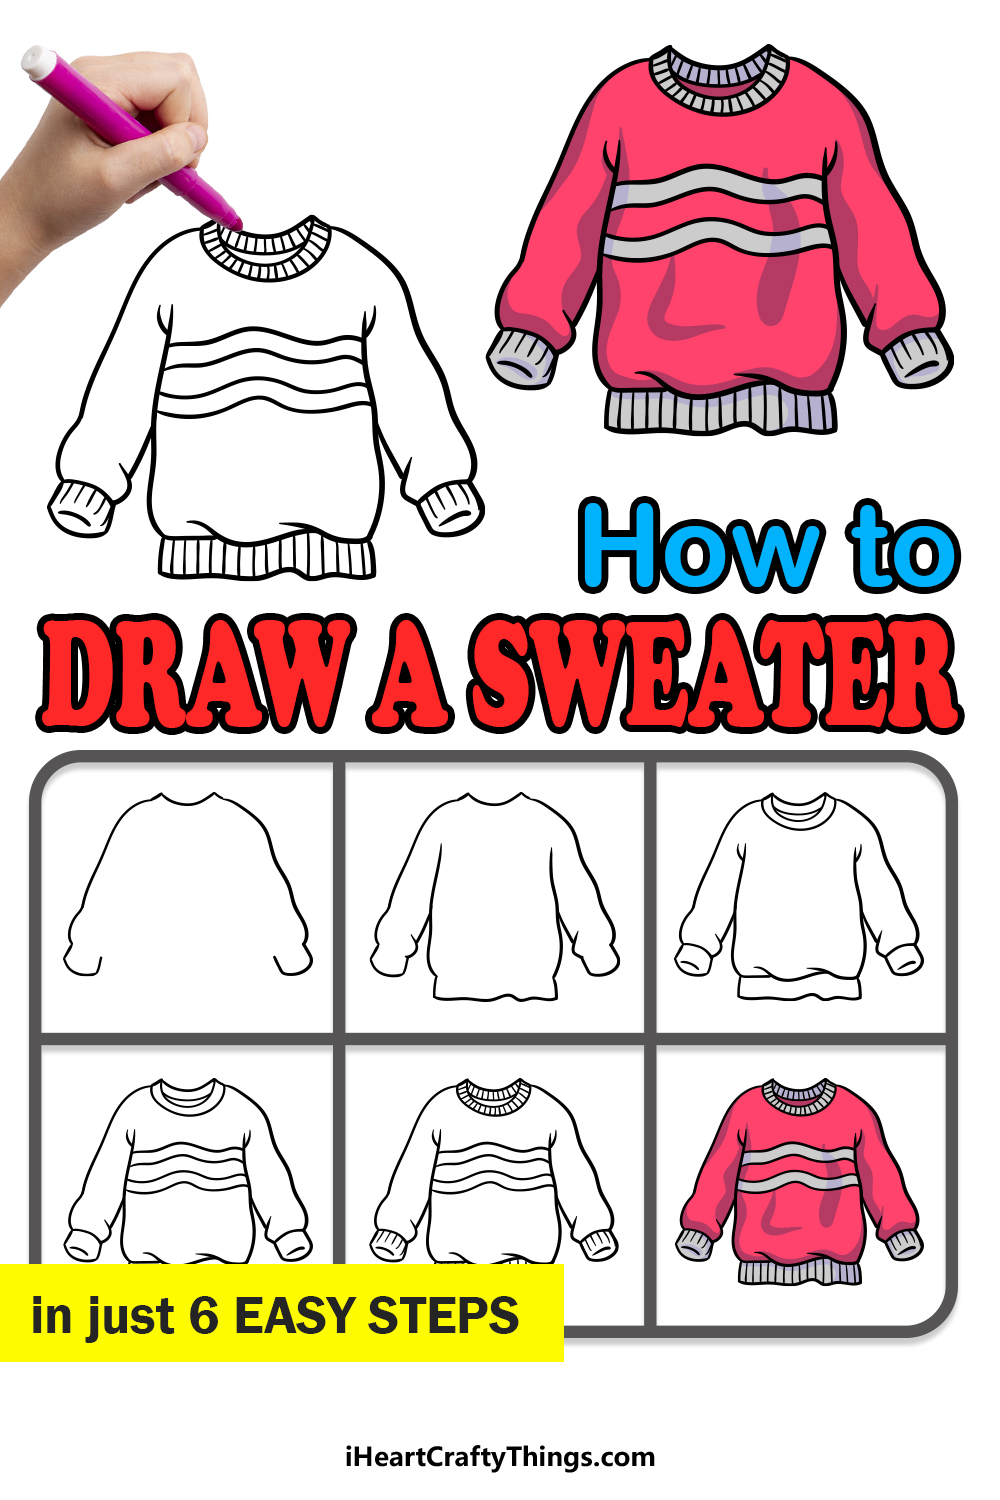
How to Draw A Sweater – Let’s Get Started!
Step 1
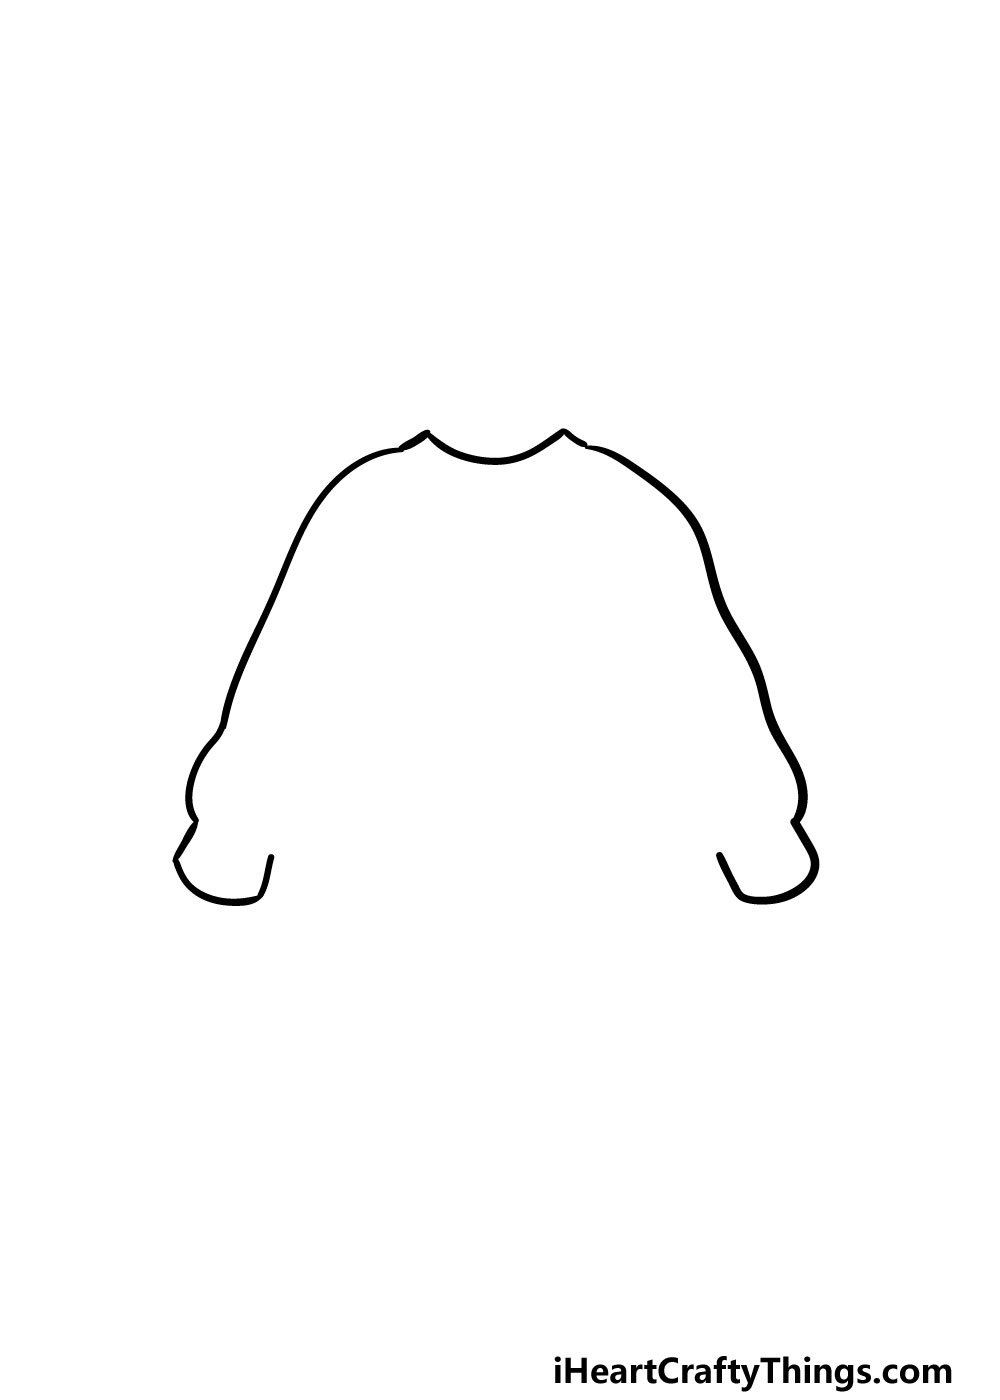
In this first step of our guide on how to draw a sweater, we shall start with the outline of the garment. For now, we will be focusing on the outline of the neck-hole and the arms of the sweater.
Simply use some smooth lines with bumps in them to draw these outlines as shown in the reference image.
Step 2 – Draw the chest outline in this step
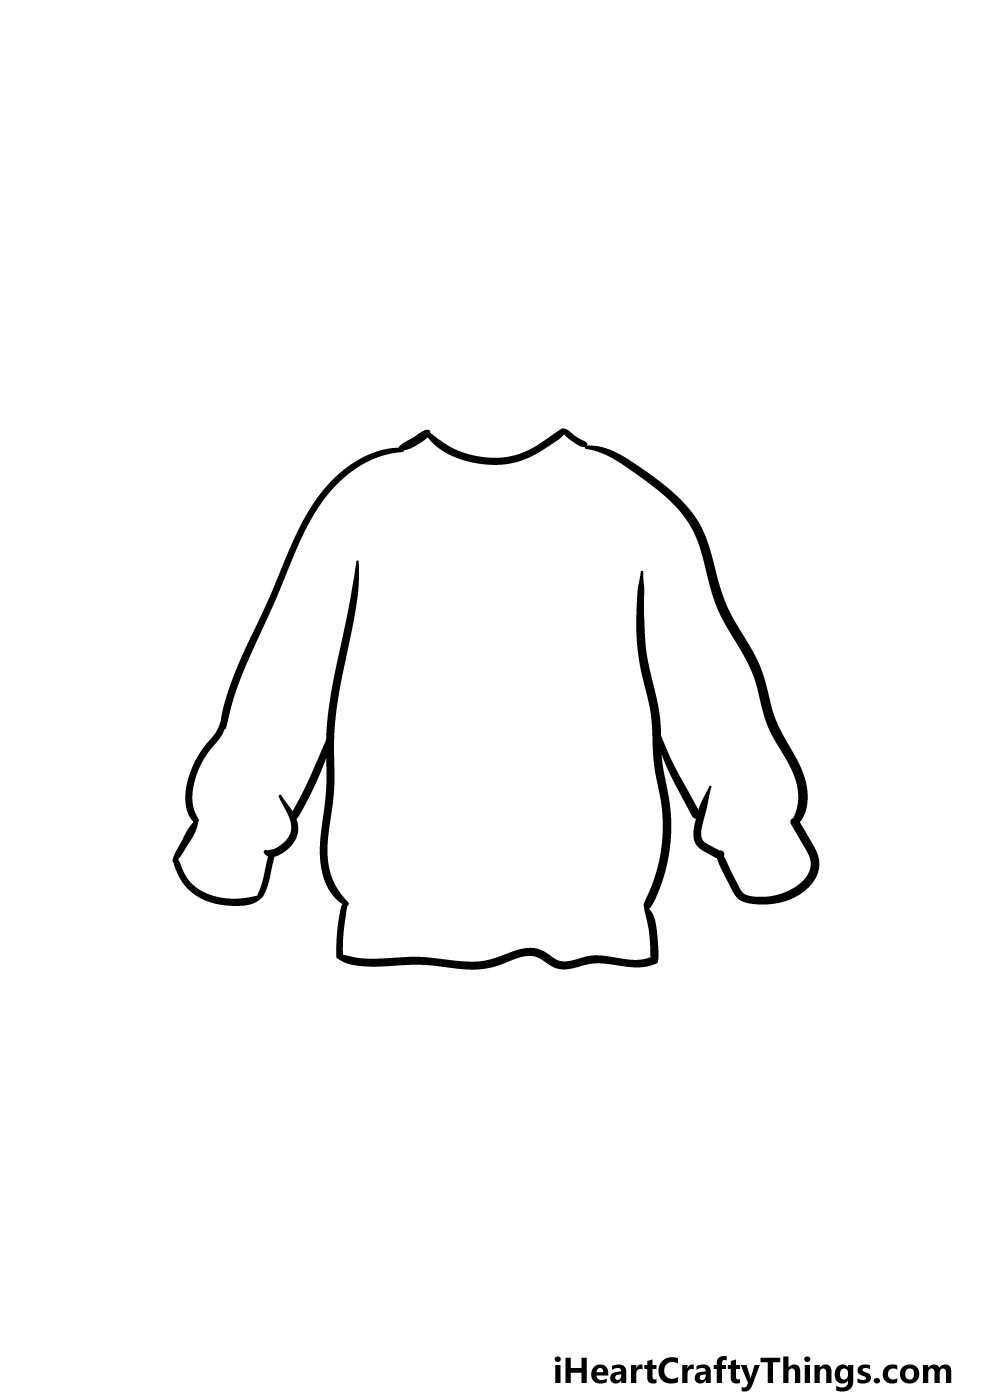
We will be continuing on with the outline for your sweater drawing in this step. For this part, we will be focusing on the chest of the sweater.
Once you have added this line and have it looking like our example, you will have the general outline of the sweater done. Now we can start adding some inner details in the next few steps.
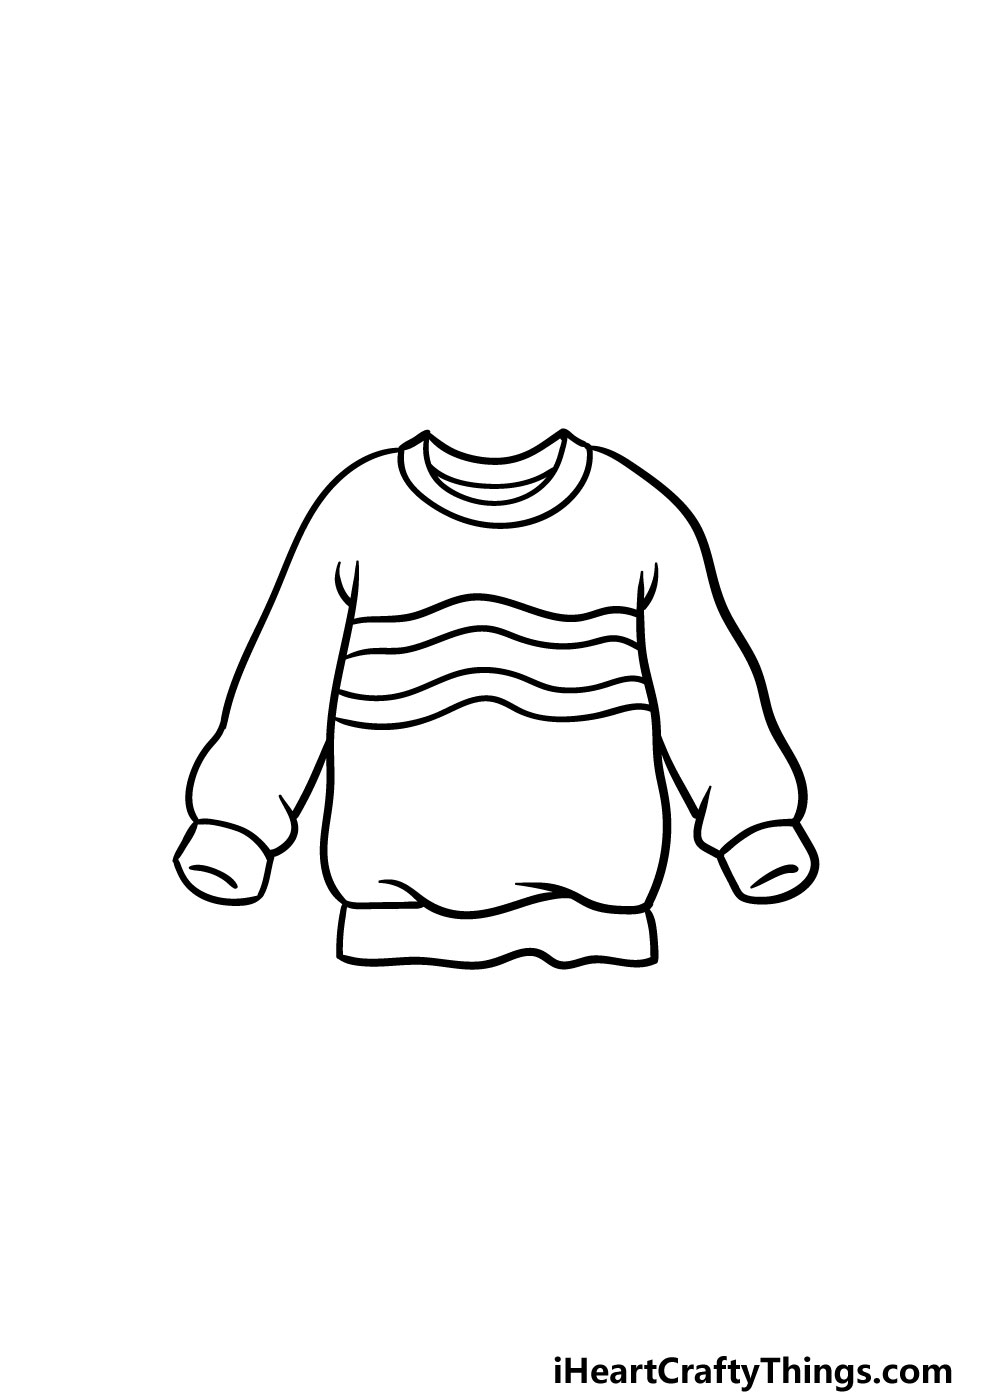
Step 3 – Start adding some detail in this step

With the outline done, we can start to add some detail in this part of our guide on how to draw a sweater. For this step, we will be focusing mainly on the neck and edges of the arms and waist.
You can use some curved lines at the neck-hole of the sweater to create the band at the opening there.
You can use some similar lines to create the ends of the arms as well, and then finish off by doing the same at the base of the sweater. That’s all there is to it for this step and you’re ready to move on to step 4!
Step 4 – Start decorating your sweater drawing
In this part of your sweater drawing, we shall start to decorate it. We will be showing you one way that you could do this, but in the next few steps you could also go for your own design if you so wish!
For our design, we will have two stripes along the center of the sweater. Each stripe will be created using two wavy lines each.
As we mentioned, you could also change up the design a bit, and could make it completely different using shapes like squares or circles instead.
It’s up to you, and once you’re happy with it we can move on to some final details in the next part.
Step 5 – Now, you can add some final details for your sweater drawing
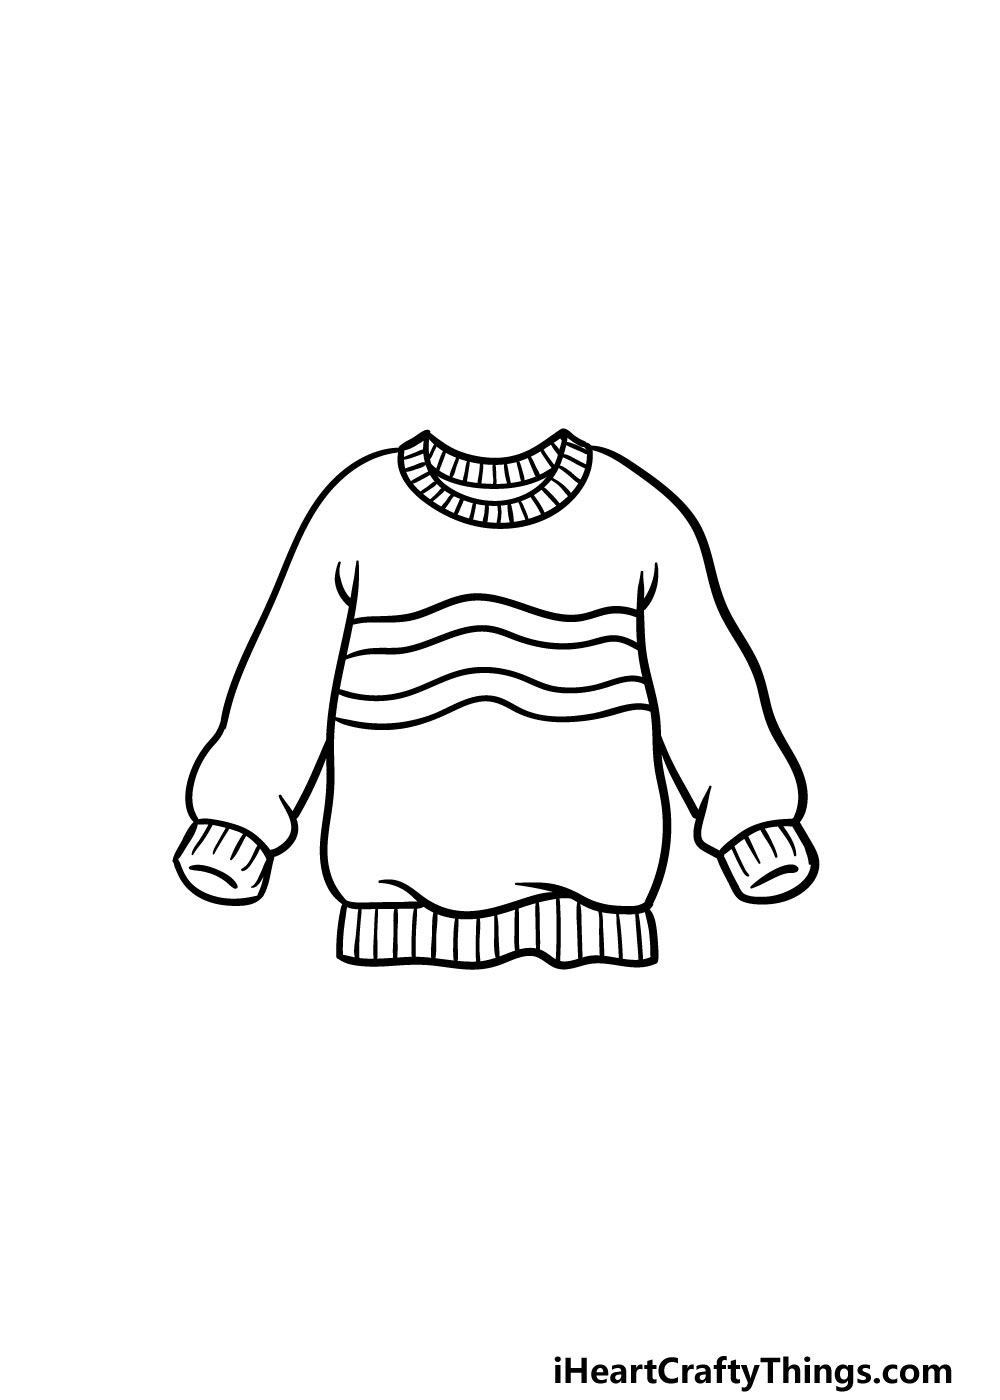
In this fifth step of our guide on how to draw a sweater, we will be adding some final details to have you ready for the final step.
For these details, simply add some short lines to the bands at the neck, hands and base of the sweater.
That will do it for the final details, but you don’t have to stop there! Before moving on, you could also add some details of your own if you want to.
We mentioned that you could change up the pattern decoration of the sweater, but there is even more that you could do.
One fun idea would be to draw someone wearing the sweater. Perhaps you could use a mirror or a photo of yourself to create a self-portrait of yourself in the sweater!
Another option to put your own spin on this image would be to create a wonderful background for it. What background elements or other items of clothing can you think of to finish off this picture?
Step 6 – Finish off your sweater drawing with some color
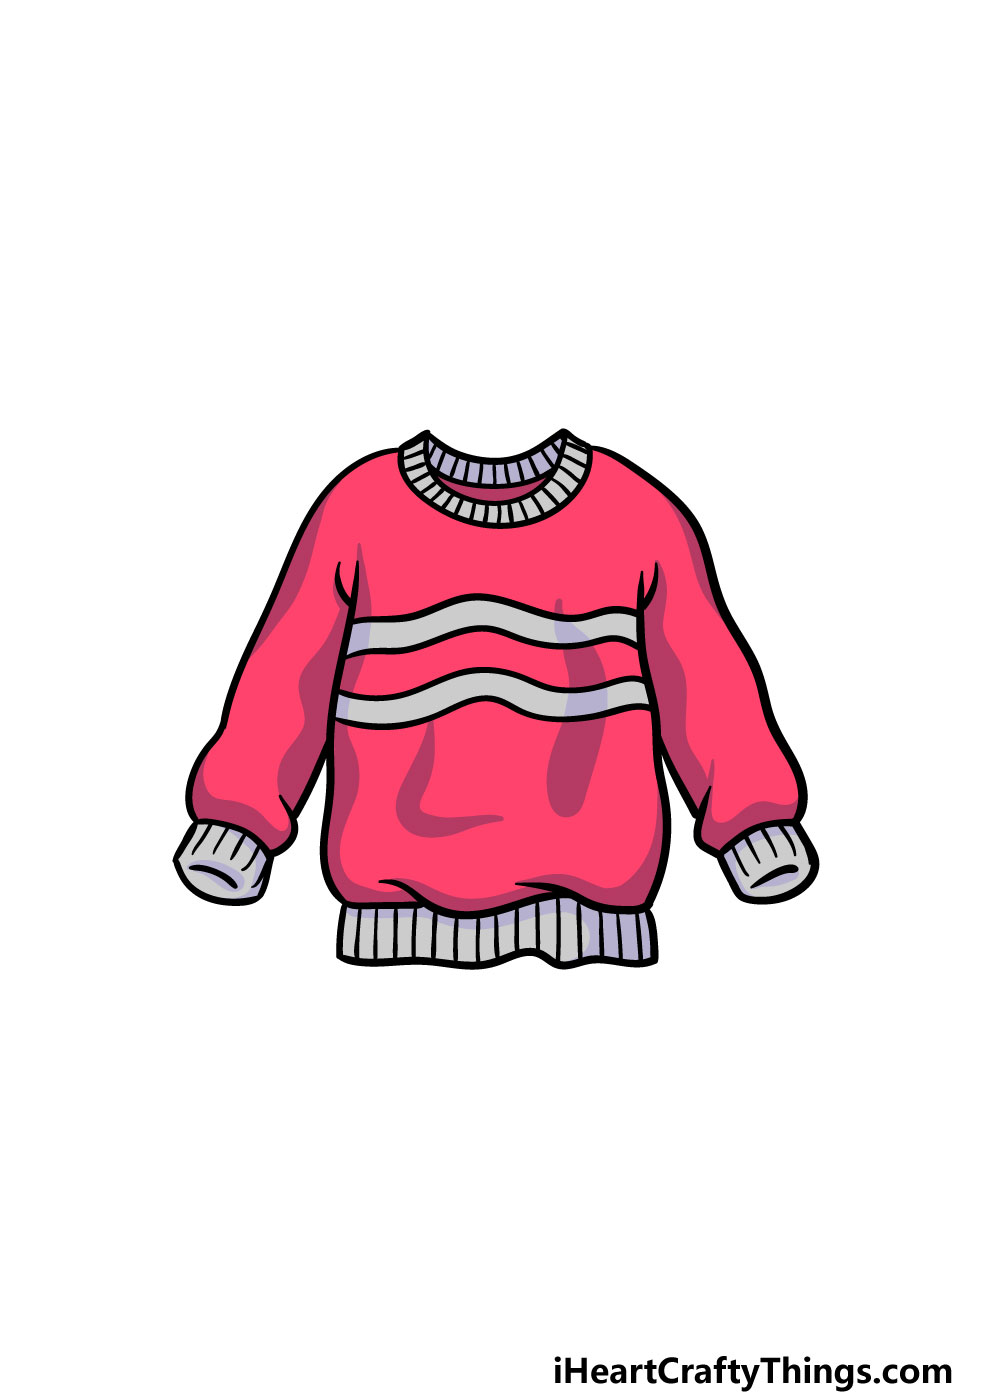
You’ve reached the final step of your sweater drawing, and this is the part where you can have some fun coloring in your amazing drawing!
Sweaters can come in any colors or patterns you can imagine, so you can really let your creativity flow for this step. In our reference image we went with a red and grey color scheme to fill it in, but this is just one of many options you could go for.
When it comes to coloring in, there are no wrong ways to go about it. Once you have chosen how you would like to color it in, then you can have some fun choosing which art mediums you will use to finish it off.
Different art mediums can have different effects, so you have many options for how you can convey the look you’re going for.
If you would like bright colors that pop, then you could use something like acrylic paints, colored pens or markers for that look.
Alternatively, watercolors or colored pencils would work great for a more muted look. These are just a few examples of what you could use, so we can’t wait to see what you pick!
Here’s how you can make your sweater drawing even better…
Stay warm as we make this cozy sweater sketch even better with some tips!
For this sweater drawing, we decorated it in a fairly simple style. It is red with some stripes on it, and it creates a classic look for this sweater!
While this design looks great, you could also change the design. This could include shapes, patterns, pictures or text.
If you have some favorite sweaters, you could use them as inspiration for this sweater design. What are some designs that you might like to use here?
A sweater is one of many warm articles of clothing you can wear on a cold day. Adding some more of this clothing to this drawing of a sweater would be a great way to add to the scene!
These could include things like beanies and warm winter gloves. This would be a great way for you to create your very own ideal winter look.
Will you match the design or maybe have each item be portrayed in its own unique style.
If you went with our last suggestion, then this next one will be a great one to pair with it. We think that this sweater sketch would look even better if you drew someone wearing it!
If you were to add a character to the artwork, you could base them on someone you know or maybe even on yourself. Then, you could outfit them with any additional winter gear you may want to add.
Who would you like to have wearing this sweater?
We spoke about changing the design of the sweater in a previous tip, but you can also do that by playing with colors. You can really take this sweater drawing to new places with the colors and mediums you use on it!
There are no colors that are off-limits to you as you get creative with it. You may also want to try and experiment with various art tools and mediums.
Mixing different ones together can also really elevate your artwork!
Your Sweater Drawing is Complete!
You should be very proud of yourself for reaching the end of this guide on how to draw a sweater!
Taking on any new drawing challenge can be quite intimidating, so we hope that by using this guide and taking it slow that you found it to be easy and fun.
Now that you have completed this guide, don’t forget that you can take it even further with your own details and elements.
We mentioned that you could change up the design, add a background or draw someone wearing it for a few ideas. We can’t wait to see what else you can think of!
We also have many other amazing drawing guides for you to enjoy on our website. When you’re ready for more, please do visit us there for more fun!
Once you have completed your sweater drawing, we would love to see it! Please remember to share it on our Facebook and Pinterest pages for us to enjoy.