It’s easy to assume that the more familiar you are with a subject the easier it would be. You might think that seeing as we each have a torso that it would be simple to draw, but the opposite is often the case!
In fact, learning how to draw a torso can be quite tricky as there are muscles and definition details that have to look very specific.
While it can be tricky, with the right guide it can be made much easier!
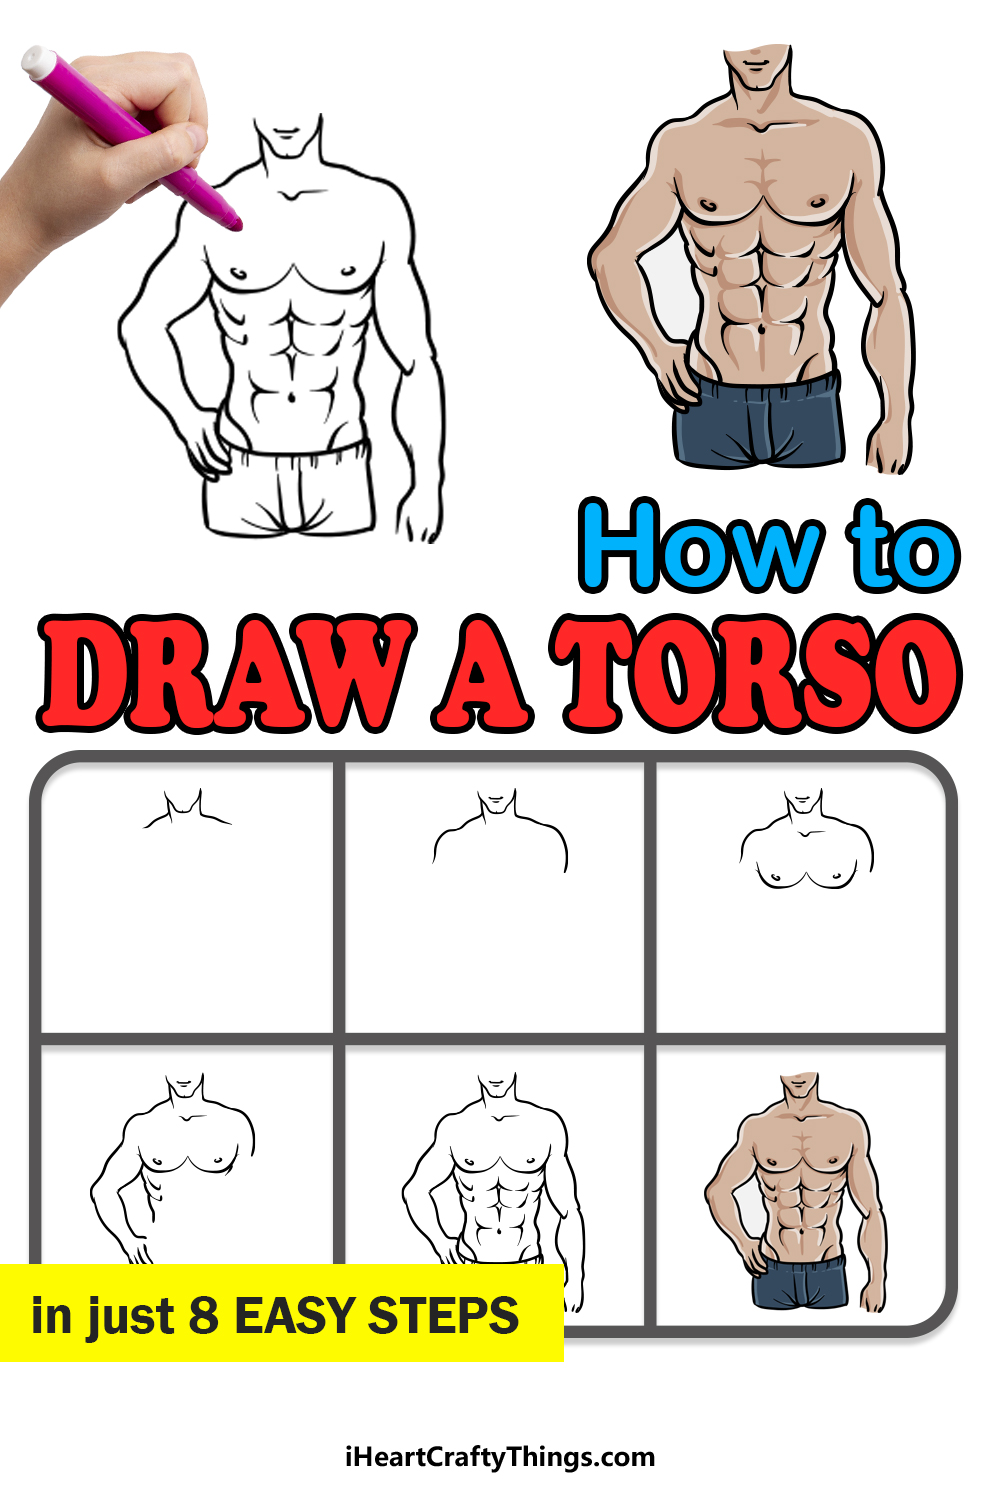
This step-by-step guide on how to draw a torso will make taking on this challenging drawing much easier and more fun!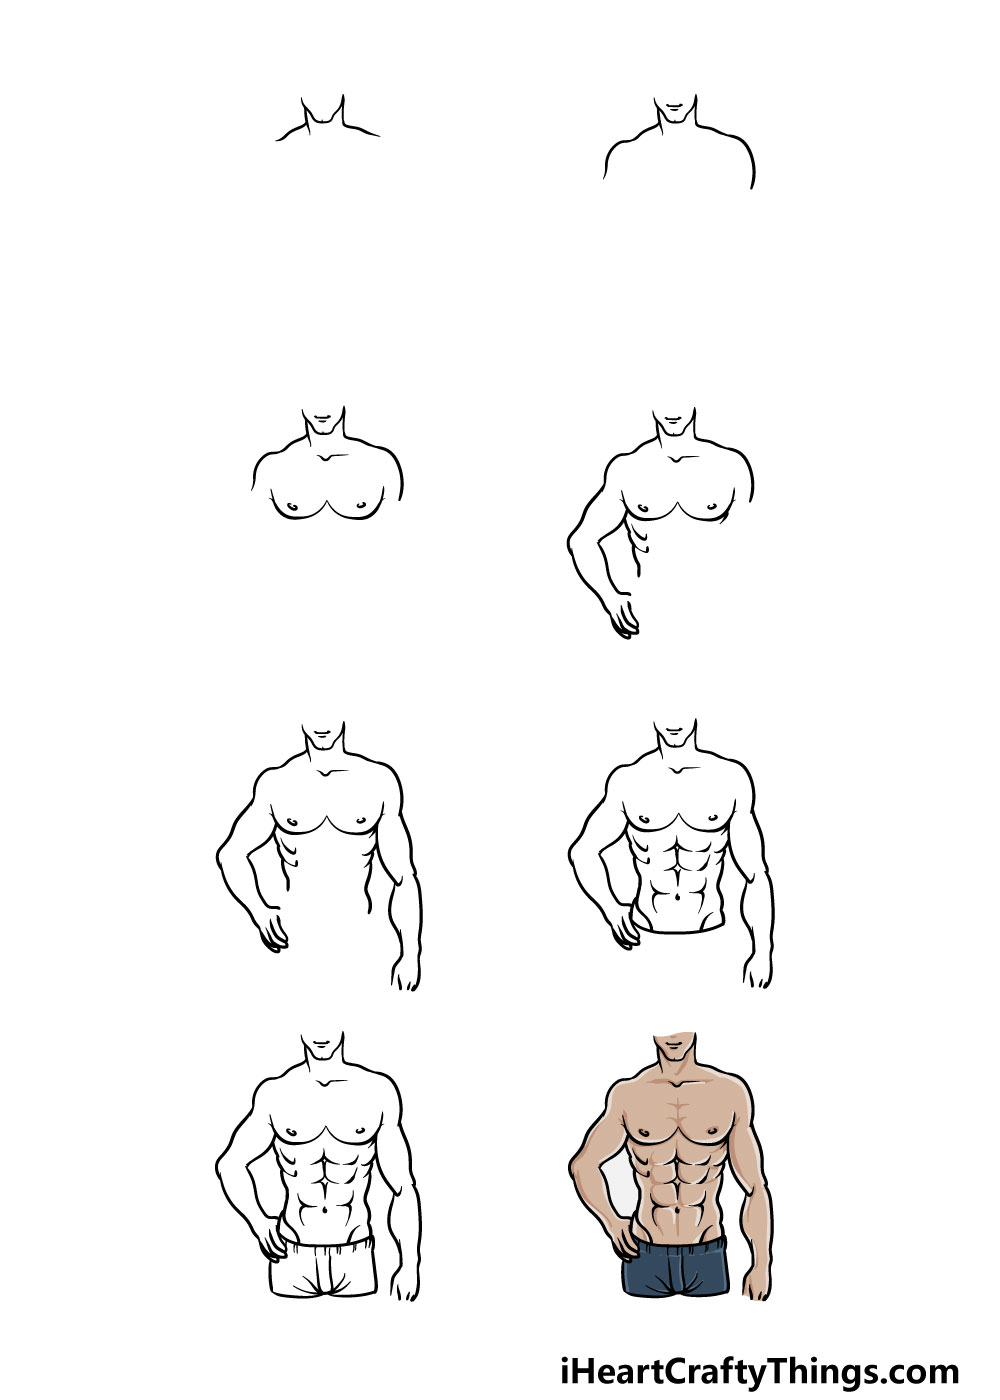
How to Draw A Torso – Let’s Get Started!
Step 1
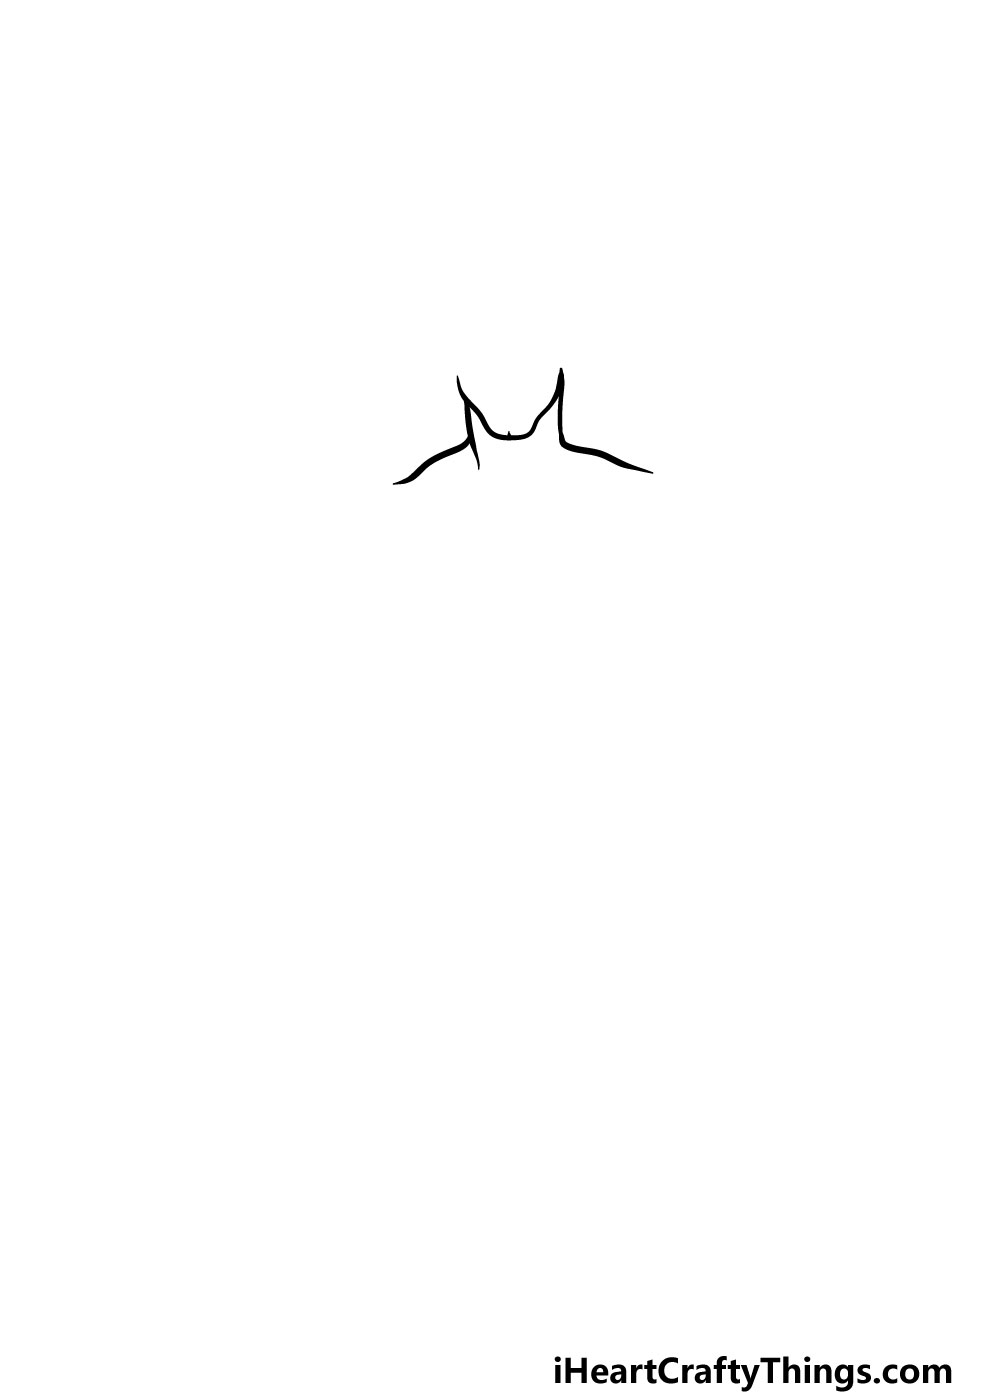
In this first step of our guide on how to draw a torso, we will start simple. For now, we will be working on the jaw, neck and shoulders of the torso.
Using some curved lines, you can start the rounded sides of the jaw, and then there will be a round chin beneath it.
Then, you can extend two short lines down for the neck, and then these will extend into the horizontal lines of the shoulders.
That will be all we are sound for this step, and now you’re ready to move on to the next step!
Step 2 – Next, draw the mouth and shoulders
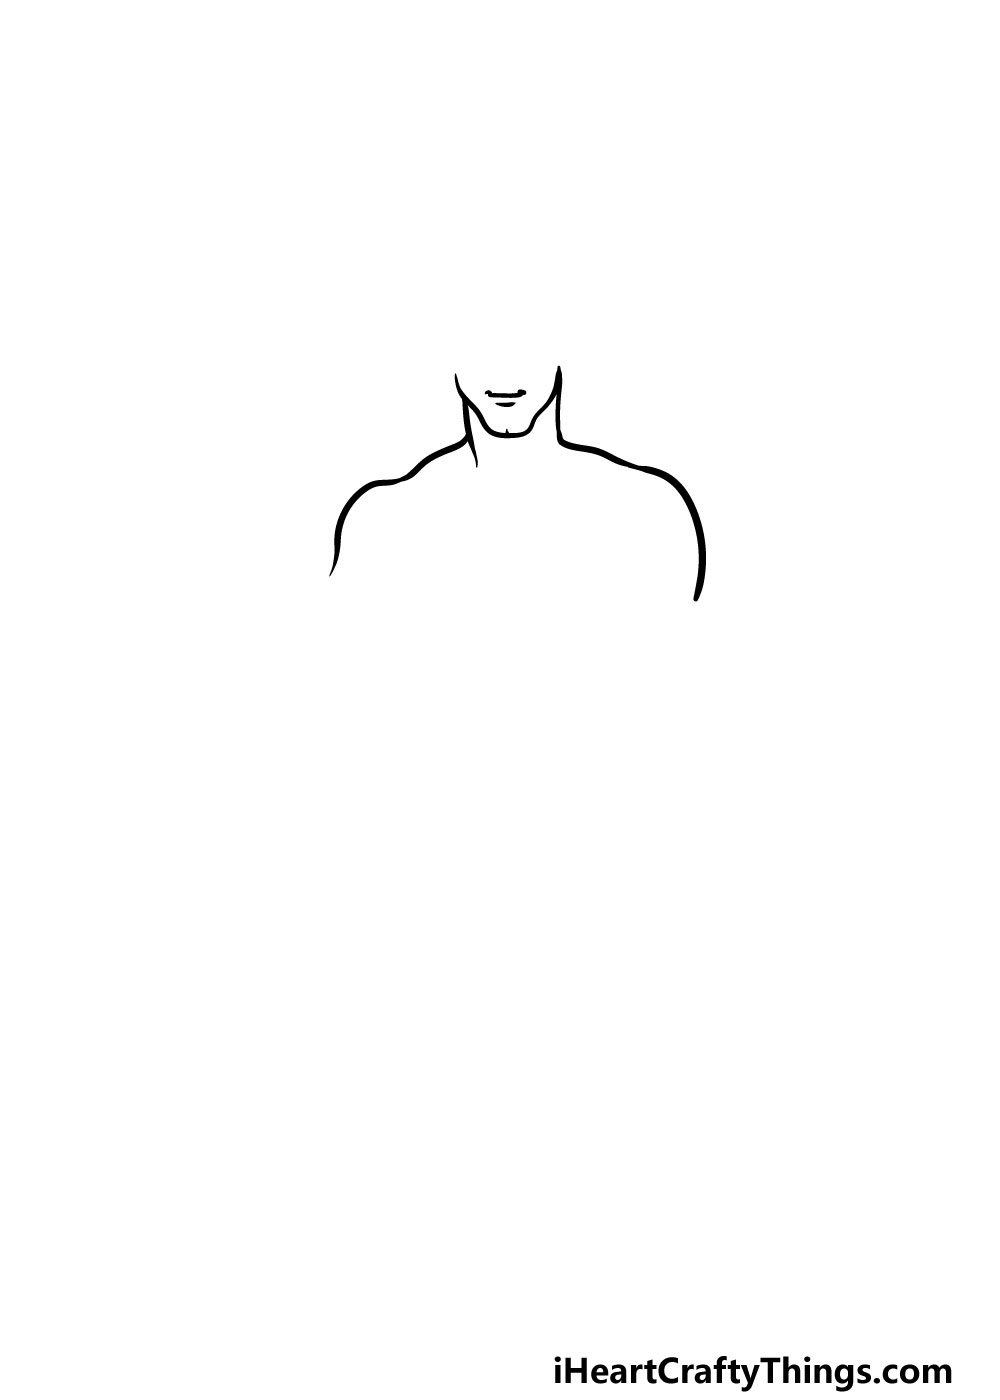
This part of your torso drawing should be a fairly simple one to do. First, use a curved line for the smiling mouth of the man.
Then, there will be another much smaller line beneath it. Then, you can finish off this step by adding two more curved vertical lines to the shoulders to finish them off.
Step 3 – Now, draw the chest of the man’s torso

Moving lower down in this guide on how to draw a torso, we will start on the chest of the man next.
To draw these, first use some curved horizontal lines that join in the center for the chest muscles.
Then you can finish off these muscles with some small, flat oval shapes near the center of the muscles.
Step 4 – Next, draw the first arm and start the ribs of the torso
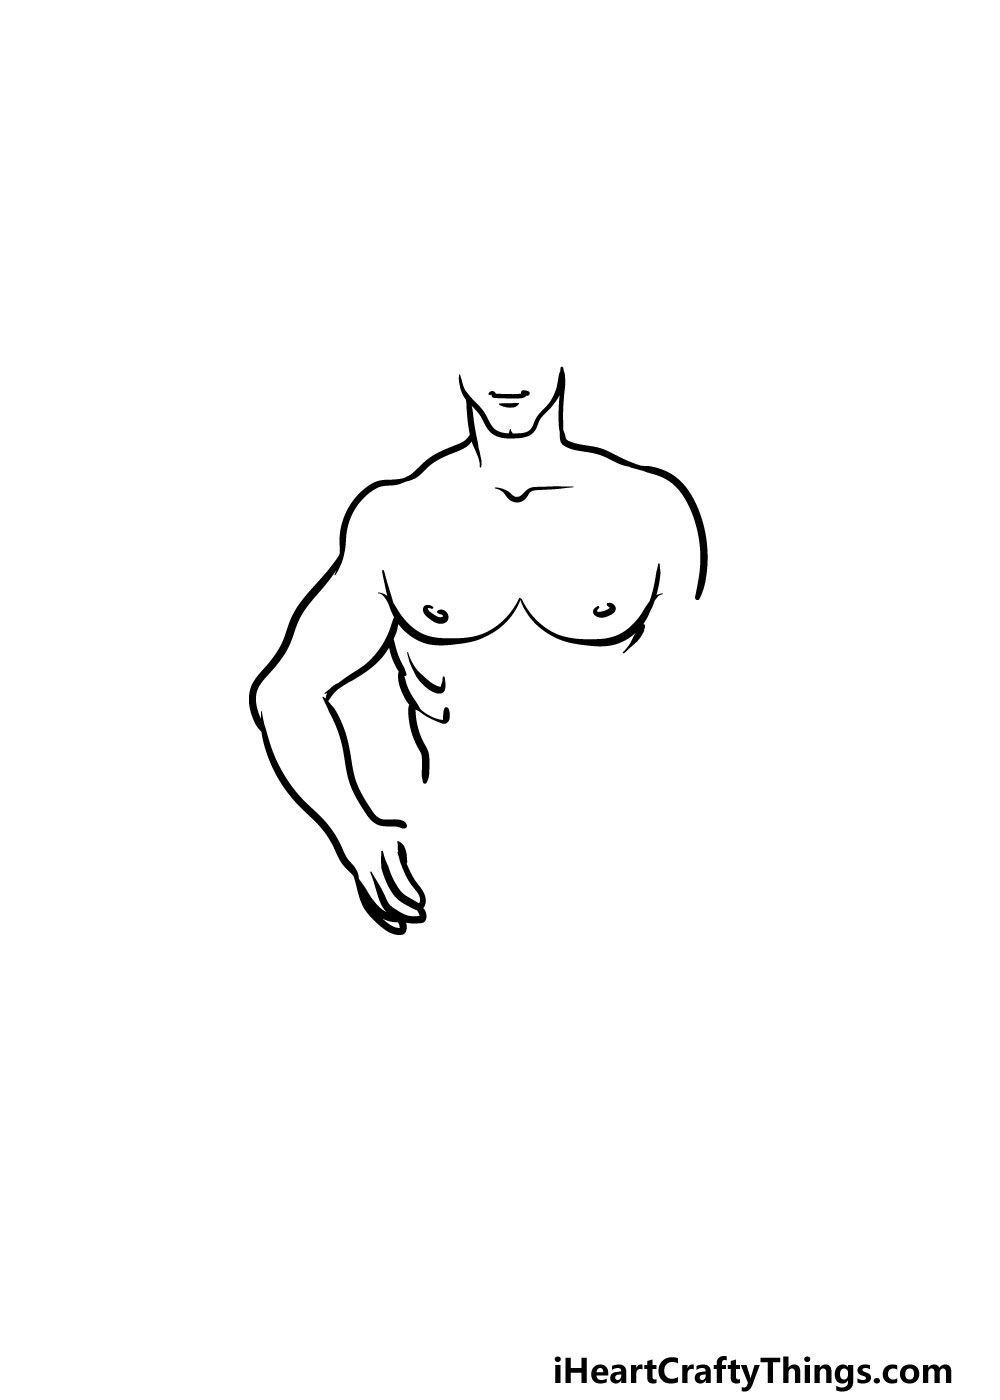
We will be adding the first arm in this step of your torso drawing. The arm can be one of the trickiest parts of the body to draw, so be sure to take it slow as you draw!
Using some curved lines, you can extend the biceps down from the shoulders. Then, there will be the bump of the elbow that will then lead into the forearm.
The wrist will be quite thin, and it will lead to the hands with some curved lines for the fingers.
Once you have drawn this arm, you can then use a bumpy line for the side of the ribs on the left. You can then finish off the ribs with some more lines inside the outline of the ribs, as shown in the reference image.
Step 5 – Now, draw the next arm
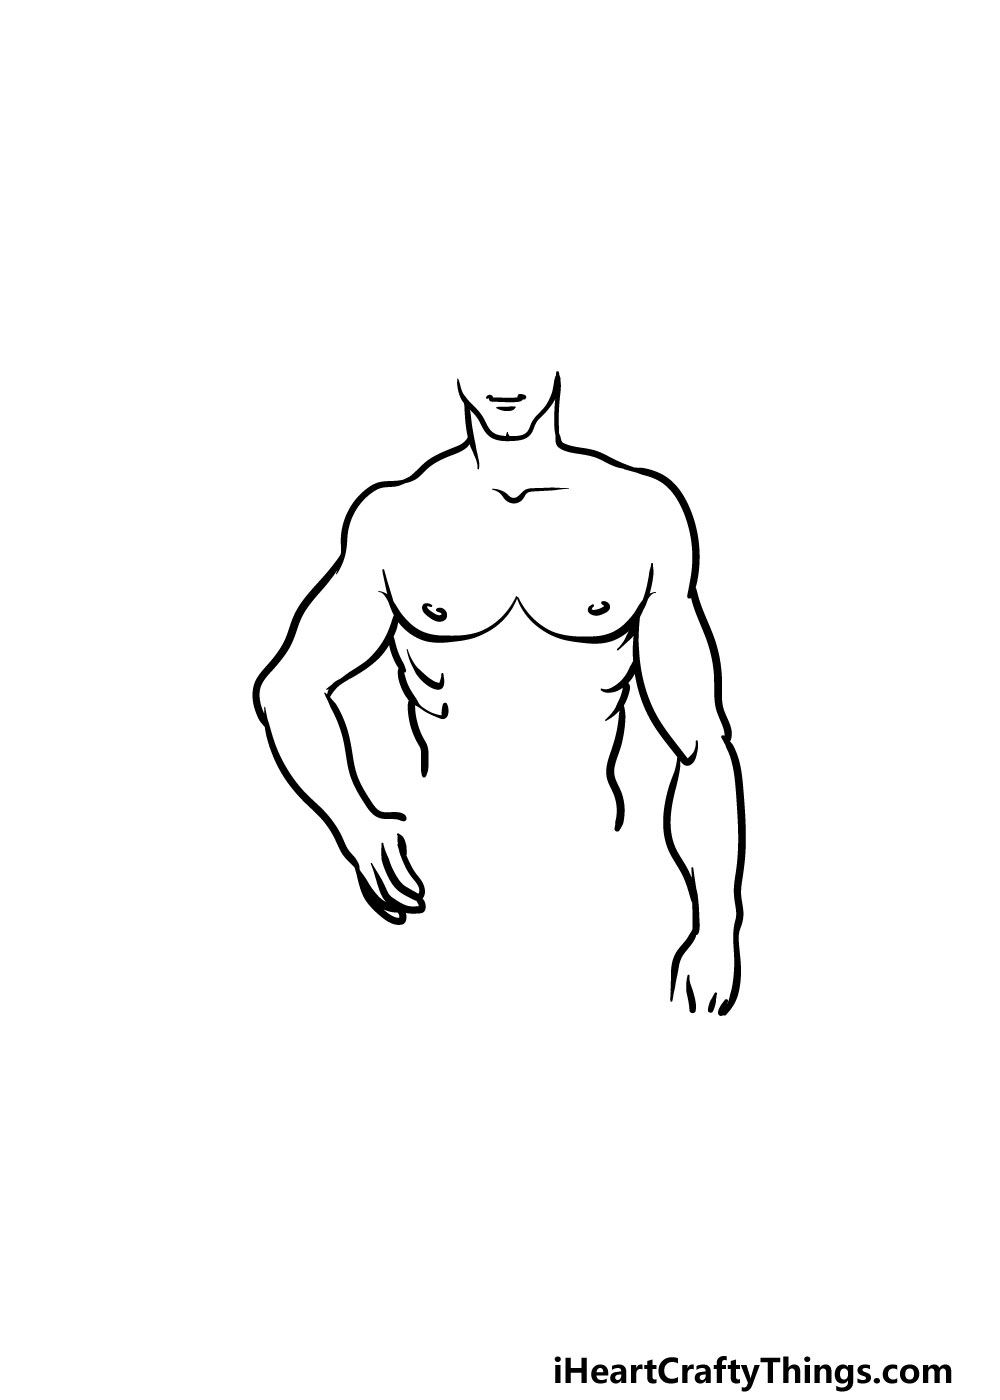
You’ve drawn one arm so far in this guide on how to draw a torso, and while that will make drawing this second one a bit easier it will still be a bit of a challenge as the arm is at a different angle from the first one.
The principle will be quite similar, though, and using the reference image you can replicate the muscles that you drew previously, except the shape will be a bit different for each one.
Step 6 – Next, draw the abs for your torso drawing
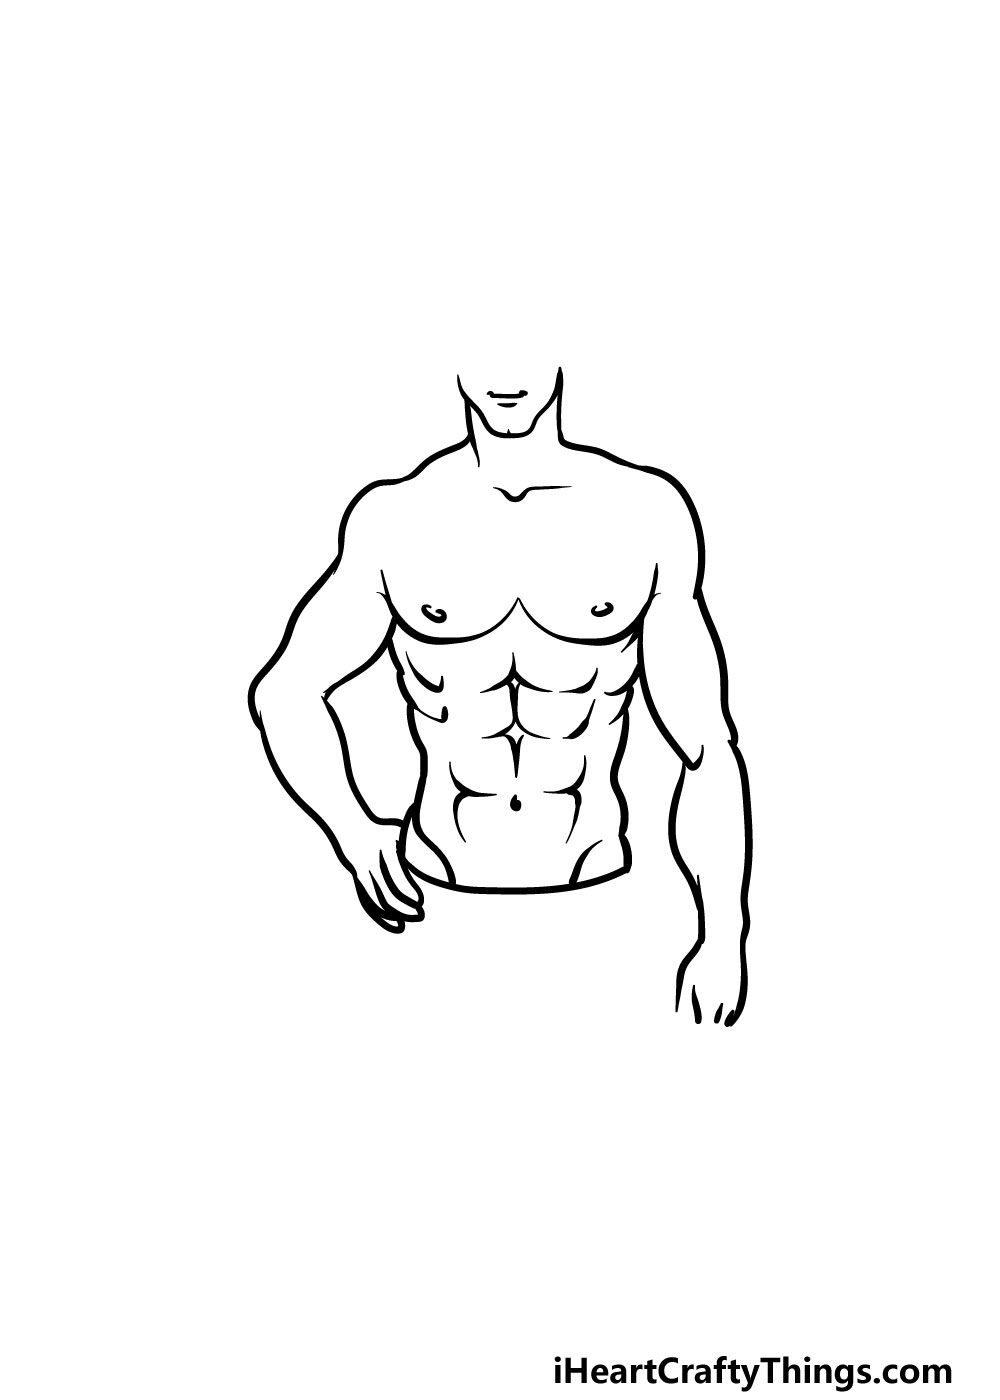
This torso drawing of yours is looking great already! Now we shall start to add some smaller details in the next few steps, and these will start with the abs in this part.
As you can see in our reference picture, these will be drawn with some curved lines that connect to one another in a specific way.
Then, you can use some more lines for the start of the shorts that he is wearing.
Step 7 – Draw the final details of the torso
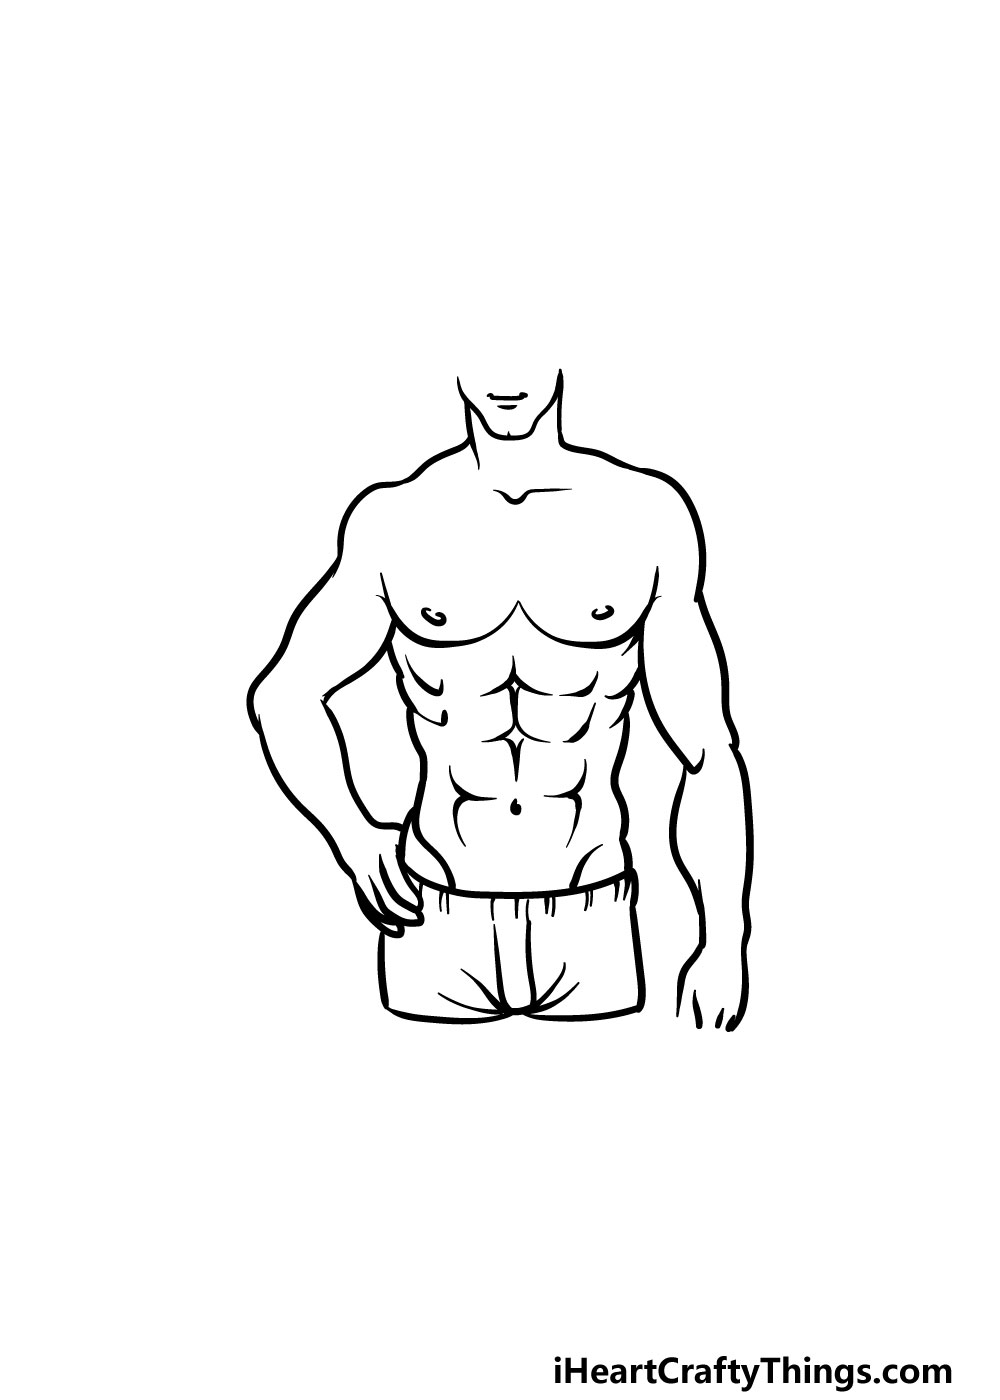
The picture is pretty much done at this point, and you only have a few more details to add in this guide on how to draw a torso.
Using some straight and curved lines, you can finish off the drawing by adding the shorts that he is wearing.
Before you move on to the final step, you could add some elements of your own as well! These could include a background or perhaps drawing the rest of his face and body.
What can you think of to finish off this torso drawing before you color it in?
Step 8 – Now finish off your torso drawing with some color
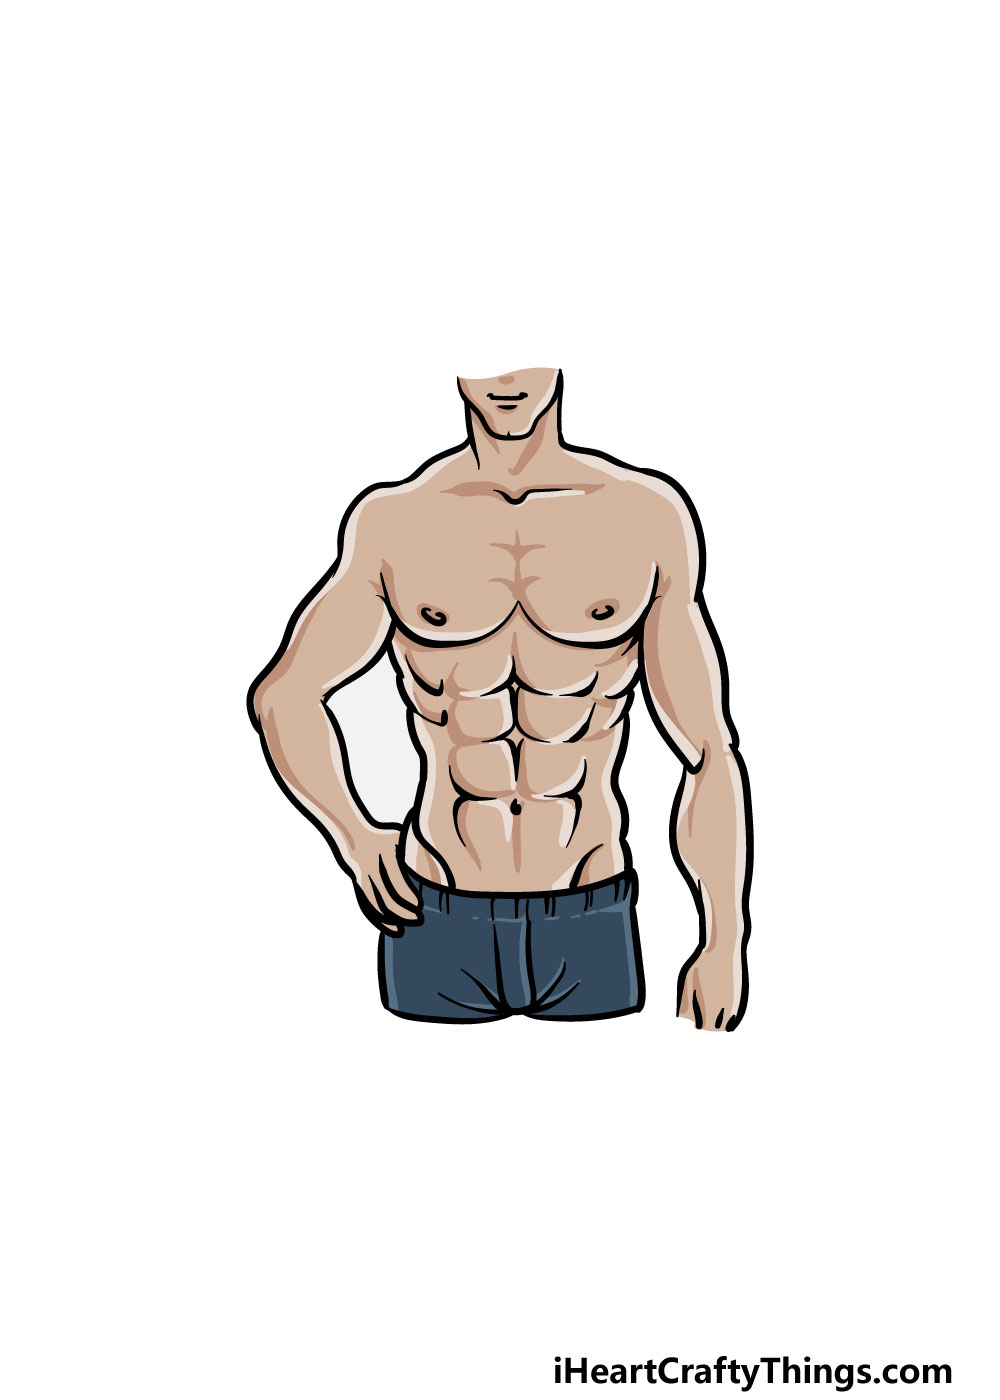
Now that you have finished this torso drawing, the final step will be to bring it to life with some amazing colors!
In our reference image, we showed you just one way that you could color in this picture.
There are many different ways that you could go about it, however, and this is a step where you should really let your creativity flow and have fun with it!
You can also experiment with different art mediums depending on the look that you want for it, and you could even mix mediums for a more dynamic image.
We can’t wait to see how you finish off this image!
3 More tips to make your torso drawing easy!
Find out how you can make this torso sketch a lot easier with these 3 tips!
This drawing of a torso shows a person that is very fit and muscular. All of these muscle details can make the drawing a lot harder to do, however!
For that reason, you could change the physique of the person in order to make it easier. This could be as simple as removing some of the muscle details on the waist and arms.
You might have to account for this by changing the shape of the body a little, but these small changes can make it a lot easier.
Another way you could make this torso drawing much easier would be by adding some clothing. This may seem like a simple change, but it can be another way to obscure some of those tricky muscle details.
When we say clothing, it could be as simple as adding a t-shirt. To add these clothing elements, you could use some clothes from your own wardrobe and wear them while looking in a mirror.
Then, you can see how these clothing pieces sit on the body. Then it should be easy enough to add them to your drawing.
Not only can adding clothing make this drawing much easier, but it can also help you to personalize it even more!
When it comes to drawing realistic human bodies, the more sources you look at the better. The same is true of this torso sketch, and you can use a few sources along with our guide to make it easier.
One place to start would be by again using a mirror to use your own torso as a model. You can also consult books on human anatomy in order to get a better idea of how muscles should look in a drawing.
Once you have these sources, you could also break down the drawing into simpler shapes using your pencil.
Then, you can start adding more definition and details with your pen in order to complete your drawing.
Your Torso Drawing is Complete!
As we mentioned at the start of this guide on how to draw a torso, drawing the human body can be harder than one may expect.
Our goal with this guide was to make it not only much easier for you to do but also a lot more fun! We hope that both of these goals were achieved for you in this guide.
Remember that there is a lot more that you can do with this image to make it your own! Whether you draw a background, add more to the picture or experiment with colors and mediums we know it will look incredible.
We also have a wide variety of drawing guides covering a huge array of different subjects on our website! We upload new ones frequently as well, so we hope to see you there often.
Once your torso drawing is complete, we can’t wait to see it! You can let us take a look by sharing it on our Facebook and Pinterest pages.