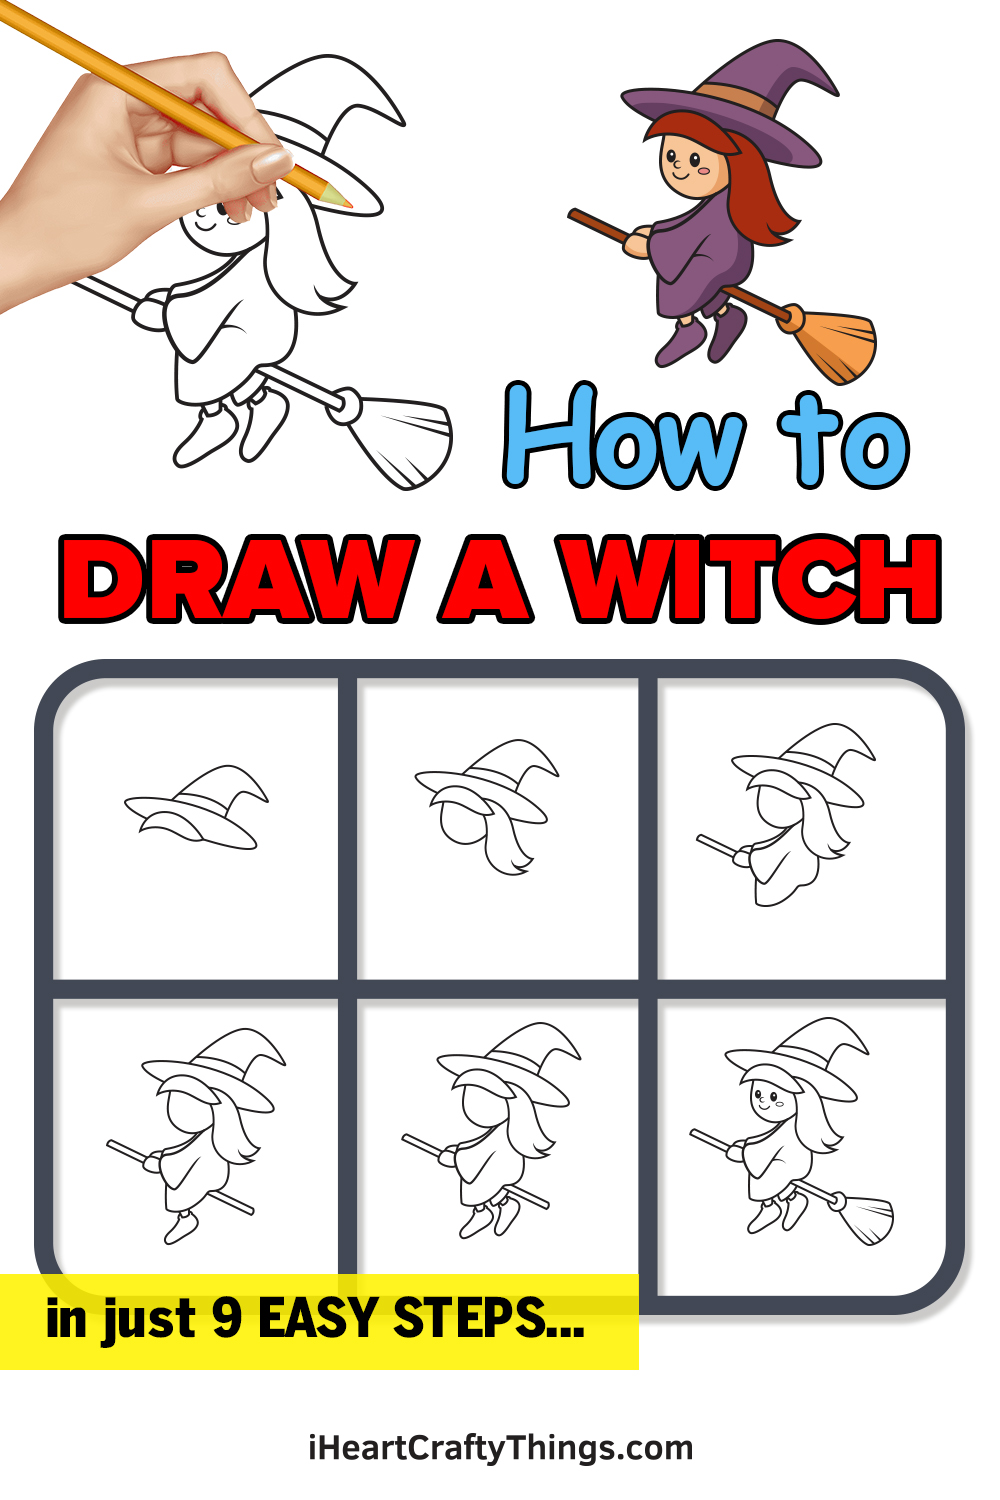
Learning how to draw a witch is made much easier with this fun and intuitive guide for kids! No magic is required to master the art of drawing this fun witch character.
Witches have appeared in stories for thousands of years. Sometimes they are portrayed as sinister villains and other times they are forces of good.
More recent series such as Harry Potter have further helped to enhance their reputations! There’s something enticing about the thought of a character whipping up magic brews while practicing spells.
Whether you want to create some Halloween art or just enjoy witch stories, this guide is for you! All ages can follow along and recreate this fun cartoon witch.
I’ll guide you through the steps and show you exactly how it’s done, and you’ll have a picture to be proud of by the end.
Watch And See How To Make Your Witch Drawing
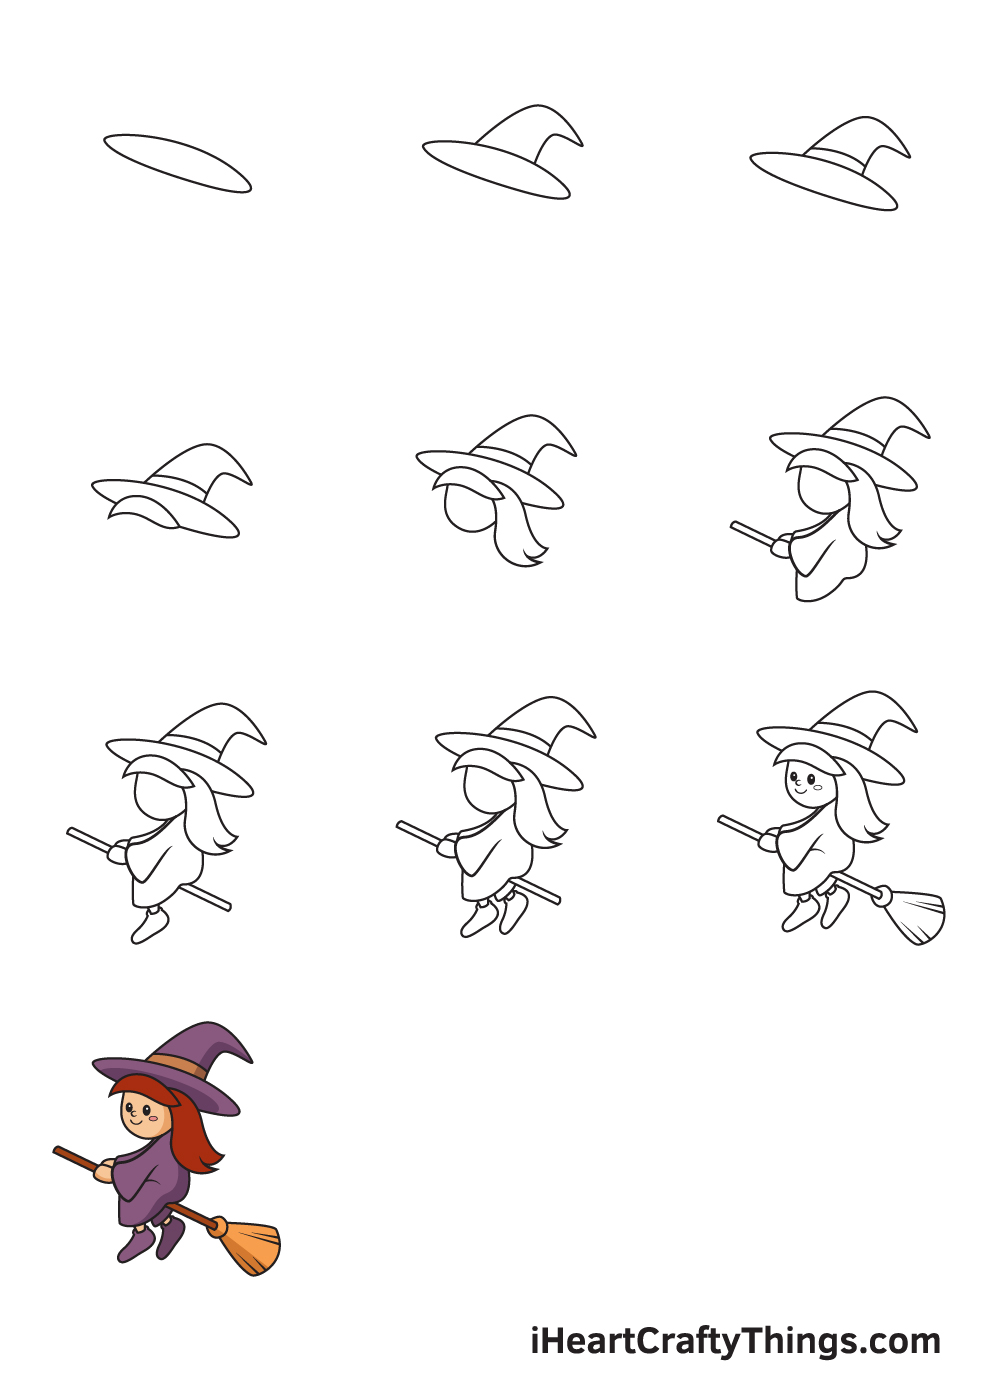
How to Draw a Witch – Let’s get started!
Step 1
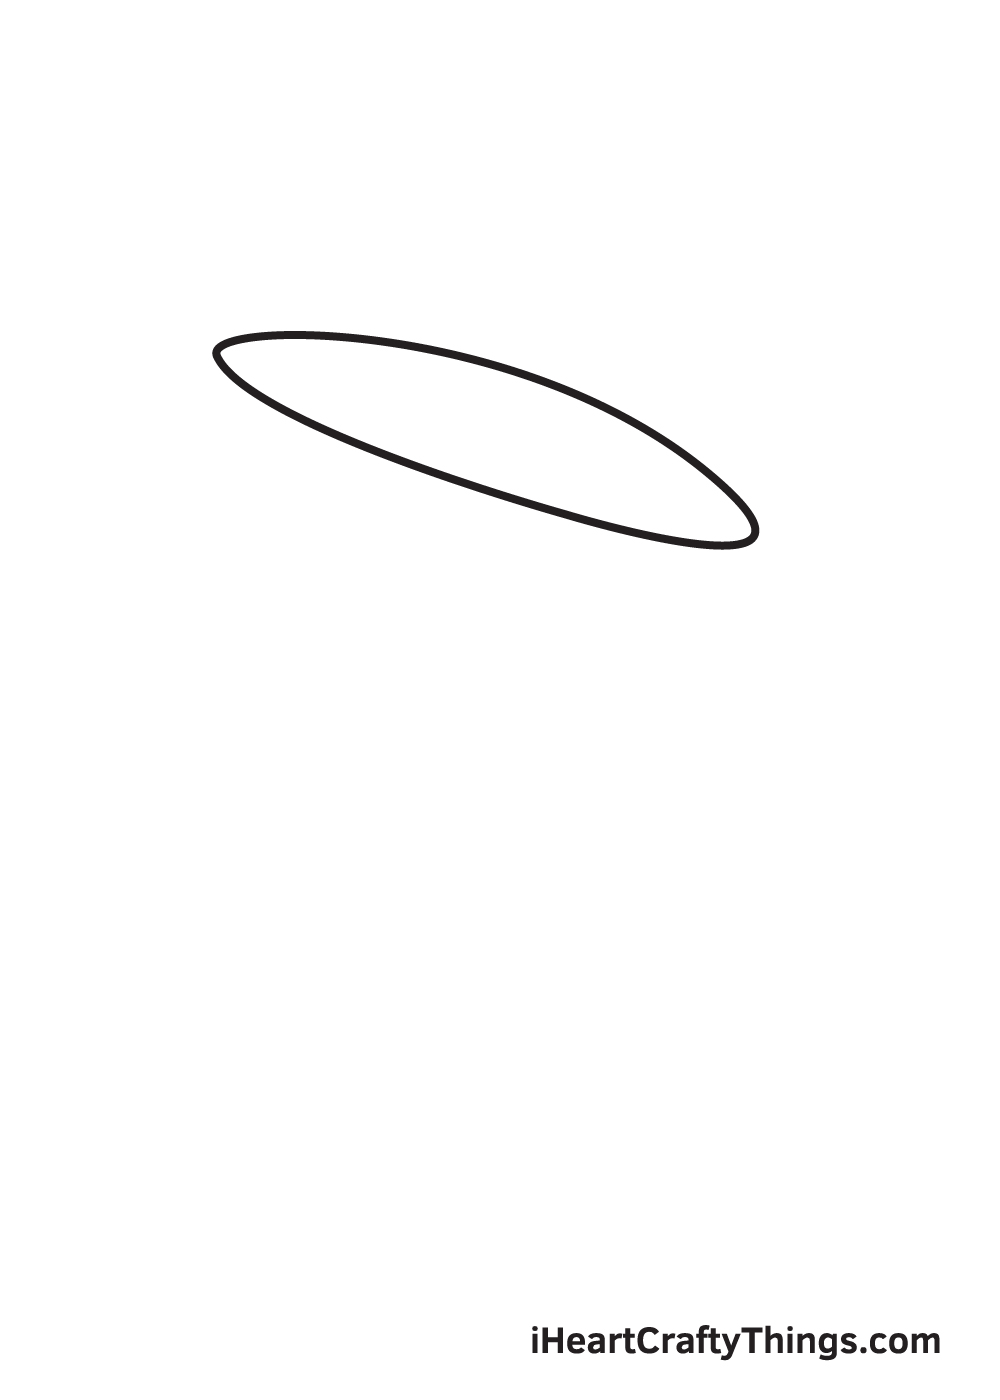
Starting on the upper portion of your paper, draw a narrow oval shape forming the brim of the witch’s hat.
By drawing at the top of your paper, there will be sufficient space for the entire head and body of the witch. This also ensures that the witch will be drawn in the center.
Step 2 – Create an Outline of the Witch’s Hat
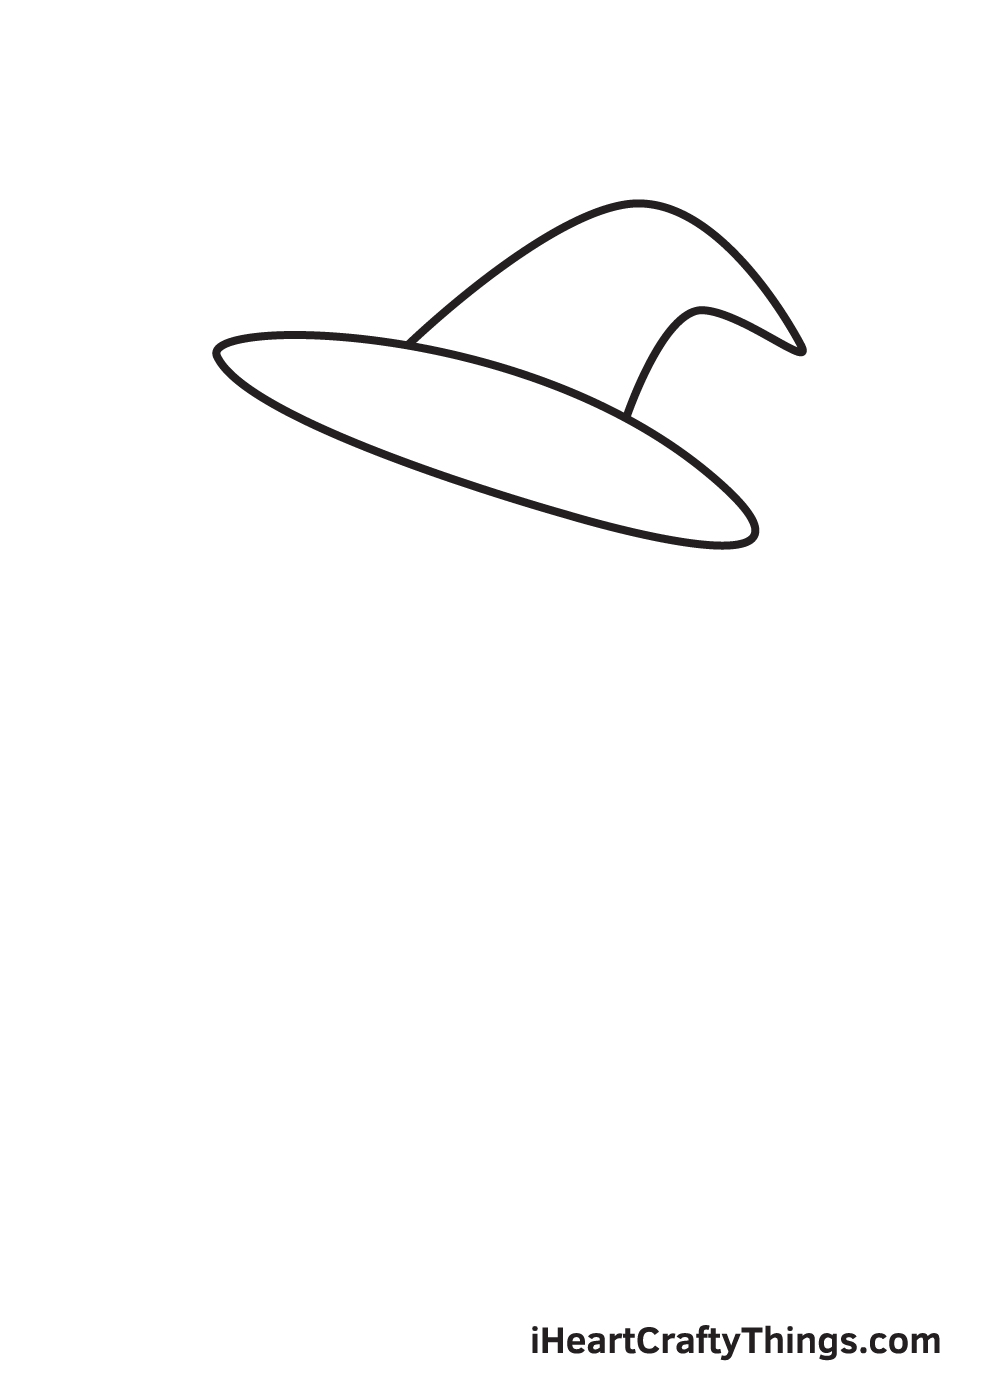
Witches typically wear tall, pointed hats, so that’s what we’ll be drawing in this step. Simply draw a triangular shape that is bended at the top. This creates the folded crown, making the hat look more natural.
Don’t forget to make the tip of the crown pointed—it’s one of the most distinct features of a witch’s costume!
Step 3 – Afterwards, Add Details on the Hat
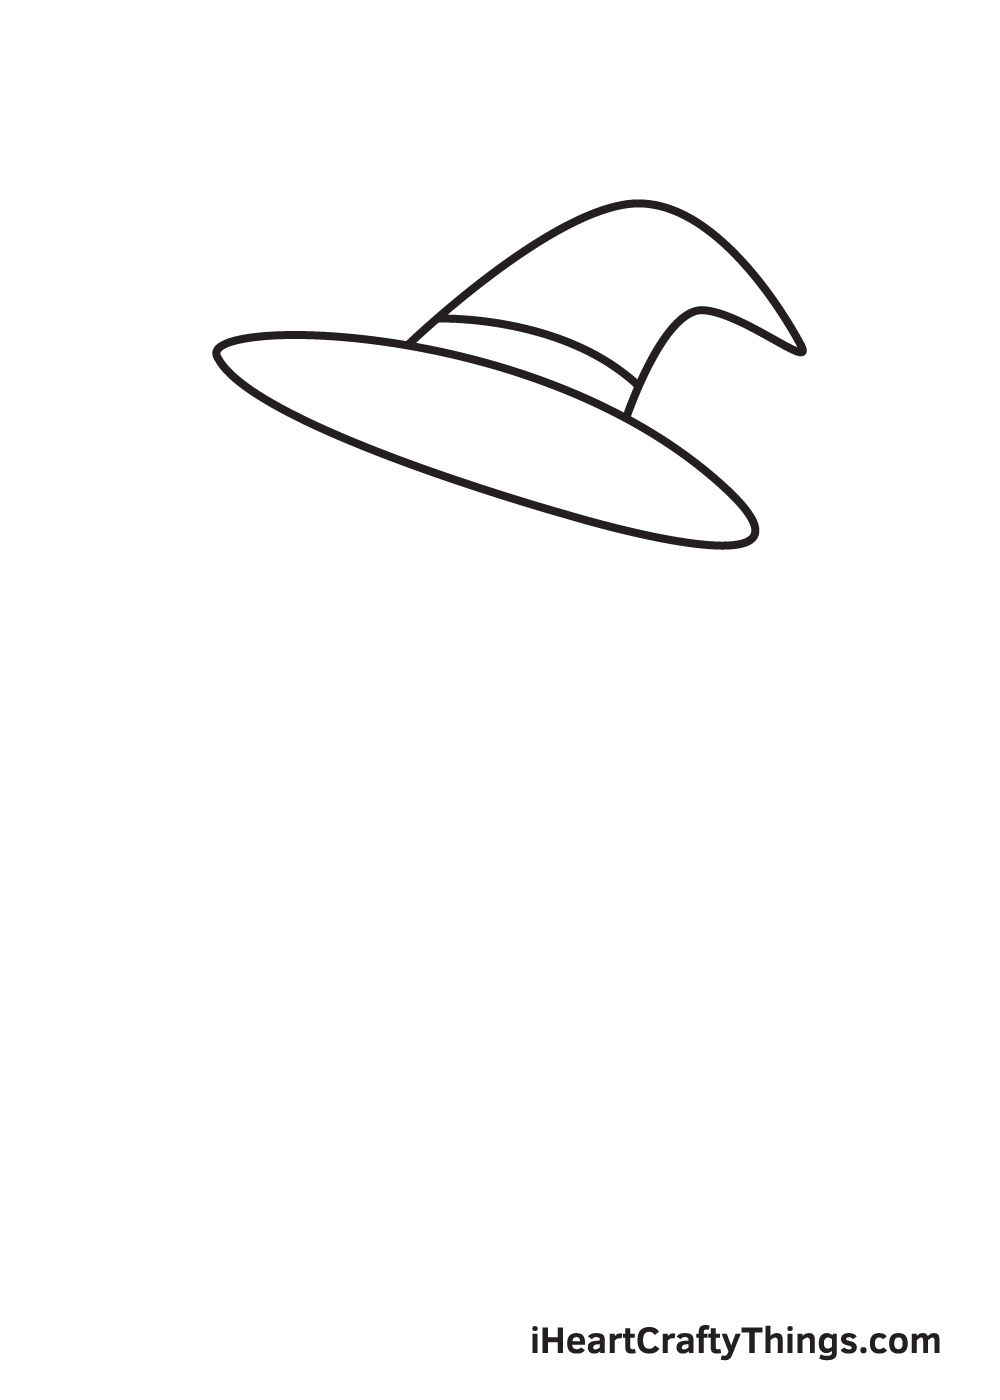
Draw a horizontal line right above the brim of the hat.
This creates the band surrounding the crown of the hat.
Step 4 – Next, Draw the Hairline of the Witch
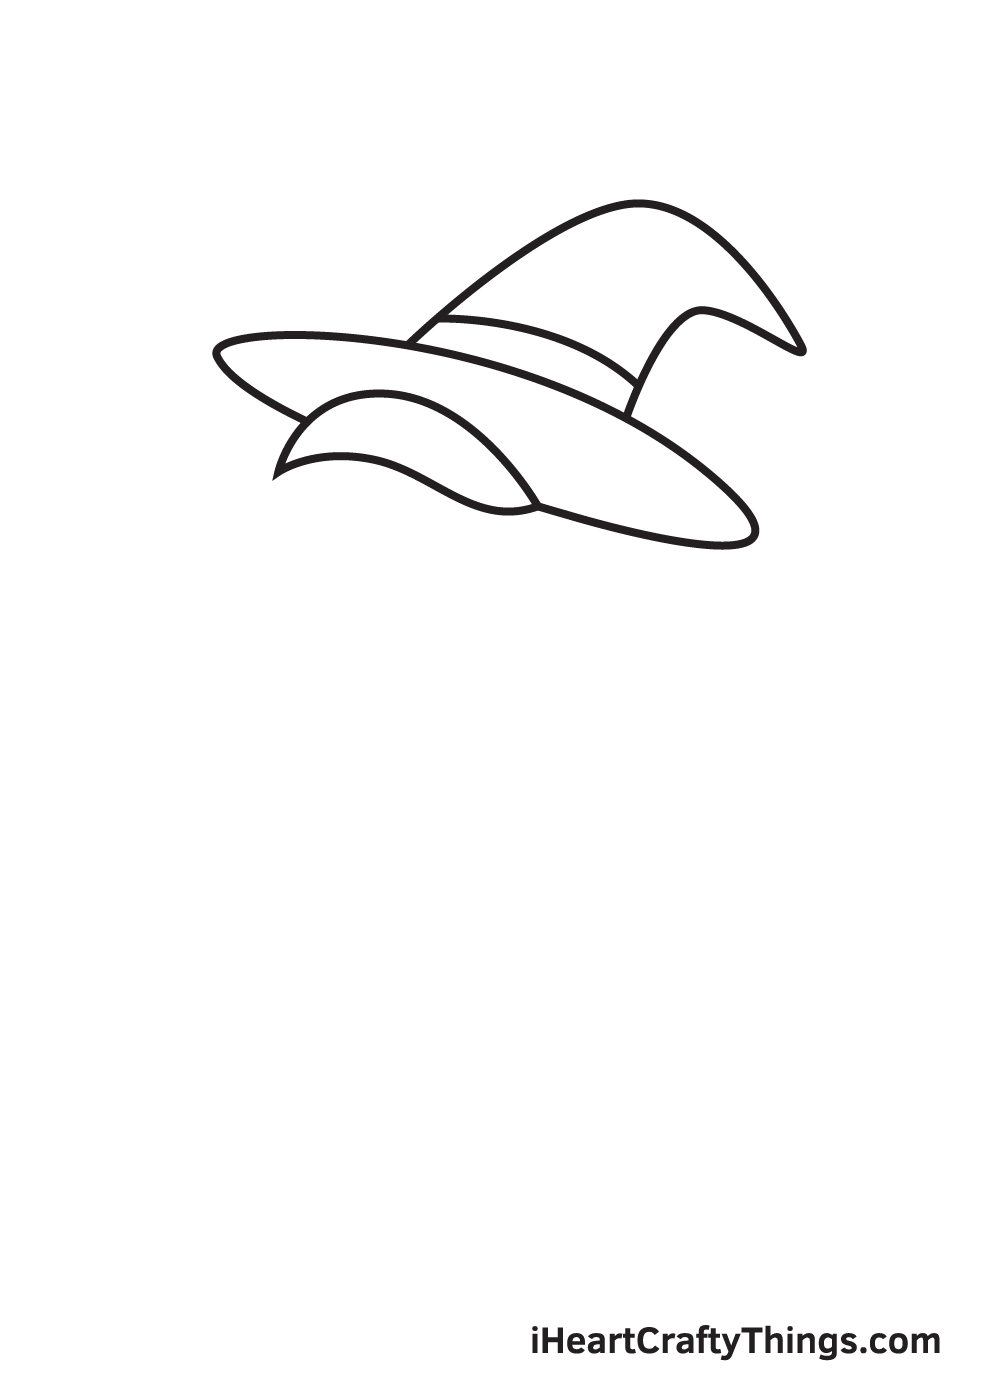
Right underneath the hat, draw the front part of the witch’s hair.
As you can see in the illustration, we simply drew a curvy horizontal shape with pointed edges to form the bangs covering the forehead of the witch.
Step 5 – Then, Draw the Witch’s Entire Head
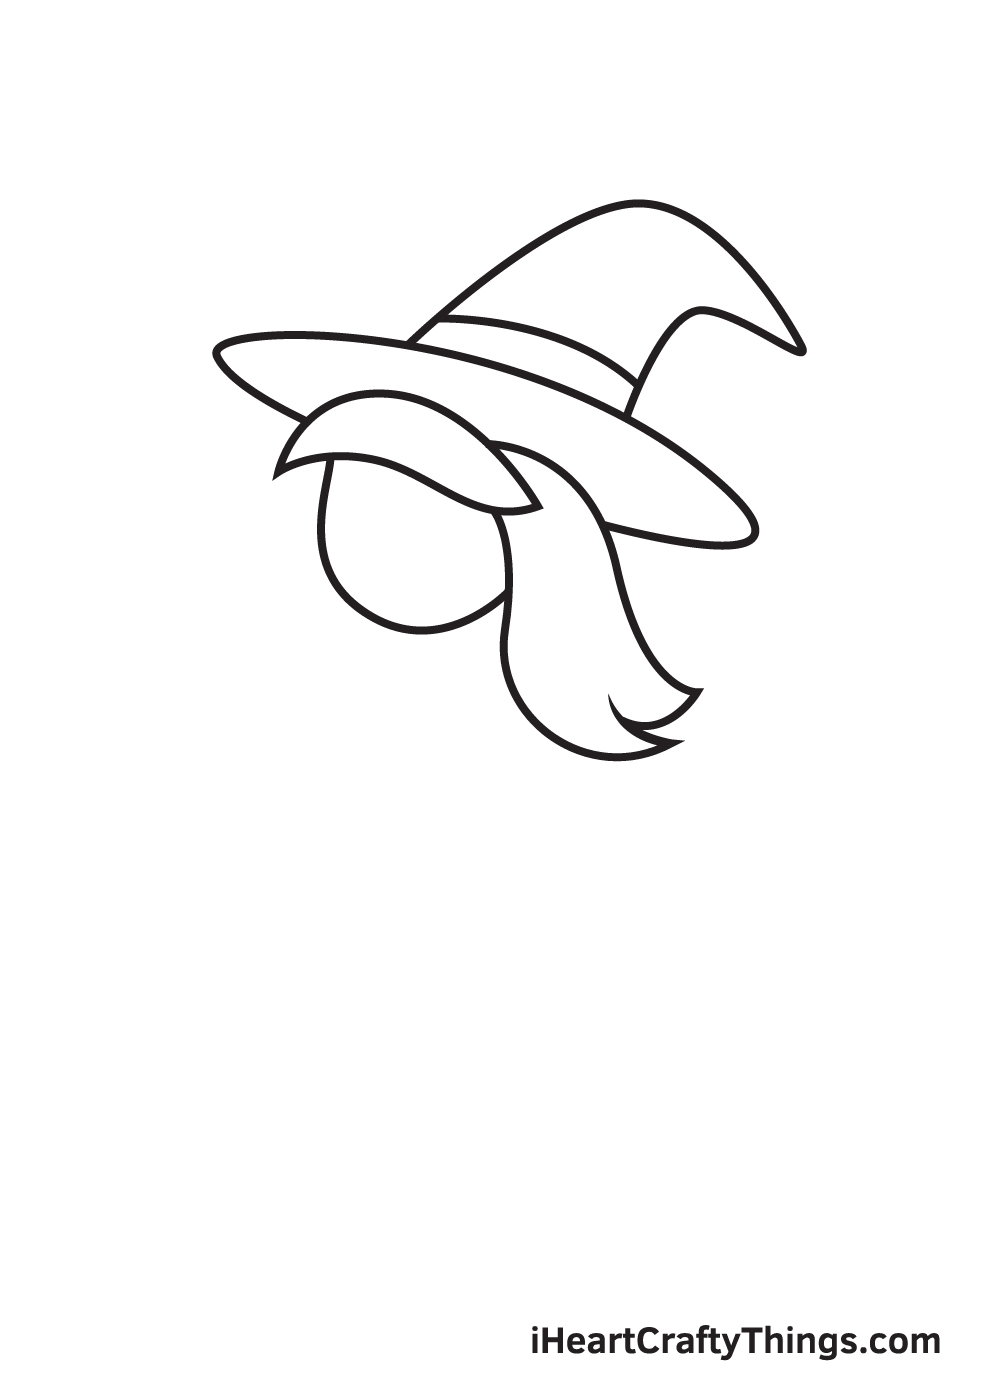
Draw a semicircle right underneath the bangs. This forms the head of the witch.
Afterwards, draw a curved shape with pointed edges to create the hair of the witch. The hair should be connected to both the witch’s bangs and head.
We kept the hairstyle of the witch pretty simple, as shown in the illustration above. Though witches are typically depicted to have long tangled hair, feel free to draw any type of hair you want, whether it’s a short pixie cut or a long curly hair.
You can even put the hair on a ponytail or a braid, depending on what kind of hairstyle you prefer.
Step 6 – Draw the Witch’s Iconic Long Robe
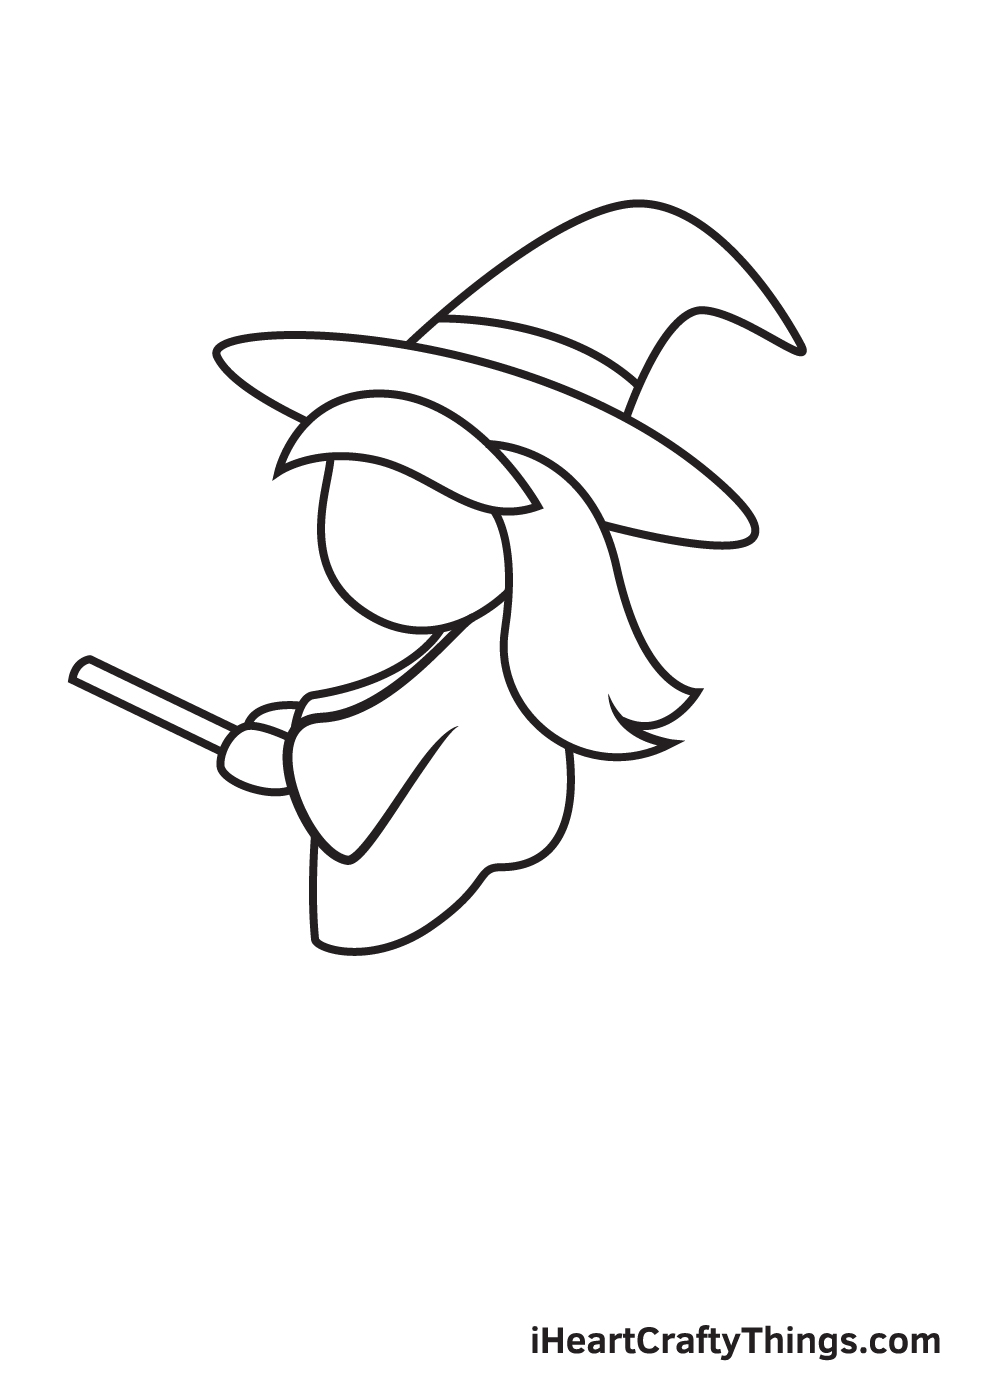
Draw a long-sleeved robe below the head of the witch. See to it that the robe looks flowy and loose, as how it should really be!
Then, draw a rounded shape on the hem of each sleeve forming the hands. Afterwards, draw a stick directly connected to the hands. This creates the handle of the broomstick that the witch is riding on.
Witches are particularly distinguished wearing an oversized robe, so keep that in mind when drawing the witch’s outfit!
Step 7 – Afterwards, Draw the Broomstick
Draw a stick connected to the lower back of the witch. This forms the bottom part of the broomstick.
Make sure that the handle of the broomstick that we drew in the previous step is aligned with its bottom part.
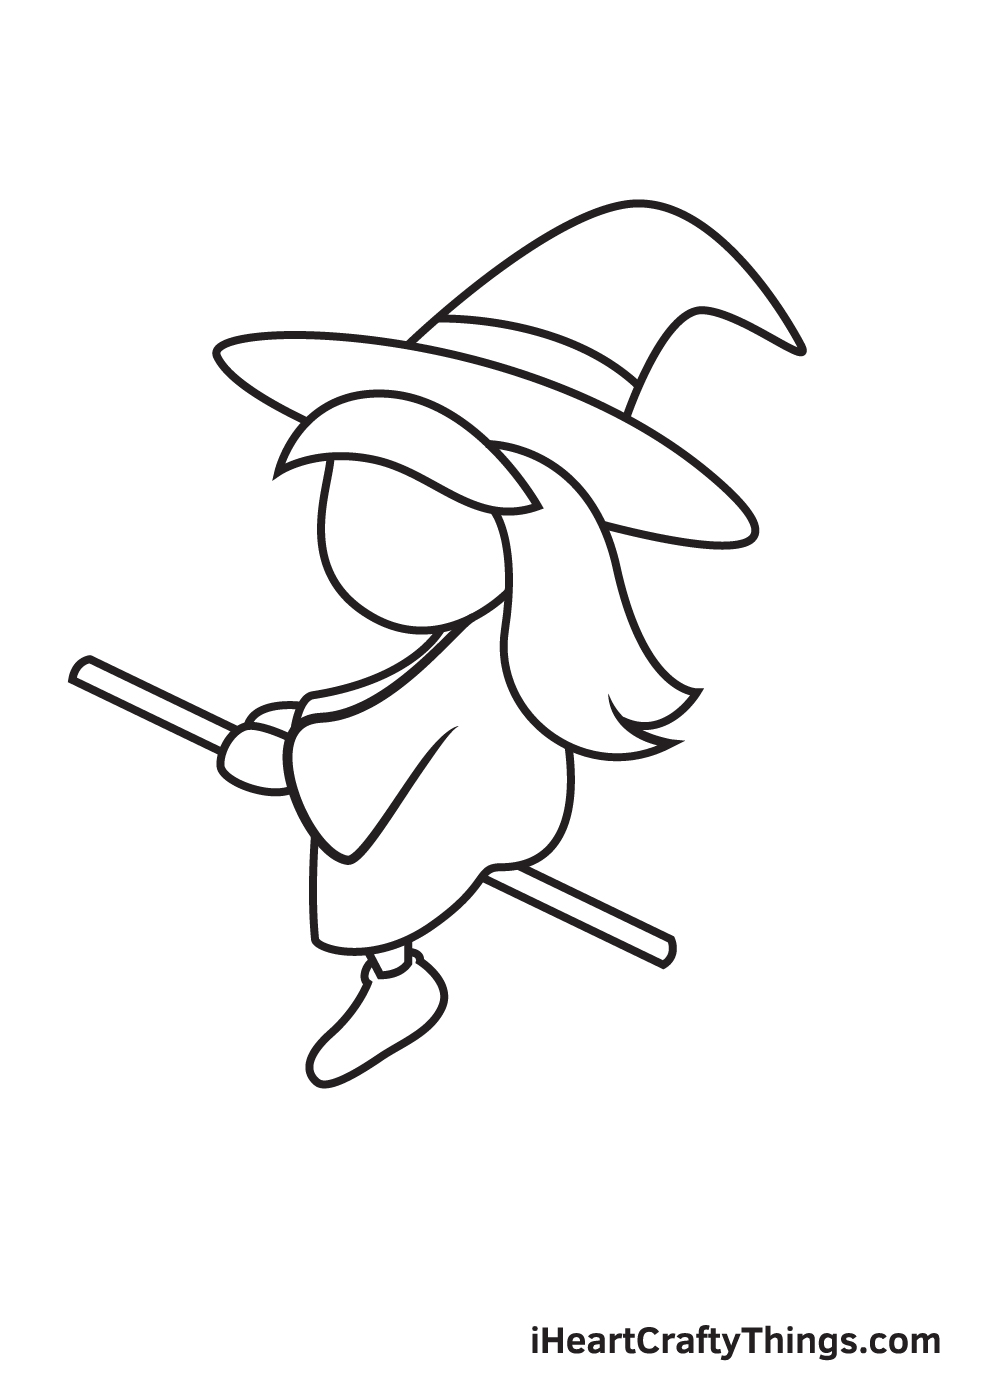
Afterwards, draw the left feet dangling underneath the robe.
Step 8 – Complete Both Legs of the Witch
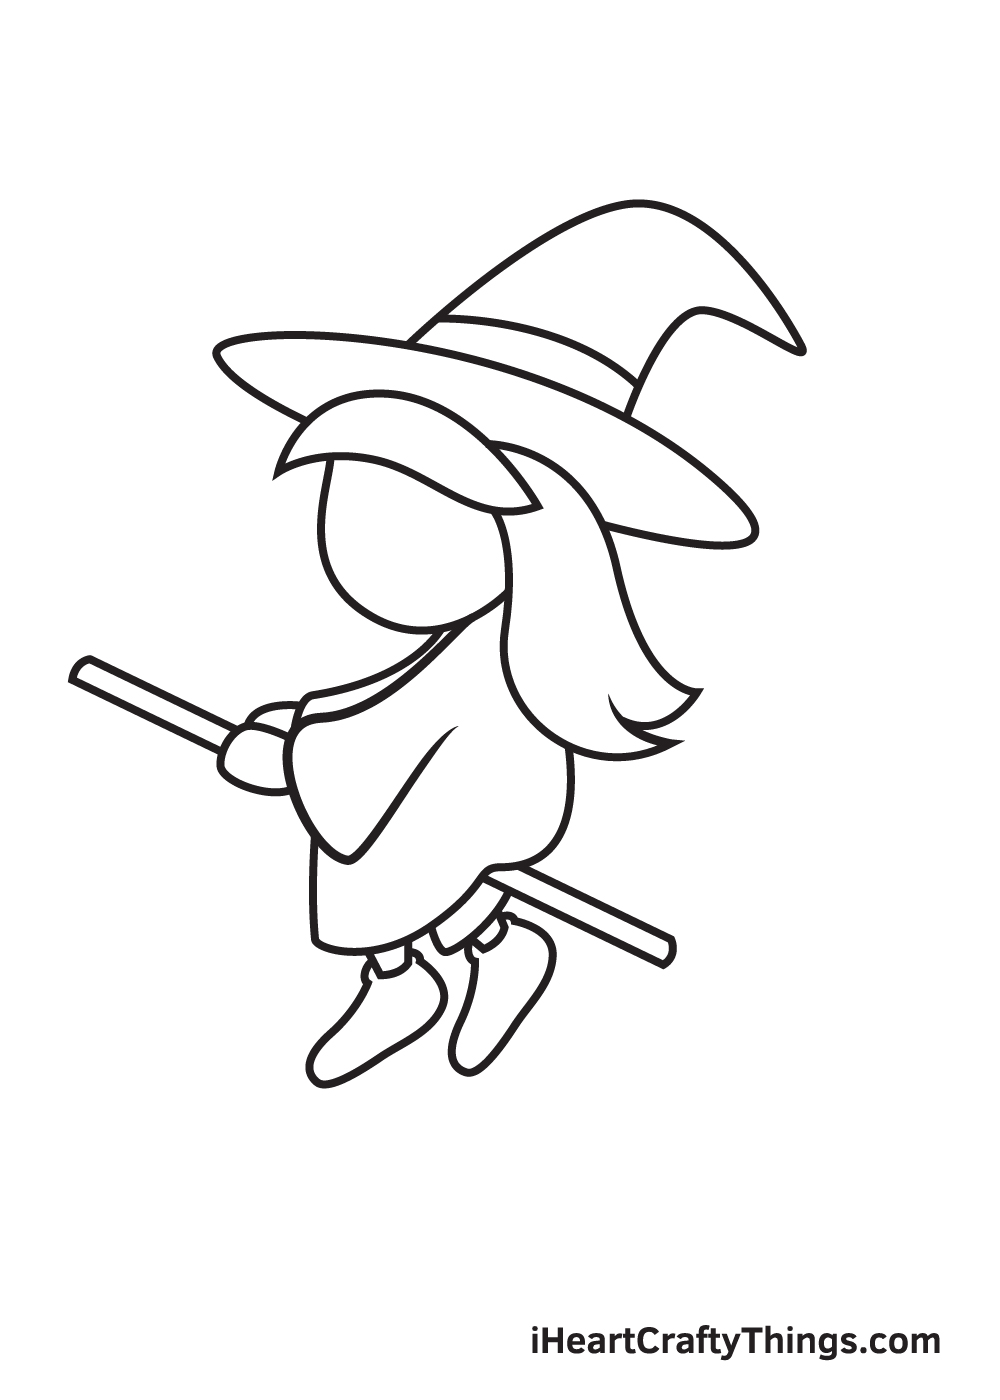
Draw the right feet on the opposite side. Since the witch is riding a flying boomstick, both feet should look like they’re dangling mid-air.
Step 9 – Now, Add the Witch’s Facial Features
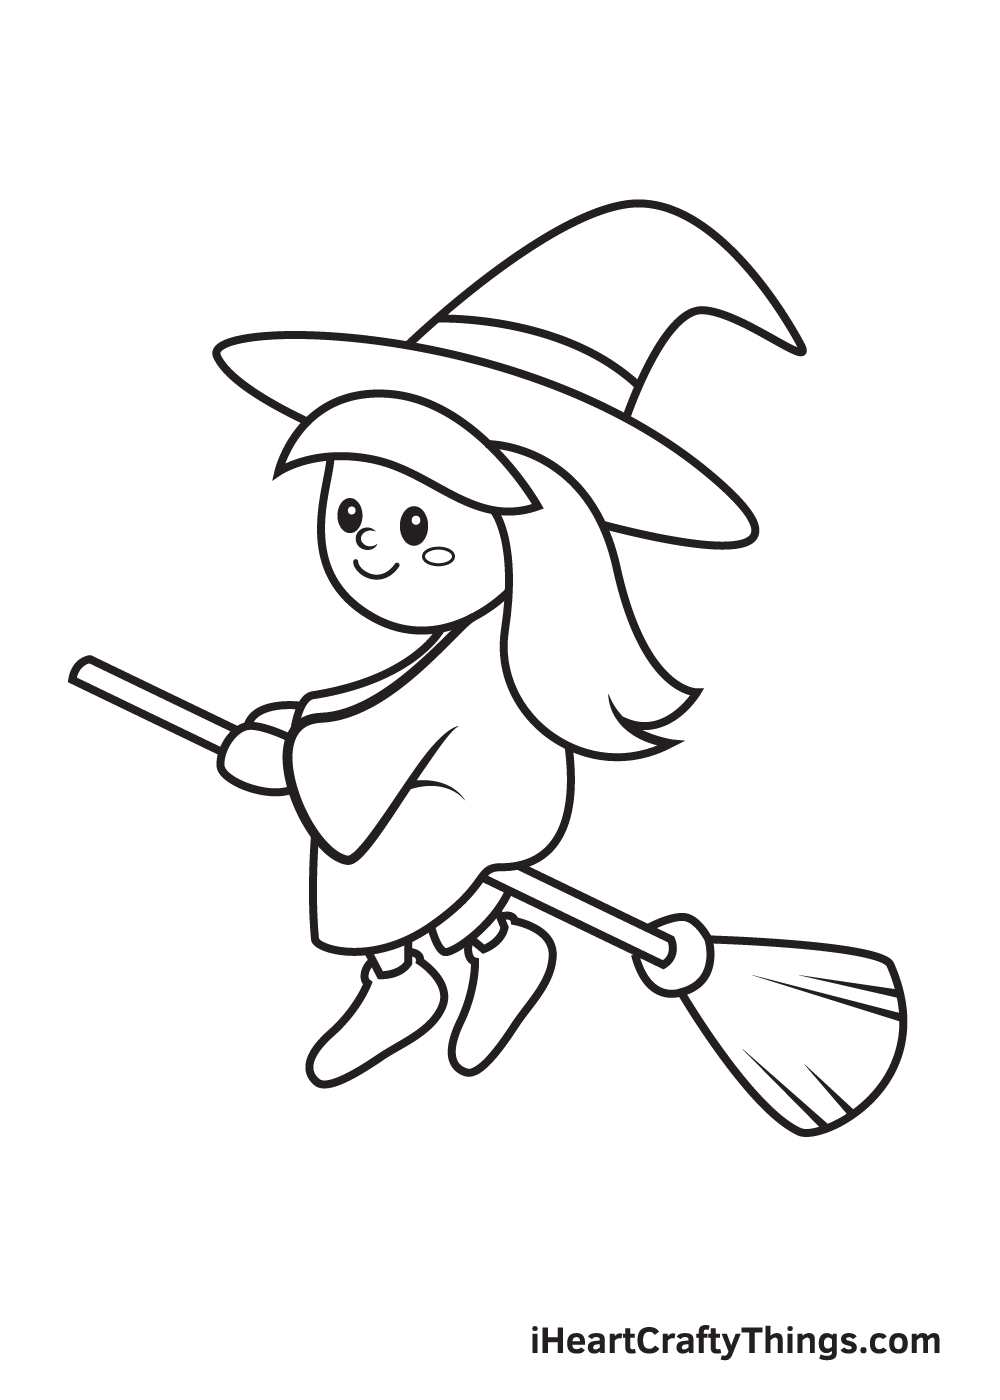
In this final step, we will be creating the facial features of the witch to finally complete the look.
Starting from top to bottom, proceed by drawing two standing oval shapes below the forehead to create a pair of eyes.
Then, draw a semicircle underneath the eyes for the nose. Next, draw an upward curved line below the nose to put a wide smile on the witch’s face.
Make sure to add a sideways oval shape on both cheeks to create a dramatic “blushing effect”!
Don’t forget to draw the tail twigs attached to the bottom part of the stick! This completes the structure of the broomstick.
Now that we’ve successfully drawn a witch, it’s time for the part we’ve all been waiting for. Finally, we will now be choosing the colors and coloring the witch.
While witches traditionally wear an all-black outfit, the costume comes in a wide range of colors. That means, you have a lot of color options to choose from when coloring your drawing.
The colors you will be using for the witch is entirely up to you! After all, it’s your work of art.
Have fun mixing and matching colors and watch as the witch ultimately comes to life!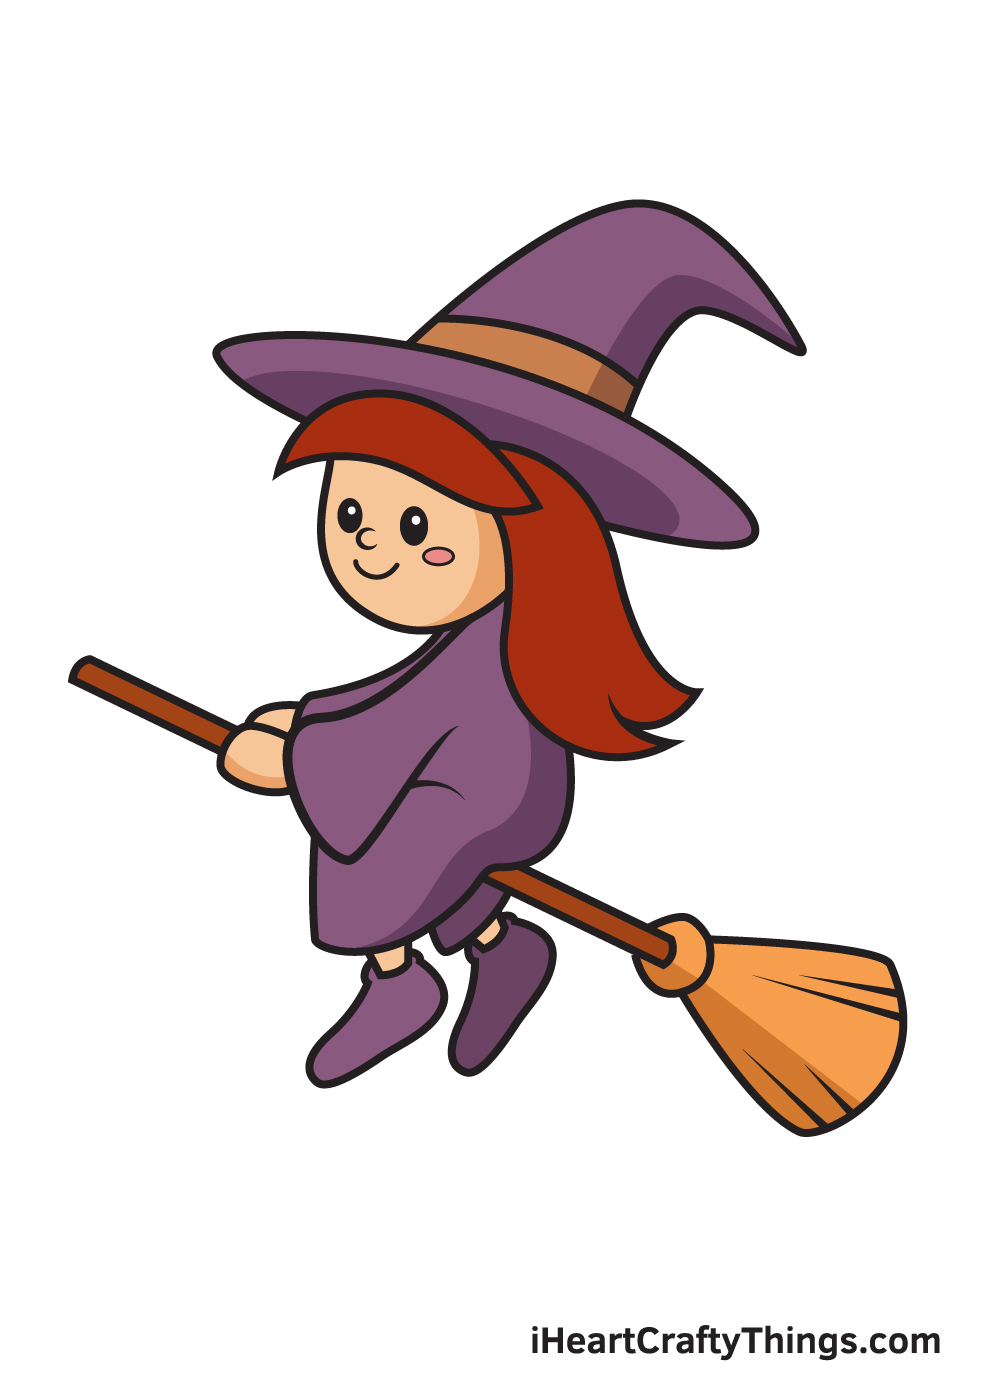
3 More tips to make your witch drawing easy!
Work some creative magic as we show you how to make this witch drawing easy!
The key to making any drawing easier is to plan as much as you can. We tried to make this witch sketch easy in this guide, but you can use your pencil to make it even easier.
Use it to draw some basic shapes, and then you can use a darker pencil to draw more distinct details over these.
Once you’re happy with how it looks, you can draw over it with your pen and then erase the pencil lines.
No one will ever know how much planning you had to do, and you can make it look exactly as you wish.
When creating this drawing of a witch, you can also change the design to make it easier for yourself.
Everyone struggles with different things just as everyone has different strengths. So if you’re having a hard time drawing the hat the way it is, you can simplify it.
Maybe the broomstick is giving you trouble, in which case you could remove it and have her next to a cauldron instead.
These are a few ways that you could change the design if you’re struggling! Also, doing so will have the benefit of giving you a more unique picture.
The final tip is simple but important! We suggest that you just keep trying and make as many attempts as you need.
Get a big stack of paper, get your favorite tools and then just go for it! If it takes you a dozen attempts, it will be worth all of the trouble.
You can also try out different interpretations and poses until you think you have something perfect.
When you have your finished product, this is what people will see. Also, practice is never a waste of time as you draw, as any drawing you do will make you get better.
So just persevere and keep at it, and you will have an amazing witch drawing to show off in no time!
Your Witch Drawing is Complete!
Learning how to draw a witch is a lot of fun, isn’t it? If you enjoyed this drawing tutorial, then you might love our drawing tutorials of a fairy, zombie, and other mythical creatures.
Check out our “How to Draw” catalog to explore more enjoyable drawing tutorials like this.
Don’t forget to show off your masterpiece once you’ve drawn and colored a witch! Take a picture of your artwork and share it on our Facebook page and on Pinterest.
And while you’re at it, we hope you take the time to like our Facebook page as well!
We’re excited to see your magnificent witch drawing!